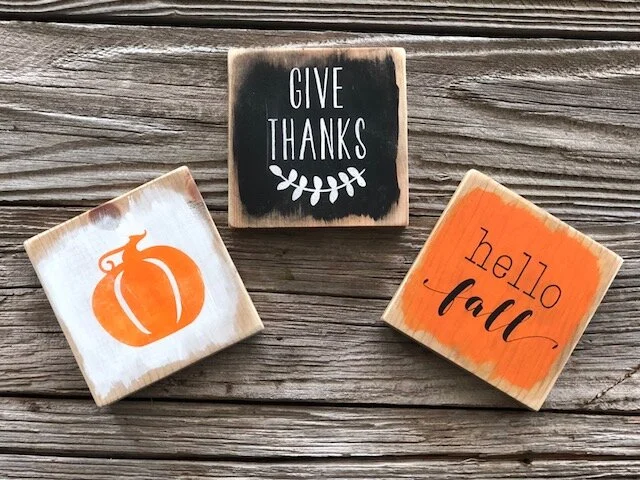
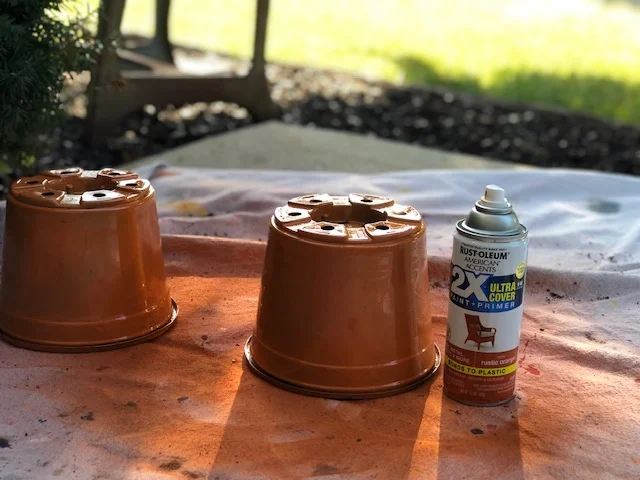
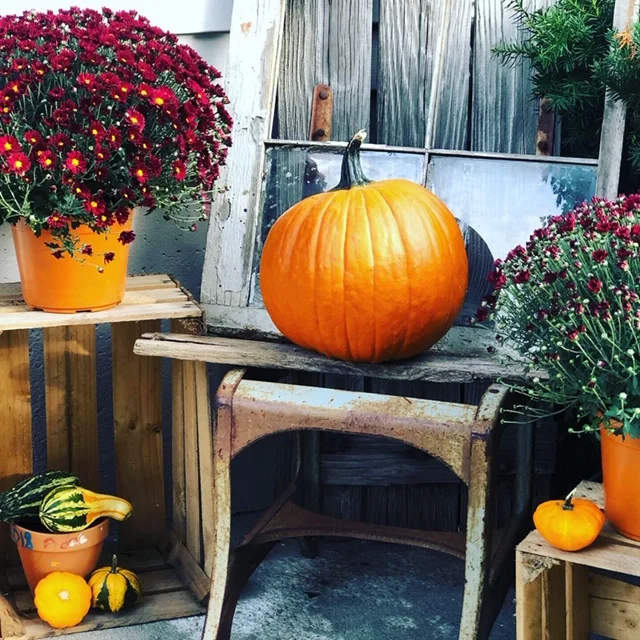
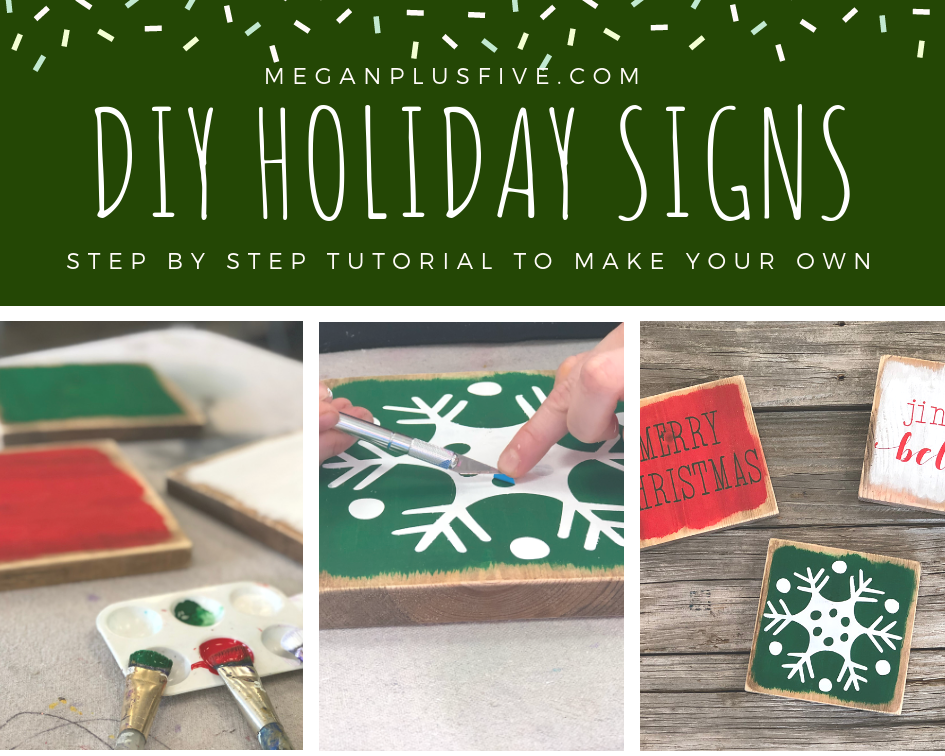
Glass etching the easy way

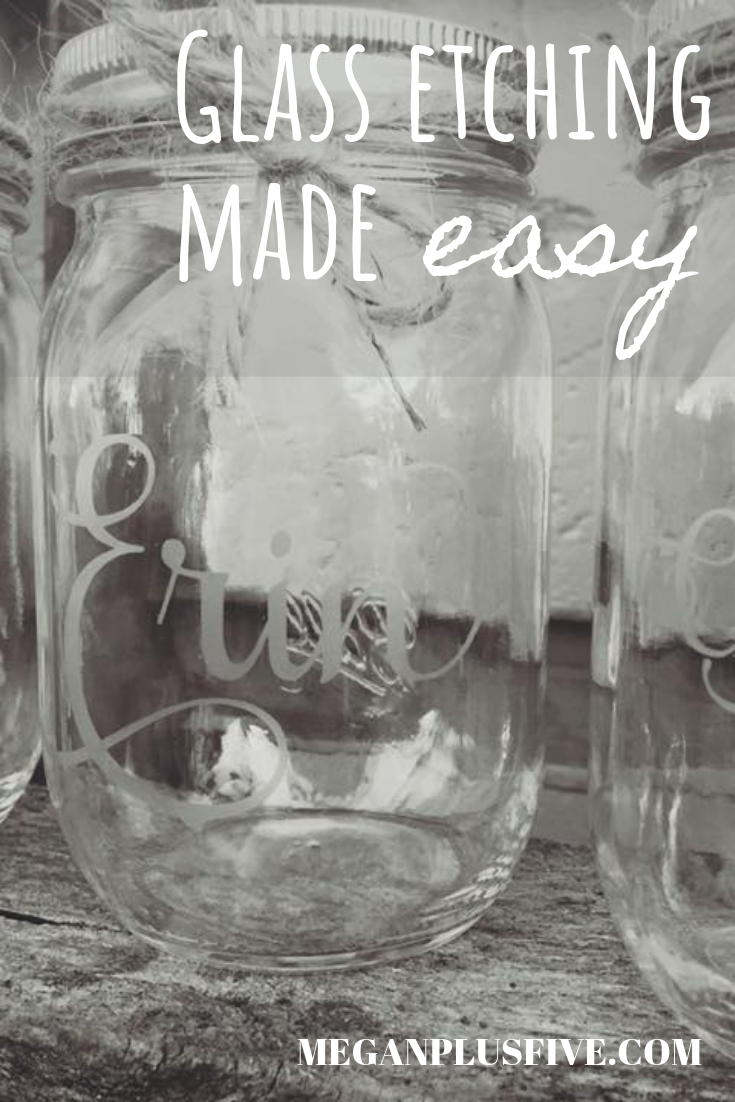
Learn how to etch glass the easy way

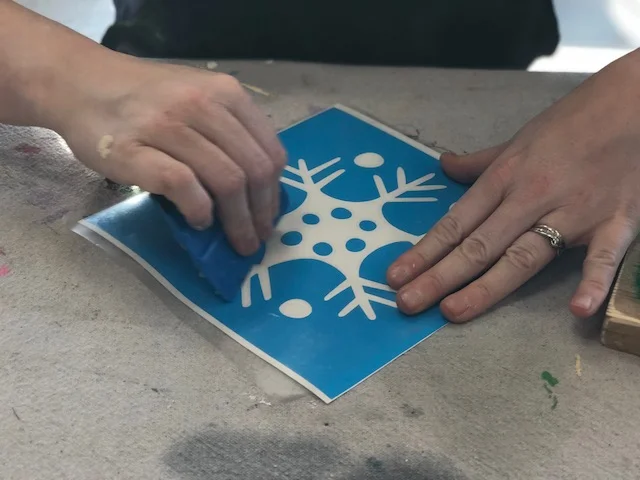
One of my most favorite gifts my husband and I received when we got married were a set of personalized glasses. Someone, whom I had never met because she was an old friend of my father in law’s, took the time to make such a meaningful gift for us. I thought she must have some fancy equipment to make such a fancy gift but I couldn’t have been more wrong.

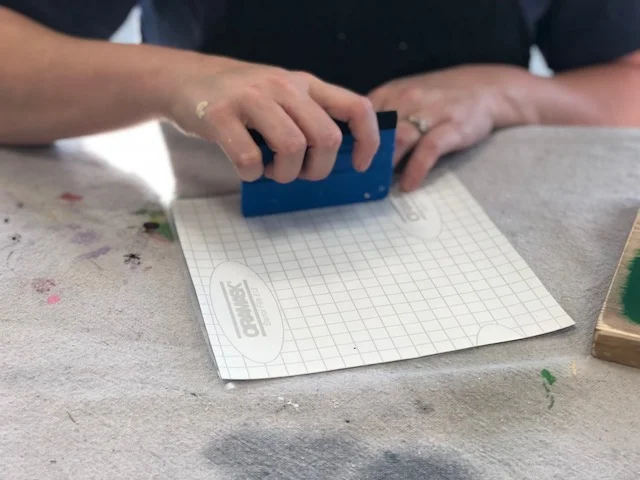
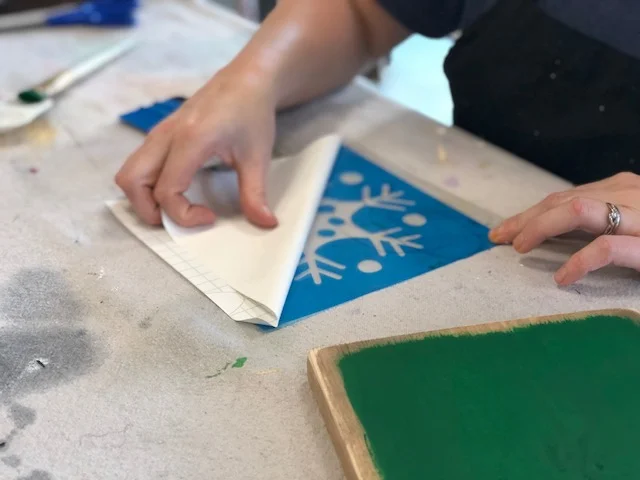
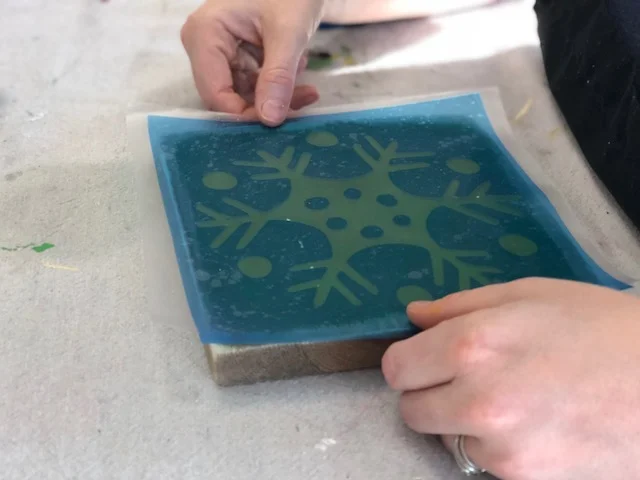
A couple years we were married I got my very first Cricut. The ones that exclusively used the cartridges to cut {if they did hook up to a computer I had no idea because that was WELL before our computer owning days lol}. Those were the days…not really I’m super thankful for the ease of use the current Cricut system offers. Anyway over the years I have experimented like a mad women with all the things I can make using my wonderful cutting machine. And I was happy to learn of an amazing product I could buy that would chemically etch glass and do any design that I cut a stencil for! Heck yes!

I tried it out and I was amazed by it’s powers lol! It’s called AMOR ETCH. It’s a little pricey BUT it will last you forever. I have etched so many things since and I have to say they are one of my most favorite personalized gifts to make. A few things I’ve made with the etching cream are, wine glasses, mason jars, whisky glasses, glass picture frames, vases and I’m sure way more but I just can’t recall them all.


Be sure to follow the manufacturer’s instructions and always remember this is a chemical so always put safety first.

Here’s what you’ll need

Check out the Facebook live I did showing you step by step how to create your own glass etchings at home.



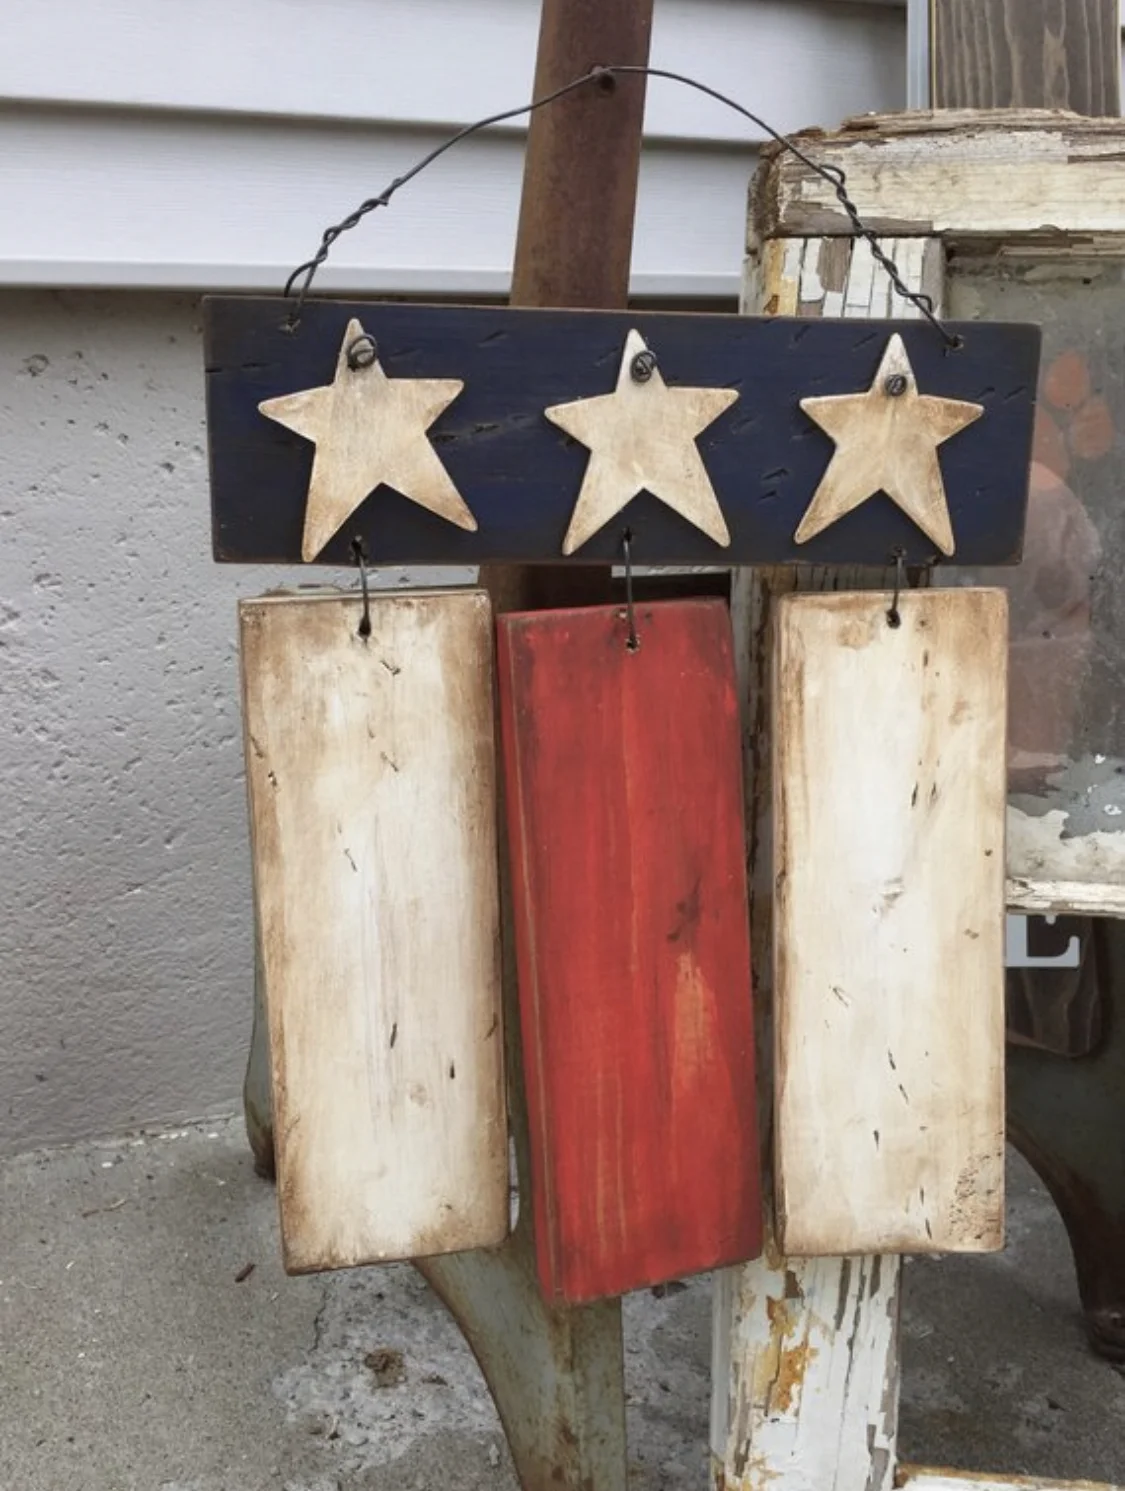
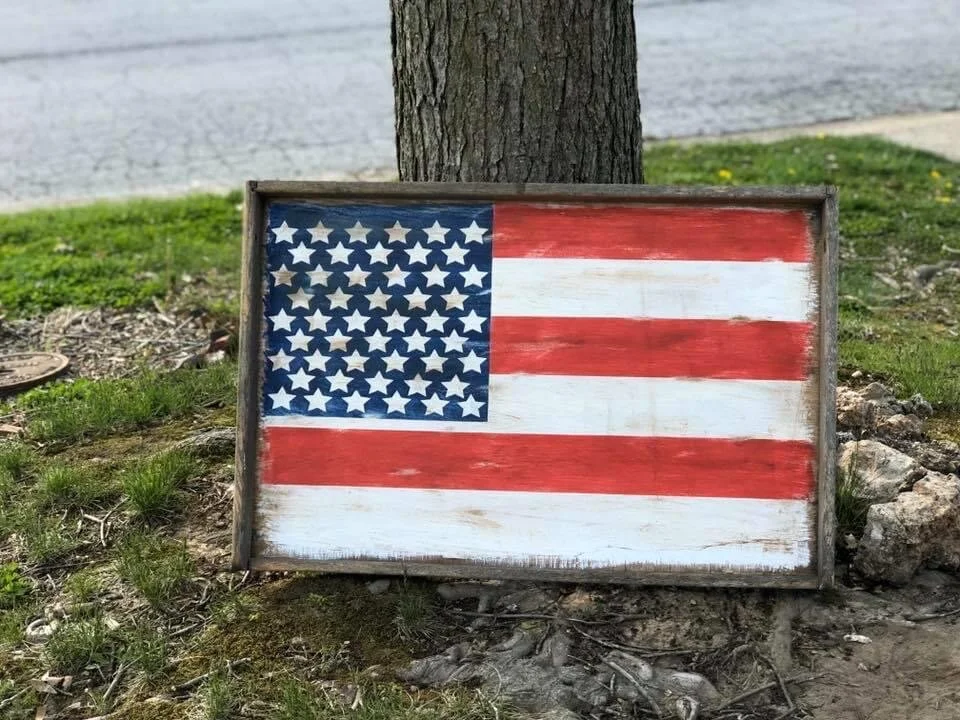
DIY hanging wood flag

Do it yourself rustic American Flag, how to make a hanging American flag

I love patriotic décor. Not only because I truly love being an American but because it never goes out of season! You can leave it up year round and it looks perfectly beautiful and not at all out of place, unlike the wooden Santa I had hanging out in the living room five months after Christmas. Yes, that’s a true story! My grandma painted this amazing 5 ft tall Santa ages ago and I somehow overlooked him for months in our living room.

So unlike Mr. Claus, patriotic décor would not stick out like a sore thumb long after Independence Day has passed.

If you don’t have time to make your own be sure to stop by my Etsy shop and purchase your own handmade wood American Flag made by yours truly ;)

Affiliate Disclosure. Some of the links on this website are affiliate links, which means that I may earn a small commission if you click on the link or make a purchase using the link. If you make a purchase you will not be charged anything additional.

Ok, on to the tutorial.

Here’s what you’ll need

SUPPLIES

DIY hanging wood flag, how to make your own primitive American flag

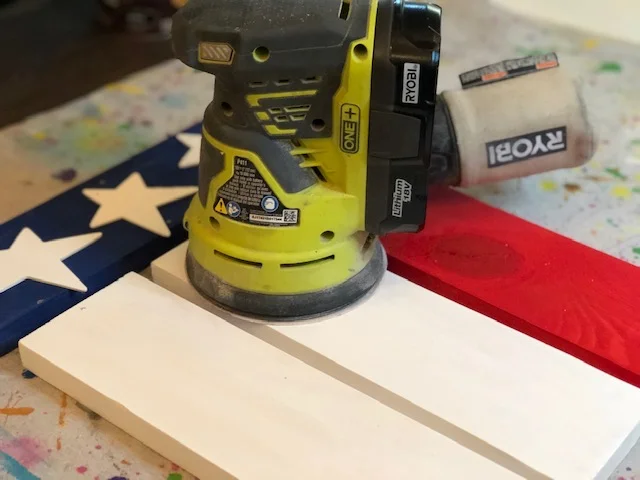
After you cut down your 1x4 into the correct sizes you need to give them a quick sanding. I use my Ryobi handheld cordless sander for this but you can use just sandpaper or a sanding block, although it will take a lot more work and more time. I purchased my sander fairy cheap at my local hardware store, one of the best $50 I’ve ever spent! After you have all the 1x4 pieces sanded give them a quick wipe down to get all the saw dust off.

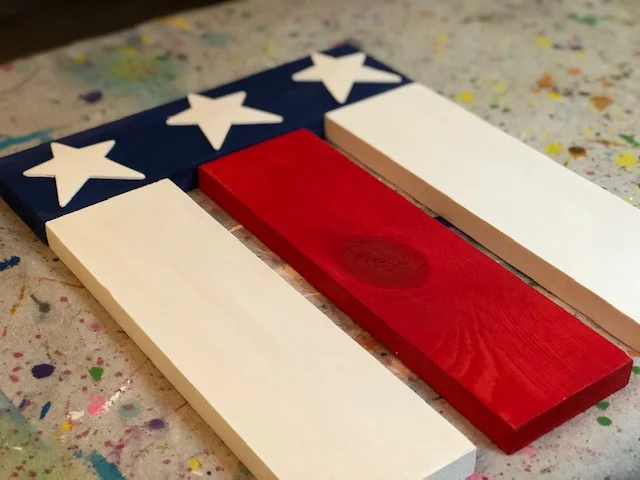
Next you need to paint all the wood pieces and the stars. I only did two coats on each piece. To get the look that I did on mine you will need to paint all three stars WHITE, 2 of the 1x4x12’s WHITE , 1 of the 1x4x12 RED, and the 1x4x13 BLUE. Let them dry COMPLETELY between coats.

DIY hanging wood flag, make your own American flag at easy with this tutorial

After everything is totally dry you need to mark your pieces where you will drill your holes. I am not a perfectionist so I just eyeball it. It’s rustic so it doesn’t have to be perfect anyway ;) I do this with a pen but if you’re worried about messing up you can use a pencil.

DIY hanging wood flag, how to make an American flag at home for your porch

Not counting the stars, your pieces should have a total of 11 markings, 3 on the top of the blue piece where you will attach the stars, 3 on the bottom of the blue piece where you will attach the hanging white and red pieces, 1 on the top right of the blue piece and 1 on the top left of the blue piece where you will attach the baler wire to hang for displaying, 1 in the top middle of each white piece, 1 in the top middle of the red piece. I don’t typically mark the stars because it’s not necessary, the hole goes in the top of the star.

DIY hanging wood flag, how to make your own American wood flag to hang on your front door

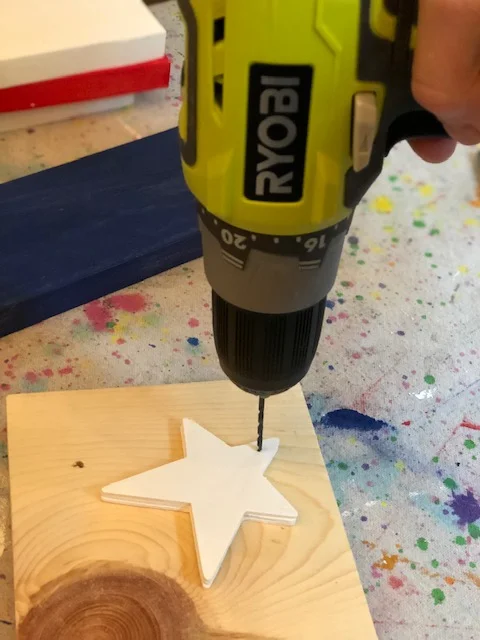
Now it’s time to drill. Your drill bit will vary depending on how thick your baler wire is. I always use a drill bit that is just a size above the wire size, that way the wire has room to move so that it’s not super tight. Be sure when you are drilling the holes in the stars you don’t get too close to the top. If you get too close you will crack the tip of the star and you won’t be able to use it. PRO TIP: place a flat discarded piece of wood under what you’re drilling into so you don’t drill into the table underneath.

DIY hangin wood flag, how to make your own at home

Now it’s time to distress. Using your Ryobi sander sand around the edges. Here’s a good example on how I do this in my Dr. Seuss keepsake craft. There are some good close ups on sanding just the edges and rounding the corners of the wood to give it a perfect rustic look.

DIY hanging wood flag, how to make your own American flag to display on your front porch

I only sand the 1x4 pieces. The stars are so small and fragile that yo don’t need to sand those, using the wax on them in the next step will work just fine.

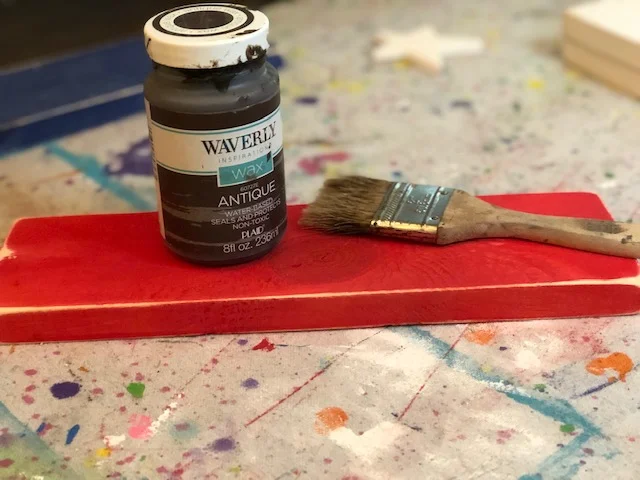
Apply wax around all the edges, corners, and give them a light coat down the center of each piece. Check out my DIY rustic wooden pumpkins post on a more detailed way to do this using your chip brush. I love pretty much any brand of antiquing wax, they all work great! PRO TIP: cut the bristles down on your chip brush. You get a better outcome when the bristles are shorter and stiffer.

DIY hanging wood flag, how to make your own American flag porch decor

You’re almost done! The next steps are just assembling your pieces together. You’ll need your baler wire and wire cutters for this.

DIY hanging wood flag, how to make your own patriotic porch decor

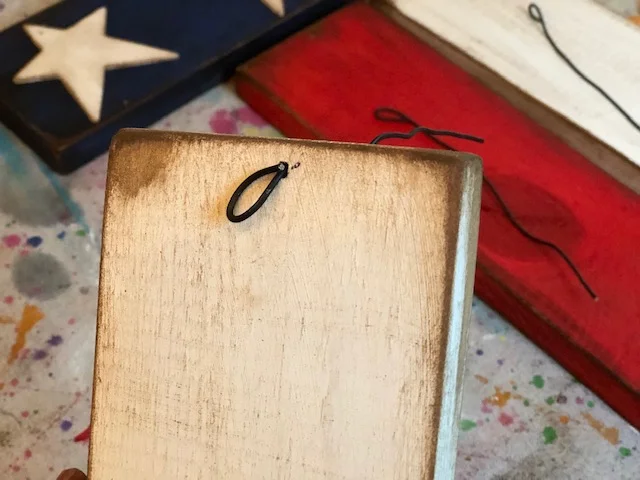
You’ll need 3 wire pieces cut to approx. 6”-7”. Cut your pieces short if you want less space from the blue piece to the hanging pieces, and longer if you want more space from the blue piece to the hanging pieces. Now make a loop with your plies on ONE end of each piece like pictured below.

DIY hanging wood flag, how to make your own American flag porch decor

These loops will go on the BACK of each piece.

DIY hanging wood flag for the front door

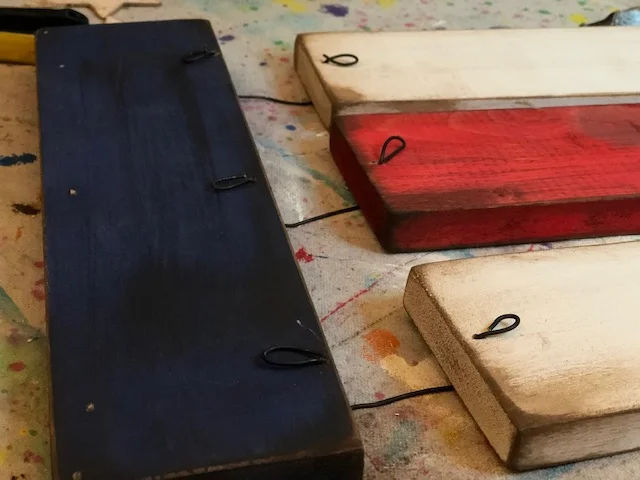
Then connect it to the blue piece and loop the end just like you did before. This is what the BACK of your flag should look like before you attach your stars.

DIY front door hanging wood American flag

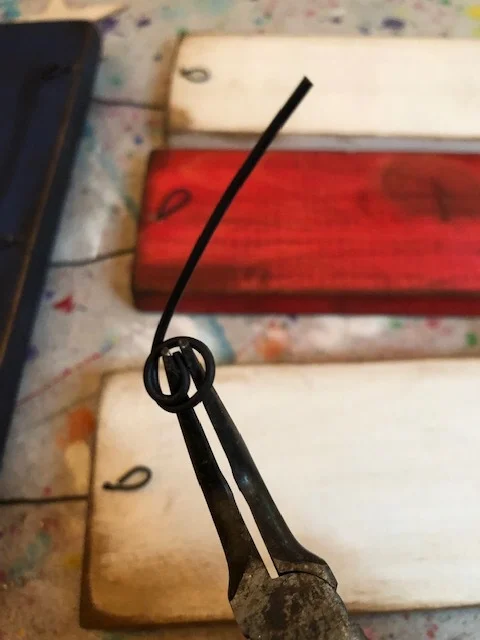
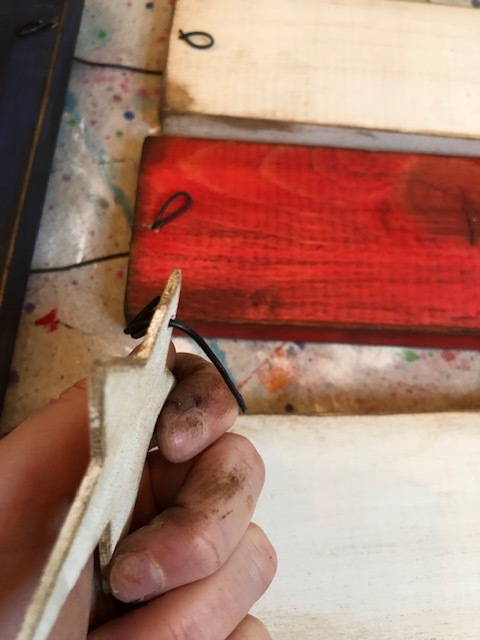
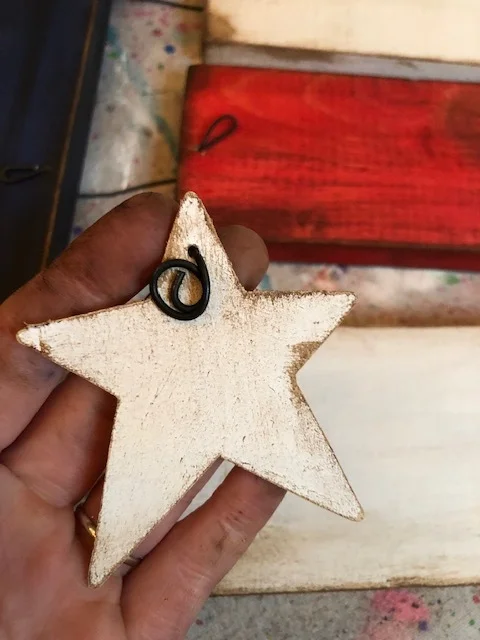
The star wire is slightly different. You’ll need a 3” piece for each star. One end you need to wrap a few times around your needle nose pliers. This doesn’t have to be perfect, mine never are. Leave the other end open.

DIY front door hanging American flag

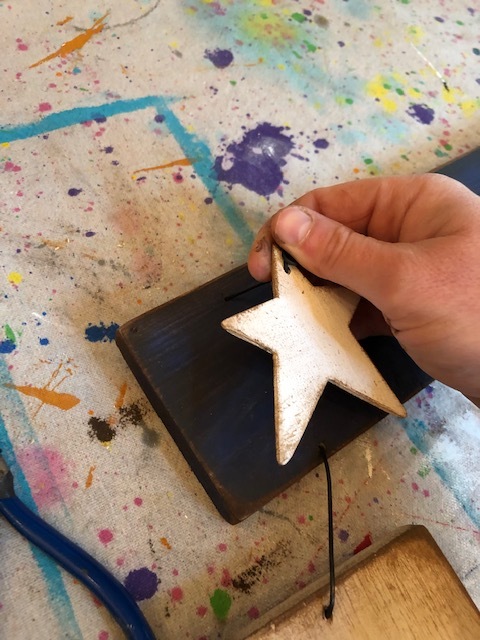
Then feed the straight end of the wire through the front of your star then through the front of the boar where you drilled a star hole.

DIY hanging wood flag for your front porch
DIY hanging wood flag

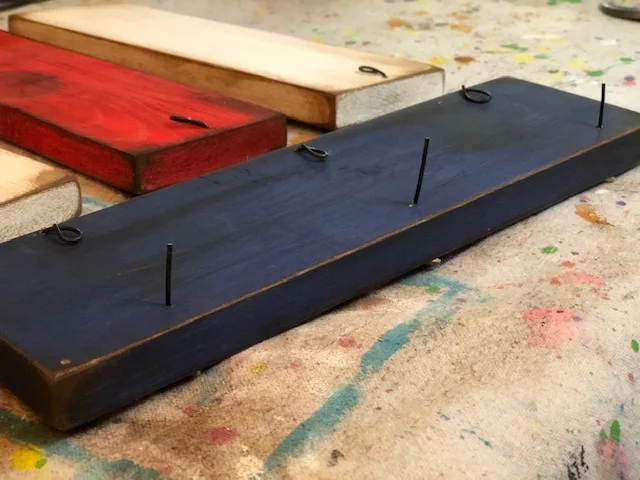
After you put your star wires through their holes on the blue wood you want to do the same thing and loop them on the back like you did with the other wires. Pictured below is BEFORE they are looped.

DIY hanging wood flag for your front porch

Add a piece of wire to hang at the top corner holes and you’re done! I know it seems like a lot of steps but it’s SUPER easy! I’d love to see pictures of your handmade patriotic decor, especially if you make this piece:)!!

IMG_4189.jpeg

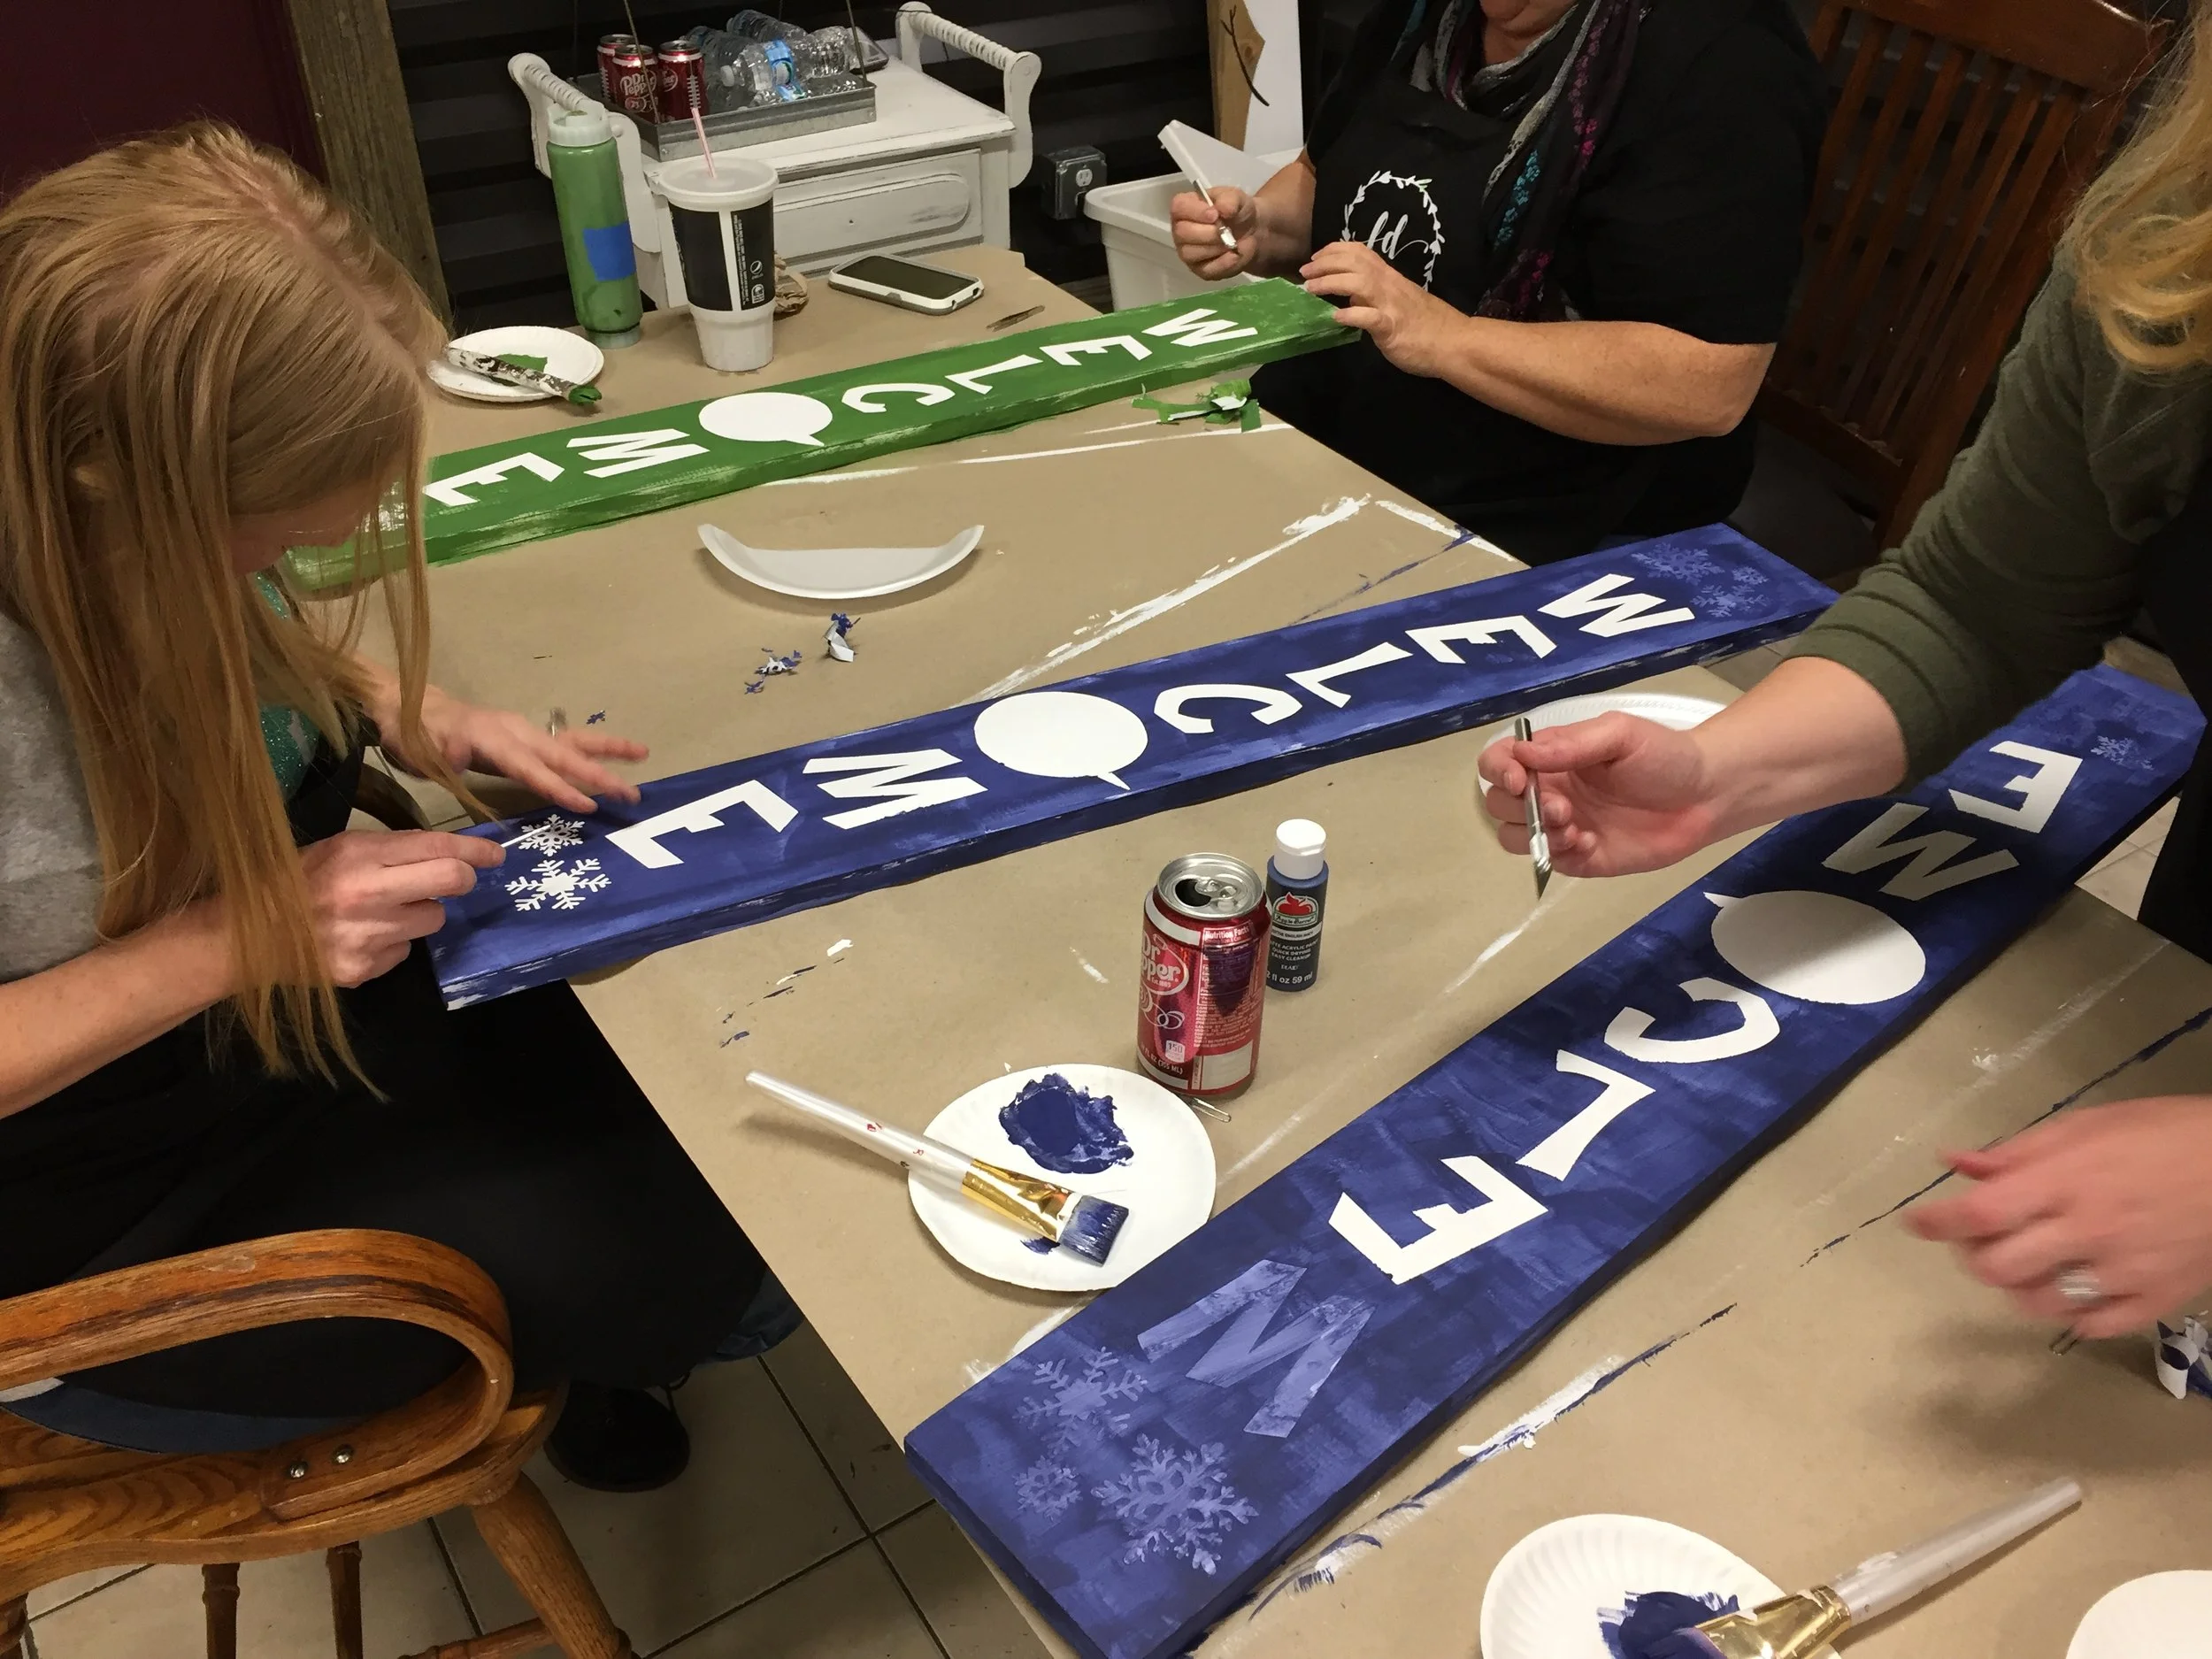
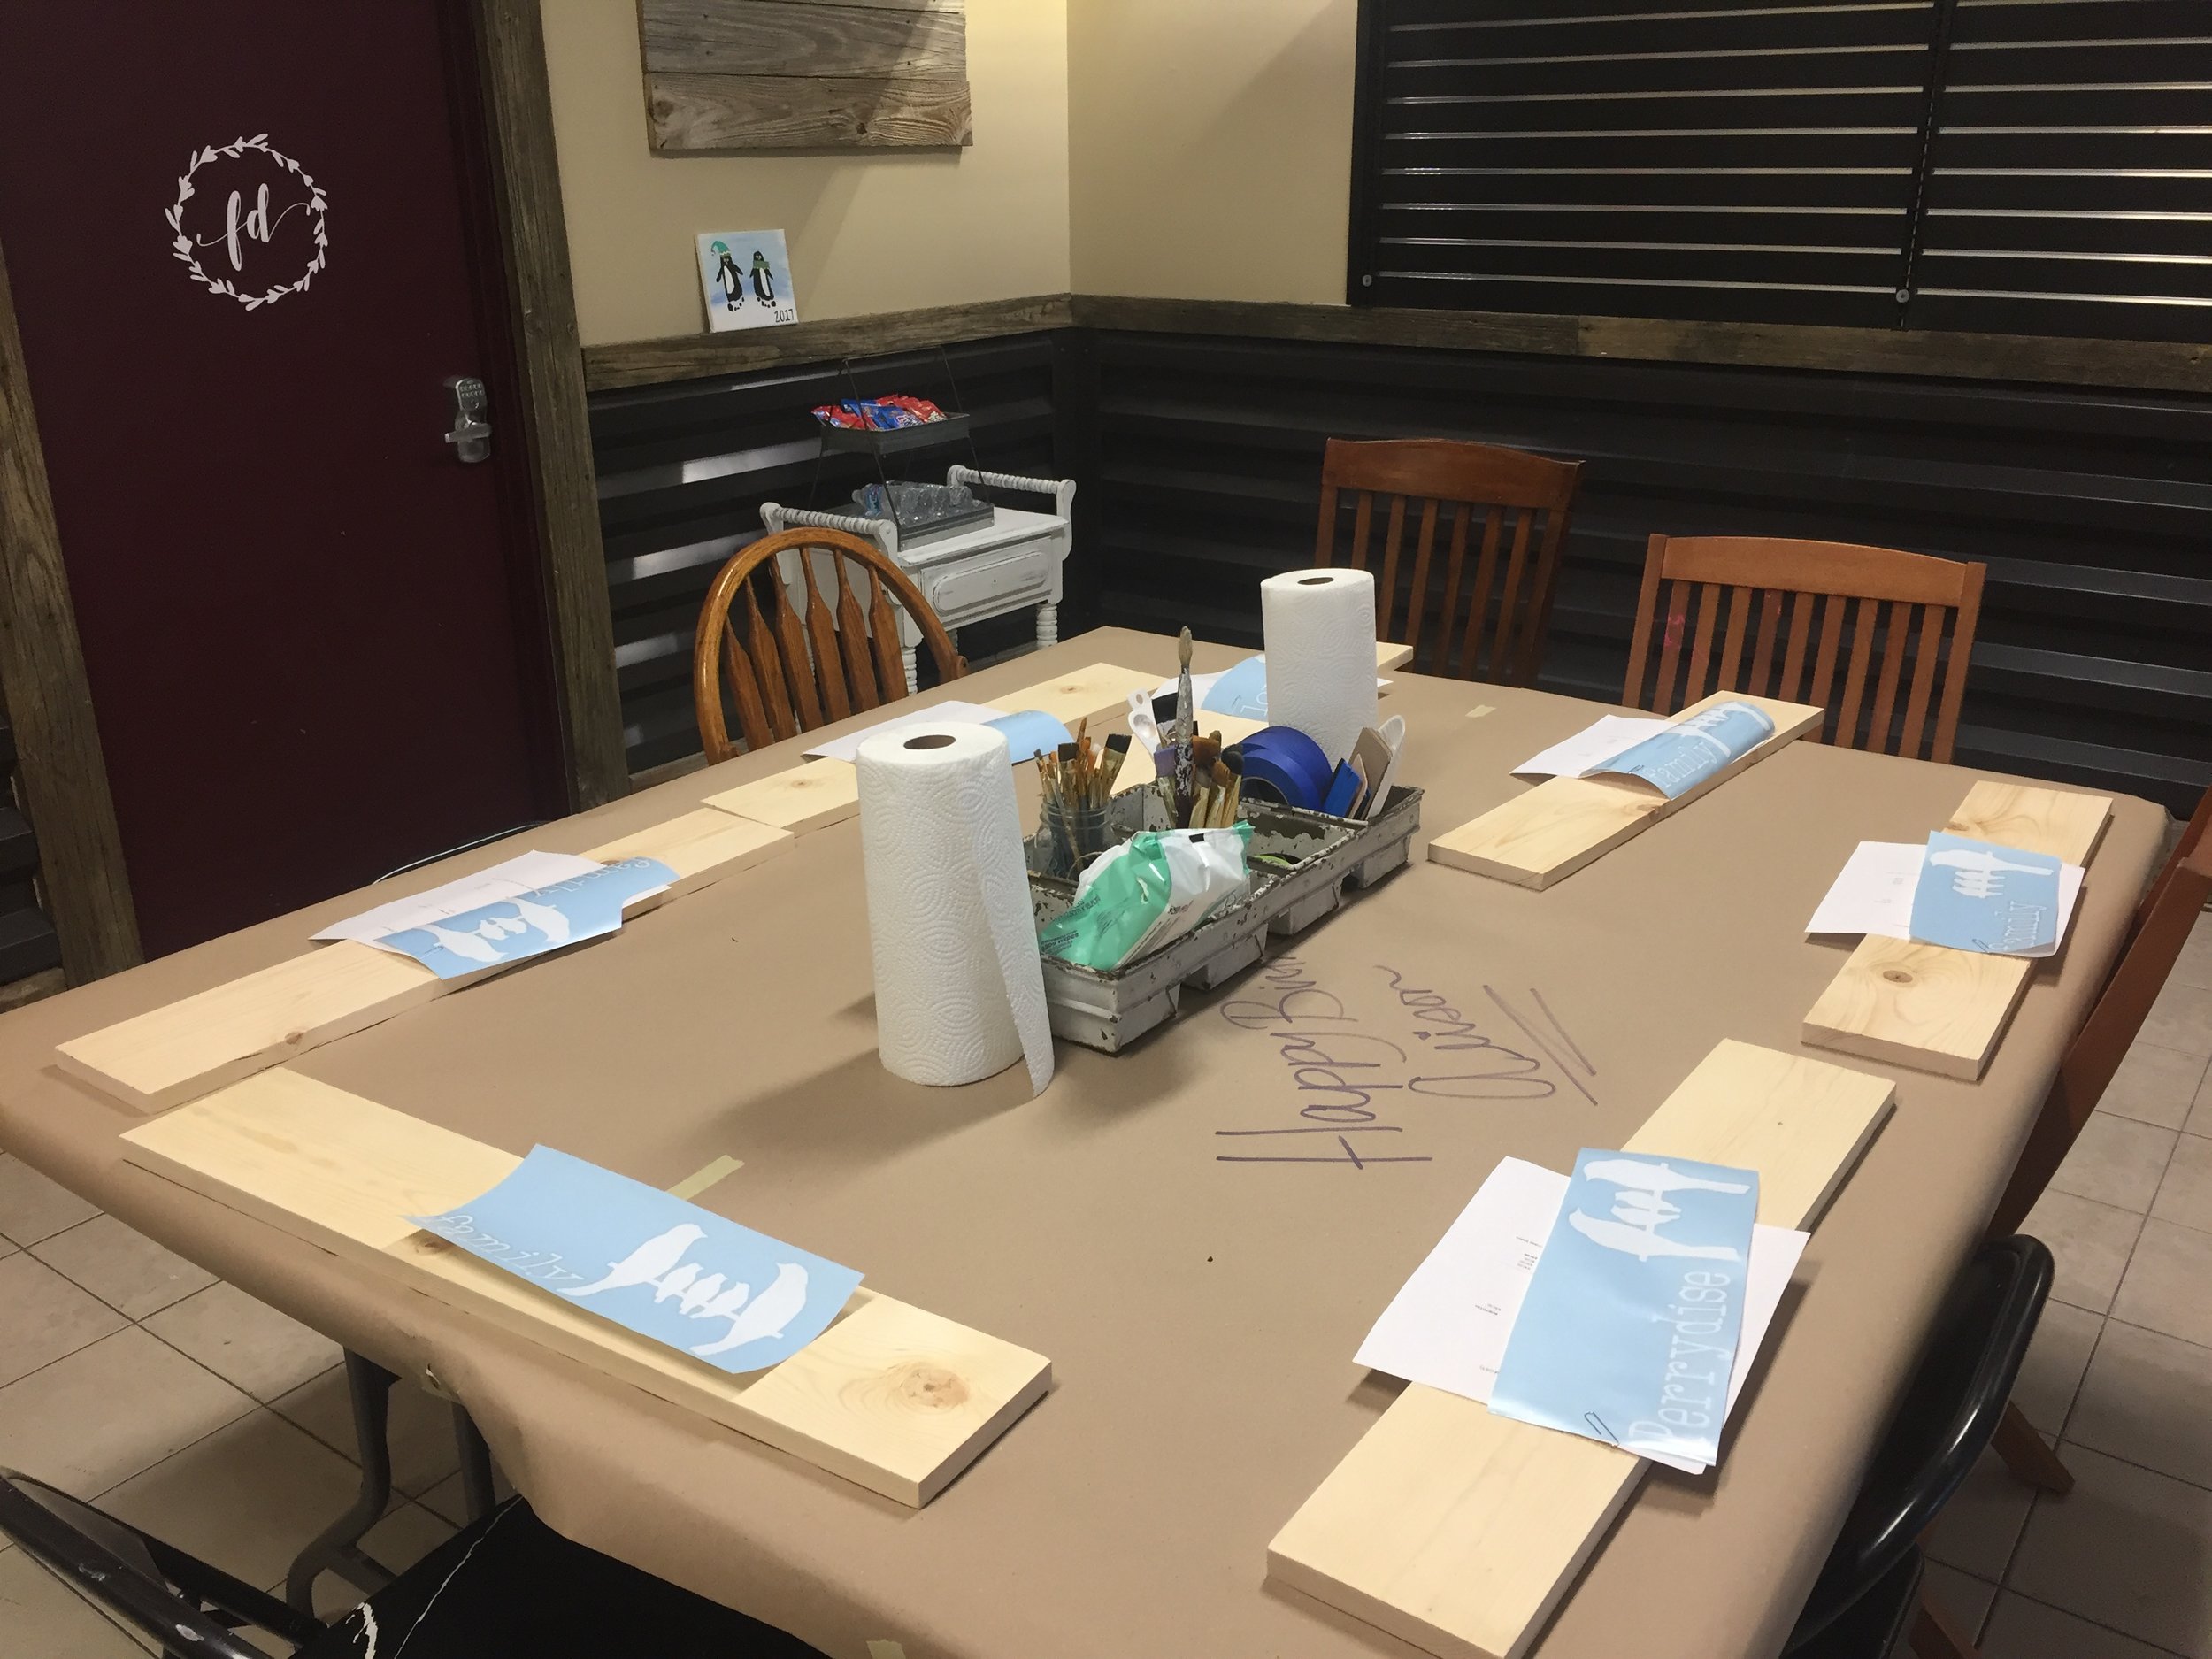
How to host an adult Pinterest party

How to host an adult Pinterst party

Hosting a PINTERST party is easier than you think!

Affiliate Disclosure. Some of the links on this website are affiliate links, which means that I may earn a small commission if you click on the link or make a purchase using the link. If you make a purchase you will not be charged anything additional.

1. Decided on your project

To make this super easy the host should pick this. If you’re having a hard time deciding check out my Pinterest boards for inspiration. Seasonal crafts are usually a big hit!

 
How to host a Pinterest party
 

2. Location

For most people their home works just fine for this type of party. If your house is a little too cozy you can always opt for the garage or backyard , if weather permits. If you plan to host a lot of friends for your craft party you can look into renting space at your local community center.

3. Invites

I wouldn’t go inviting everyone on my social media friends list but I would invite those that I actually enjoy spending time with. You can get super fancy and mail out invites or you can text, email, or do a Facebook invite. All are good options, personally I’m a texter so that’s the route I would go.

4. Getting crafting materials

Instead of asking Susie to bring this and Sally to bring that I would opt to getting all the materials and splitting the cost between everyone. That way you know everything will be at the party and you don’t have to run to the store just when the party is getting started because Sally didn’t let you know that she couldn’t make it {and since she couldn't make it the materials she was supposed to bring doesn’t make it either}. Remember to include any brushes or paint trays {paper plates are great for this} that you might need. These are all items you’ll need to provide depending on the project you pick.

5. Costs

Add up all the materials you had to buy then divide that by the number of people, including yourself, that will be attending the party. That will give you the cost per person. It’s a good idea to make everyone pay BEFORE you host the party. You can do this a number of ways.

  • meet up with cash

  • mail a check

  • Paypal

  • Facebook pay

  • a number of other money accepting apps

6. Setting up

If not renting space you need to be sure you have enough seating for everyone. If you don’t have enough you can buy tables/chairs pretty inexpensively or you can always rent them from a local party rental company. I suggest using drop cloths for table covering as they are think and absorb spills but if it’s not in the budget plastic table coverings work well too. You might look into supplying aprons or ask your guests to bring their own. I am a very messy crafter and without an apron I wouldn’t have any clothes that aren't covered in paint. Here are the black aprons I use for my craft business. They have held up extremely well and nothing has yet to get through them.

7. Drinks

What’s a craft party without drinks? Ask everyone to bring in their favorite adult beverage. This will not only make for great conversations but this will ensure that everyone has a drink they like.

If you want to make your next party even easier try one of our craft kits or this paint party kit from Amazon.

Remember to have fun! Don’t go overboard on the details. I’ve found the less I stress about the small details of a party the more fun I have. So if you forget something it’s ok, it’s not the end of the world and it could just make your party even more fun and interesting with having to improvise a little.

How to host an Adutl Pinterest party

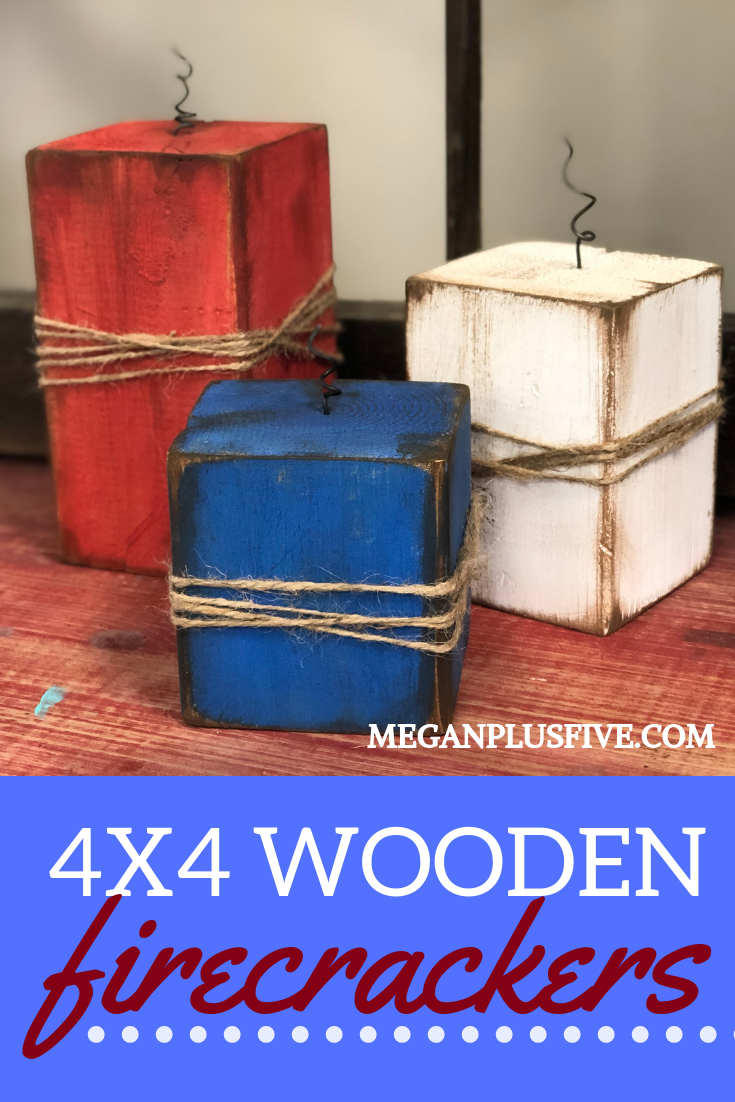
DIY 4X4 Wood Firecrackers

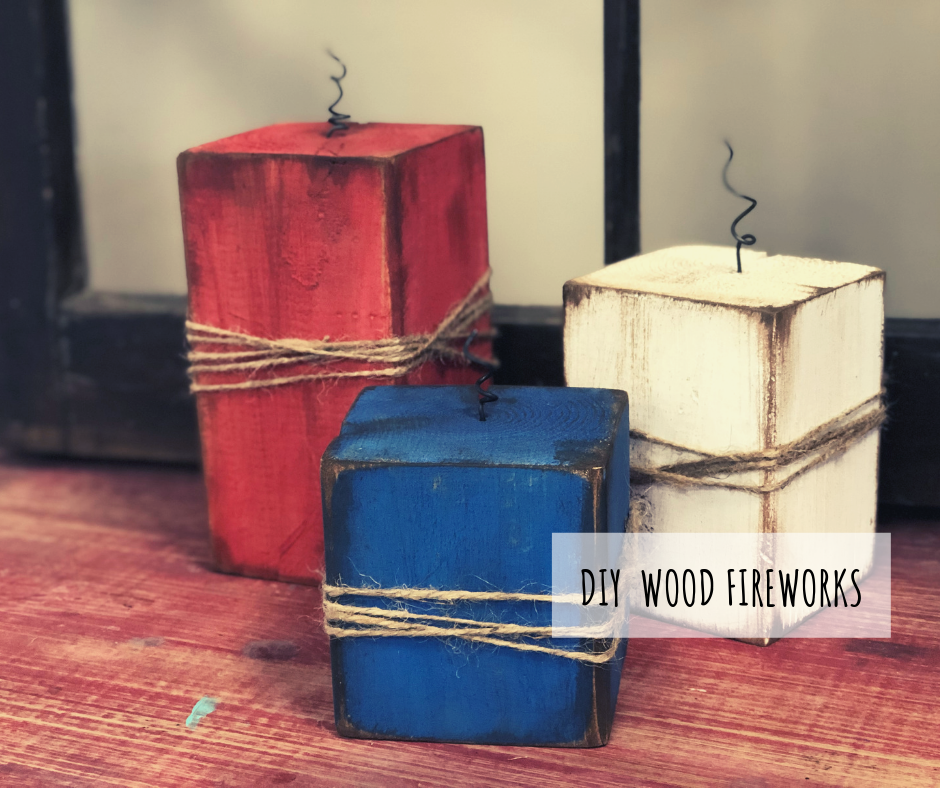
DIY 4x4 Wood Firecrackers, easy Fourth of July Craft to make at home

Affiliate Disclosure. Some of the links on this website are affiliate links, which means that I may earn a small commission if you click on the link or make a purchase using the link. If you make a purchase you will not be charged anything additional.

I am a sucker for a quick and easy simple crafts! These kind of projects give you an instant satisfactions because you don’t need to wait days for them to cure and you can even get the kiddos involved in the creative process because honestly there’s not a whole lot they can mess up with these little guys.

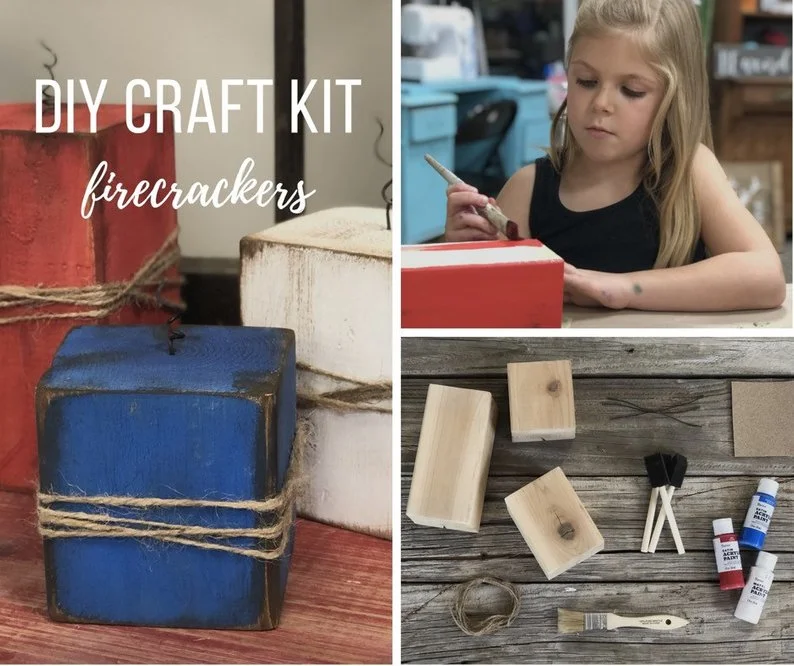
This project does require the use of some power tools but if you don’t have them handy you can purchase an easy craft kit from our studio. We do all the cutting, pre-sanding, drilling, and include all the materials PLUS printed of instructions on how to make them at home so you don’t have to come back to this page while your hands are covered in paint.

Here’s what you’ll need if you’re making yours totally from scratch…

DIY Wood Fireworks.png

If you prefer to order online I’ve attached Amazon links to most of the supplies above. You can purchase most of the supplies at your local Walmart and home improvement stores.

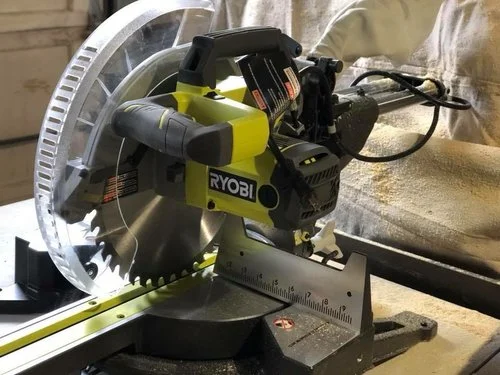
First you need to cut your 4x4 down to 4, 5.5, and 7 inch lengths. Some home improvement stores will do this for you but usually their blades are very dull and will splinter your wood badly. For this project the splinters would add a ton of character but I wouldn’t depend on this being an option for most of your other DIY projects.

DIY 4X4 Wood firecrackers

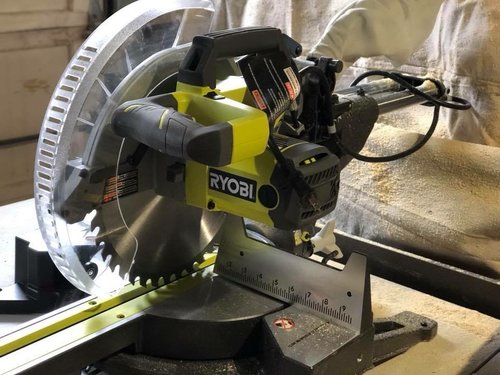
My husband got me my own saw last year and I am LOVING it! Granted it was more money than I wanted to spend but it has been one of the best investments we’ve made in our business. Ryobi makes a really great line of tools, especially if you’re just using them to make projects for your home or running your own creative craft business like I do. This particular saw is great because it is a slider. It can cut anything from 1/2” pieces all the way up to 12” wide {and probably a little wider but I only cut up to 12”}.

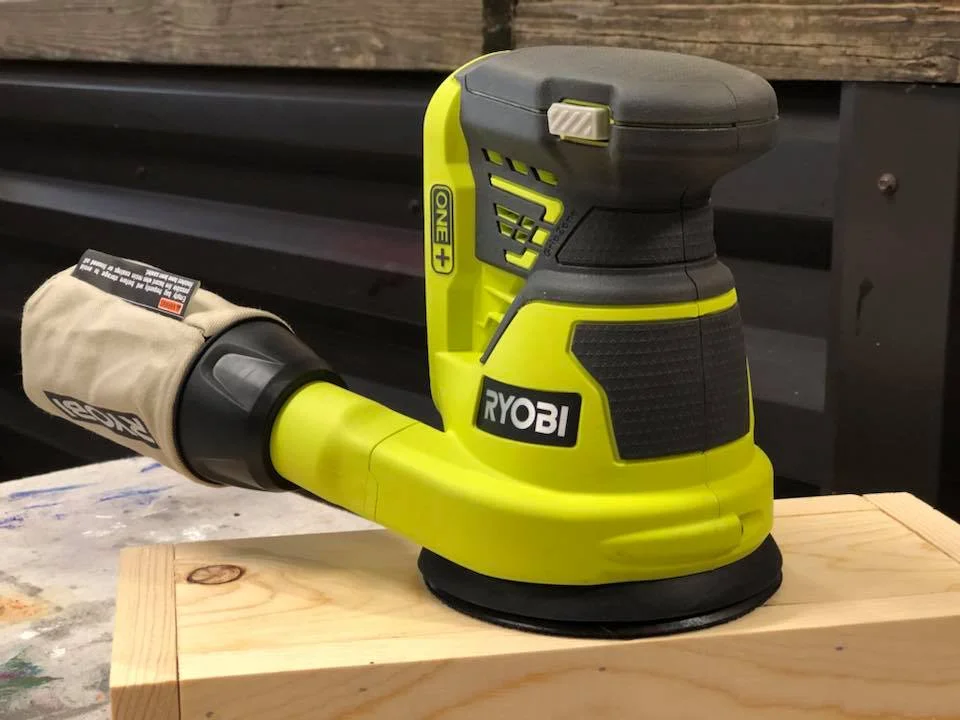
After your pieces are cut you need to give them a quick sanding. Again, I use my trusty Ryobi tools for the job. I typically use 120 grit sandpaper for most of my projects. This is a good in the middle grit. If you want to get crazy you can sand with all the way thru the different grits but I don’t usually do this…I’m a busy momma of four 120 works perfect, lol!

DIY 4X4 wood firecrackers

After you have your pieces sanded be sure to wipe off all the saw dust. You don’t want this on the wood when you start painting.

Depending on the size wire you get will depend on the size drill bit you’ll need. Drill a hole in just the top of each piece of wood. I drilled mine about 1/2” deep.

DIY 4x4 Wood Firecracker

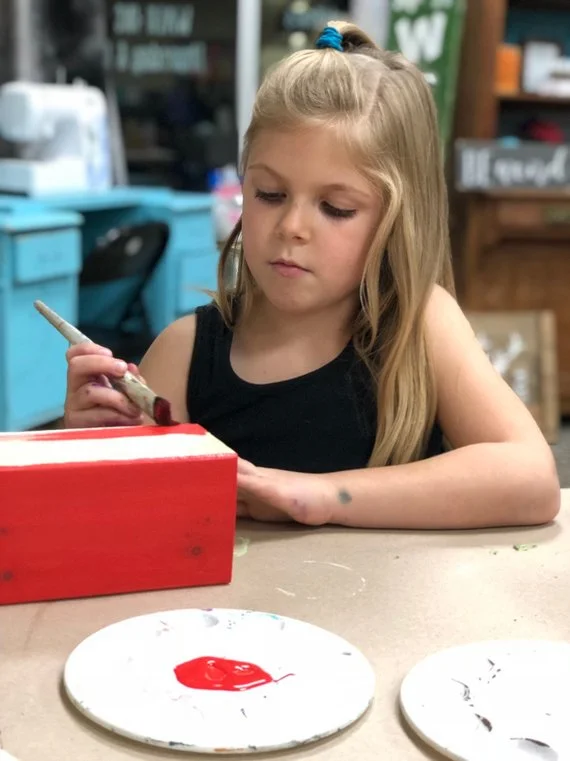
Paint each of your blocks a different color. You’ll need one red, one white, one blue. I did two coats on mine. This is a good time to get the kiddos involved. They really can’t mess these little guys up. Be sure to let the paint dry COMPLETELY between coats. If you don’t your paint will likely pull away from the wood as you apply it on top of wet paint.

After both coats are dried you want to give your blocks a light sanding. Focus on the edges and the corners.

DIY 4x4 wood firecrackers

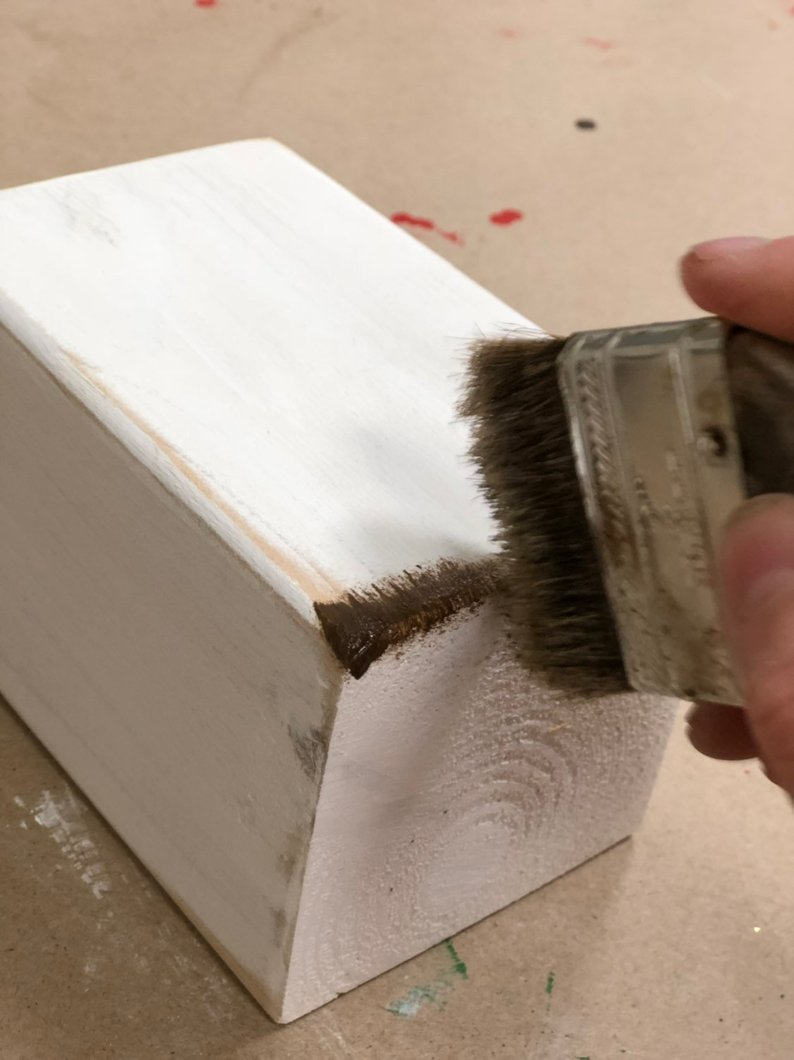
Using your chipbrush apply a light layer of the antiquing wax to the areas you sanded. You can do this as heavy or as light as you like. Remember a little bit goes a long way and you can always add more if you want to.

Now add a little hot glue to the end of the wire and quickly stick it down in the hole you drilled. Once they are dry and in place you can twist them if you’d like.

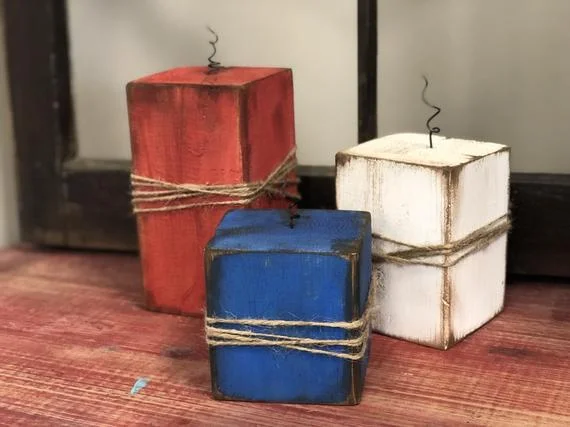
Wrap the middle of each wood block in twine and you’re done! Super easy!

DIY 4x4 Wood Firecracker craft

I hope you found this craft as fun as I did! Enjoy your Fourth of July!


How to make painted wood signs, all the tips and tricks the pro's won't tell you


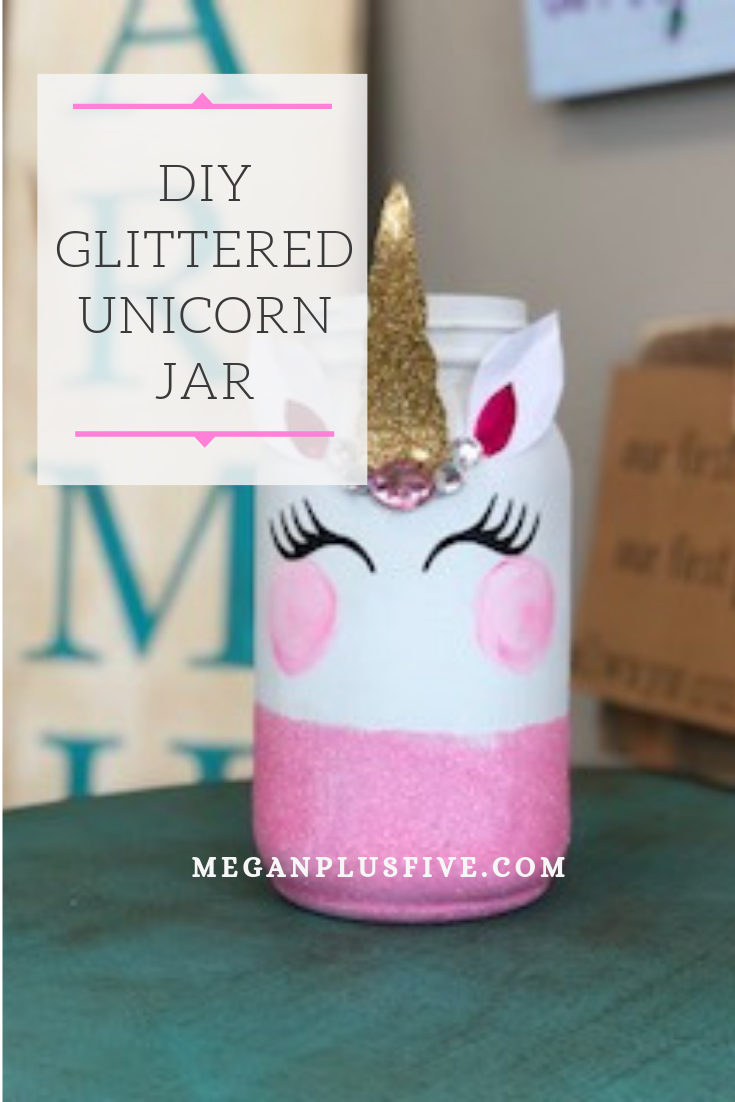
DIY Glittered Unicorn Jar

DIY Glittered Unicorn Jar

DIY UNICORN MASON JAR

Looking for a fun UNICORN themed craft to do with your unicorn obsessed little one {or by yourself ;)}? These jars are such perfect little project! You can use them as a money bank, colored pencil holder, stick a battery operated candle inside to make a fun and unique night light or be like our girls and keep little trinkets you find inside your jar. Whatever you use it for it will be oh so cute!

Affiliate Disclosure. Some of the links on this website are affiliate links, which means that I may earn a small commission if you click on the link or make a purchase using the link. If you make a purchase you will not be charged anything additional.

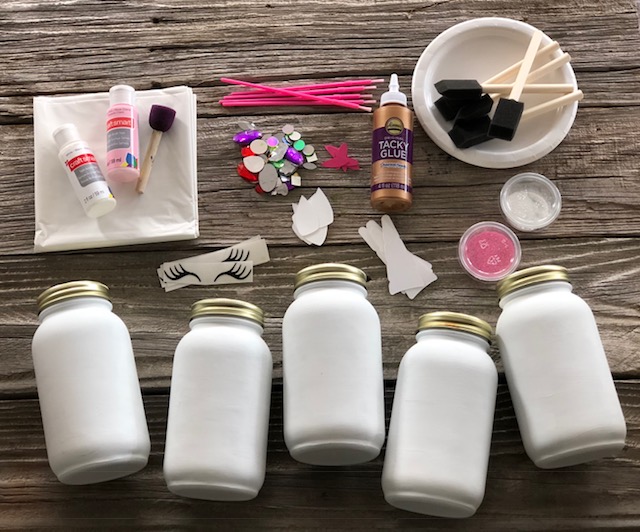
Here’s what you’ll need

Need a no stress craft kit for this project? You can purchase a UNICORN JAR CRAFT KIT in my shop. Everything you need to complete this project at home. It’s always an option to send this packaged as a gift. If you’re planning a birthday party here is my no stress UNICORN CRAFT PARTY IN A BOX.
unicorn jar kit.jpg

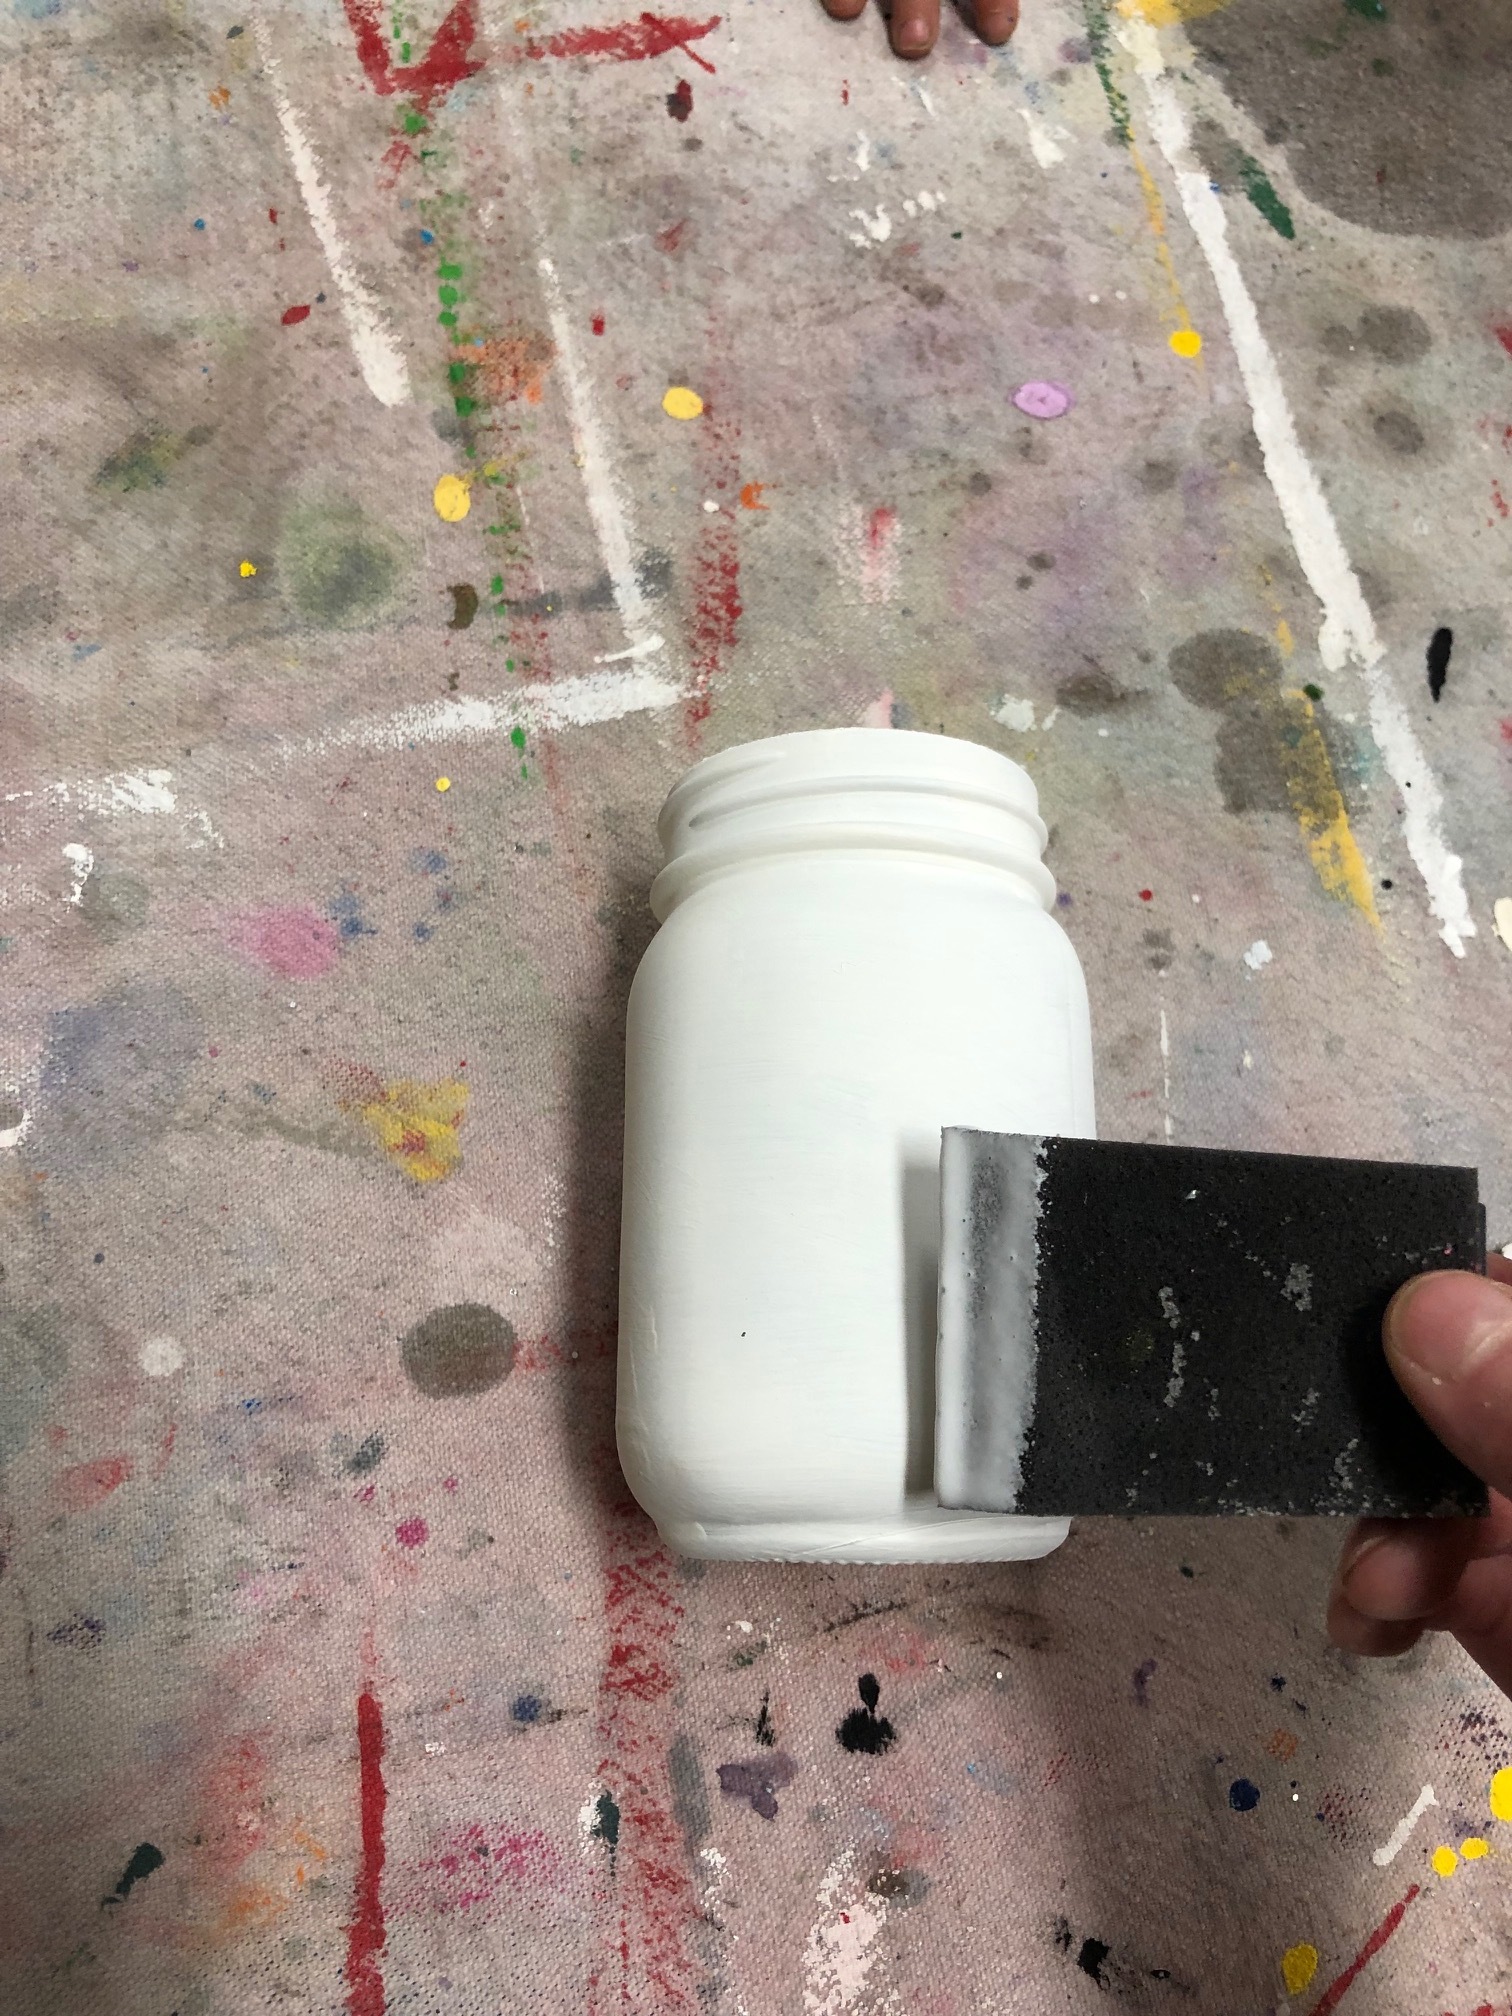
You want to start with a PRE PAINTED mason jar. I always use chalk paint to paint my jars. It goes on nice and even and has great coverage. You can use regular acrylic paint but you will not get the same coverage as the jar above. Your jar will need to cure for at least 24 hours prior. If it does not get proper curing time the paint can peel from the glass jar. I used both pint and quart sized mason jars for this project and they both turned out super cute! This is also a great way to use up an empty sauce or salsa jar from the kitchen.

I used my CRICUT CUTTING MACHINE to cut out all the facial features. I used cardstock for the ears and horn and black vinyl for the eyes. If you don’t have a cutting machine you can cut these by hand and draw/paint on the eyes.

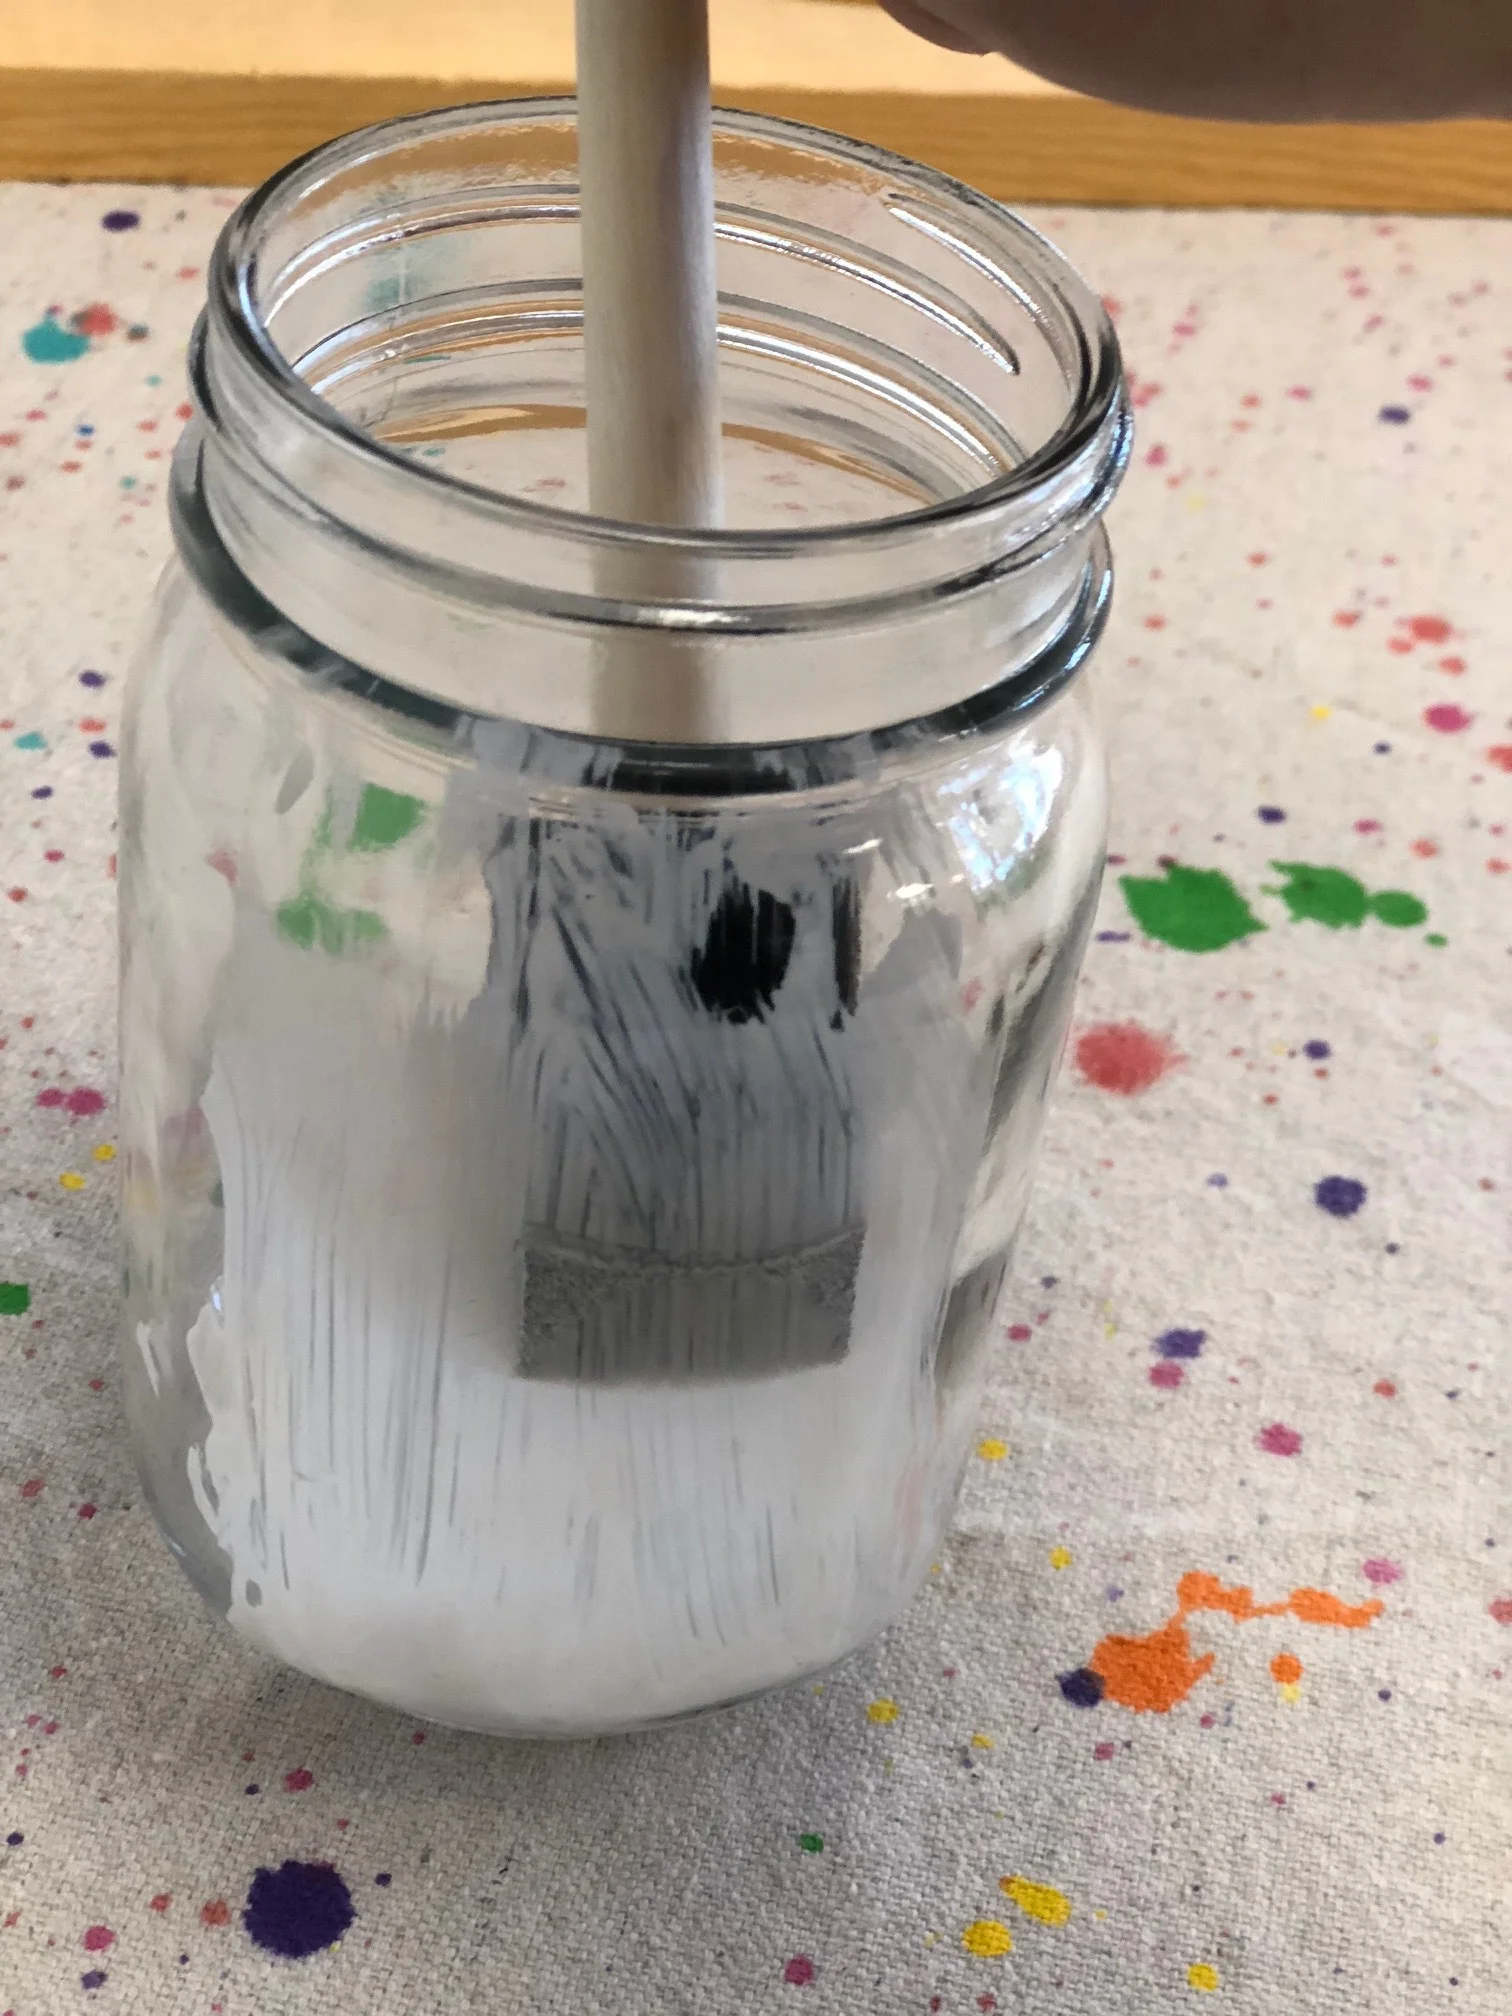
Paint a thick layer of mod podge on the bottom of your jar. A wide 3” sponge brush works great for this. You can use the width as a guide for how high up to go on the jar.

DIY glittered unicorn jar

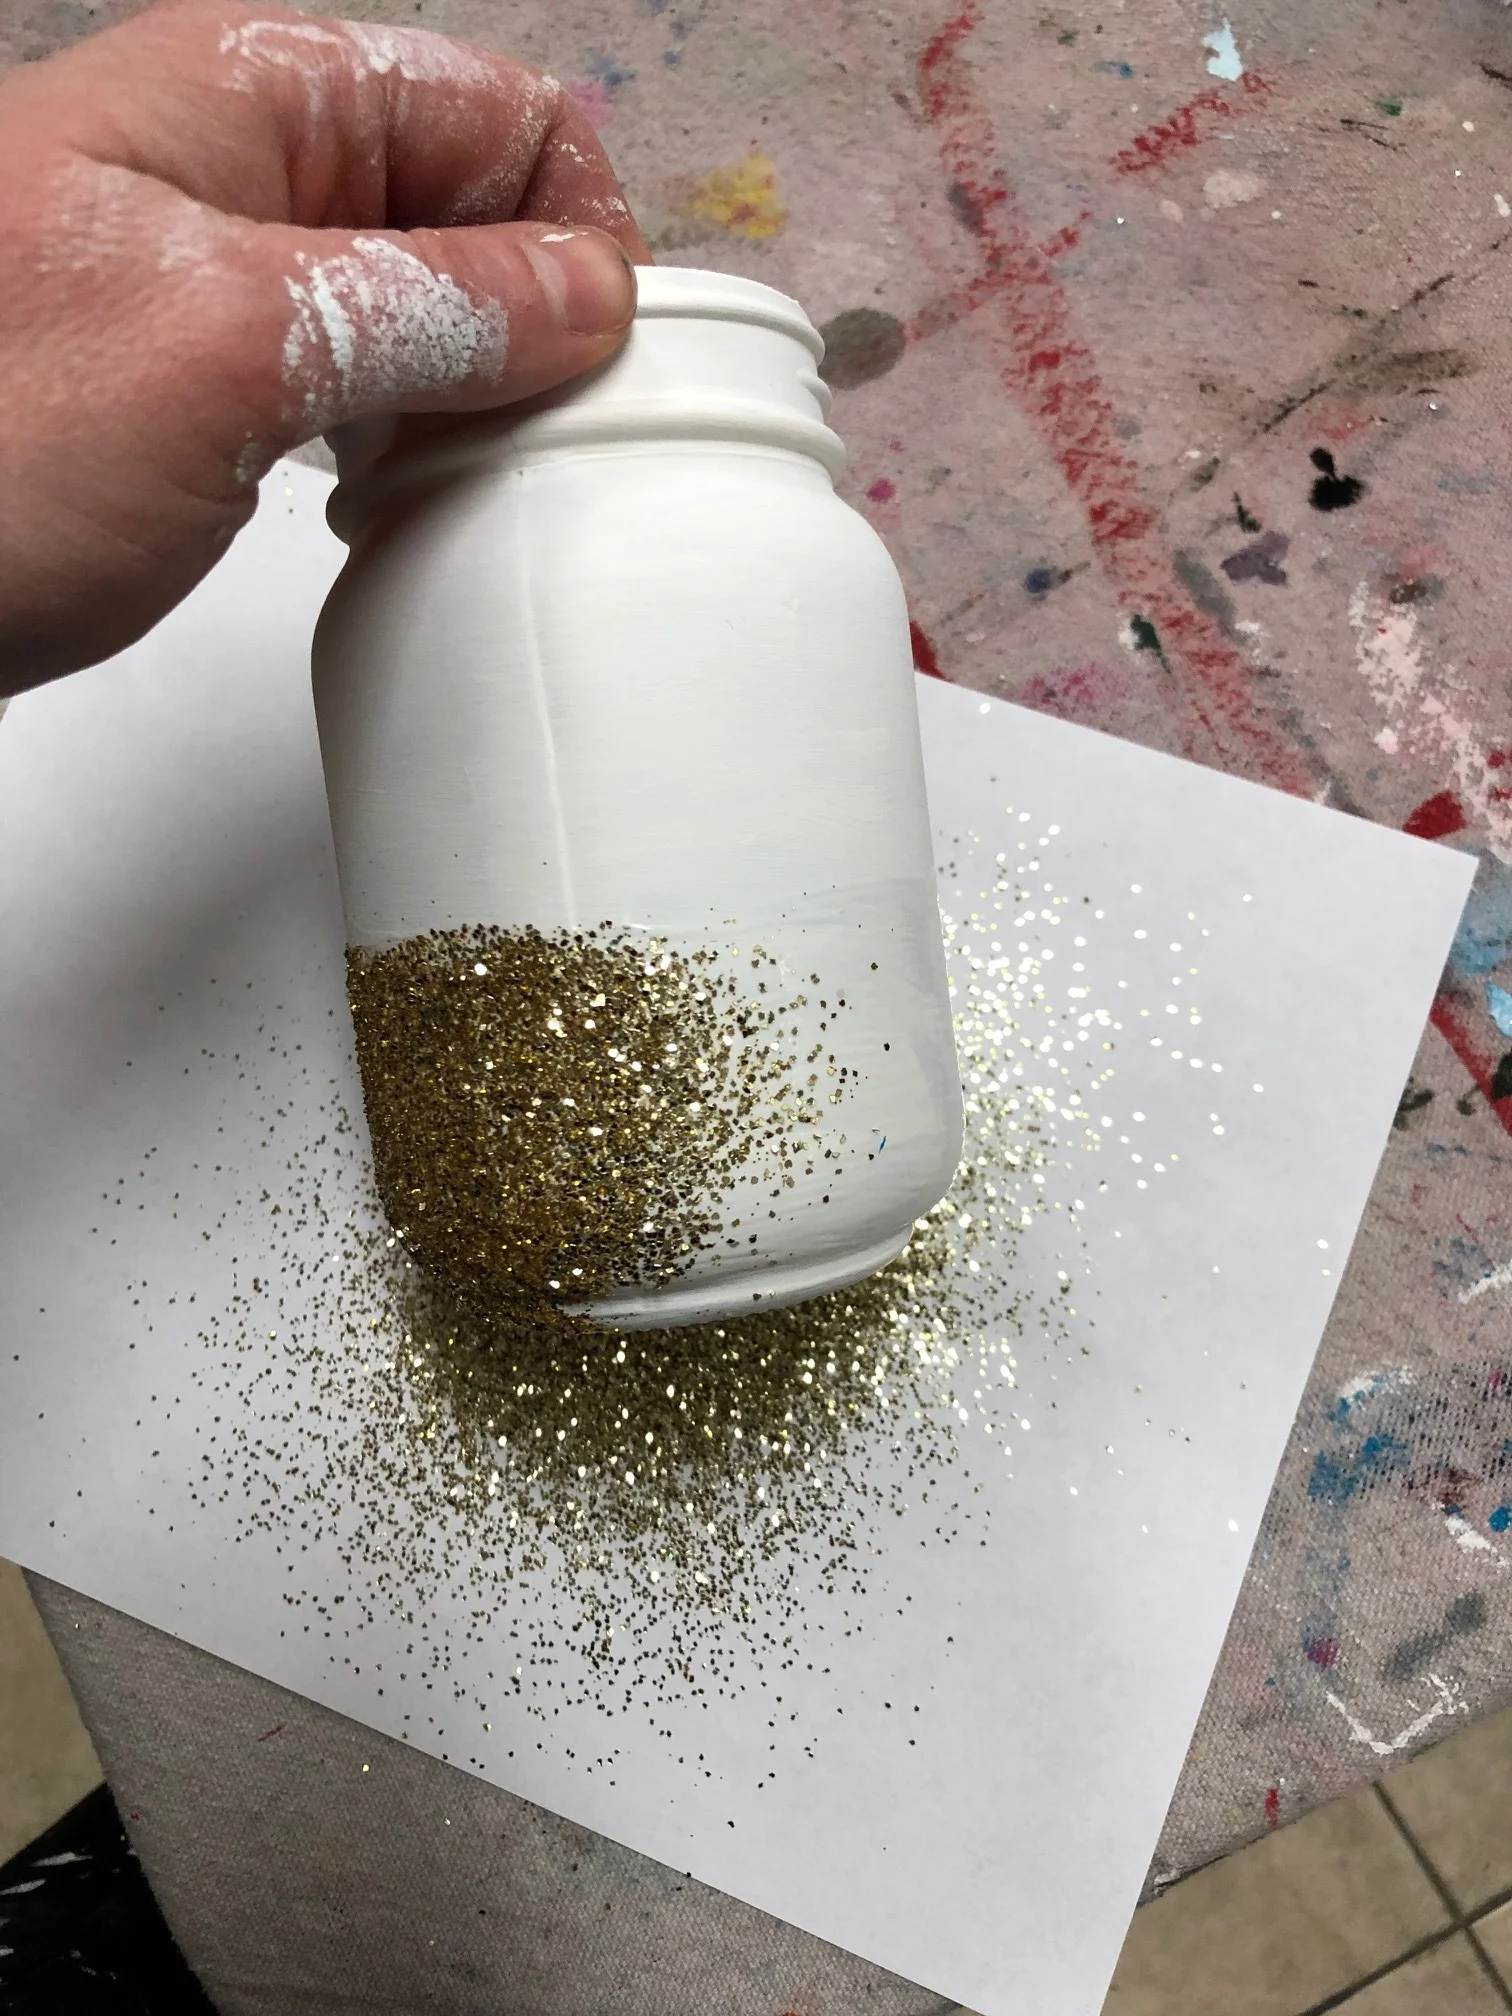
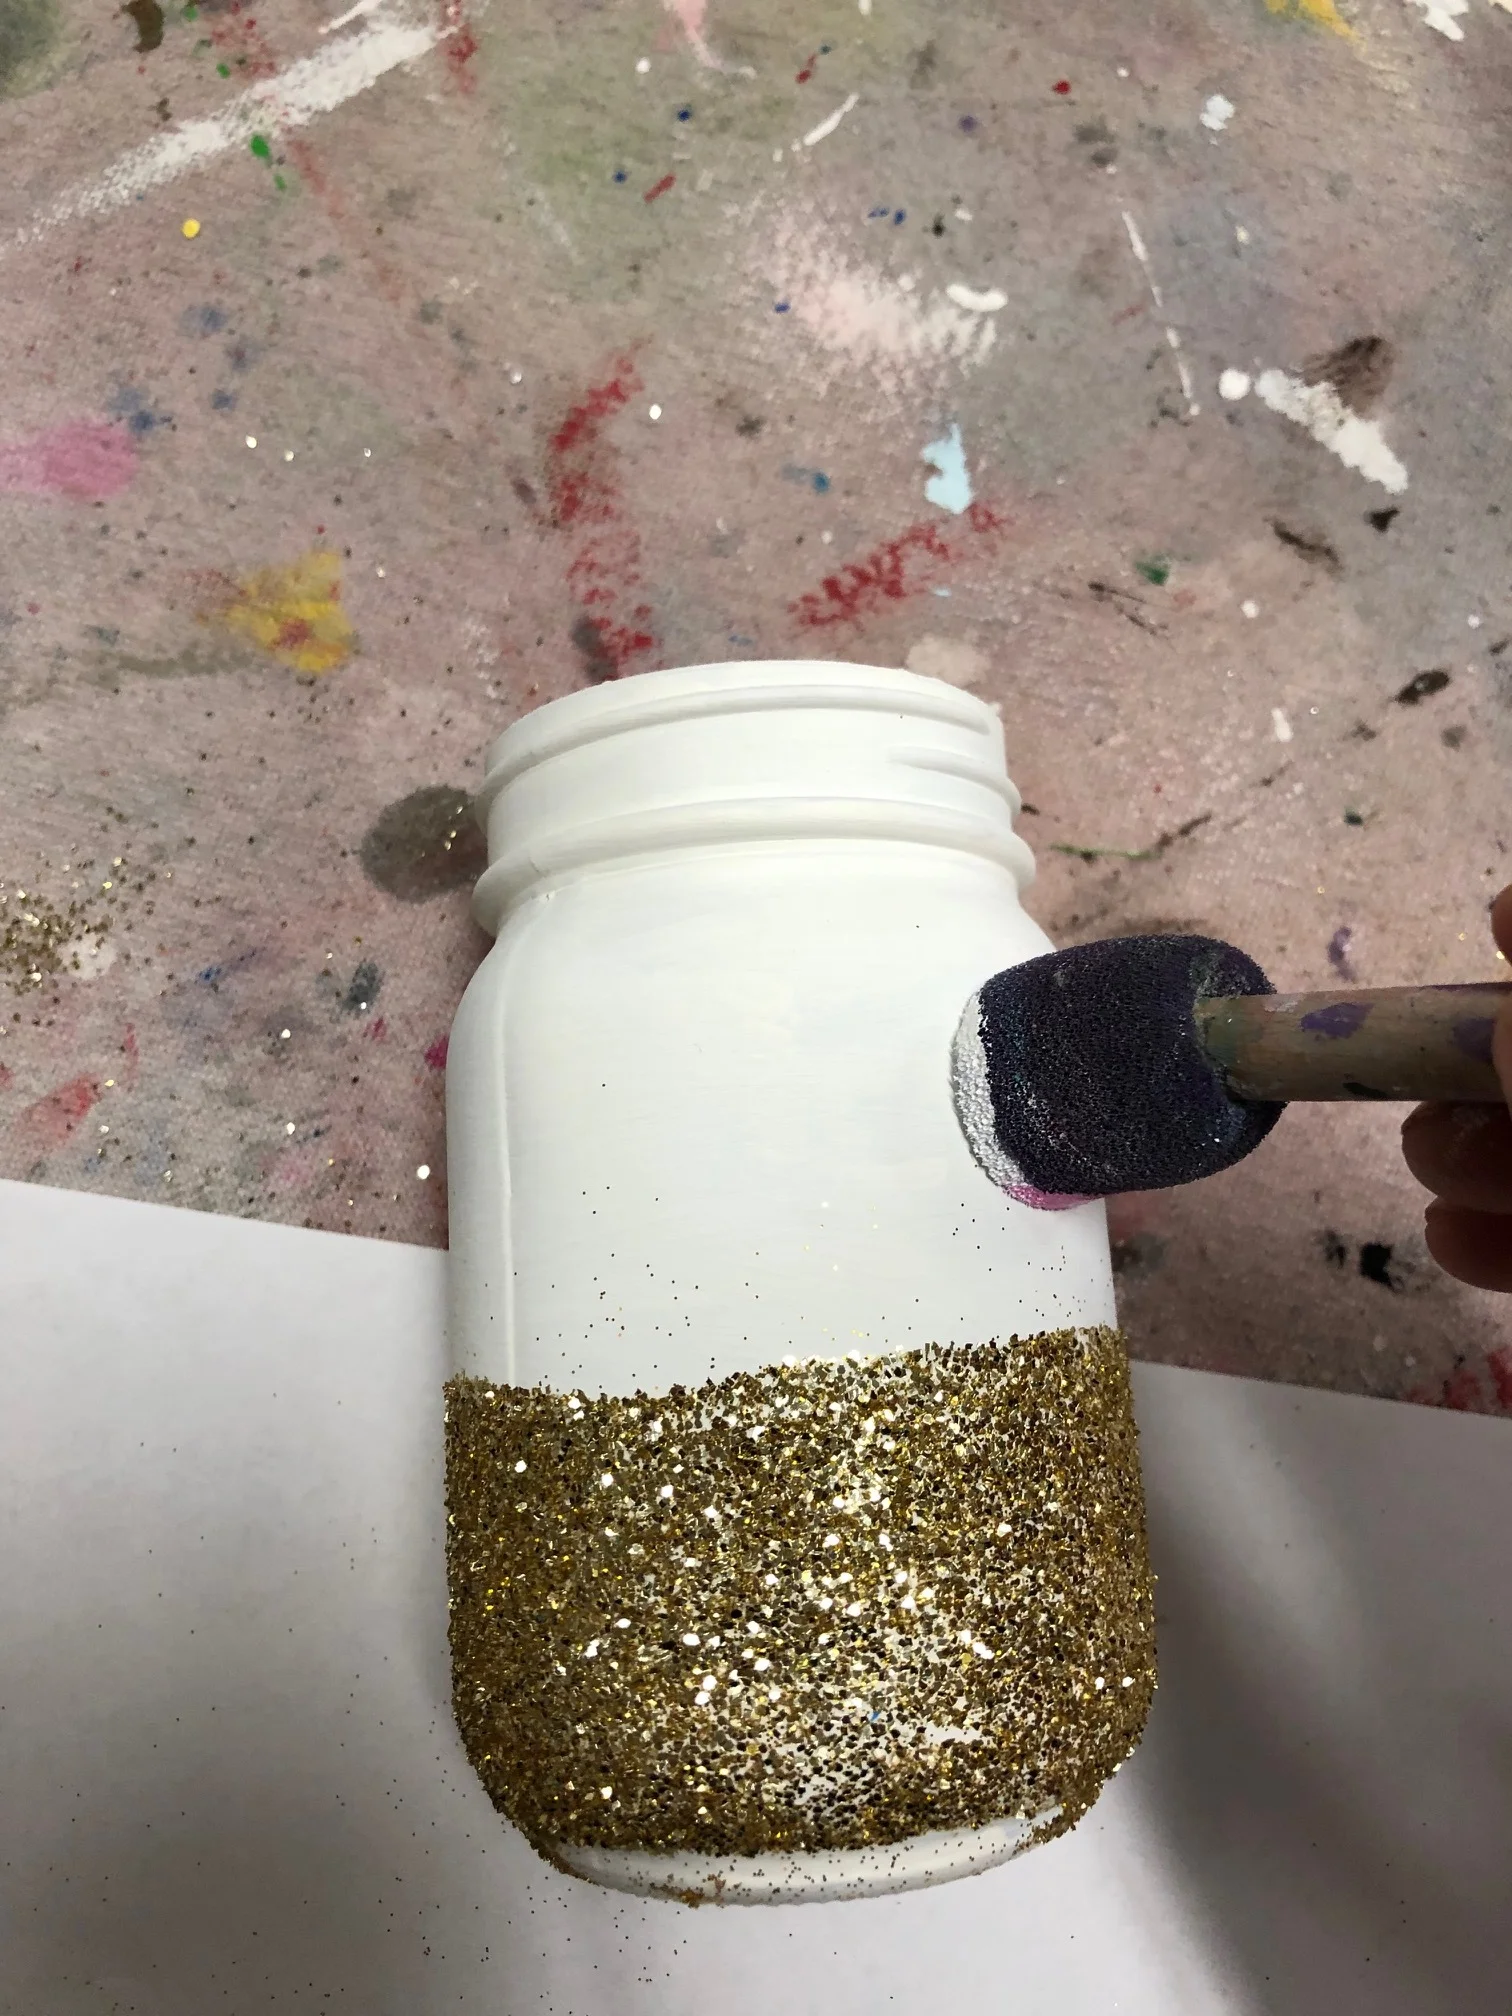
Place a piece of paper under your jar and sprinkle it with glitter. The paper will catch a good amount of the glitter that doesn’t make it on the jar so you can reuse it. You’ll want to work quickly so your mod podge doesn’t dry before you get done glittering.

DIY glittered unicorn jar

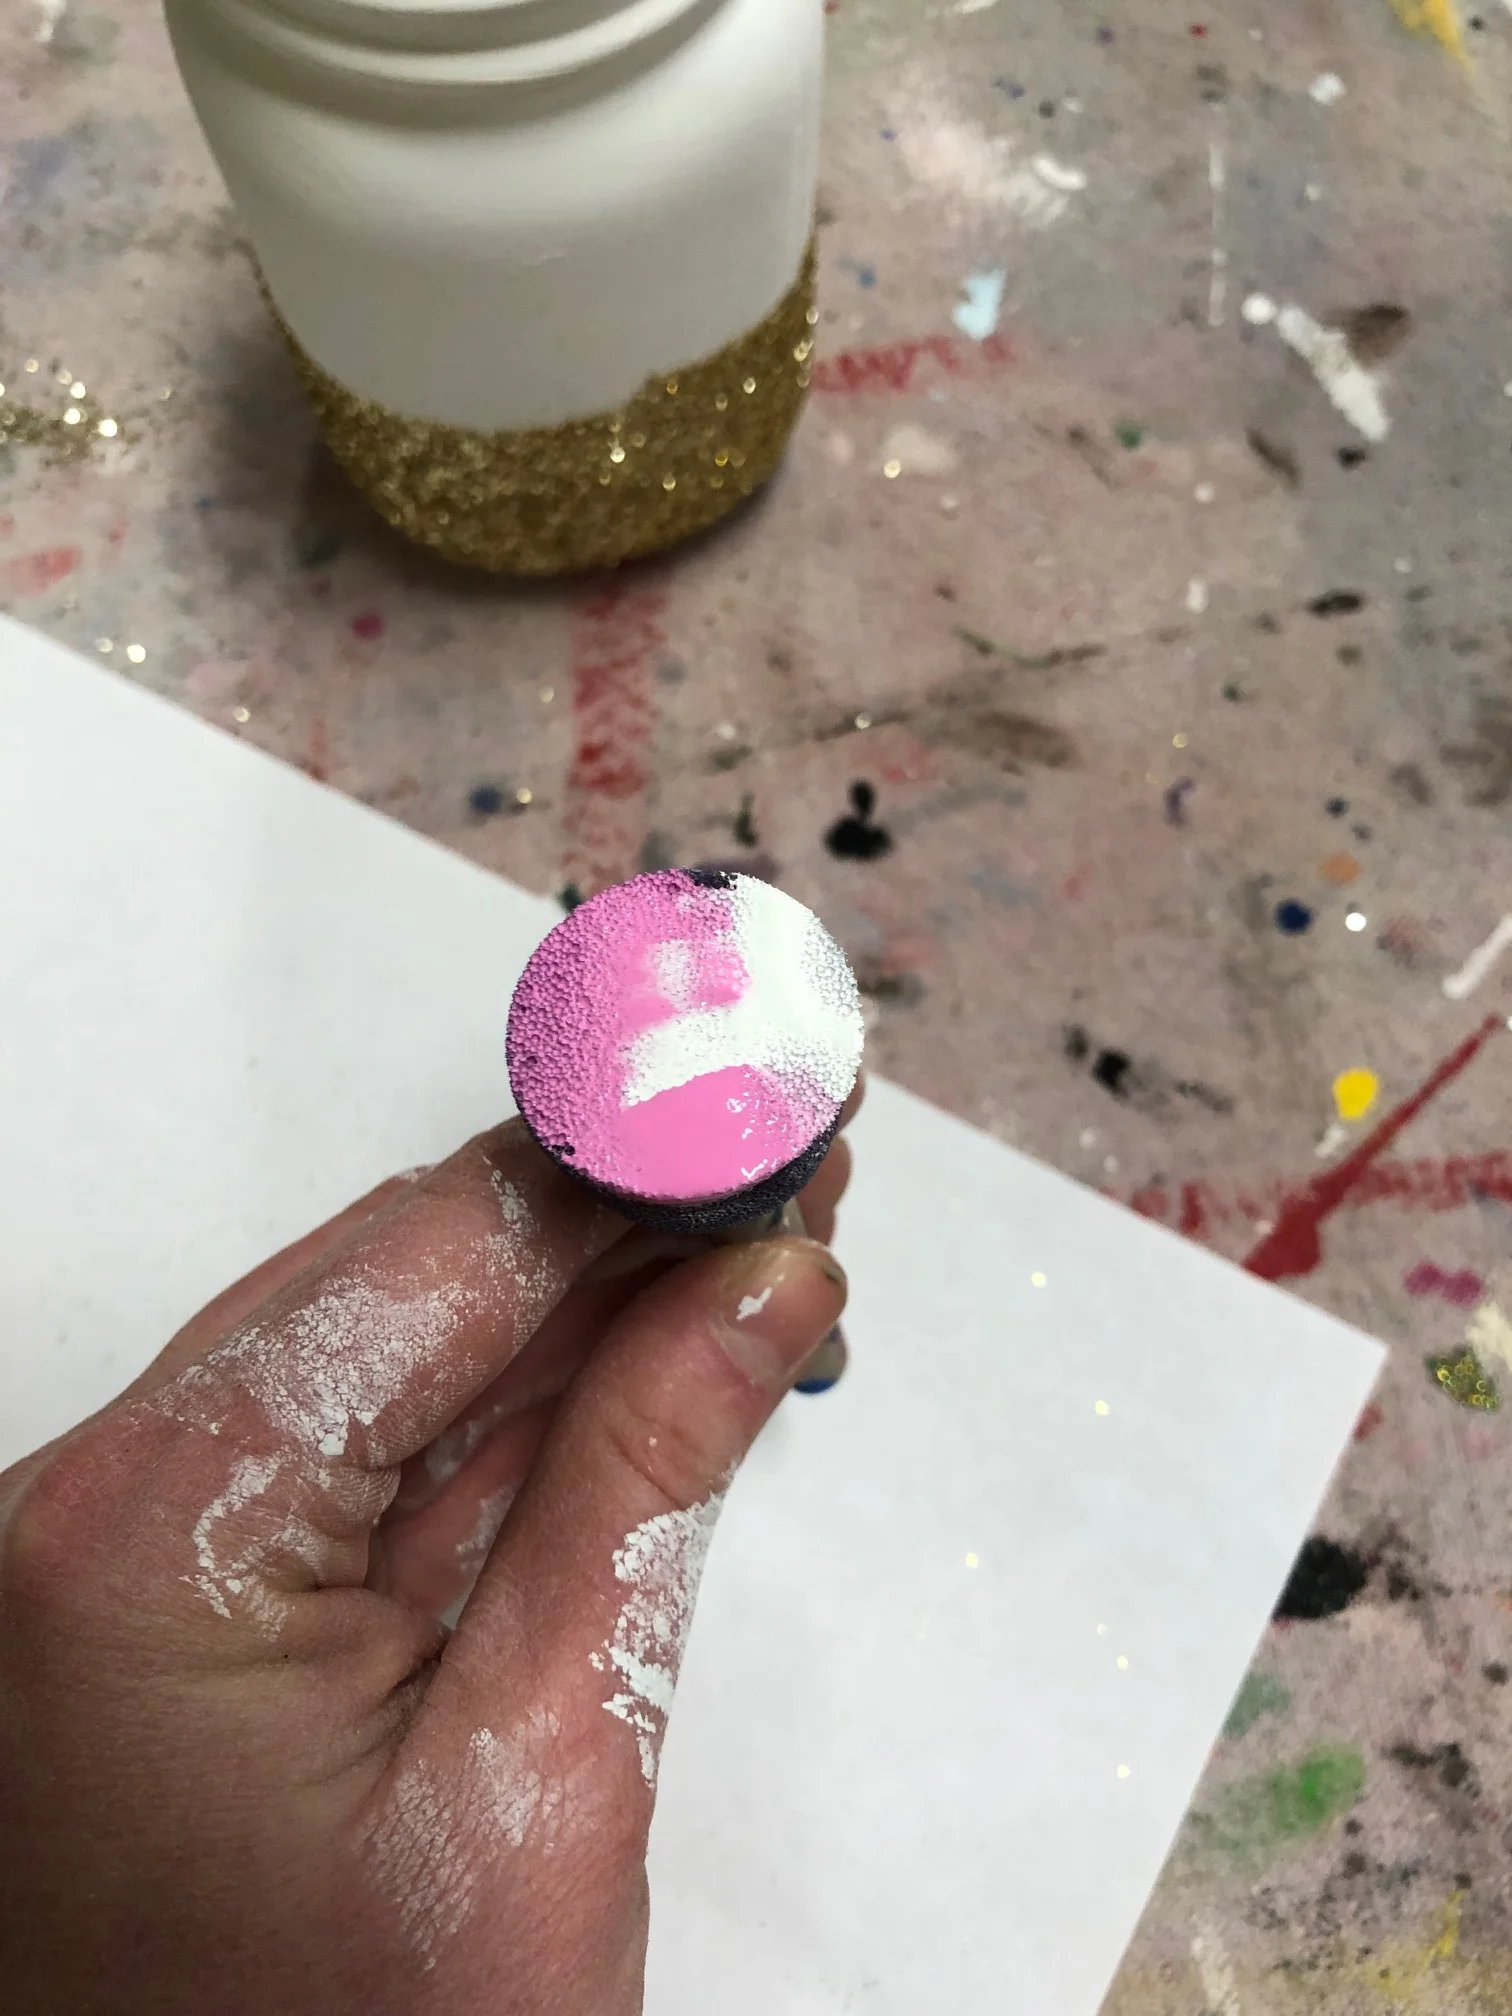
Once that is dry you will paint on the cheeks. Dip half of your round sponge brush into the pink paint and the other half into the white paint. When you apply the paint you will make a slight twist motion to get the swirly effect.

DIY glittered unicorn jar

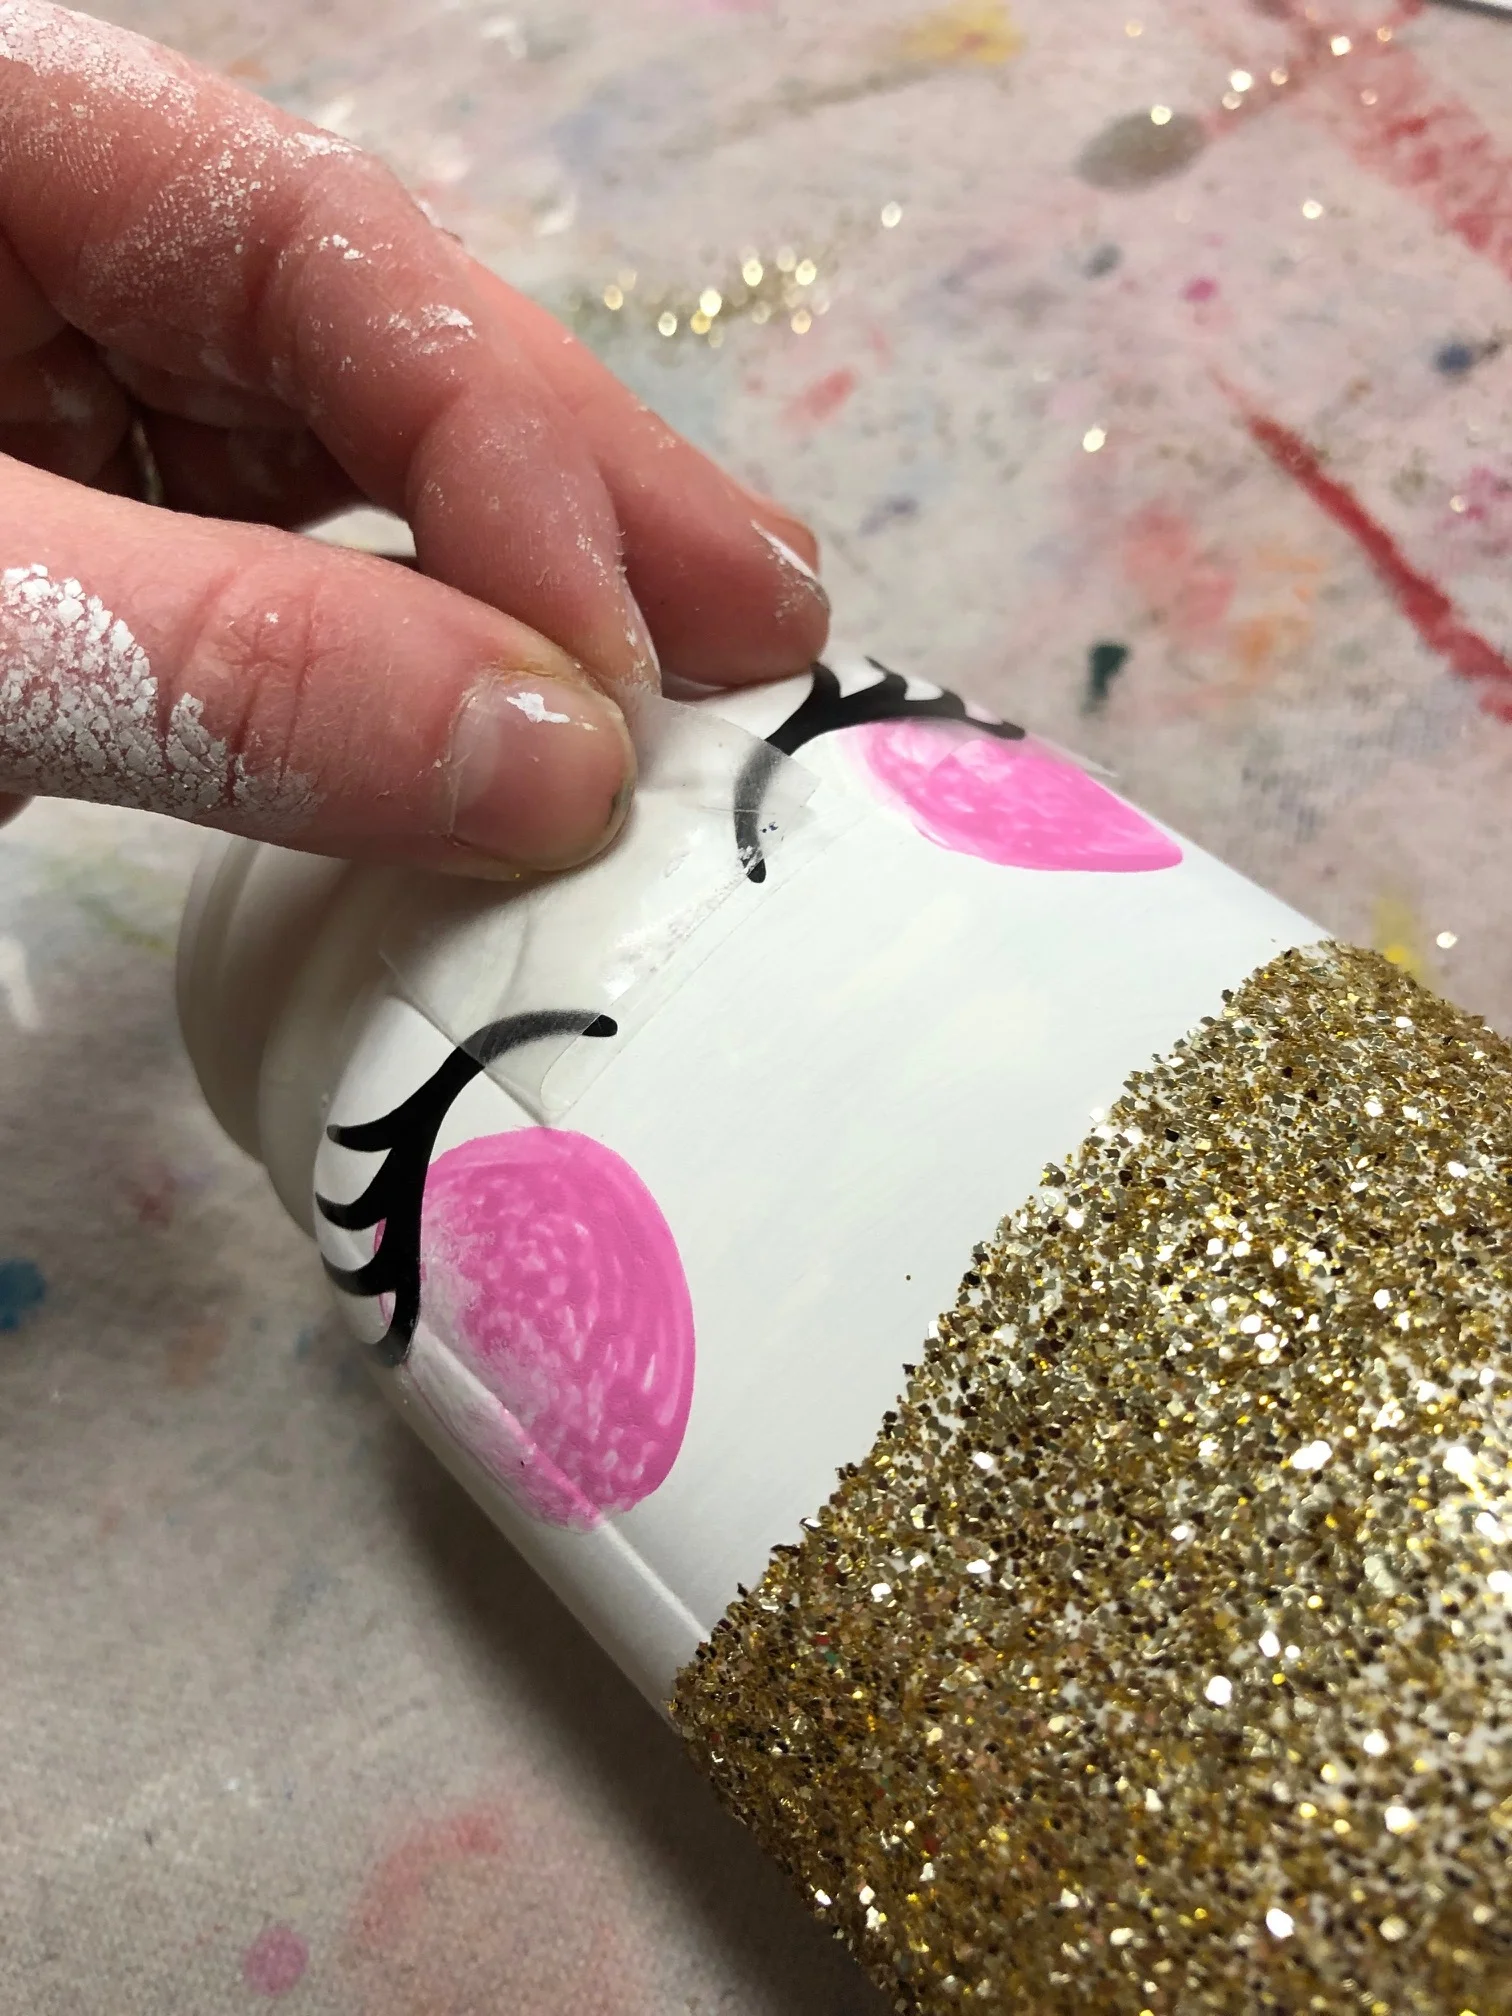
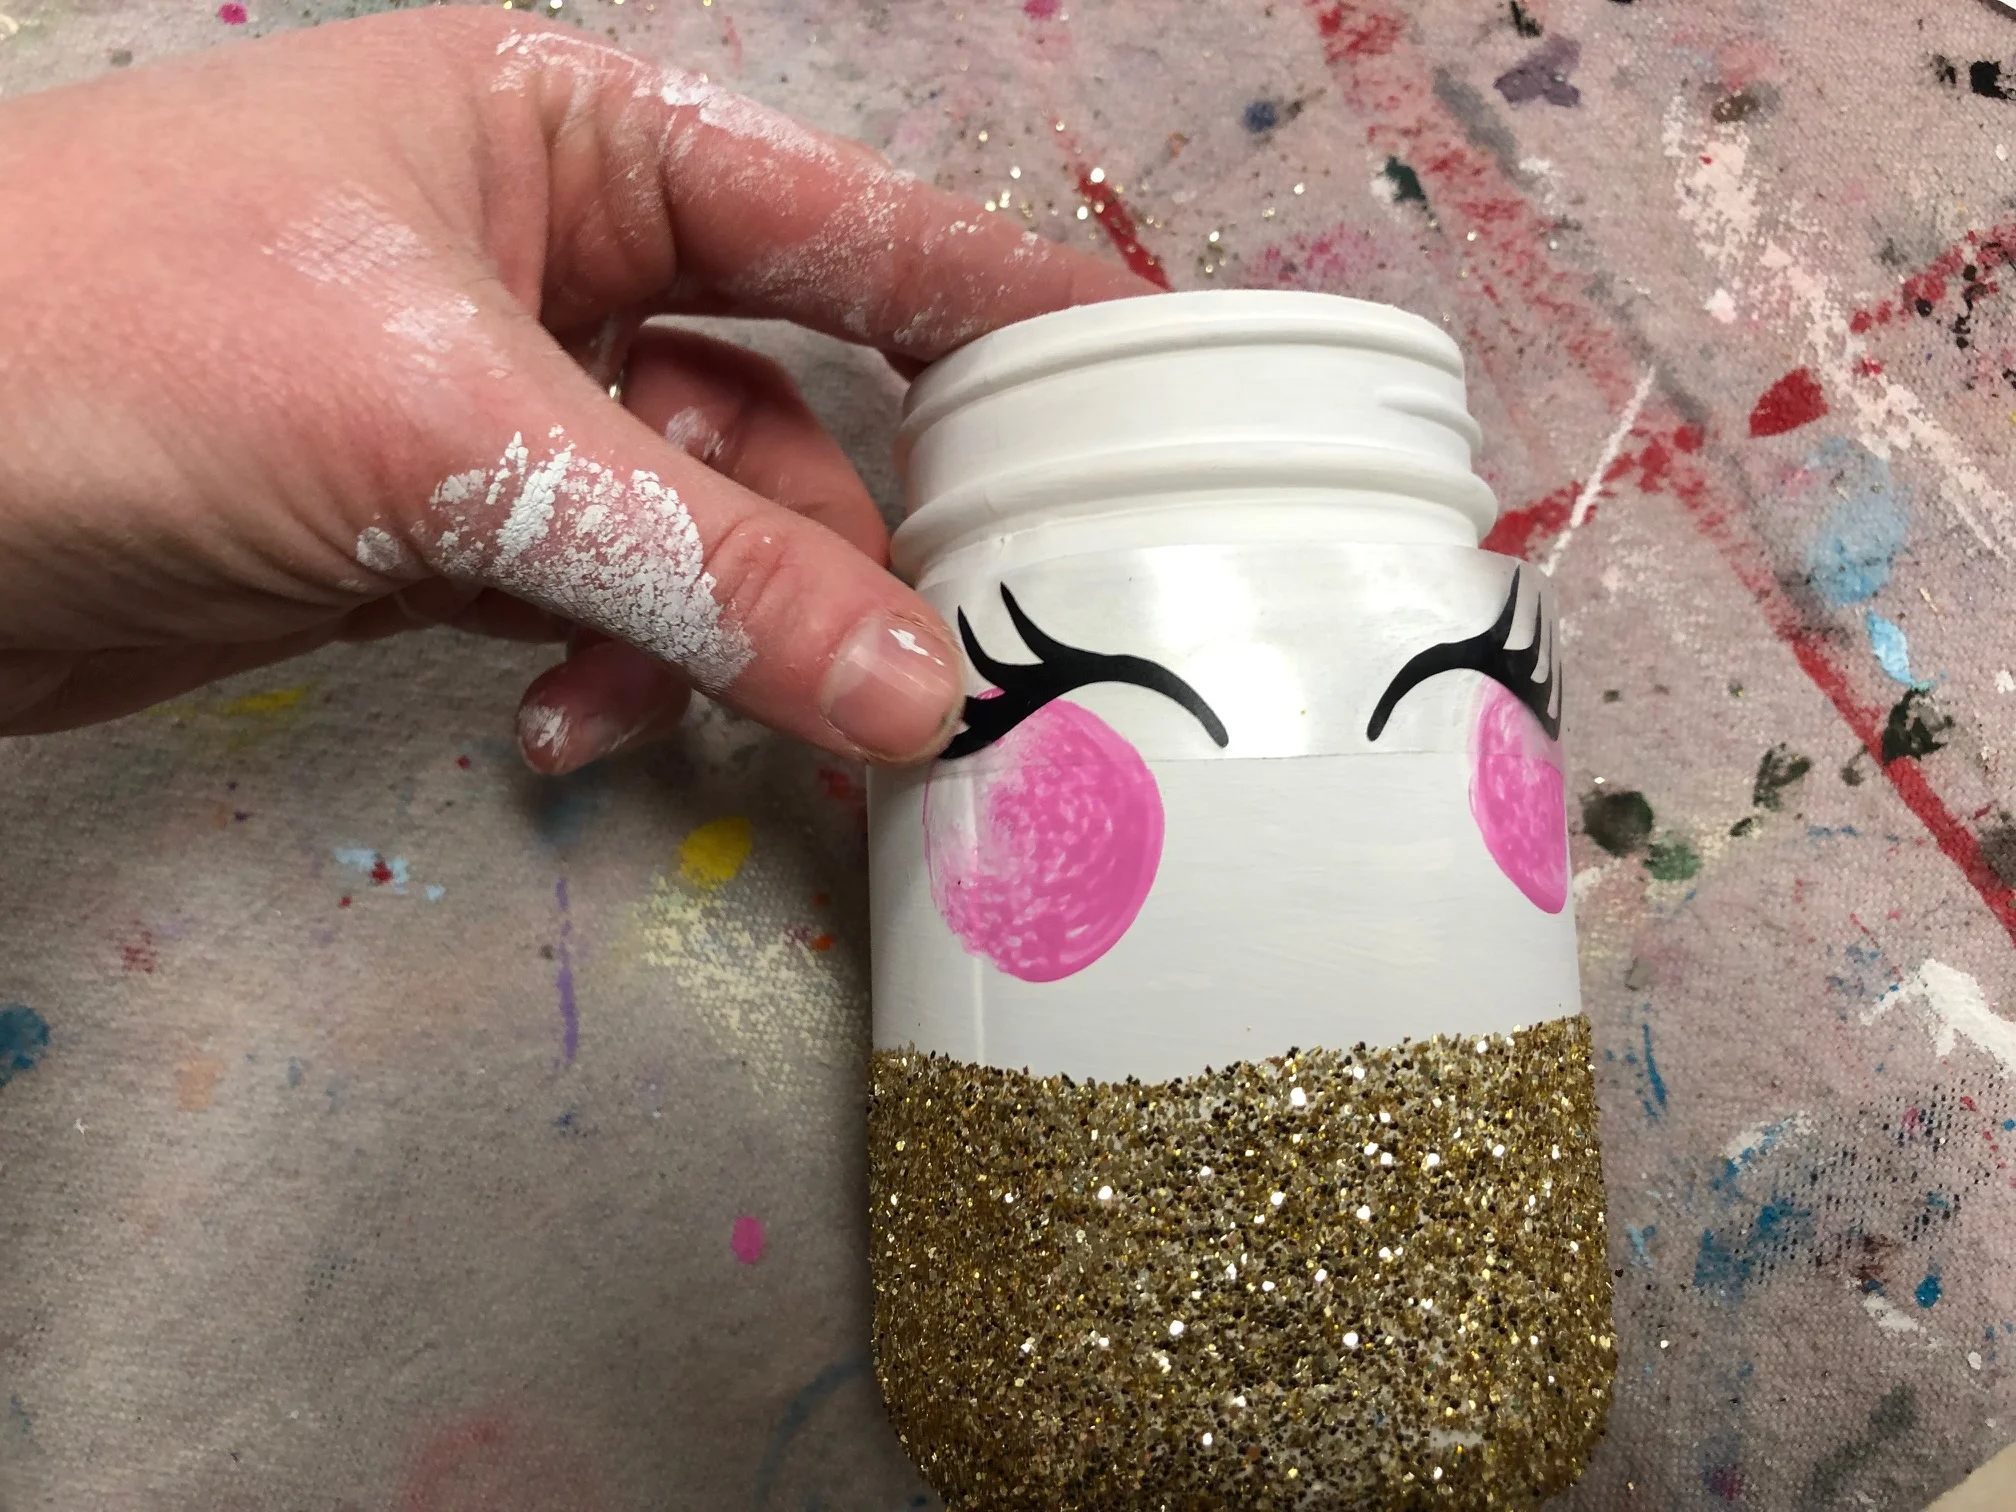
After you paint is COMPLETELY DRY you can add the eye decals. It is important you wait for these to dry as the vinyl will NOT  stick to wet paint. Remove the white paper backing first, the clear transfer tape and the eyes are attached. Then place it on your jar. Give it a good rub with your thumb or a plastic card then slowly remove the clear transfer tape off. This works great if you peel it at a very sharp angle like pictured.

DIY glittered unicorn jar

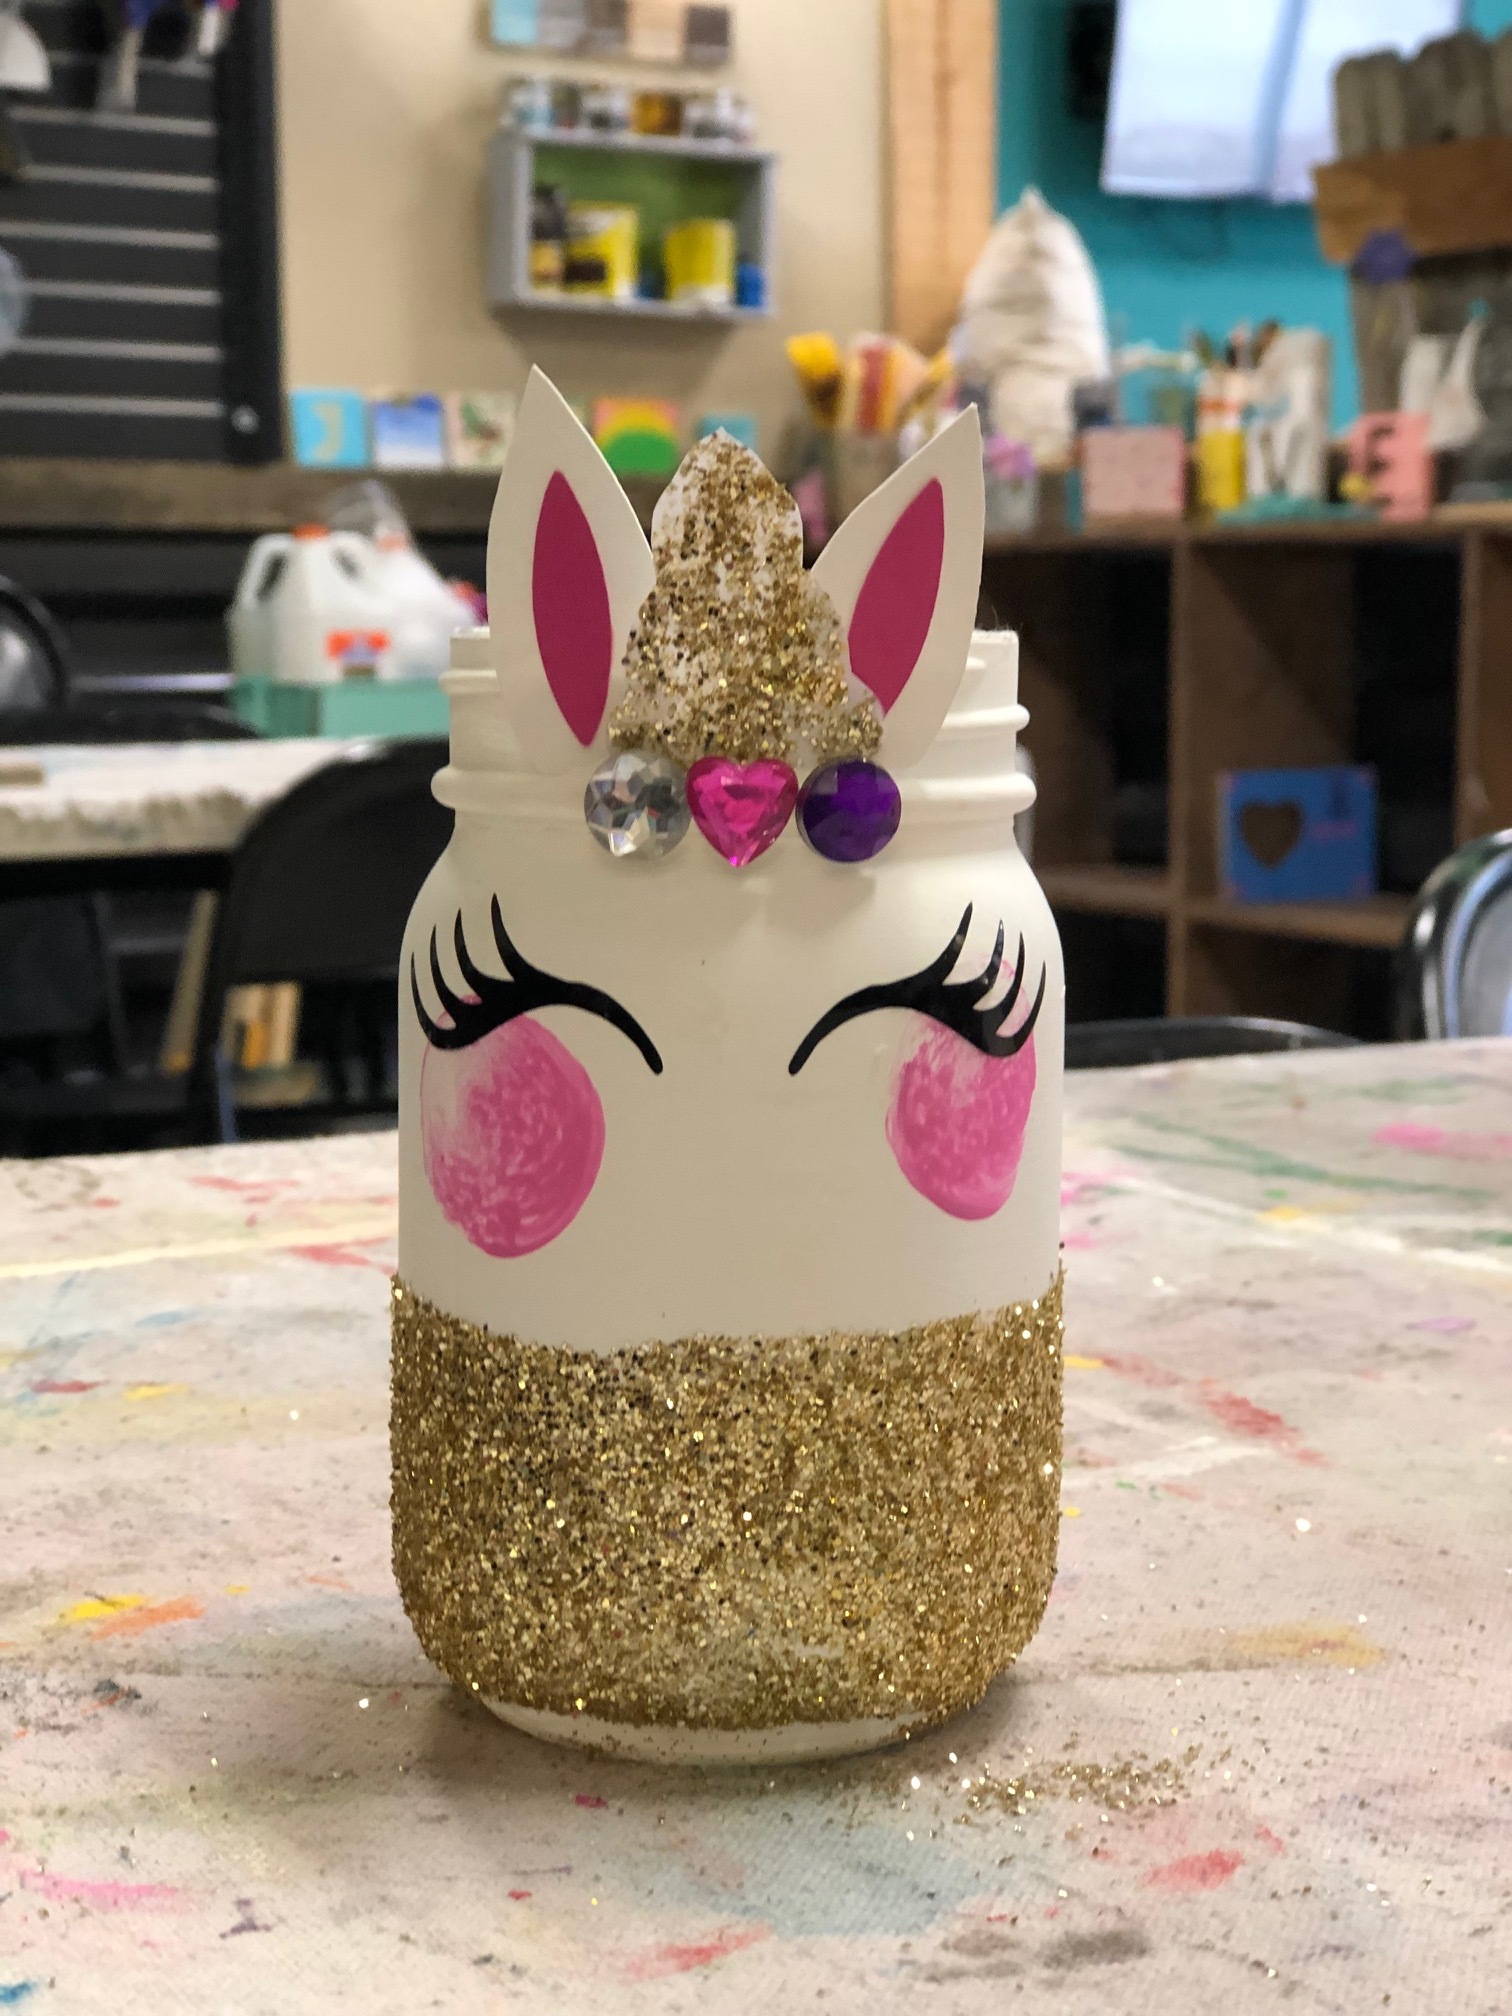
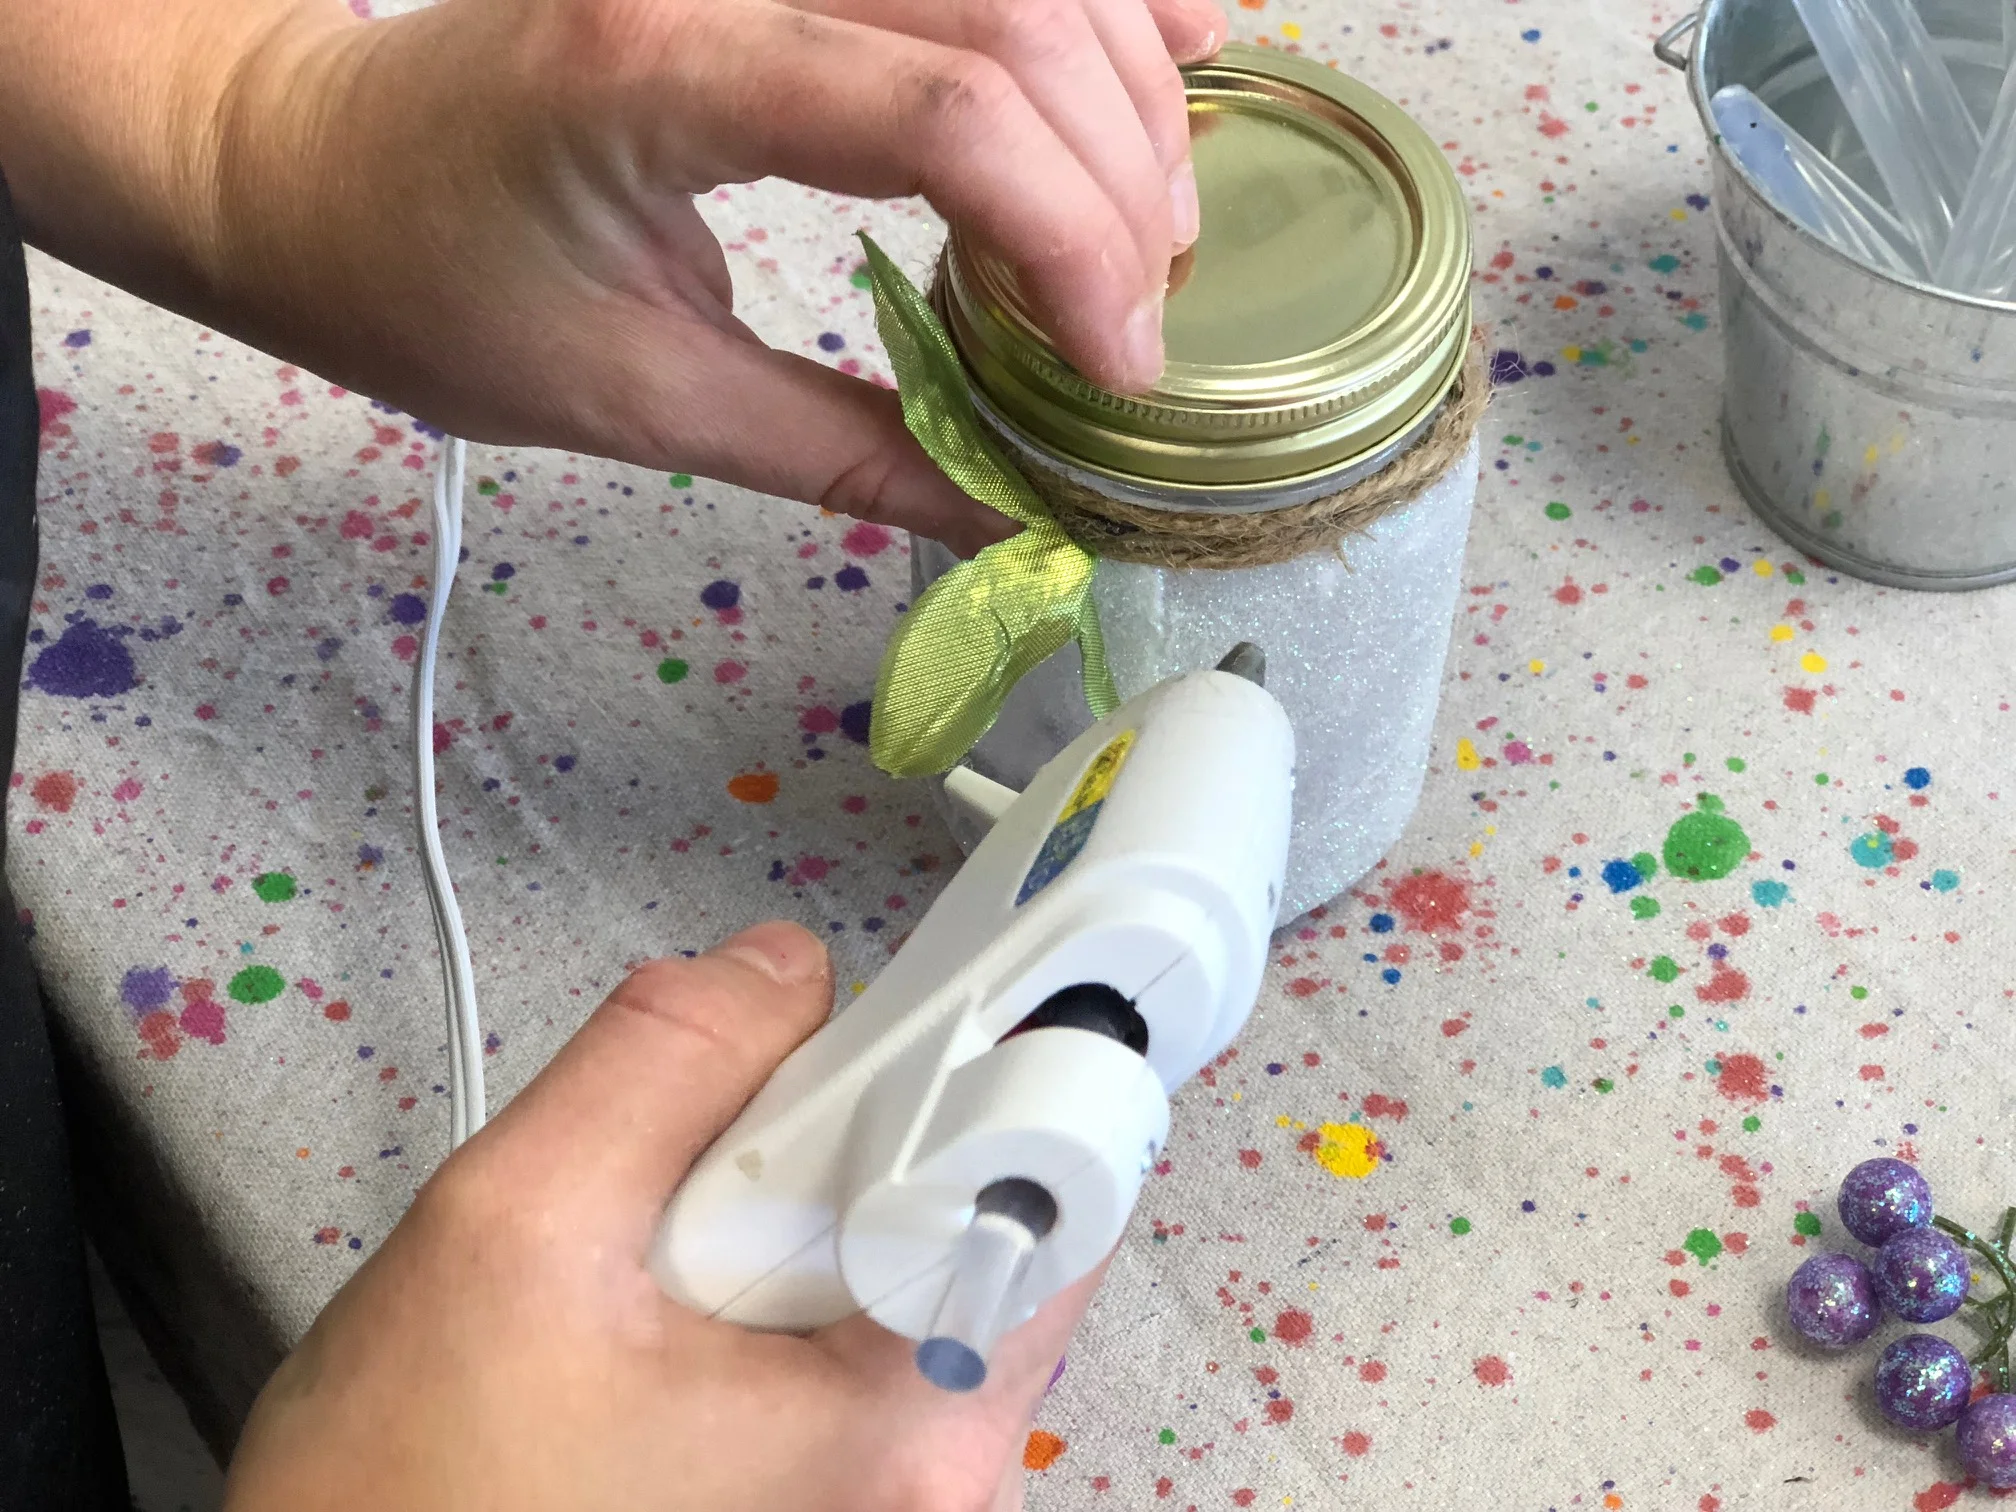
Glue the pink ear piece onto the middle of the white earpiece with your detail brush. Apply glitter to or paint the horn. Then attach the ears, horn and rhinestones above the eyes. You can apply these anywhere you see fit, have fun with it:)! A glue gun works best for this but you can use the tacky glue to attach these pieces to your jar

DIY glittered unicorn jar
DIY Glittered Unicorn Jar

I hope you love creating this craft as much as my girls and I did! Don’t be afraid to veer off this tutorial and really make it your own.

Check out more craft kid posts below

DIY Tassel Garland, make your own for just pennies each

DIY Tassel Garland, make your own for just pennies each

Affiliate Disclosure. Some of the links on this website are affiliate links, which means that I may earn a small commission if you click on the link or make a purchase using the link. If you make a purchase you will not be charged anything additional.

Raising kids is so hard sometimes. Nothing prepares you for having to console your child on days when they are feeling down about themselves. I think this is especially true for raising daughters. We have four little girls and life is a roller coaster of emotions with them some days. Recently we celebrated our third daughter’s birthday. We always celebrate before school lets out because she has a summer birthday.

We sent invites out two weeks in advance and this girl was SO excited to have all her school friends over for her unicorn themed birthday party. I’ll admit I’m a frugal person thru and thru. When I plan our girl’s parties my husband and I don’t spend an arm and a leg on the party. I try to keep it under $50 for the cake and decorations that way we still have room in our budget to gift them a decent gift that they’ve been wanting.

But this year I had to get super creative on my spending because I needed to throw her a fancy {as fancy as we get around here ;) } unicorn birthday party! It was just days before her party and she had only had one, yes ONE friend RSVP to her big day. Talk about tears falling and hearts breaking. I HAD to make up for the possibility that there be no one besides family at her party.

So I scoured all the pretty things on Pinterest and put together a few ideas of things to decorate her party with to make her feel extra special. Keeping it under $50 was a bit of a challenge but I was determined to make it work! Tassel Garland, among a few other DIY decorations, made the cut. These ended up costing than $4 to make two full strands of tassels PLUS extras to put around the unicorn centerpieces.

Thankfully two days before her party she had a couple more friends RSVP and she had a great party! They played some fun unicorn games, made tasty treats and loaded them down with EXTRA sprinkles, got to decorate their own cupcakes, and most of all the birthday girl felt so loved and special on her day!

After her party she got to hang the pretty garland in her room which made these tassel even better!

To make your own DIY tassel garland for your own special occasion…

Here’s what you’ll need

I was so surprised at how EASY these were to make! I was able to knock these out in no time. And our sweet girl LOVED them!

I’d love to hear your feedback below!

DIY Tassel Garland, make your own for just pennies each

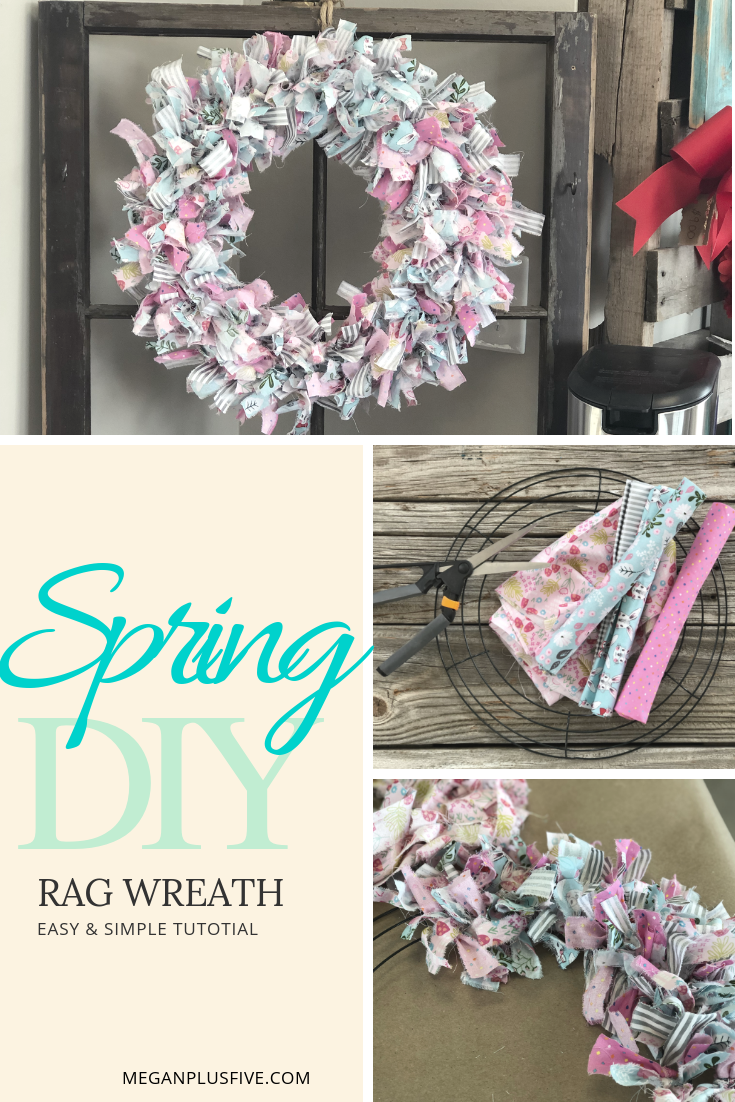
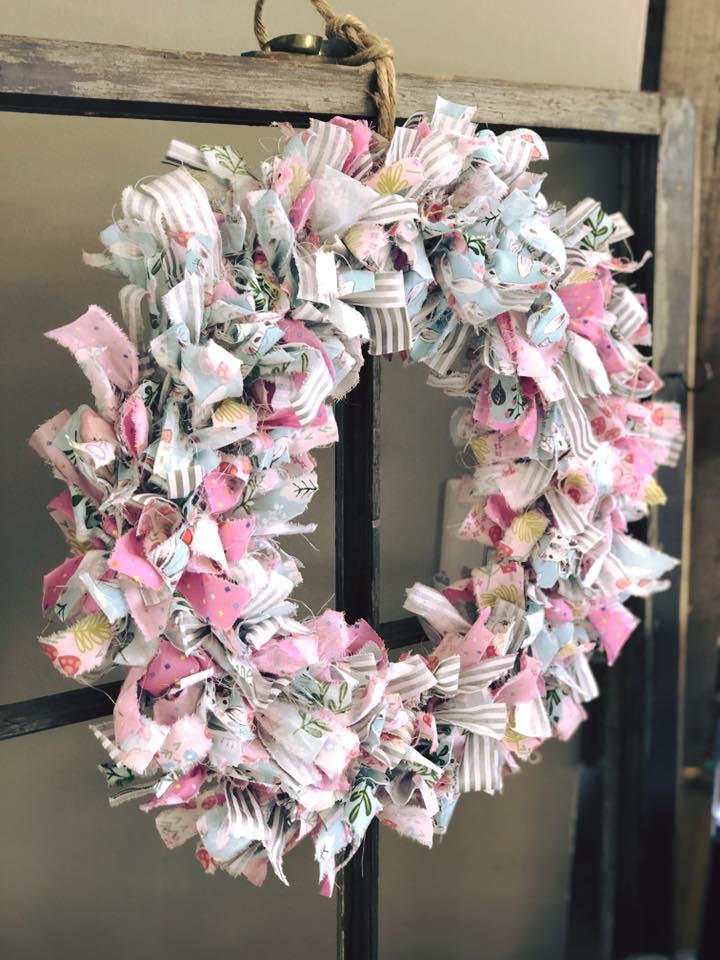
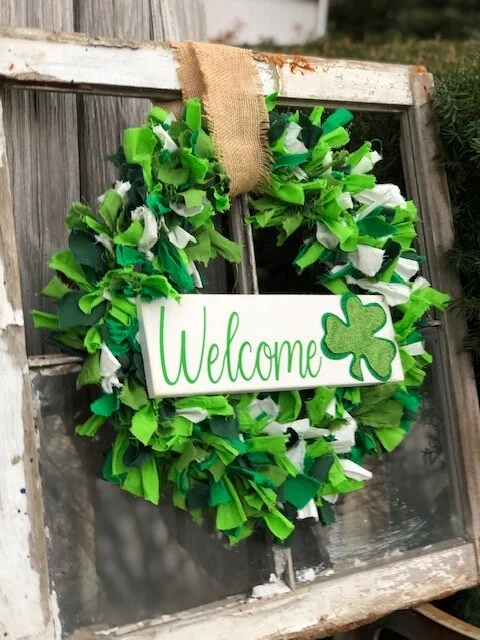
Super simple DIY, how to make a tied rag wreath for SPRING

Super simple DIY, how to make a tied rag wreath for SPRING

EASY SPRING RAG WREATH

All the perfect imperfections just get me every time. I’ve never been one to be too keen on things being perfect though, I am a mom of four after all. We have coloring on the wall, chipped dishes from the girls dropping them a little too hard into the sink, and don’t get me started on what the inside of our minivan looks like…so yeah, I LOVE imperfections.

This craft fits right into my love for imperfections. the unevenness, the frayed edges, the random fabric pattern, it’s a beautiful mess! And it is SO easy to make. You literally don’t have to have any “crafty” abilities to create this gorgeous wreath.

And did I mention it’s SUPER INEXPENSIVE to make? Yup! For less than $10 you can pick up everything you need to have a perfectly imperfect wreath for spring!

So let’s get started.

Want instant access to all of my FREE printables, templates, and patterns? Click here for my FREE RESOURCE LIBRARY

Super simple DIY, how to make a tied rag wreath for SPRING

Here’s what you'll need

  • a wire wreath form

  • 4 fat fabric quarters

  • scissors

  • something to hang it with. I used thick braided rope

And that’s it! I’m telling you this tutorial is sooooo simple!

Ok, let’s get started. First, using your scissors you need to cut slits every 3/4” on the widest side of your fabric. Then rip them off individually. I’ll post a video at the very end of this so you can watch how to do this.

After all your fabric is ripped into strips you need to cut each strip into thirds. You can do several strips at a time.

Super simple DIY, how to make a tied rag wreath for SPRING

Then start tying them using only one knot if you tie a double know the strips will be very short. You will use all the pieces of fabric from your 4 fat fabric quarters. I just grabbed whatever pieces and tied them on so.

This is so simple the kiddos can even help you make it. I know my girls LOVE helping me rip the strips.

Just keep tying and tying till you fill the whole ring up.

Super simple DIY, how to make a tied rag wreath for SPRING

When you have all your pieces tied on you can add something to hang it with. I added a cute piece of thick braided rope I had on hand.

I just LOVE the way this turned out! So gorgeous!

Check out the video tutorial I made during a FACEBOOK LIVE

Make your own Valentine's Day pallet sign, easy step by step tutorial

Make your own Valentine's Day pallet sign, easy step by step tutorial

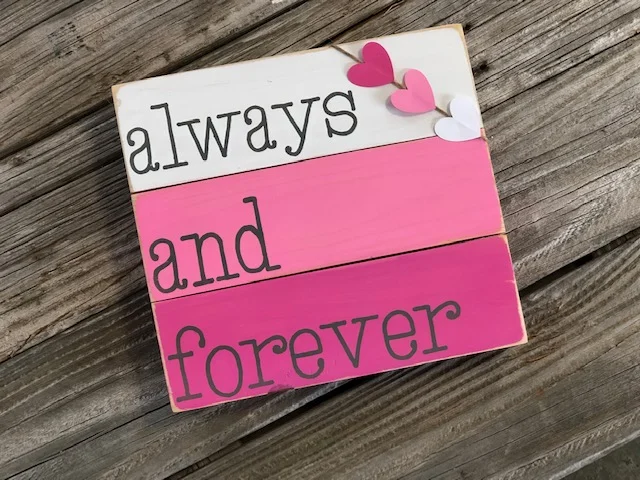
Oh Valentine’s Day…I LOVE all the colors of this beautiful holiday! And if you’re like me you’ll love this adorable craft to make too! Bringing in all the pinks, whites, and grays for this one. And who doesn’t love twine? I mean, if you don’t love twine then are you a true crafter?? This stuff is so sturdy, goes with pretty much anything, and let’s be honest for being string it’s pretty darn cute!

So let’s get started.

I know that sometimes you don’t have all the necessary tools to do all those amazing crafts on pinterest or maybe you just want to try it before you make that kind of financial commitment or maybe you just want a super easy craft night with the girls where there’s no prep work for you. Whatever it is I’ve put together easy peasy craft kits just for you. You can find this particular CRAFT KIT HERE.

Make your own Valentine's Day pallet sign, easy step by step tutorial

If you want to make yours from scratch here’s what you’ll need

  • 1x4x12 {times 3}

  • 1x2x6 {times 2}

  • wood glue

  • nails or brad nailer {I used my Ryobi brad nailer with}

  • stencils {I cut mine from my Cricut}

  • 1” cardstock hearts {I cut mine from my Cricut in dark pink, pink, white}

  • twine

  • tacky glue

  • cosmetic sponges

  • paint brushes or sponge brushes

  • sandpaper or sander {I used my Ryobi cordless sander 120 grit}

  • white, pink, dark pink, gray acrylic paint

  • staple gun

Make your own Valentine's Day pallet sign, easy step by step tutorial

The first thing I do on projects like these is cut everything I need from my Cricut.

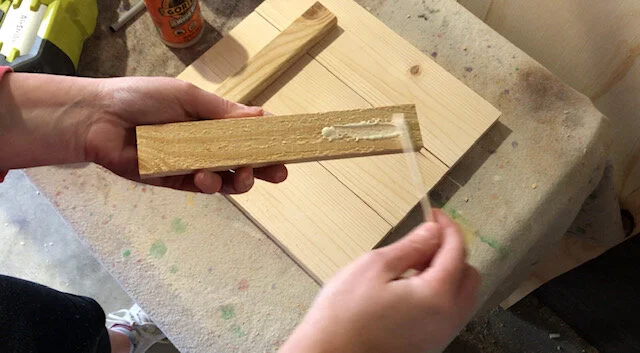
Next you need to assemble your sign base together. Lay your boards down on a flat surface so that they are parallel to one another. Then you will take your 1x2x6 pieces and glue and nail them in place.

This is what you want the front of your board to look like once it’s put together.

Make your own Valentine's Day pallet sign, easy step by step tutorial

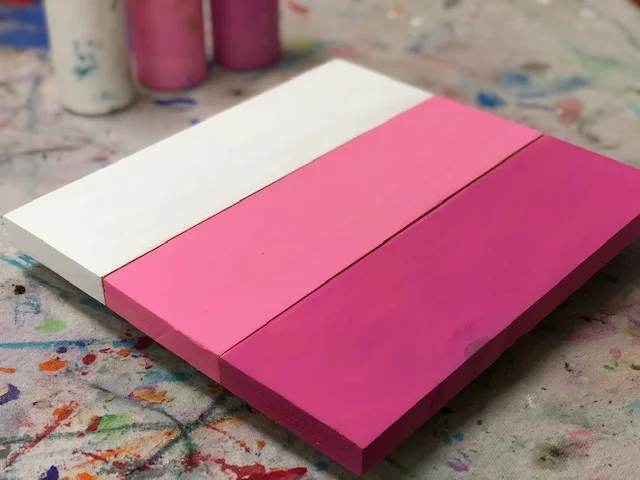
Next you want to paint each piece a different color. I painted the front and the sides, just not the back of this particular piece. I painted the top board white, the middle board light pink, and the bottom board dark pink.

Make your own Valentine's Day pallet sign, easy step by step tutorial
valentine's day sign2.jpgMake your own Valentine's Day pallet sign, easy step by step tutorial
Make your own Valentine's Day pallet sign, easy step by step tutorial

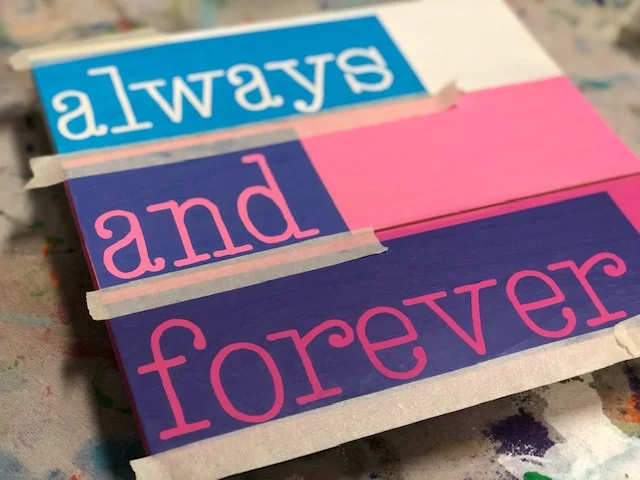
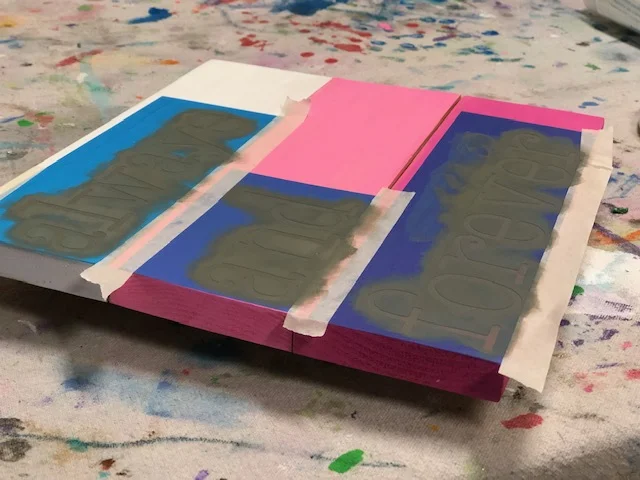
After your paint is totally dry you can apply your stencils. I recommend taping off the edges after you get your stencils down. I wanted mine lined on the left side but you can place yours anywhere on the base.

Make your own Valentine's Day pallet sign, easy step by step tutorial

Now it’s time to paint the lettering using your cosmetic sponge. First lightly dab the flat end of your sponge into the gray paint, you want VERY LITTLE paint on your sponge. If you get too much paint it will bleed under your stencil. Now dab your gray paint very lightly onto the letters.

valentine's day sign9.jpgMake your own Valentine's Day pallet sign, easy step by step tutorial

To achieve the darkness of the gray on mine I did two coats of gray paint. You want to be able to see through the first layer. Once the first layer is dry you can dab on a second layer of paint, still keep it very ligh

Make your own Valentine's Day pallet sign, easy step by step tutorial

This is what you want your first coat to look like. And below is what your stencils should look like after you get your second coat on.

Make your own Valentine's Day pallet sign, easy step by step tutorial

After you paint your second coat peel your stencil up and discard it.

Make+your+own+Valentine%27s+Day+pallet+sign%2C+easy+step+by+step+tutorial

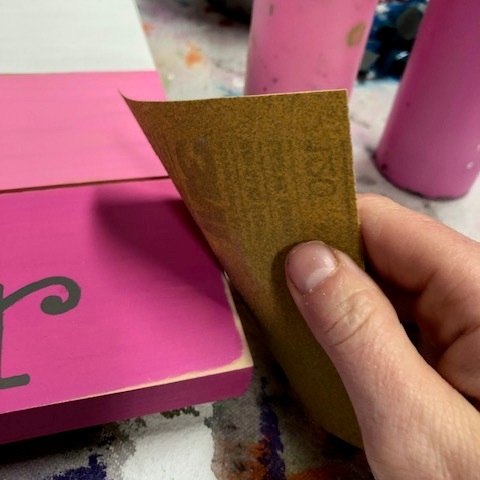
Distress your edges using sand paper or your palm sander. I used my Ryobi cordless sander for this step but I wanted to show how to use just a piece of sandpaper for this tutorial.

Make your own Valentine's Day pallet sign, easy step by step tutorial

Measure out a piece of twine and staple it to the back of your sign so it drapes over the opposite corner of your lettering, mine is on the right side. You’ll want to pull this so that there isn’t any slack.

Make your own Valentine's Day pallet sign, easy step by step tutorial

Now just glue your cardstock hearts to your twine and you’re done!

Make your own Valentine's Day pallet sign, easy step by step tutorial

PINE CONE ART, easy and mess free. Make your own with these simple steps.

PINE CONE ART, easy and mess free. Make your own with these simple steps.

If your kids are anything like mine they are ALWAYS wanting to make something. They don’t care what it is they just NEED to create. Either in our craft studio or the kitchen they just have that itch to make all the things.

So, naturally, I am always trying to find ways to be resourceful. Reusing old items, things that we would normally recycle or toss out, or things we find in nature…like pine cones!

We gathered some pine cones and had a mission to use them to create a really cool piece of art.

PINE CONE ART, easy and mess free. Make your own with these simple steps.

Here’s what you’ll need

  • pine cones

  • box {we used an old usps box}

  • tape

  • cardstock {we used white but you can use whatever color you’d like}

  • acrylic paint


Start by taping a boarder around your paper. We only had 3/4” tape so that’s what we used.

This next step isn’t picture, now tape the piece of paper down to your box. We taped ours all the way around so that the pine cone didn’t get snagged on the paper if it wasn’t secured down all the way.

PINE CONE ART, easy and mess free. Make your own with these simple steps.

Now decide what colors you want your art to be. We used lighter colors but you can use any that you’d like. You want to put your paint on something you can easily dip a pine cone into. We used the middles of our paint trays.

PINE CONE ART, easy and mess free. Make your own with these simple steps.

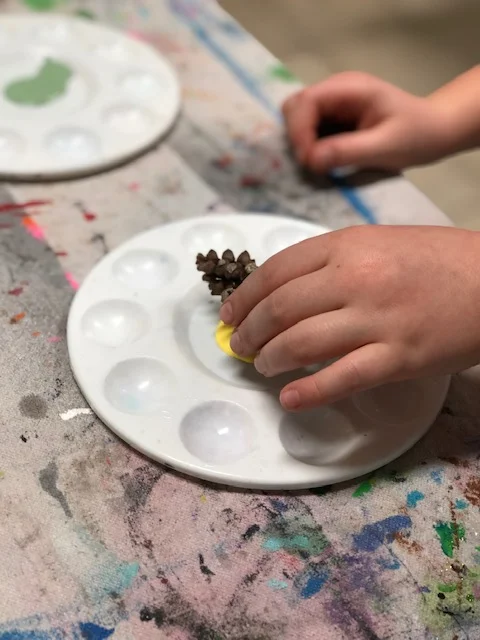
Dip your pine cone into your paint. You can do one color or several at a time. At first we did just one at a time then she got brave and started dipping all the colors in different spots.

PINE CONE ART, easy and mess free. Make your own with these simple steps.

Now drop it in your box and SHAKE it up! Take care not to shake it too fast or rough because your pine cone will go flying…we may or may not know this first hand. Keep repeating this step till you’re satisfied with the coverage.

PINE CONE ART, easy and mess free. Make your own with these simple steps.

This is what ours looked like before we removed the paper from the box. All the mess contained inside the box…woohoo!!

PINE CONE ART, easy and mess free. Make your own with these simple steps.

We let our dry for a few minutes before we peeled the paper out of the box and peeled the tape away from the outside edges. She was VERY impressed at how clean the lines came out. I have to say I am too!

PINE CONE ART, easy and mess free. Make your own with these simple steps.

This is such an inexpensive {literally cost pennies to make} and one that doesn’t require a ton of prep or clean up. I hope you enjoy this craft with your kiddos as much as I did with our girls!

DIY simple rustic wooden Christmas presents, how to make your own

DIY simple rustic wooden Christmas presents, how to make your own

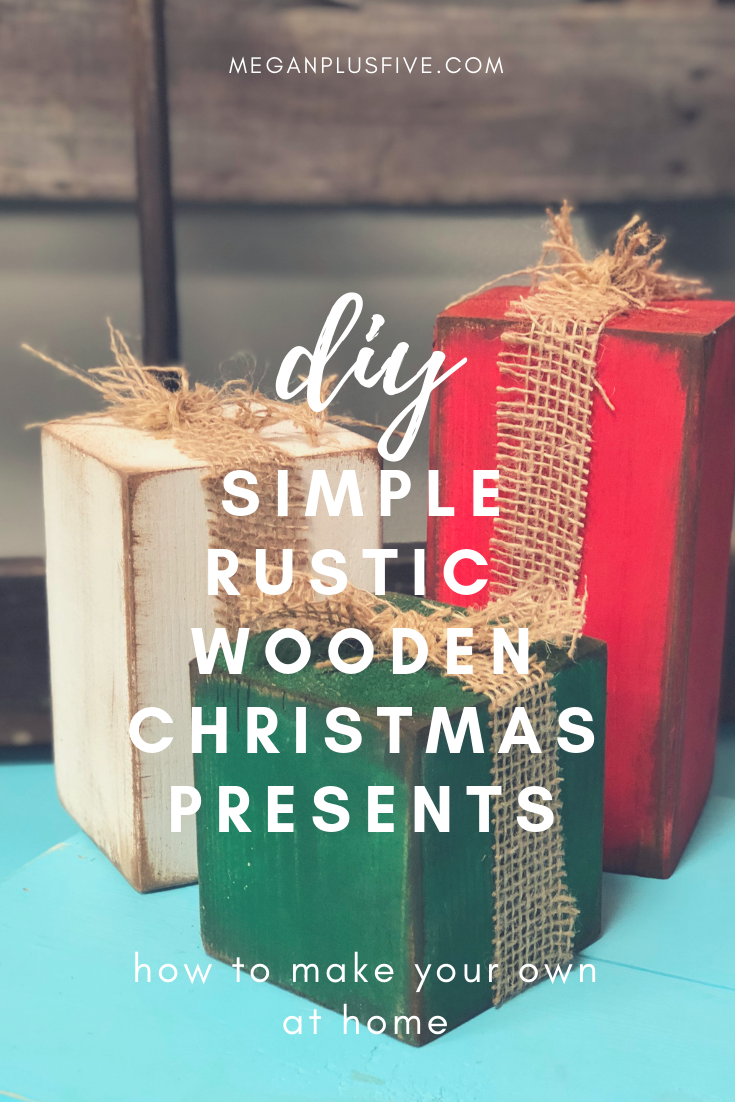
DIY FAUX WOOD CHRISTMAS PRESENTS

I’m a busy wife, momma, and business owner so naturally I LOVE a good craft that I can whip out really fast and that makes the heads turn. These little guys are just the perfect DIY for the job!

In our studio I try to reuse the same base sizes over and over again. This makes for a smooth operation. I try to create pieces from the basic bases we have on hand at the shop. When I stumbled across something similar on Pinterest I had to make my own version of these adorable faux presents.

I know not everyone has the resources or expensive tools to make all their crafty dreams happen so I’ve put together CRAFT KITS for our most popular DIY’s. You can pick up our FAUX PRESENT KIT HERE

DIY simple rustic wooden Christmas presents, how to make your own

If you wanna start from scratch here’s what you’ll need:

DIY simple rustic wooden Christmas presents, how to make your own

These are SO super simple, once you do one set you’ll be making them for everyone for Christmas! So let’s get started.

First, you want to be sure all your pieces are sanded to knock any splintery ends. If you purchased our CRAFT KIT you do not need to do this step as it’s already been done for you:)!

Next, you want to paint each block a different color. I did two coats on mine. Be sure you wait till the first coat is TOTALLY DRY before applying the second coat. If you don’t, applying wet paint on top of wet paint tends to pull up the layer underneath.

DIY simple rustic wooden Christmas presents, how to make your own

Can we just take a minute and adore this girl! Isn’t my little helper so stinking CUTE! She’s always up for being my little crafting model Ok, back to the tutorial…

Once your paint is dry and you are happy with the coverage you’ll need to sand on the edges and the corners of your blocks. Take your 120 grit sand paper and go over the areas that would be naturally worn. You don’t have to use 120, that’s just my go to grit. Any grit of sandpaper will work, just go slow at first to see how much pressure you need to apply. I used my RYOBI cordless sander for this step.

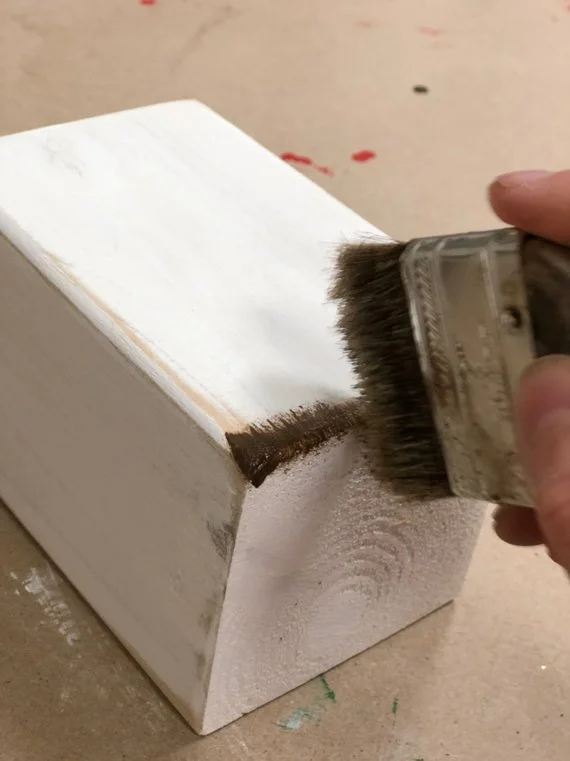
Next you want to apply the dark wax to your blocks. If you’ve never worked with dark wax before you might want to test it out on a piece of paper first. A little wax goes a long way.

Take your chip brush and barely dip your bristles in, dab off onto a piece of paper or paper towel. Just like you did when sanding, focus on applying the wax to the areas that would be naturally worn. You’ll want to apply to the corners, edges, then do a light quick swipe on all the sides. This will give it a real natural rustic finish. The wax gets into all those uneven areas, much like how dirt would, and make it look old.

faux wooden presents4.jpgDIY simple rustic wooden Christmas presents, how to make your own

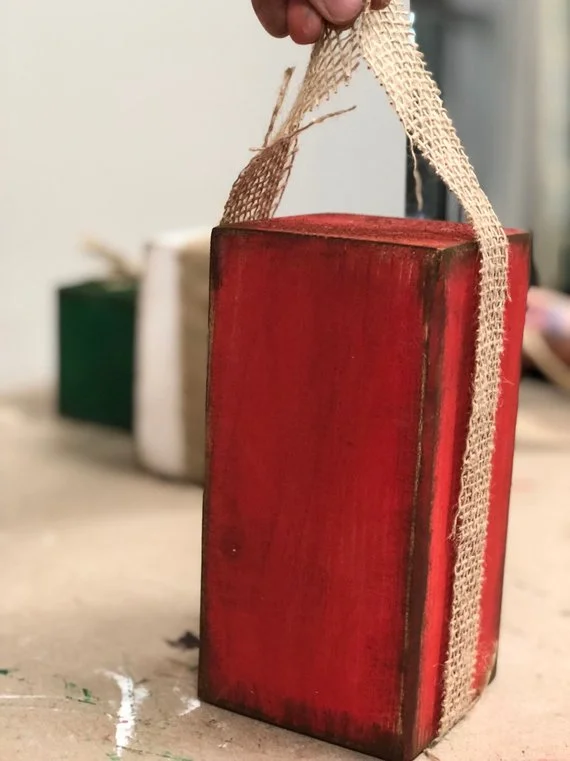
After you have your wax applied to all of your block the last step is to add your burlap “bow”. I picked up a roll of looser knit burlap at my local Walmart but any burlap will work. Fun fact, the looser the knit the easier it will unravel when cut. I cut my burlap into 2” wide strips and measured their length so they stuck up 3”-4” above the blocks like shown below. Now tie those two pieces in a knot. You’ll do the same on the last two blocks. And you’re done! Literally can’t get any easier.

DIY simple rustic wooden Christmas presents, how to make your own

Place them beside your tree, on your kitchen counter, or your mantle and admire them all Christmas season!

DIY simple rustic wooden Christmas presents, how to make your own

These little guys make such great gifts, a fun craft night with the family, or crack open a couple bottles of your fave wine with your fave girlfriends and make it a moms night in Pinterest party!

I hope you love this DIY! If you did I’d love to hear your feedback…even better, I’d LOVE to see pics of your finished faux presents.

DIY 2x4 rustic wood pumpkin blocks

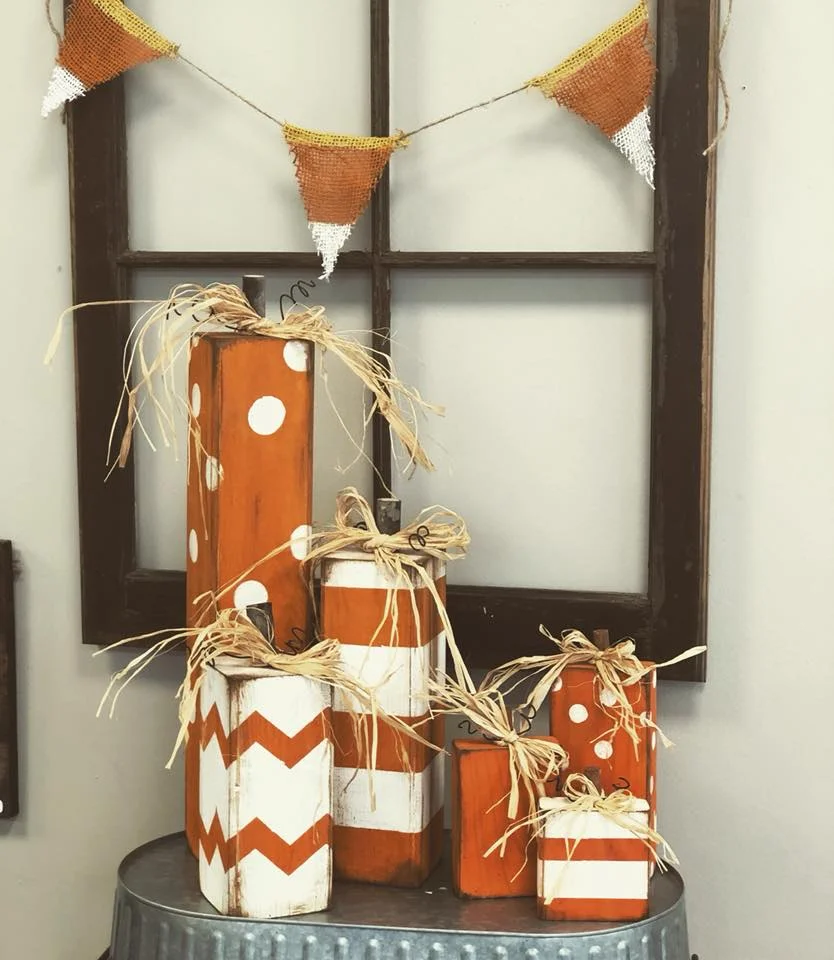
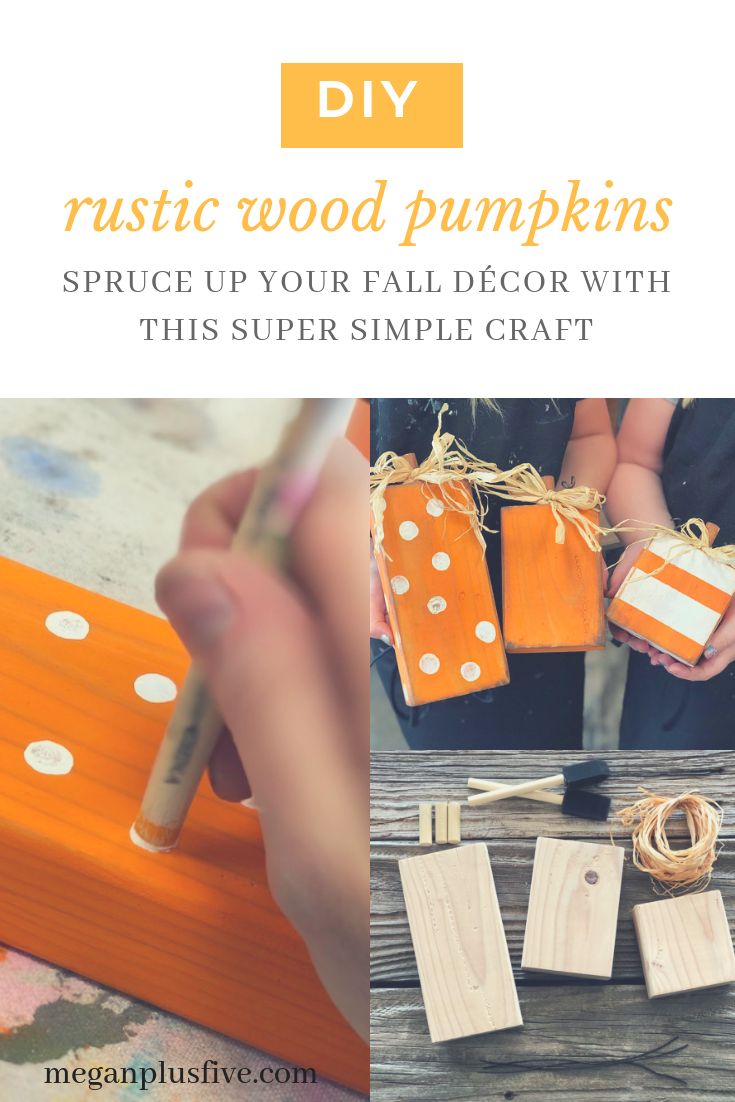
do it yourself rustic wood pumpkins, spruce up your fall décor with this super simple craft

DIY how to make 2x4 wood pumpkins

These little wooden pumpkins are just as cute as can be! I LOVE them! What I love even more is how effortless they are to create. You can knock a set out in less than an hour. Seriously, an hour of your time and you have some ridiculously cute mini pumpkins to add to your rustic fall décor!

These little guys are so simple you can even get the kiddos involved! Make a whole family craft night out of it, they will LOVE it and you’ll remember that night every year you put them out.

To make it even easier I’ve put together this DIY MINI PUMPKIN CRAFT KIT. Everything you need to make these at home delivered right to your door!

do it yourself rustic wood pumpkins, spruce up your fall décor with this super simple craft

If you don’t buy our easy peasy craft kit here’s what you’ll need…

Helpful tools


Check out this other fun fall craft, DIY mini mum planters for your front porch.


Let’s get started!

Step 1

Cut all the pieces for your pumpkins and stems {dowel rod}. After you do that give them a quick sanding to knock down all the pokey edges from being cut. Next drill a 1/2” hole in the top of each pumpkin {this will be where you put the stem dowel rod, you only need it about 1/2” deep}. Be sure to wipe off all the saw dust.

Now for the fun!

Paint all of your pumpkins your base color. For mine I painted all of the pumpkins orange. Be sure to apply a super thing coat, you should be able to see the wood grain through the paint. Once that dries apply a second coat, if desired wait for that coat to dry and apply a 3rd. I almost never do 3 coats.

do it yourself rustic wood pumpkins, spruce up your fall décor with this super simple craft

Step 2

Now for the accents{I used white for my accent color}!

For mine I left one pumpkin plain, added dots to one, and stripes to another.

The dots are SUPER EASY! Literally take the end of you sponge brush and dip it in the accent color. Then dot it on the pumpkin you want to have dots. You can practice on a scrap piece of paper before going full force on your pumpkin. I just randomly dot around till I’m happy with the look. I do this all the way around the pumpkin.

Add some stripes. Using your masking tape off the areas you want to KEEP your base color. I did two stripes of white on my pumpkins. Pro tip…to keep the paint bleed down, never brush your paint into the tape, always brush away. Brushing it to the tape will force the paint under the tape and cause your paint to bleed. You don’t need to wait for the paint to dry to peel off the tape.

do it yourself rustic wood pumpkins, spruce up your fall décor with this super simple craft

Step 3

Once your blocks are dry you can distress with sandpaper. Focus on the edges, corners, and do a light sanding to the face of the pumpkins. When you are done distressing with sandpaper, brush all the dust off with a cloth.

do it yourself rustic wood pumpkins, spruce up your fall décor with this super simple craft

Step 4

Give them a little more character with dark wax! I absolutely LOVE this stuff!

It takes VERY LITTLE WAX to achieve this look. Barely dip the very tip of the chip brush into the wax, and dab off onto a paper towel. If you get too much wax on your blocks they will look mudding instead of antiqued. Now brush the wax onto the corners and edges, dabbing to get more wax when you need more on your brush.

Then lightly brush over the face in both vertical and horizontal directions. This will give it an even more antiqued look.

do it yourself rustic wood pumpkins, spruce up your fall décor with this super simple craft

Step 5

Paint your stem, let it dry, and glue the stem in place with a good amount of glue. Let dry completely {f you have a glue gun you can use that for this step instead}.

After your glue has dried you are ready to adorn with the raffia and wire embellishments. To get the wire curled, simply wrap around the end of one of your sponge brushes.

Then take the wire and tie it around your stem.

do it yourself rustic wood pumpkins, spruce up your fall décor with this super simple craft

Step 6

Then gather a few strands of raffia and tie in a bow around the stem and wire. Trim if you desire.

do it yourself rustic wood pumpkins, spruce up your fall décor with this super simple craft

Check out more fall & Halloween posts below

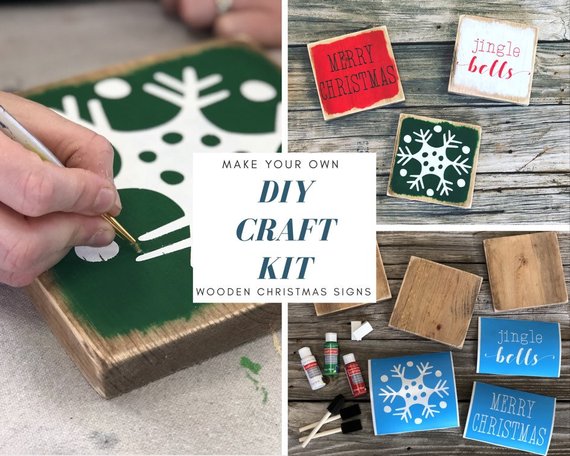
DIY mini stenciled Christmas signs

DIY Mini Wooden Winter Signs

Painting & stenciling mini wood Christmas signs

Do you LOVE those little mini signs like I do? They are so perfect because they don’t take up a lot of space, you can store them easily when they aren’t in season, and they are SO simple to make yourself.

Affiliate Disclosure. Some of the links on this website are affiliate links, which means that I may earn a small commission if you click on the link or make a purchase using the link. If you make a purchase you will not be charged anything additional. This is just a way I can help add to our family finances to raise our four daughters. Please know I would never recommend a product or service I do not totally stand behind.

Here’s what you’ll need to make your own at home. To make it even easier we’ve put together a CRAFT kit that has everything you need for project here.
HOW TO STENCIL ON WOOD

winter craft kit.jpgDIY Mini Wooden Winter Signs

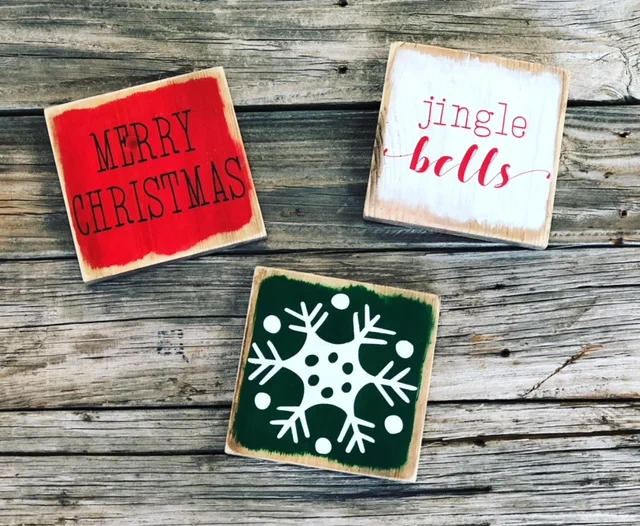
MAKE YOUR OWN MINI STENCILED WOOD CHRISTMAS SIGNS FOR YOUR RUSTIC HOME DECOR

You’ll need

3 - 5.5x5.5 wooden pieces {I got a 1x6 from the local hardware store}

stain, rags, and gloves {here’s what I used}

stencils {you can buy ours here, or make your own}

3 - brushes {you can use sponge brushes or here’s what I use}

white, red, & green acrylic paint {here’s what I used}

2 makeup sponges {you can pick them up at your local dollar store}

sander or 120 grit sandpaper

DIY Mini Wooden Winter Signs

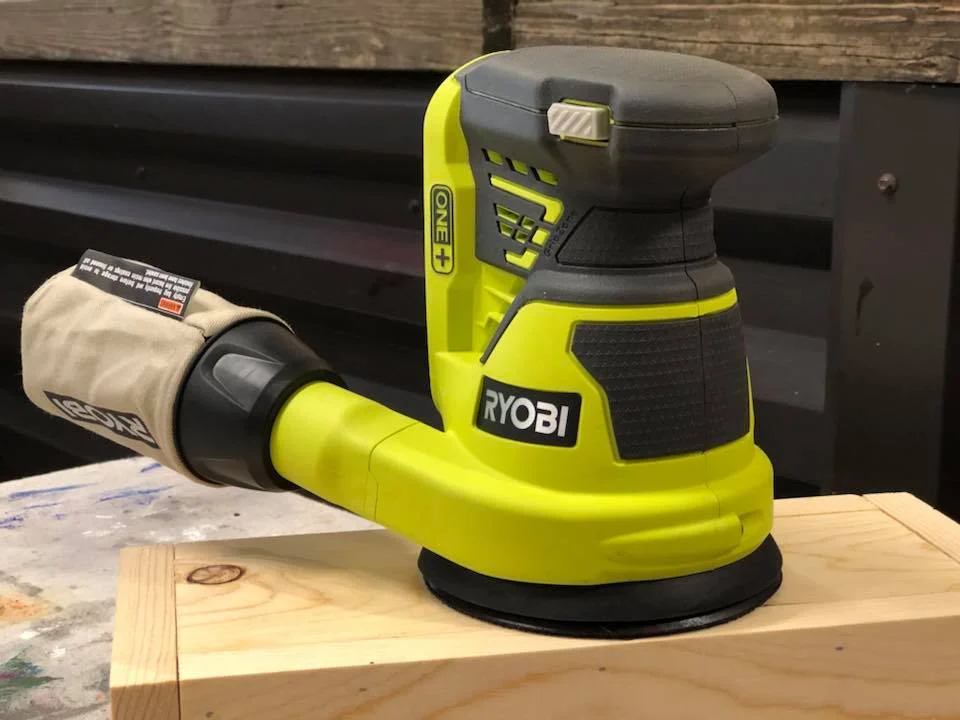
After you’ve cut and sanded your 5.5”x5.5” pieces stain them and let them dry for 24 hours. After they’ve dried sand around the edges, corners, and a light sanding on the front, be sure to wipe them down so you get all of the sawdust off of them. I LOVE my RYOBI CORDLESS SANDER , it is what I use for all of my wooden projects. But, if you don’t have a sander you can get the job done with 120 grit sand paper.

DIY Mini Wooden Winter Signs

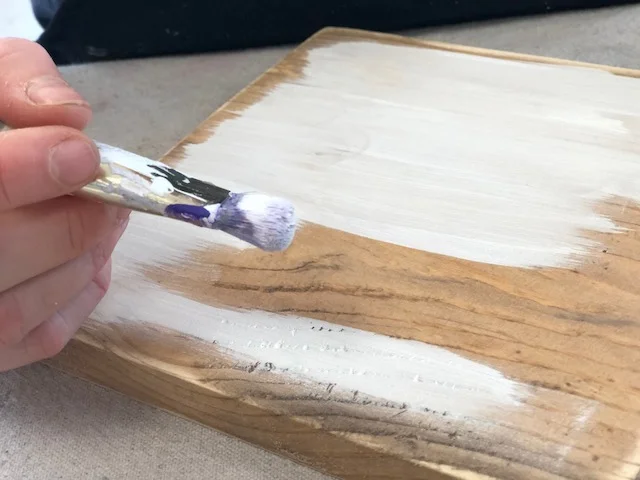
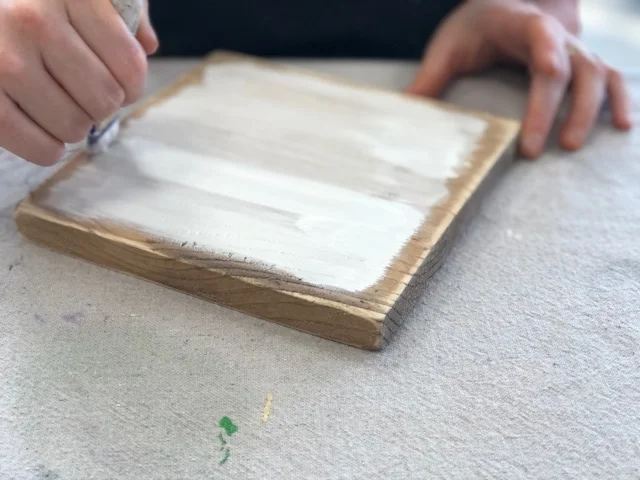
Now it’s time for the painting! You’ll paint each wooden sign a different background color. Start with a DRY brush and using a little bit of paint at a time apply a THIN coat of paint to one side of your board. Leave .25” border all the way around each piece. I don’t measure this, just eyeball it. This will give you that rustic uneven look.

DIY Mini Wooden Winter Signs

After your fist THIN coat is totally dry you can apply the second coat, be sure to apply using the same technique as you did with the first coat.

DIY Mini Wooden Winter Signs

Repeat this step for all 3 signs. Once they are all TOTALLY DRY you are ready for stenciling. They must be completely dry otherwise your stencil will not stick to the wood and it will be an ugly mess.

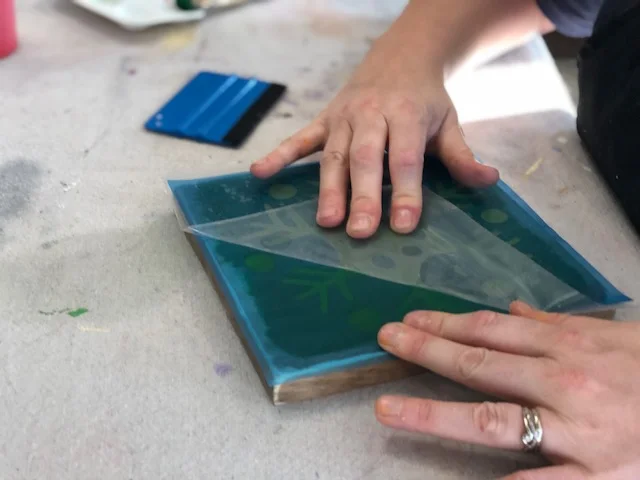
Start by removing the paper backing from your stencil. This works best if you use a vinyl applicator {here’s what I use} or you can use a stiff store rewards card, I don’t recommend using your bank card as it could break during the process.

If you’re using your own stencils you’ll need transfer tape to transfer your stencil onto the wood in one piece.

DIY Mini Wooden Winter Signs

Start by rubbing the front of the stencil with your vinyl applicator. Be sure you move in one direction.

DIY Mini Wooden Winter Signs

Then flip it over and do the same to the back.

DIY Mini Wooden Winter Signs

Now slowly peel the paper backing away from the stencil. This works best if you start at one corner and peel away at a sharp 90 degree angle. Go SLOW.

Before you start applying your stencils decided which stencil you will put on each board.

DIY Mini Wooden Winter Signs

First, you’ll want to place your stencil where you want it on your board. I wanted mine to all be centered so that’s what I did but you can place them anywhere on the board you’d like. I just recommend keeping the image within the painted part of the wood.

DIY Mini Wooden Winter Signs

Using your vinyl tool rub the stencil, using the same technique as before. Now SLOWLY peel the transfer tape {the clear sticky stuff} away from your stencil. I do this at a sharp angle and I will slowly roll it off of the stencil.

DIY Mini Wooden Winter Signs

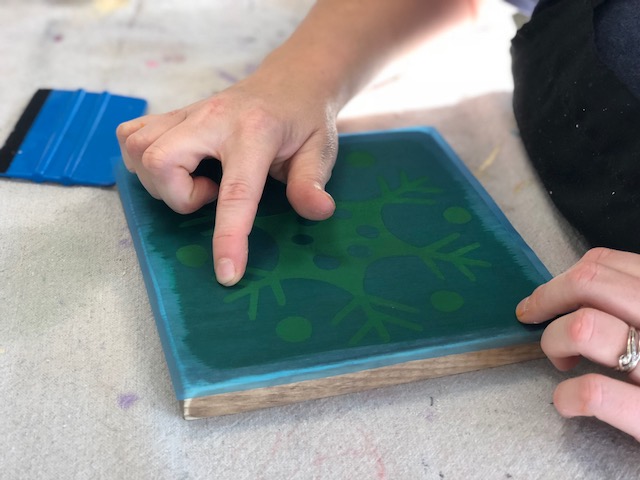
After you get the transfer tape off rub your finger along all the exposed stencil edges {anywhere there is wood showing thru}. this helps to get s good seal on your stencil.

Now you’re ready to start painting your stencil!

DIY Mini Wooden Winter Signs

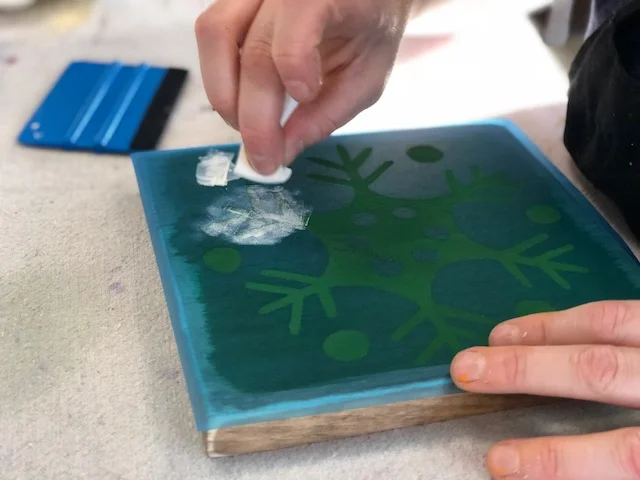
Use one end of your cosmetic sponge LIGHTLY dip it in the paint color you’d like your design. BE SURE TO USE VERY LITTLE PAINT, this is key to getting little to no paint bleed under your stencil. Dab the sponge on a paper towel a couple times then onto your stencil, do this till you have a very THIN even coat {you should be able to see thru the first coat}. LET DRY, repeat till you are happy with the coverage.

DIY Mini Wooden Winter Signs

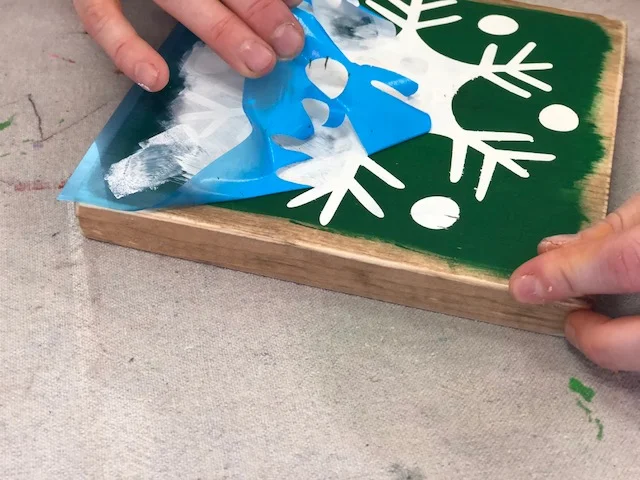
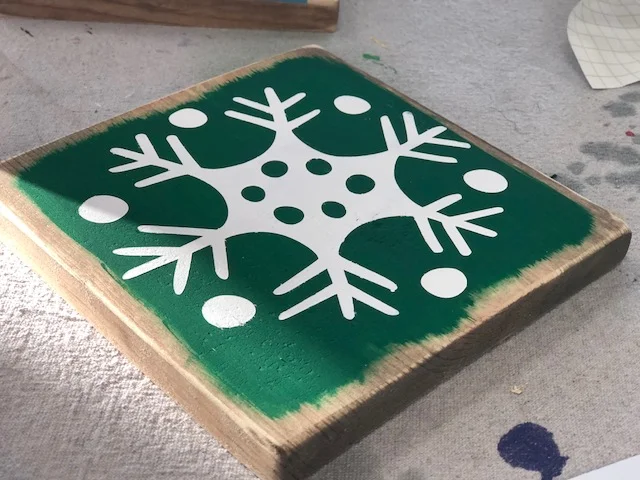
Now peel up your stencil.

DIY Mini Wooden Winter Signs

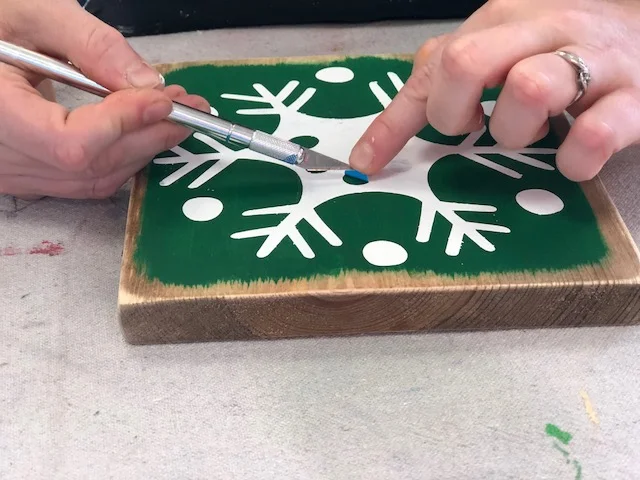
I use an xacto knife to get up all the little pieces. If you don’t have one of these a sewing pin/needle works great for this as well.

If you have any paint bleed just go over those with a small paint brush and your background color.

DIY Mini Wooden Winter Signs

Now finish the other two and you're ready to put them up to enjoy this holiday season.

DIY Mini Wooden Winter Signs

Easy and adorable mini mum planters for less than $2, get the look with this tutorial

Easy and adorable mini mum planters for less than $2, get the look with this tutorial

DIY cheap fall porch décor

I love finding new ways to decorate on the cheap! Having 4 kids…especially girls…is expensive. From clothes to medical expenses these girls can drain a wallet! So I get a little creative when it comes to buying decorations, especially if they are seasonal ones.

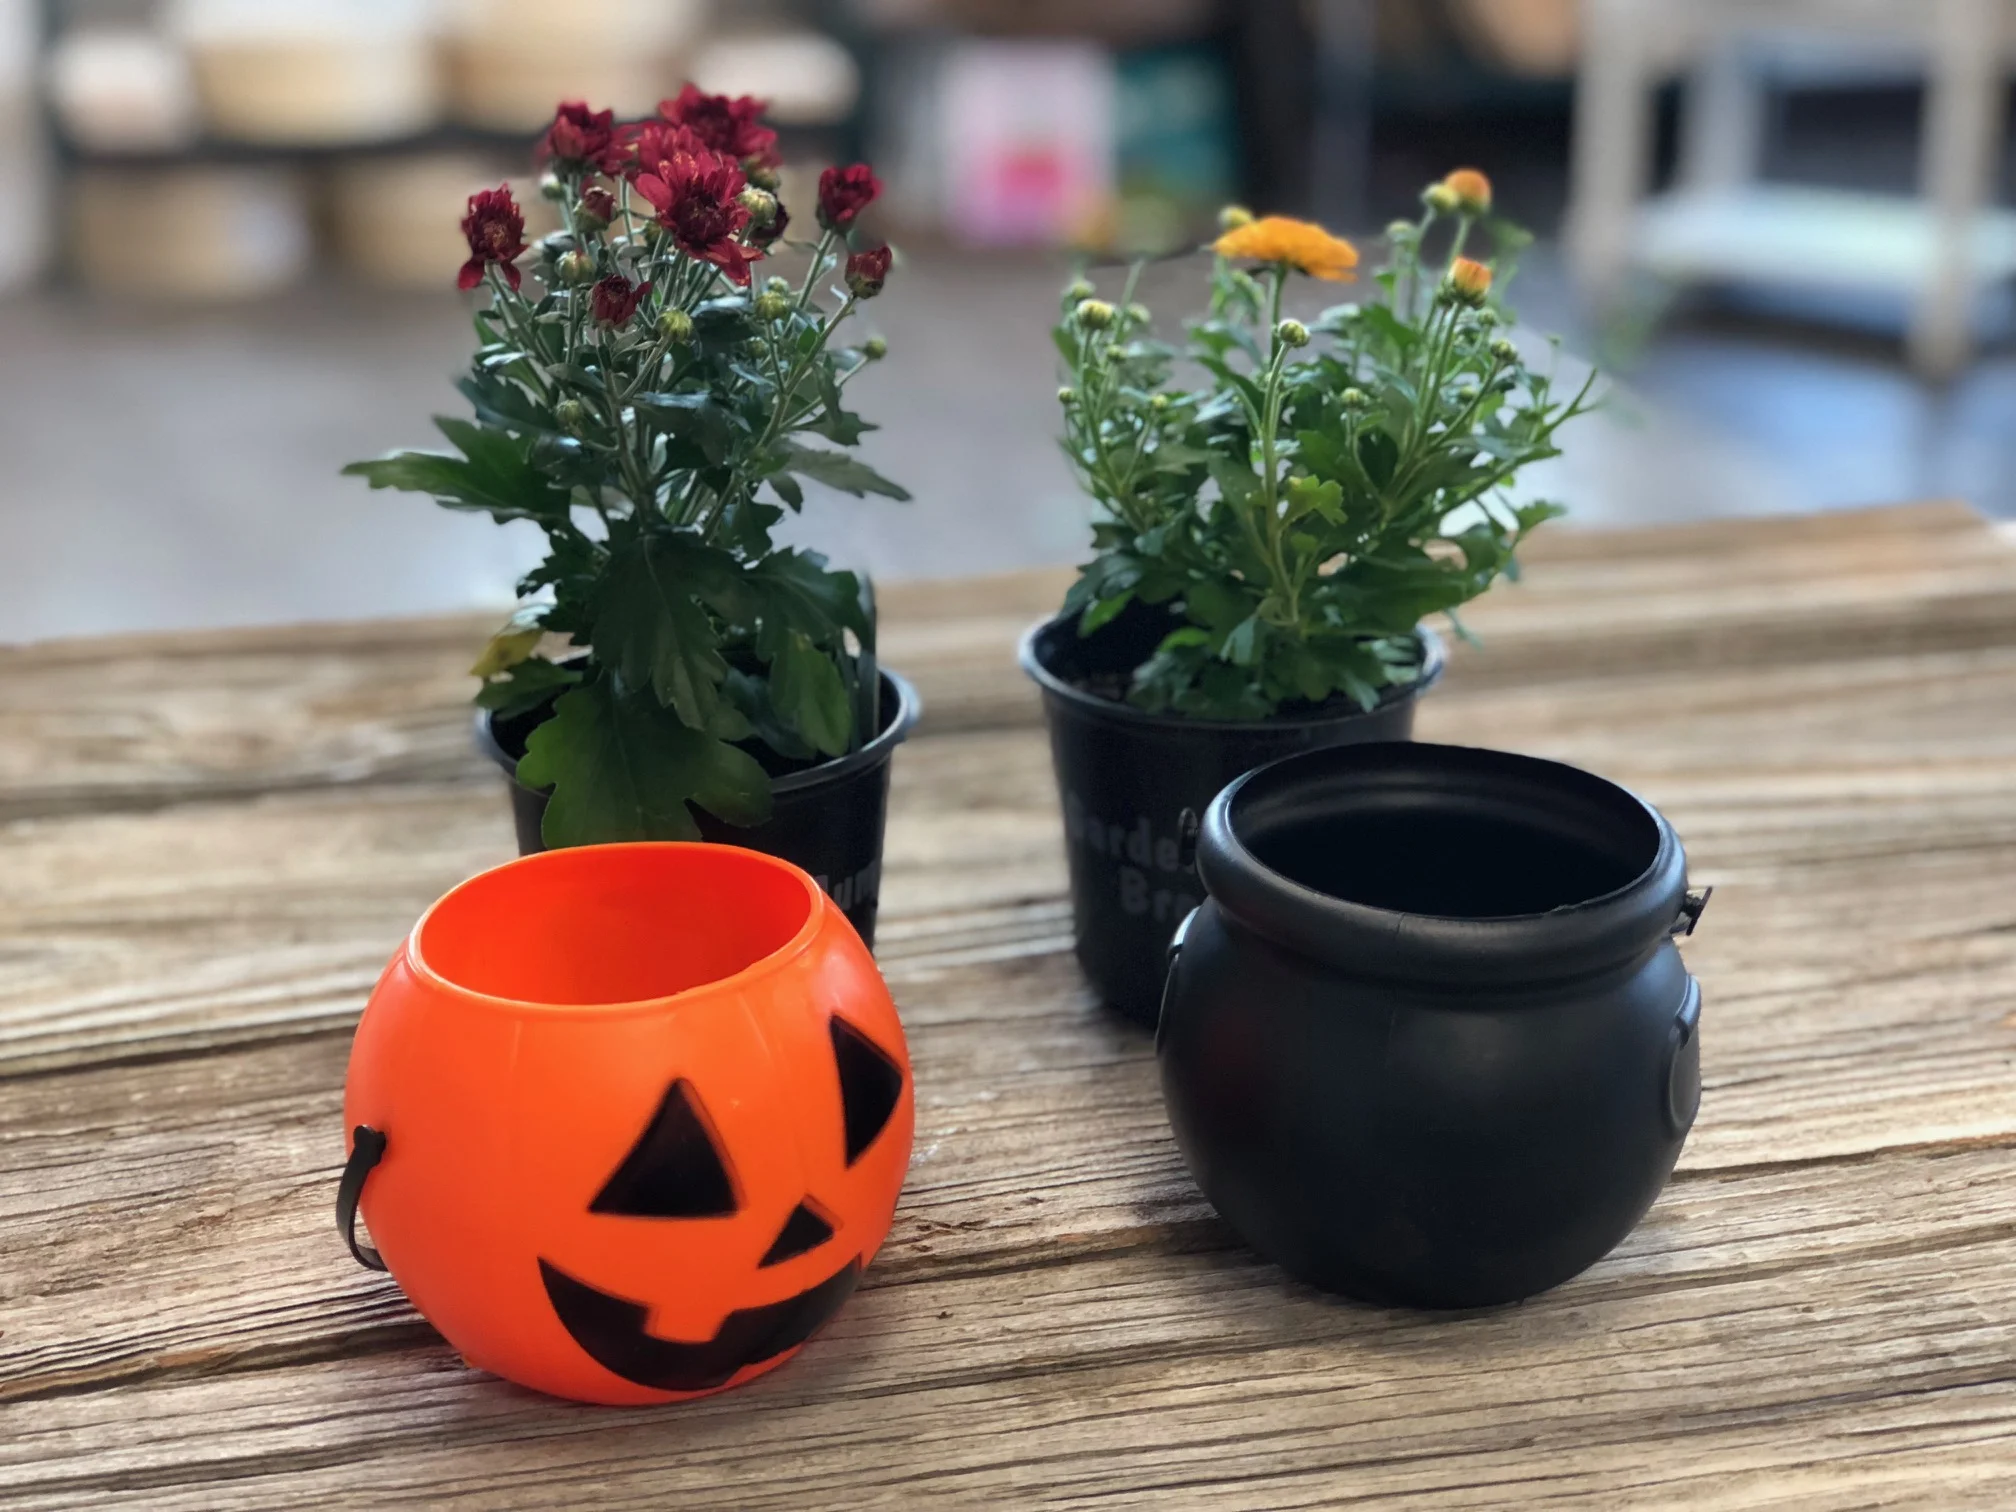
A few years ago I wanted to spruce up our front porch with some fall colored mums. I LOVE them, they scream FALL IS HERE! I was shopping around Walmart had the mums loaded in my basket and they come with the standard ugly stamped containers so I thought I’d pick up some inexpensive pots to put them in. Our porch decorating budget wasn’t a whole lot and I was already spending a big portion of it on the flowers. I found the pots and was floored at how expensive they were. They were twice as much as the flowers! Being raised to be super frugal by my mom and insanely CRAFTY grandma my wheels got to turning. I walked around the store looking for ideas of what I could stick these flowers in. Got to the Halloween aisle and BAM! There they were. Perfect round containers that looked like they were made to put those flowers in!!

This year I wanted to recreate those because they unfortunately didn’t last more than that season. I went to Walmart and the regular sized pumpkin buckets were no where to be found but they had mini ones which were the PERFECT size for the mini mum flowers…and a fraction of the cost! And did I mention they were MINI which automatically makes them even more adorable!

So I grabbed the mums, a mini pumpkin and a mini cauldron treat buckets and set back to our brick and mortar shop to make some cute planters!

Affiliate Disclosure. Some of the links on this website are affiliate links, which means that I may earn a small commission if you click on the link or make a purchase using the link. If you make a purchase you will not be charged anything additional. This is just a way I can help add to our family finances to raise our four daughters. Please know I would never recommend a product or service I do not totally stand behind.


Here’s what you’ll need

I picked everything up from my local Walmart.

2 mini MUM planted flowers, $.97 each {I picked mine up at our local Walmart, but they are not listed online

2 mini Halloween treat buckets $.74 each {I bought a pumpkin & cauldron}

scissors

It cost $1.71 {plus taxes} to make one flower pot. SUPER CHEAP for cute décor, and the kids will love them. I did mine by myself because my kiddos were at school, but you could totally make this a fun family thing and have everyone pot their own.

These are so super simple, literally 2 steps!

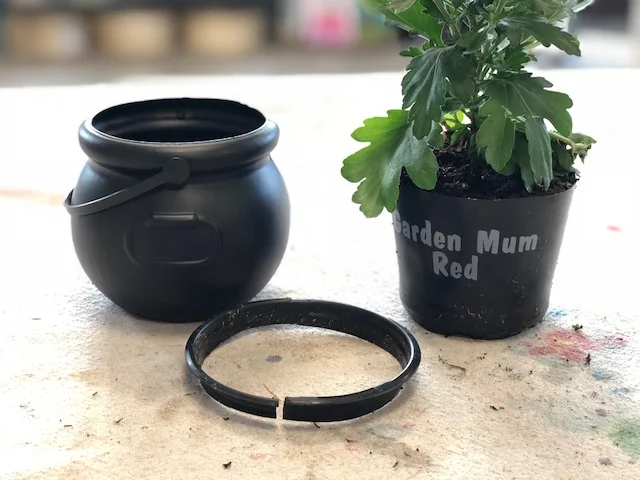
First you need to cut the top lip off of the pot the flowers are currently in. This can be hard to get the initial cut so I advise this step for adults.

Easy and adorable mini mum planters for less than $2, get the look with this tutorial

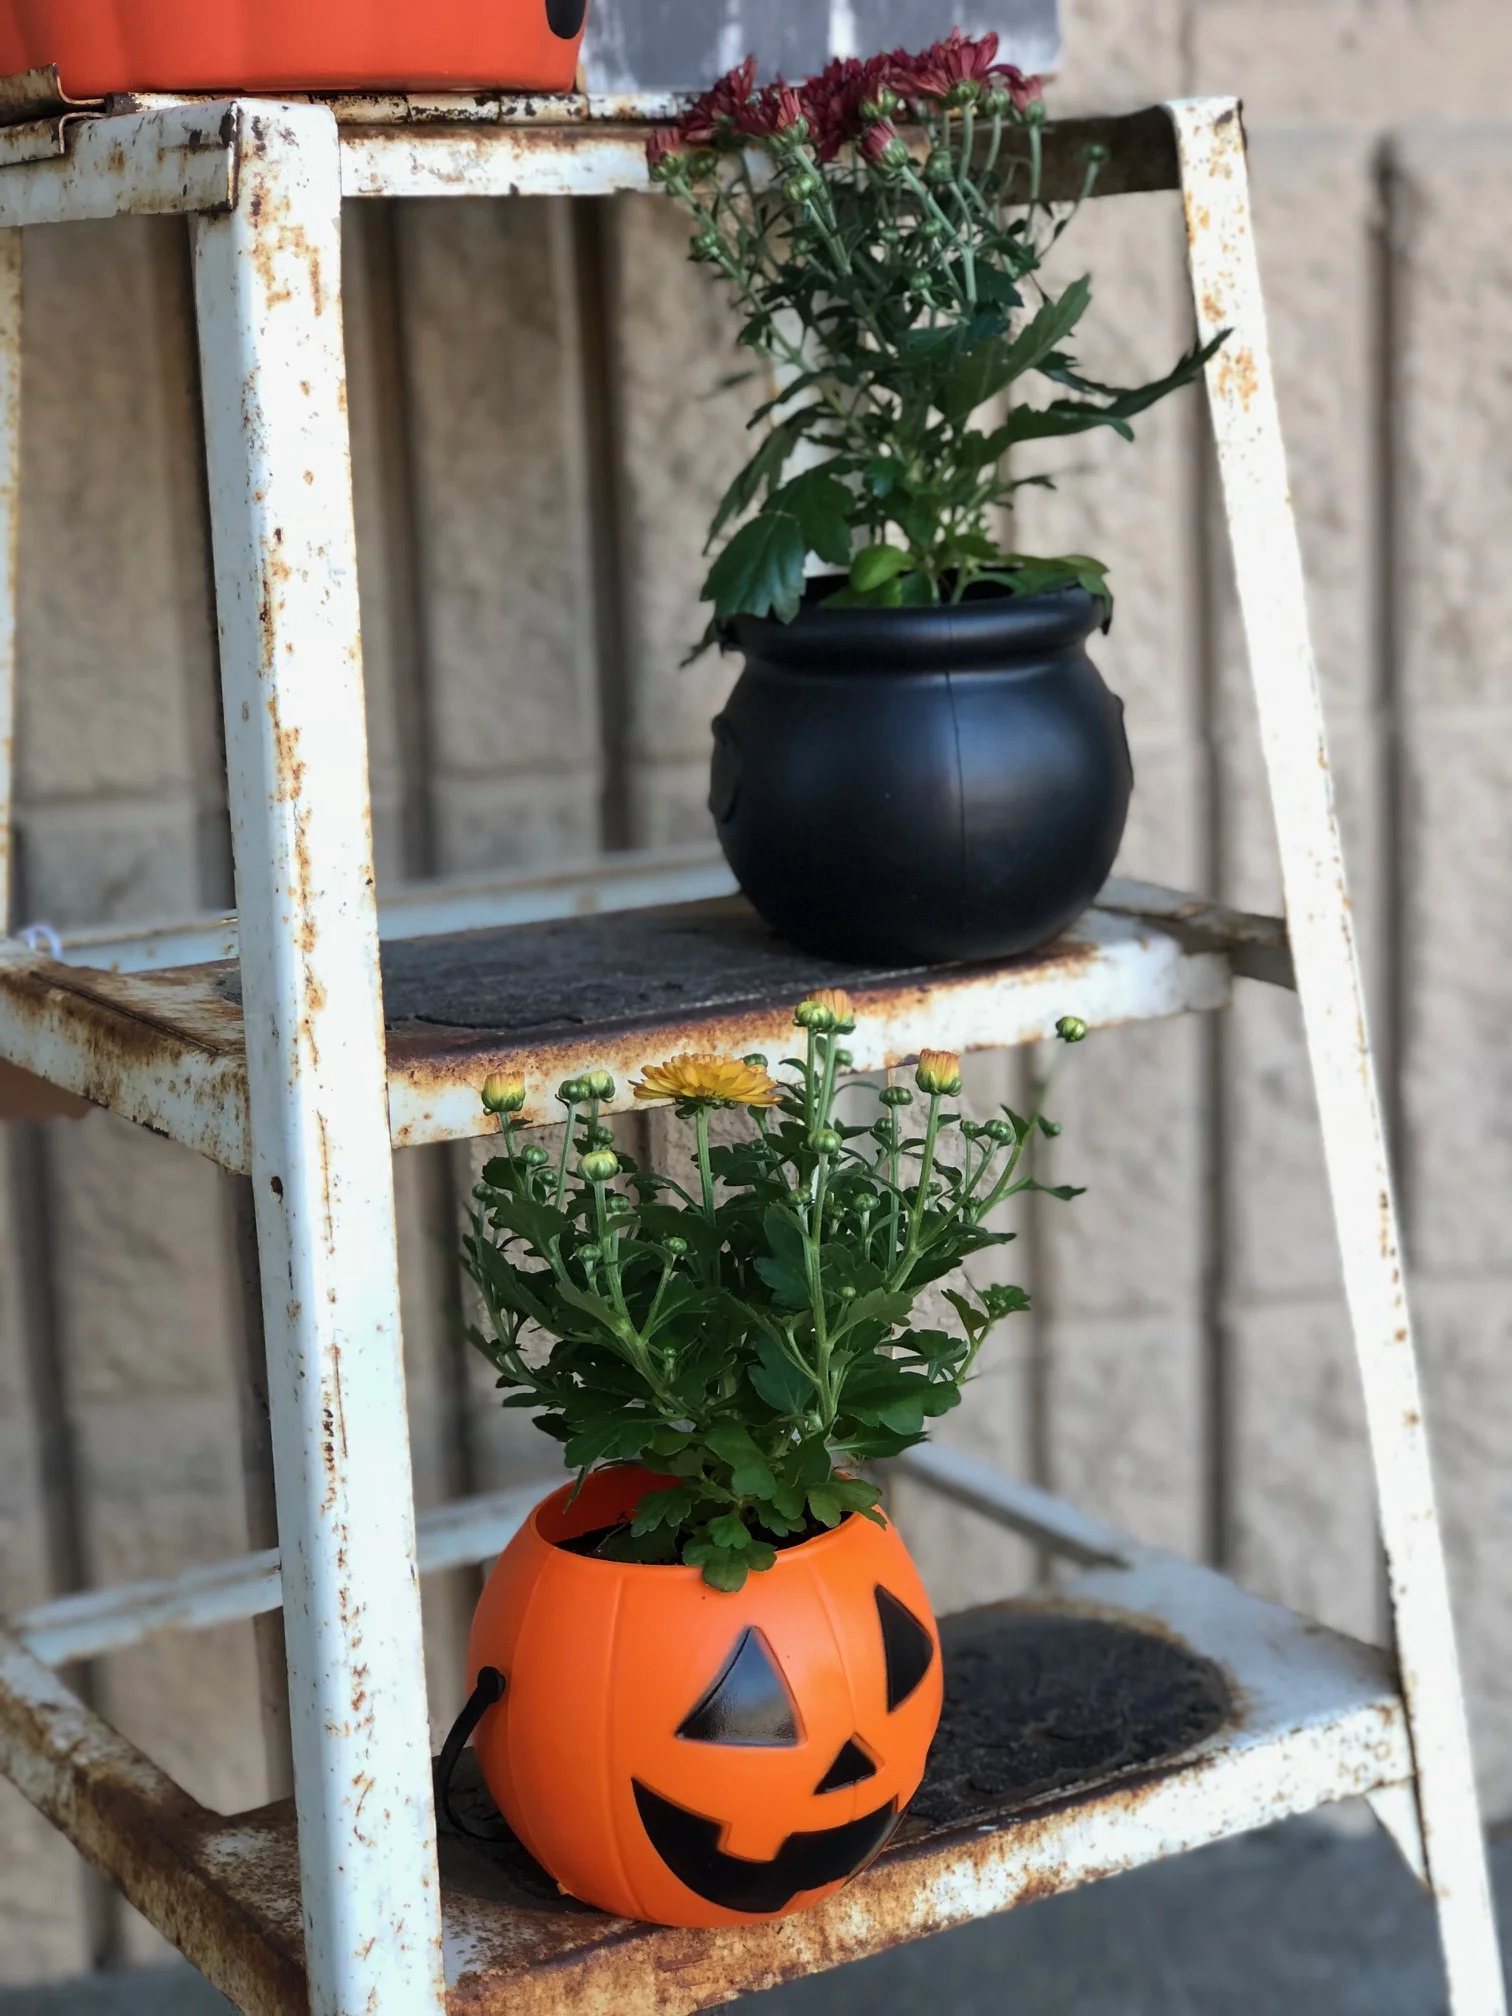
Now shove those babies in the treat bucket and you’re done! If yours are going to stay outside all the time you can drill 2 holes in the bottom to let them drain but I will be bringing mine in and out of our shop and I don’t want the water to drip everywhere so I will manually drain ours.

Easy and adorable mini mum planters for less than $2, get the look with this tutorial

I can’t wait for these to bloom and be even CUTER!

Check out more fall & Halloween themed posts below

DIY Light Up Fairy Jar

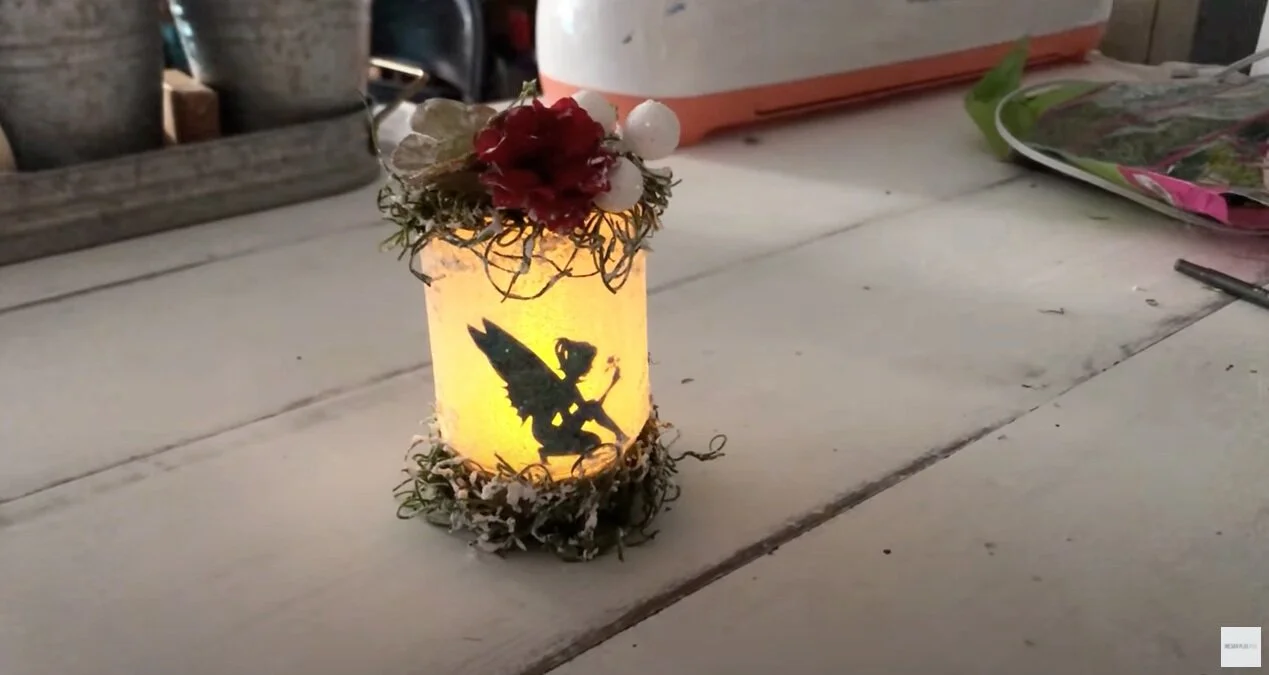
DIY glittery light up fairy jar. How to make your own fairy lantern from a mason jar and tissue paper. Easy craft tutorial.

How to make your own light up glittery fairy jar lantern

Making your own light up fairy jar is easier than you think. This has been a favorite craft kit in our Etsy shop and for good reason…it’s absolutely adorable! When we had our brick and mortar craft studio this was always a top choice for the kids to make too. There’s really not anything that can top a glowing fairy lantern that’s covered in glitter!

Affiliate Disclosure. Some of the links on this website are affiliate links, which means that I may earn a small commission if you click on the link or make a purchase using the link. If you make a purchase you will not be charged anything additional.

If you love this mason jar craft be sure to check out this adorable DIY UNICORN MASON JAR CRAFT TUTORIAL

Check out this similar MINI version of my DIY LIGHT UP FAIRY JAR…in CHRISTMAS ORNAMENT form. See the video below


If you love crafty video tutorials be sure to subscribe to my YouTube channel


Make your DIY LIGHT UP FAIRY JAR even easier and grab a —-> FAIRY JAR CRAFT KIT <——

I recommend using a LOW TEMP glue gun to attach all your floral accents. This will dry much quicker and be more stable than using the mod podge to glue. Pro tip: using a low temp glue gun is always best when the kiddos are involved. The temp is a lot lower than a high temp glue gun and if they come in contact with either the hot glue or the tip of the glue gun then their skin likely won’t blister. I let all three of my older girls use this type of glue gun all by themselves and although they’ve come in contact with either the glue or the gun they’ve never had a serious issue with them.

If you didn’t grab your own DIY FAIRY JAR CRAFT KIT you’ll need to first cut out your fairy. I used my CRICUT EXPLORE & CRICUT ACCESS for this step. Grab my fairy template from my FREE RESOURCE LIBRARY

Next apply your mod podge to the INSIDE of one side of your smooth mason jar. This is easier than applying the glue to the cardstock fairy then trying to place it inside of your jar.

Then place your fairy inside, be sure to position it so it's not crooked. Hold the fairy in place with the end of your brush for a few seconds until it’s set.

How to make a light up glittery fairy jar lantern. Use a smooth mason jar, glitter, and tea light to make your own light up fairy lantern. Add some floral accents and you have a perfect fairy jar night light for your fairy obsessed little girl.

If you didn’t grab a craft kit, cut your tissue paper down so it is slightly bigger than your jar. You are going to mod podge this to the OUTSIDE of your jar. I find it easier to glue one side at a time.
Apply a good layer of mod podge to one side of your jar, be sure to get good coverage. Place your tissue paper down and slowly pat it down to work out all the bubbles. If it rips, don't worry this won't be super noticeable as you will be covering the jar in glitter. You will do this all around the jar till it is totally wrapped in one layer of tissue paper
How to make a light up glittery fairy jar lantern. Use a smooth mason jar, glitter, and tea light to make your own light up fairy lantern. Add some floral accents and you have a perfect fairy jar night light for your fairy obsessed little girl.

After you’ve mod podged down your tissue paper trim away the excess where the lid will be screwed on. This makes it easier to get the lid off an on.

Apply a good layer of mod podge around the entire jar. Be sure it's a good layer so it doesn't dry by the time you get all the way around the jar.

How to make a light up glittery fairy jar lantern. Use a smooth mason jar, glitter, and tea light to make your own light up fairy lantern. Add some floral accents and you have a perfect fairy jar night light for your fairy obsessed little girl.

Sprinkle your white glitter all the way around your jar. I typically focus around the corners but there's no wrong way to do this step.

Once your done glittering the outside of your fairy jar turn it upside down on the table and let dry. You will want it completely dry before you start gluing all your accents on.

How to make a light up glittery fairy jar lantern. Use a smooth mason jar, glitter, and tea light to make your own light up fairy lantern. Add some floral accents and you have a perfect fairy jar night light for your fairy obsessed little girl.

Accent time! A grown up will want to help with this part if a glue gun is involved. 

I recommend not hot gluing your twine OR your accents to the lid itself. Gluing it to the lid will make it difficult to get the lid on and off AND your accents are likely to fall off easily if glued directly to the lid. Instead, glue your twine just below the bottom lip at the top of your mason jar.

Using your hot glue gun glue one end of your twine down just below that bottom lip of the jar. Wrap the twine around a few times. Then glue the second end in place.

Now, glue your accents right onto the twine. It helps if you trim down the flower bases so that they can sit flat on the twine.
How to make a light up glittery fairy jar lantern. Use a smooth mason jar, glitter, and tea light to make your own light up fairy lantern. Add some floral accents and you have a perfect fairy jar night light for your fairy obsessed little girl.

Insert your tea light, turn off the lights and you're done! You've just created the cutest little fairy jar light!

Want instant access to my FREE RESOURCE LIBRARY? Fill out the boxes below and get the access code to use ALL of my freebies in my library.

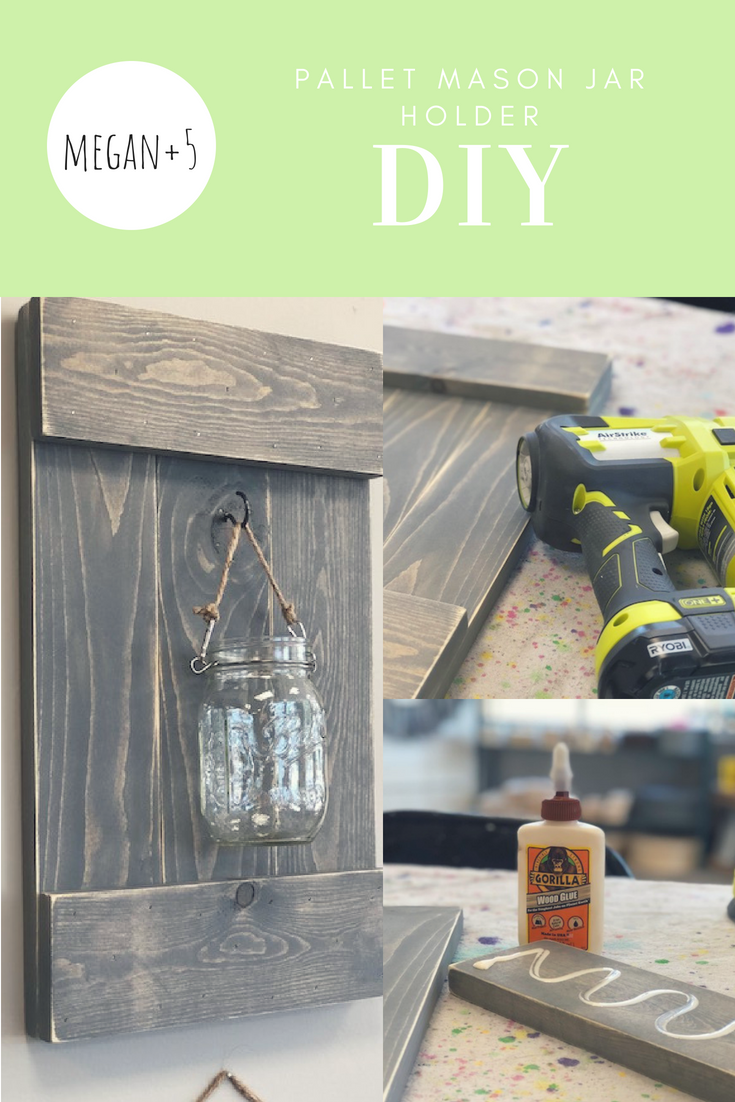
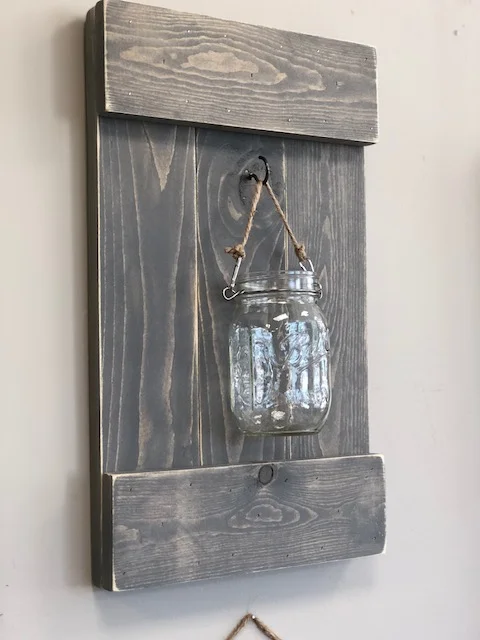
DIY wall sconce using 1x4's

DIY wall sconce, how to make a pallet style hanging wall sconce from a 2x4 and mason jar

How to make a pallet style wall sconce

I've always had a LOVE for the farmhouse style...even before it was a thing...so I am so excited that others are appreciating the simple and rustic look!  I've never been one to got out and spend a ton of money to redecorate, I was raised to use what you have or get creative and make something from things you have on hand or need to buy little supplies for {which is what lit our flame for our business}. 

I've had my eye on these mason jar holders for awhile now...almost 2 years! And I finally made time to create my very own. I knew they would be super easy but seriously I am kicking myself for not making them sooner. One of the easiest and quickest DIY's I've done in awhile. In less than an hour you can have your own set of hanging pallet mason jar holders too!

Affiliate Disclosure. Some of the links on this website are affiliate links, which means that I may earn a small commission if you click on the link or make a purchase using the link. If you make a purchase you will not be charged anything additional. This is just a way I can help add to our family finances to raise our four daughters. Please know I would never recommend a product or service I do not totally stand behind.

If you like this pallet style décor check out my hanging flag wall décor diy tutorial.

Materials you'll need to make 1 PALLET STYLE WALL SCONCE

DIY wall sconce, how to make a pallet style hanging wall sconce from a 2x4 and mason jar

STEP 1

Cut your 1x4x8 into 5 pieces.

3- 1x4x18

2- 1x4x10.5

{If you're making a set you will need to cut double the pieces}

DIY wall sconce, how to make a pallet style hanging wall sconce from a 2x4 and mason jar

STEP 2

Give al the pieces a quick sanding to knock down all the unclean edges. This will make applying the stain MUCH easier.

DIY wall sconce, how to make a pallet style hanging wall sconce from a 2x4 and mason jar

STEP 3

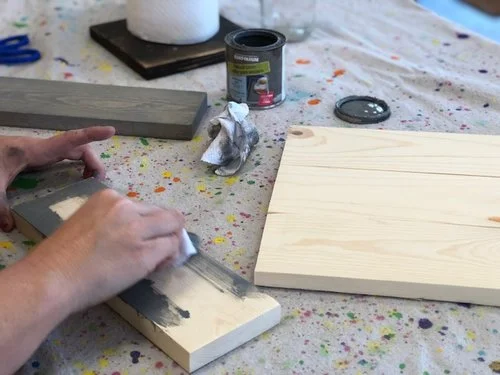
Stain your pieces. If you are painting them you can wait to do this till you have put your pieces together.

-I highly recommend Rustoleum stain especially this weathered gray I used on this piece.

DIY wall sconce, how to make a pallet style hanging wall sconce from a 2x4 and mason jar

STEP 4

I recommend sanding your pieces before you attach them together. You can use a sanding block or regular 120 grit sand paper but I prefer to use my Ryobi cordless sander. It's quick and does a GREAT job! Be sure to wipe your boards down with a lint free rag after sanding to get all the sawdust off.


DIY wall sconce, how to make a pallet style hanging wall sconce from a 2x4 and mason jar

STEP 5

Place your 18" pieces evenly in a row. Be sure you are happy with their placement.

DIY wall sconce, how to make a pallet style hanging wall sconce from a 2x4 and mason jar

STEP 6

Once you have your boards laid out how you like them take the 10.5" boards and run a bead of Gorilla Wood Glue down one of the sides. You will place it glue side down onto your 18" boards width wide {so you will have a 10.5" board going along the top and another 10.5" board going along the bottom}.

DIY wall sconce, how to make a pallet style hanging wall sconce from a 2x4 and mason jar

STEP 7

Now you will use your Ryobi Brad Nailer to nail them in place. This will give them the stability to last for years to come

If you don't have a brad nailer you can use a hammer and nail. It won't be as quick but it will get the job done. 

DIY wall sconce, how to make a pallet style hanging wall sconce from a 2x4 and mason jar

STEP 8

 Add a cup hook to the top middle of your board. To make it easy you might want to drill a small pilot hole to get it started. Be sure it's under the 10.5" piece, hang your mason jar and you're done!

It may seem like a lot of steps but I assure you this is an EASY PEASY project to give your décor some sprucing up!


What are the best power tools for crafters?

Read about the power tools that are a crafter’s must have.