DIY Pink Hey There Boo Halloween Sign + FREE SVG
/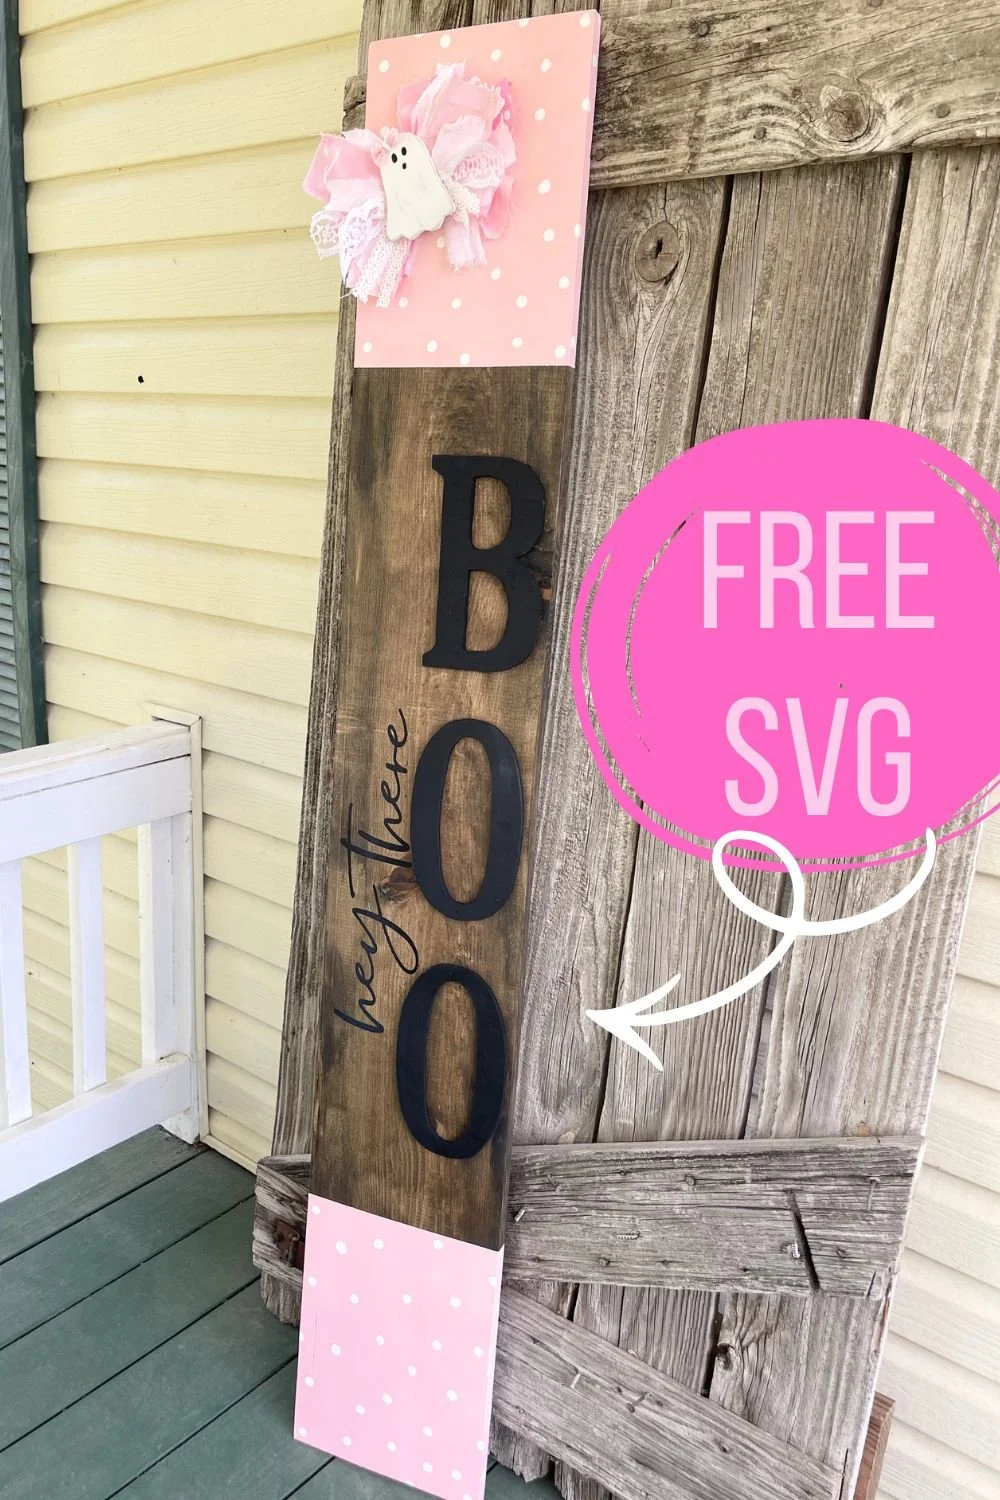
Who says Halloween has to be spooky? Girl, not me! Bring on all the cute country chic, lace and pink Halloween decorations.
If that’s you too then you will LOVE this absolutely adorable shabby chic pink Halloween leaning porch sign.
Let’s get started on this DIY Halloween DIY
Affiliate Disclosure. Some of the links on this website are affiliate links, which means that I may earn a small commission if you click on the link or make a purchase using the link. If you make a purchase you will not be charged anything additional.
Here’s what you’ll need to make your own DIY “hey there boo” pink leaning porch sign for Halloween
1x8x6 wood board (I got mine from Menards)
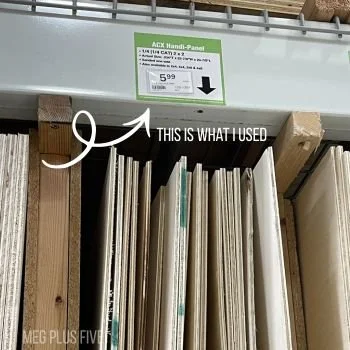
1/4” ACX panel (this is just a thin sheet of wood, I got mine at Menards)
cardstock for stencil
assorted pink & white fabric
assorted pink & white ribbon
Handy tools:
How to make a DIY girly Halloween wood porch sign
Step 1
Stain your wood board and let it dry
STEP 2
Using my FREE SVG (you can get the SVG file here), upload into Cricut Design Space. Ungroup and RESIZE the letters to your liking.
Cut the “BOO” letters out on cardstock so you can use them as a stencil.
Cut the “hey there” letters out using outdoor grade vinyl. Set this aside, you will use the decal later.
STEP 3
Trace “BOO” onto your 1/4” sheet of wood.
STEP 4
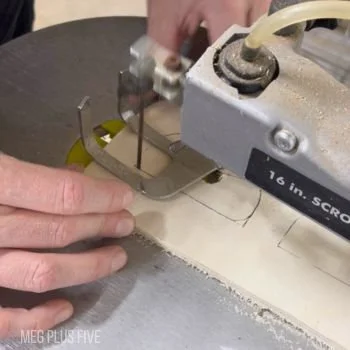
I’m sure I could have gotten something to use on my Cricut but instead I wanted to use my Ryobi Scroll Saw.
After tracing my letters and cut ghost outline onto the sheet of 1/4” wood I cut them out using my scroll saw. This is kind of a pain in the rear but it works.
STEP 5
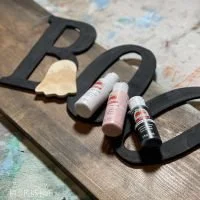
Paint the letters black and the little ghost silhouette white. Let dry
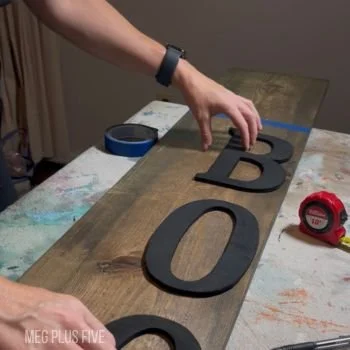
Once those were dry I measured where I wanted them on my board and I glued them down. Then, I used my Ryobi brad nailer to secure them into place.
I left 1’ of room at the top and bottom of my board to paint pink.
STEP 6
Tape off the top and bottom sections so you can paint it. I painted mine white, let dry, then I painted over the white with camo pink paint. It’s always a good idea if you are wanting a true color to show through that you prime it with white first then go back and paint with the color of your choosing after it’s dry.
STEP 7
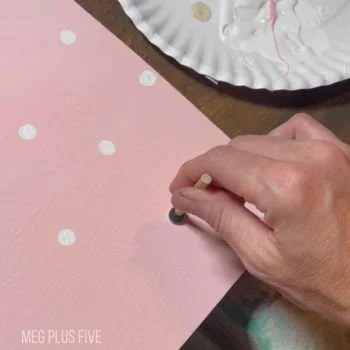
Add polk a dots. I used a small round dabber for this. You could use the end of a paint brush if you want. Let dry.
STEP 8
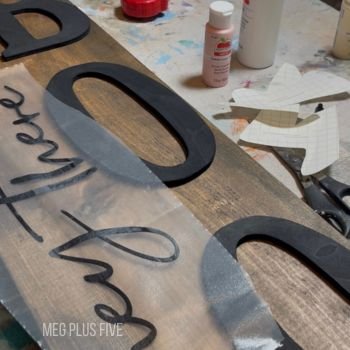
Add your “hey there” decal. Read this tutorial on how to transfer decals effortlessly.
STEP 9
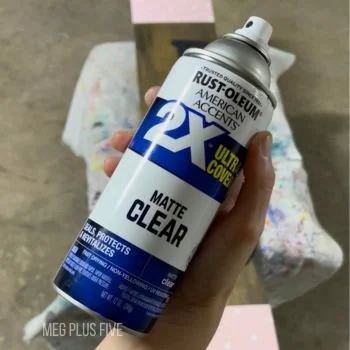
Seal your sign with an outdoor sealant. I used a spray matte finish sealer but a satin would be great too. Let dry.
STEP 10
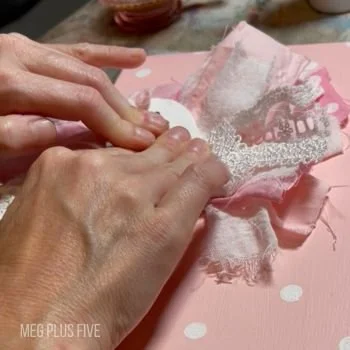
Add your ghost silhouette to your rag bow then secure it to your wood sign. I just used hot glue for this but can add hardware if you are worried that isn’t secure enough.