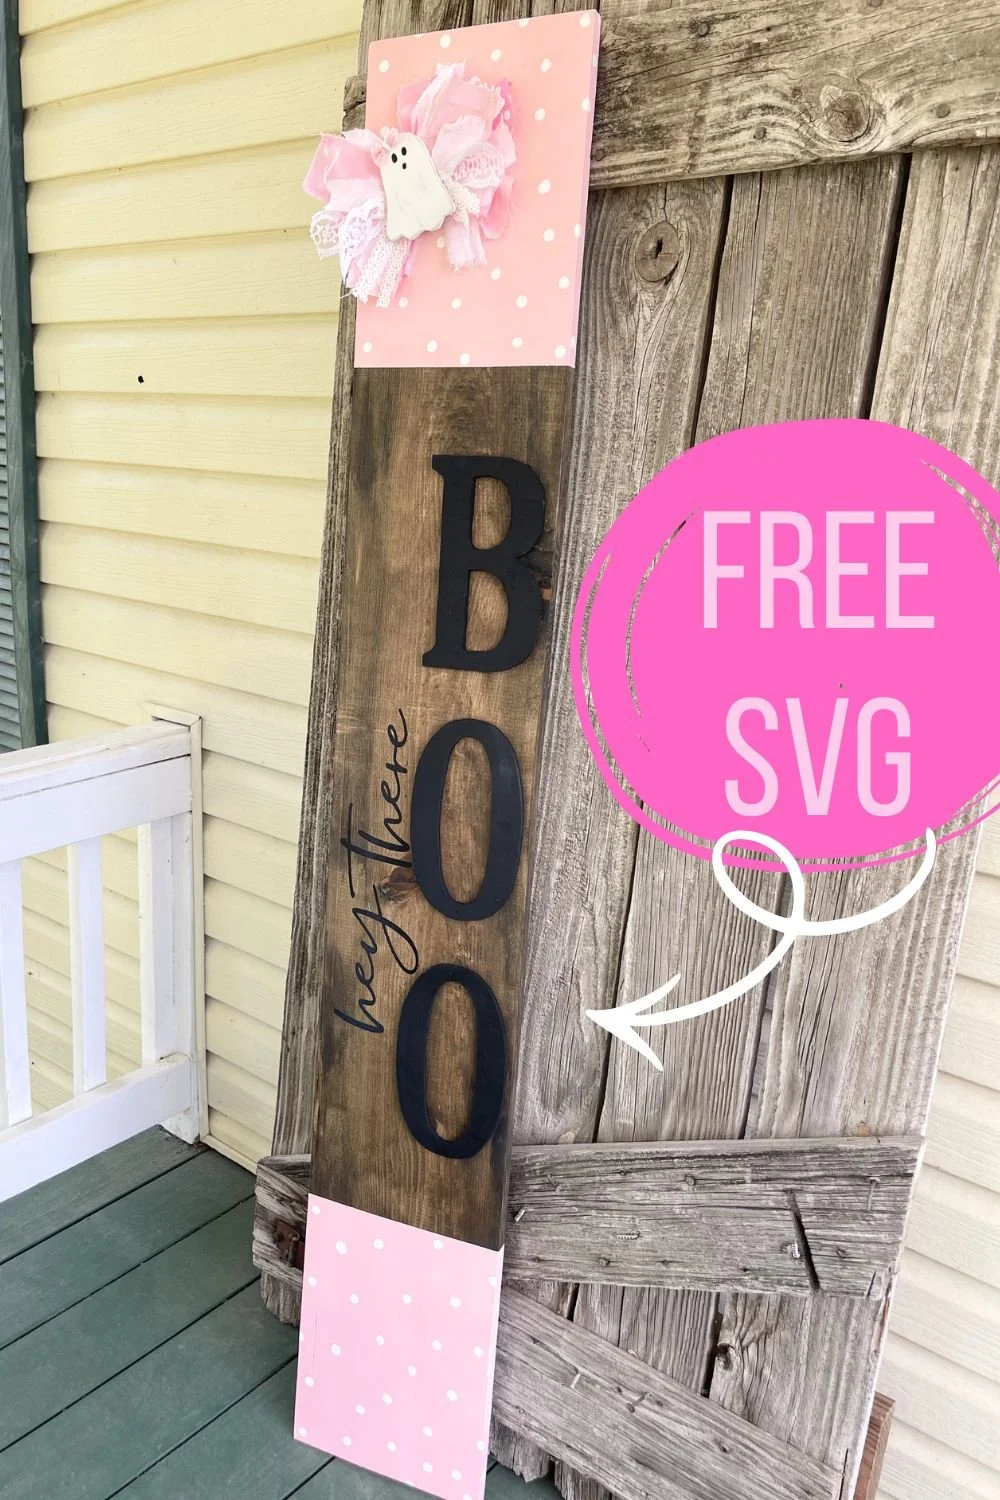
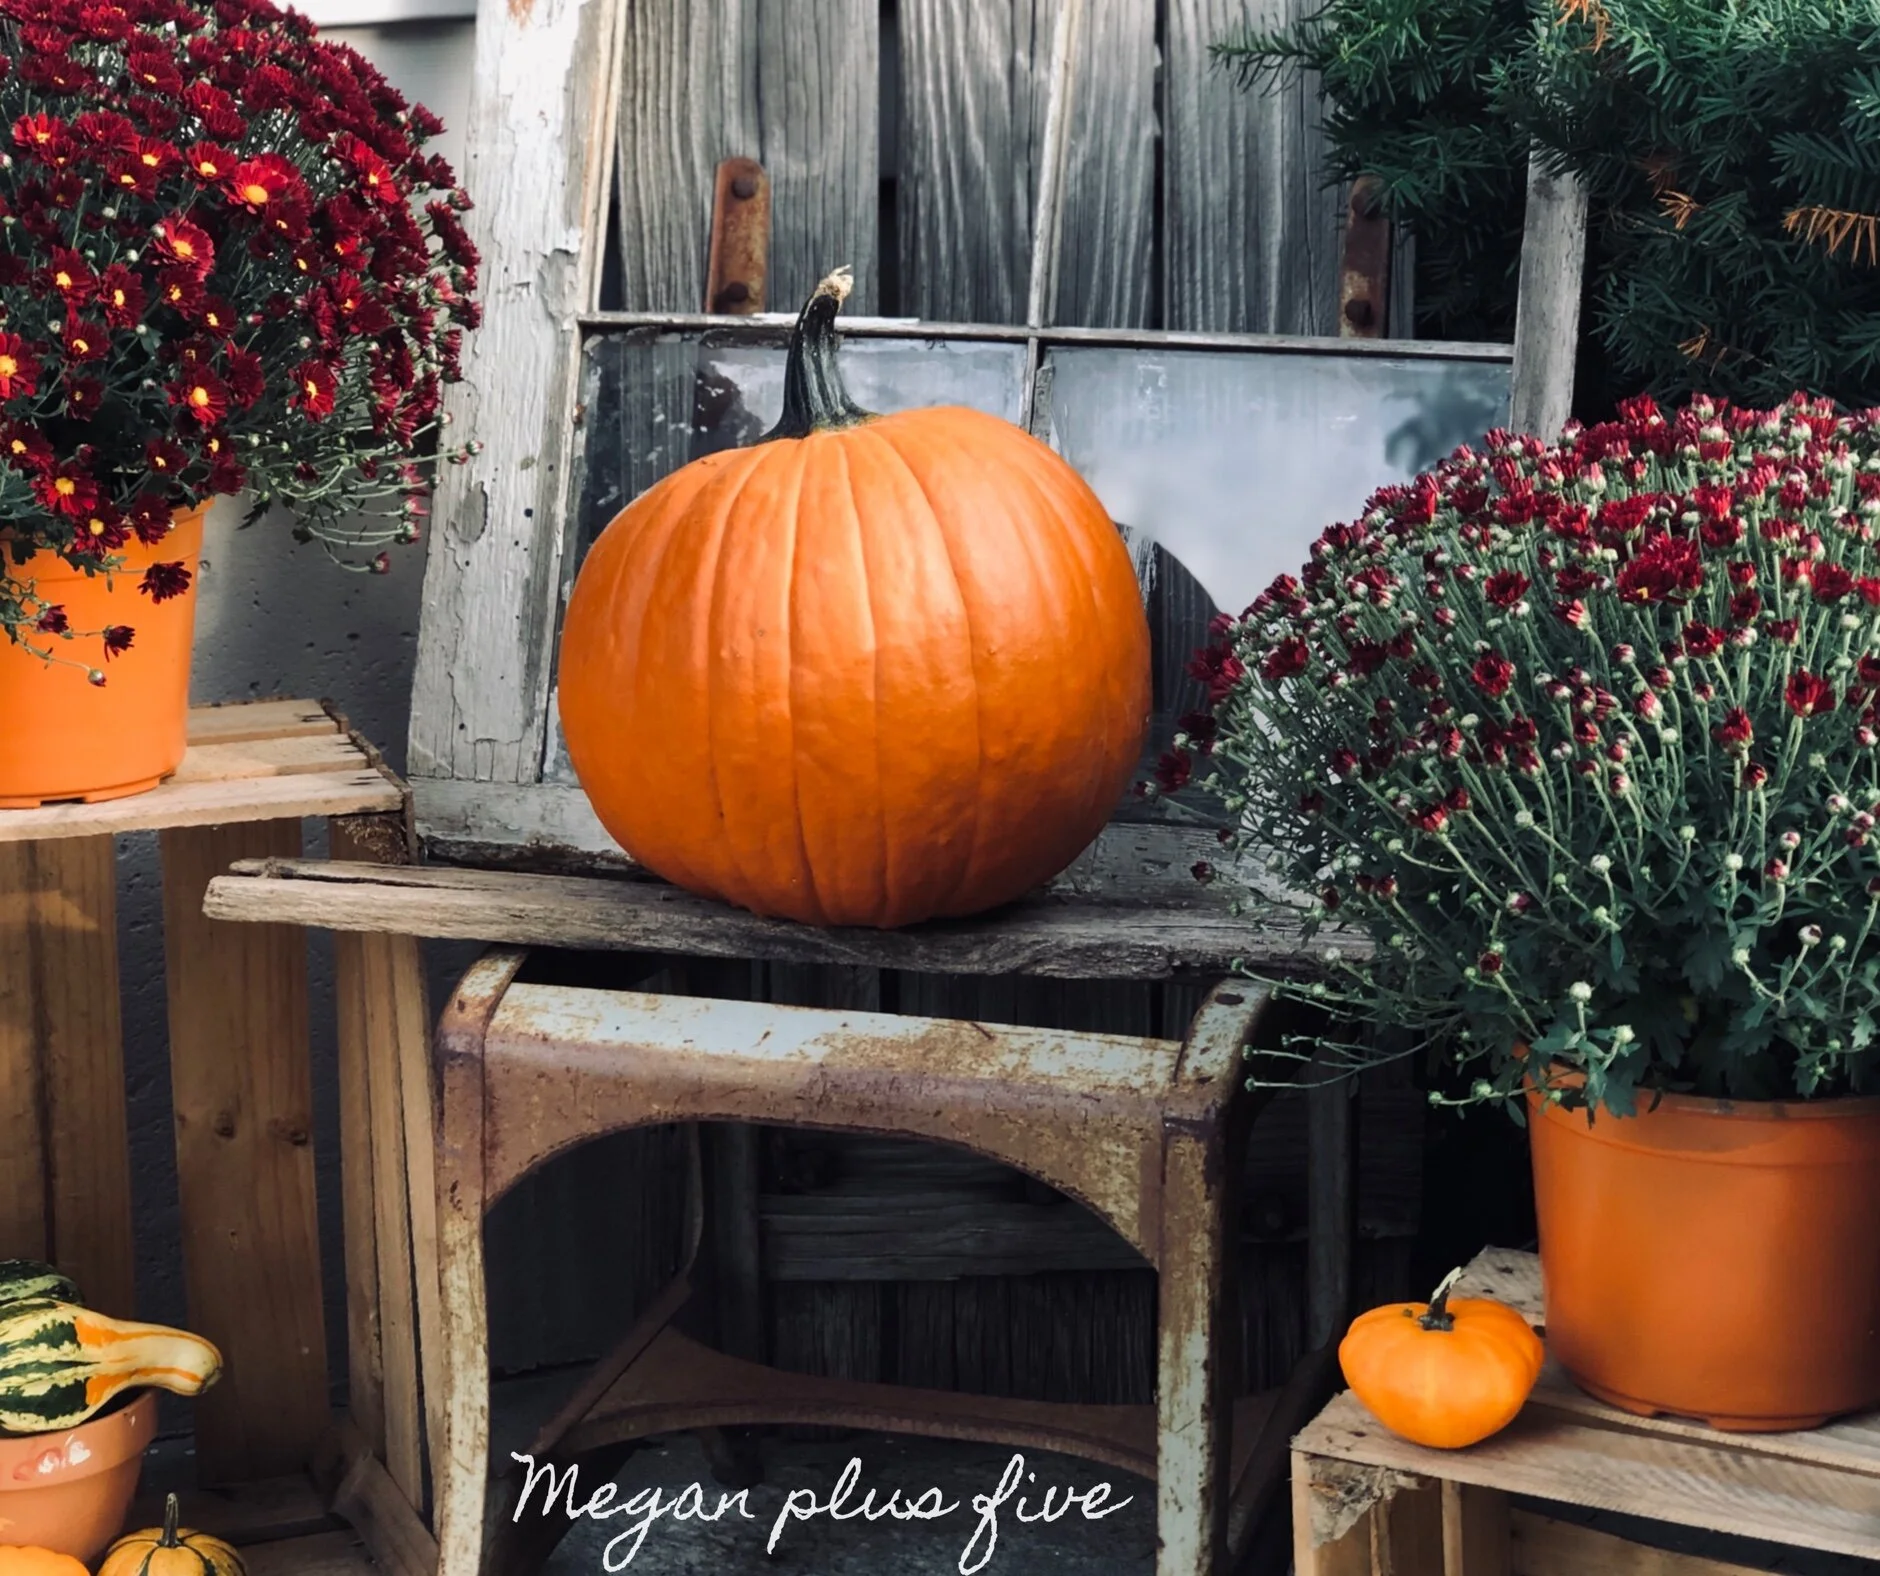
DIY Pink Hey There Boo Halloween Sign + FREE SVG

Who says Halloween has to be spooky? Girl, not me! Bring on all the cute country chic, lace and pink Halloween decorations.

If that’s you too then you will LOVE this absolutely adorable shabby chic pink Halloween leaning porch sign.

Let’s get started on this DIY Halloween DIY

Affiliate Disclosure. Some of the links on this website are affiliate links, which means that I may earn a small commission if you click on the link or make a purchase using the link. If you make a purchase you will not be charged anything additional.

Here’s what you’ll need to make your own DIY “hey there boo” pink leaning porch sign for Halloween

Handy tools:

How to make a DIY girly Halloween wood porch sign

Step 1

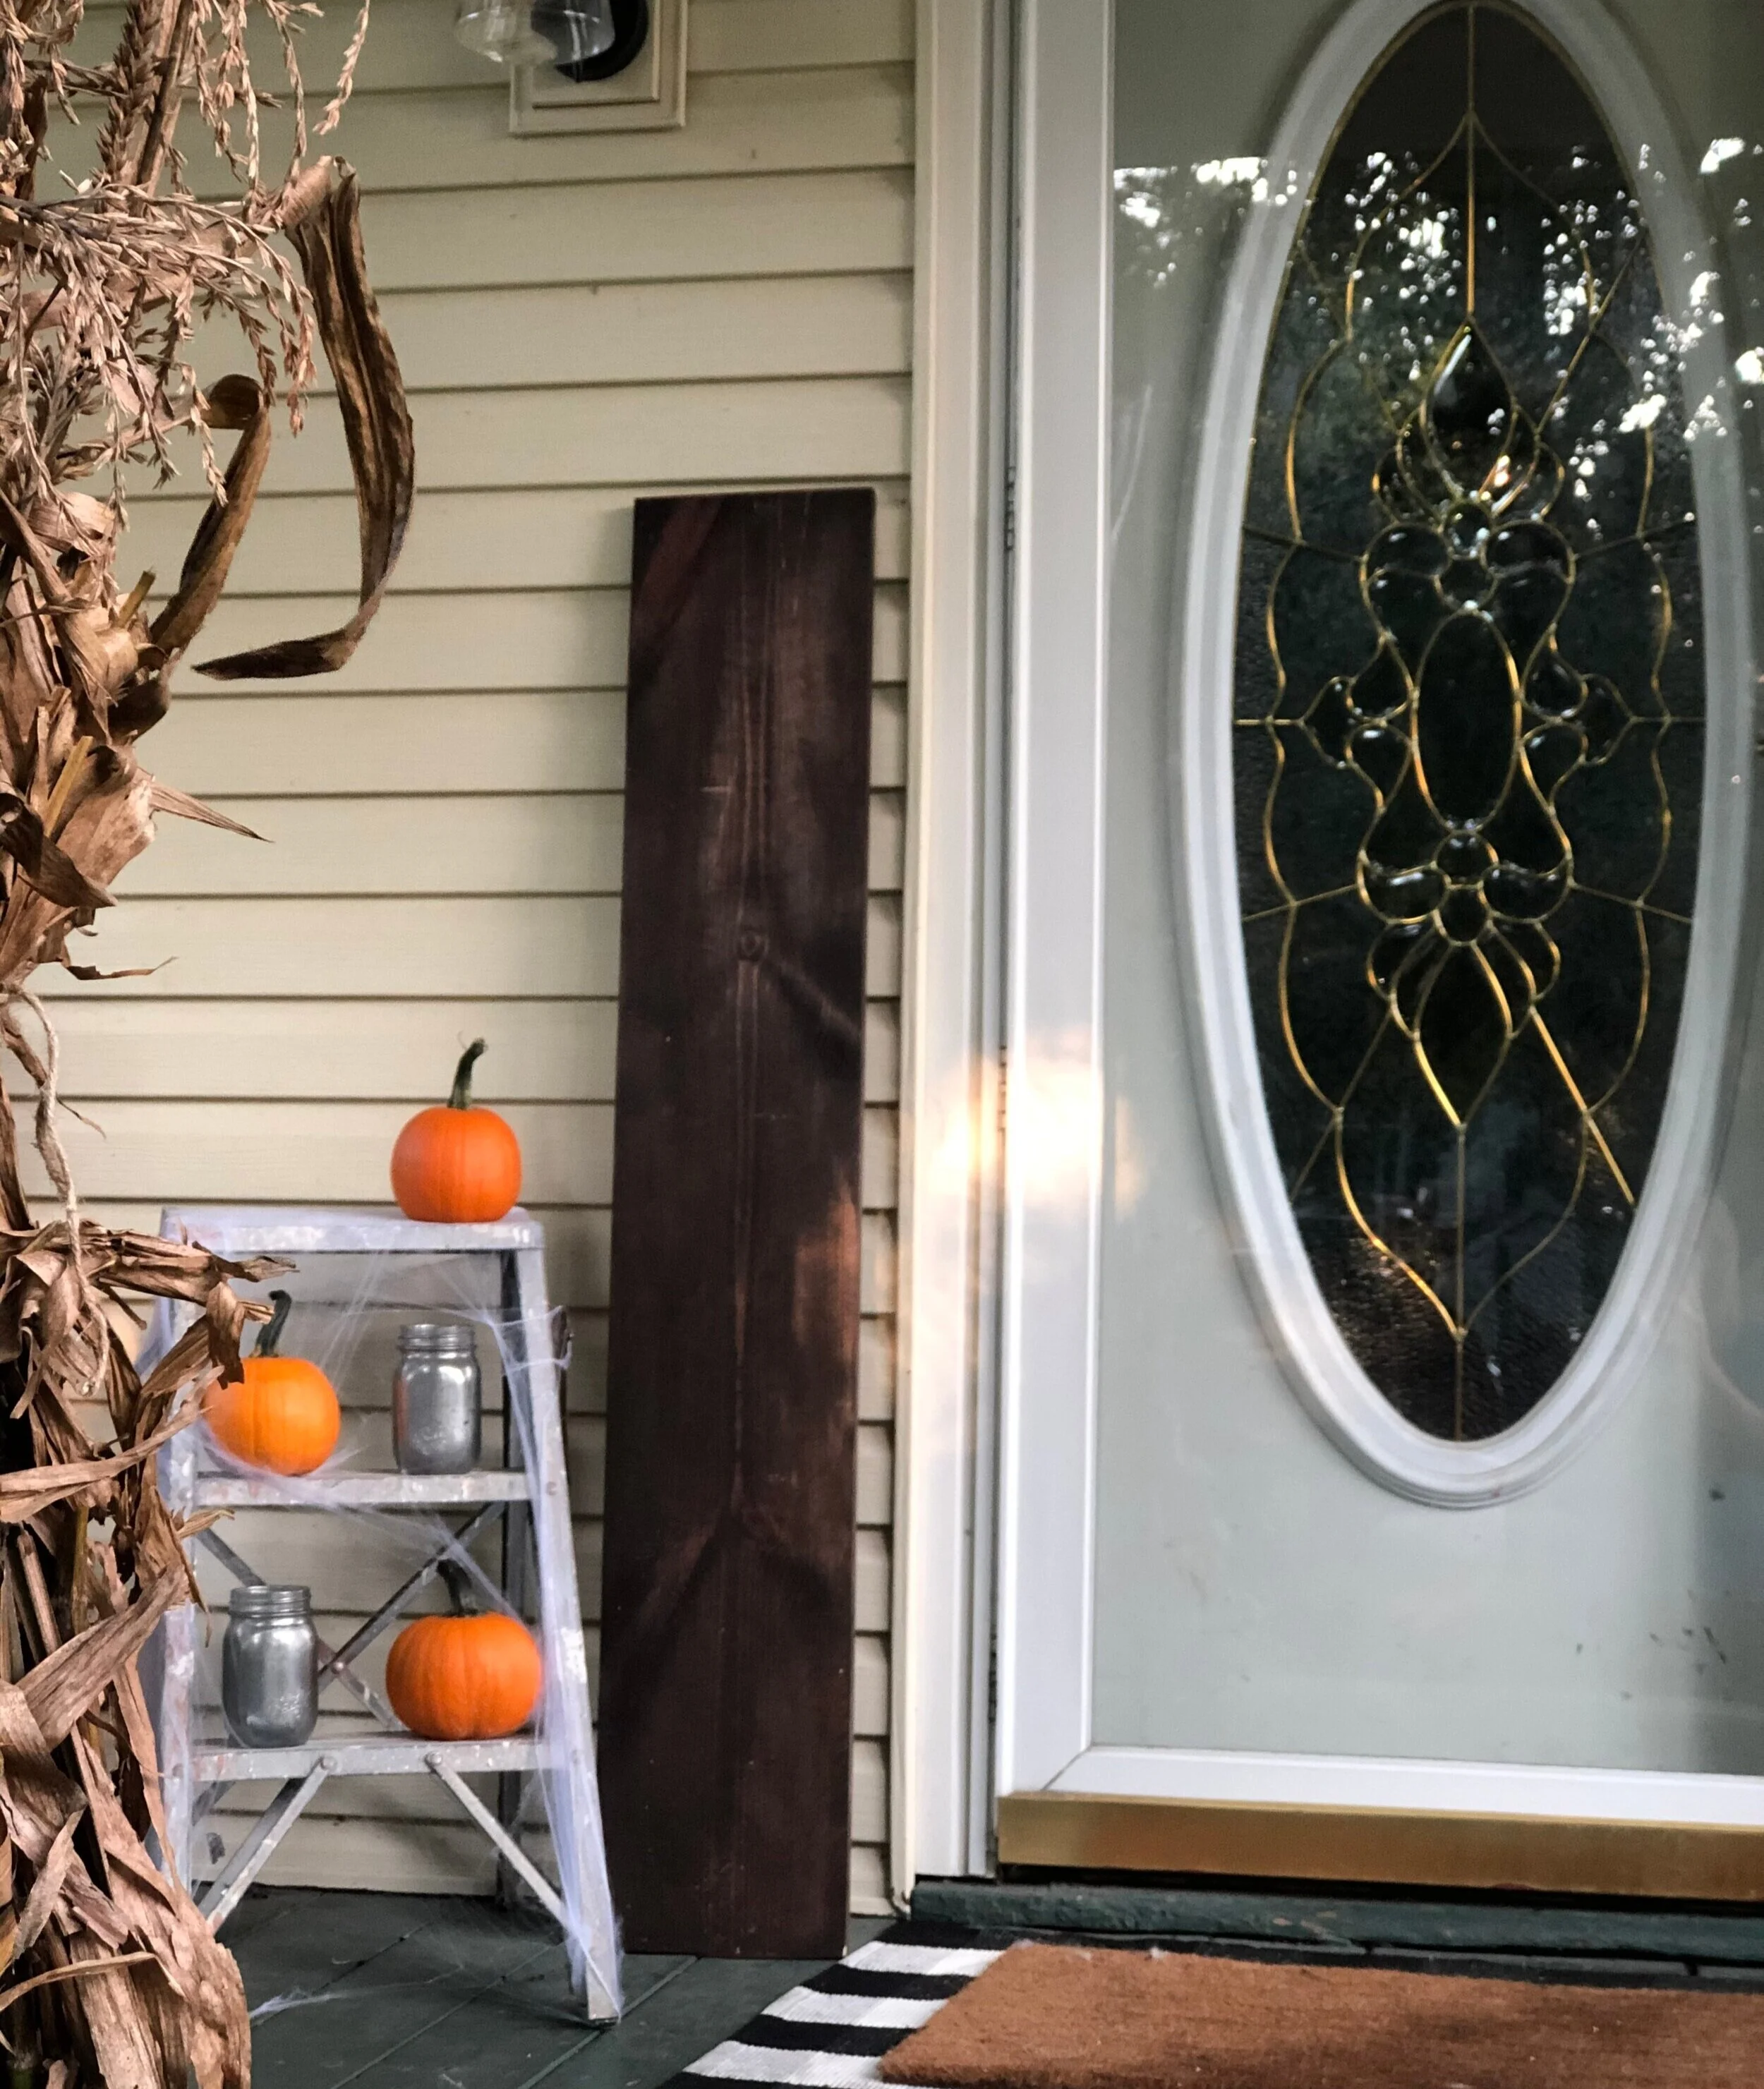
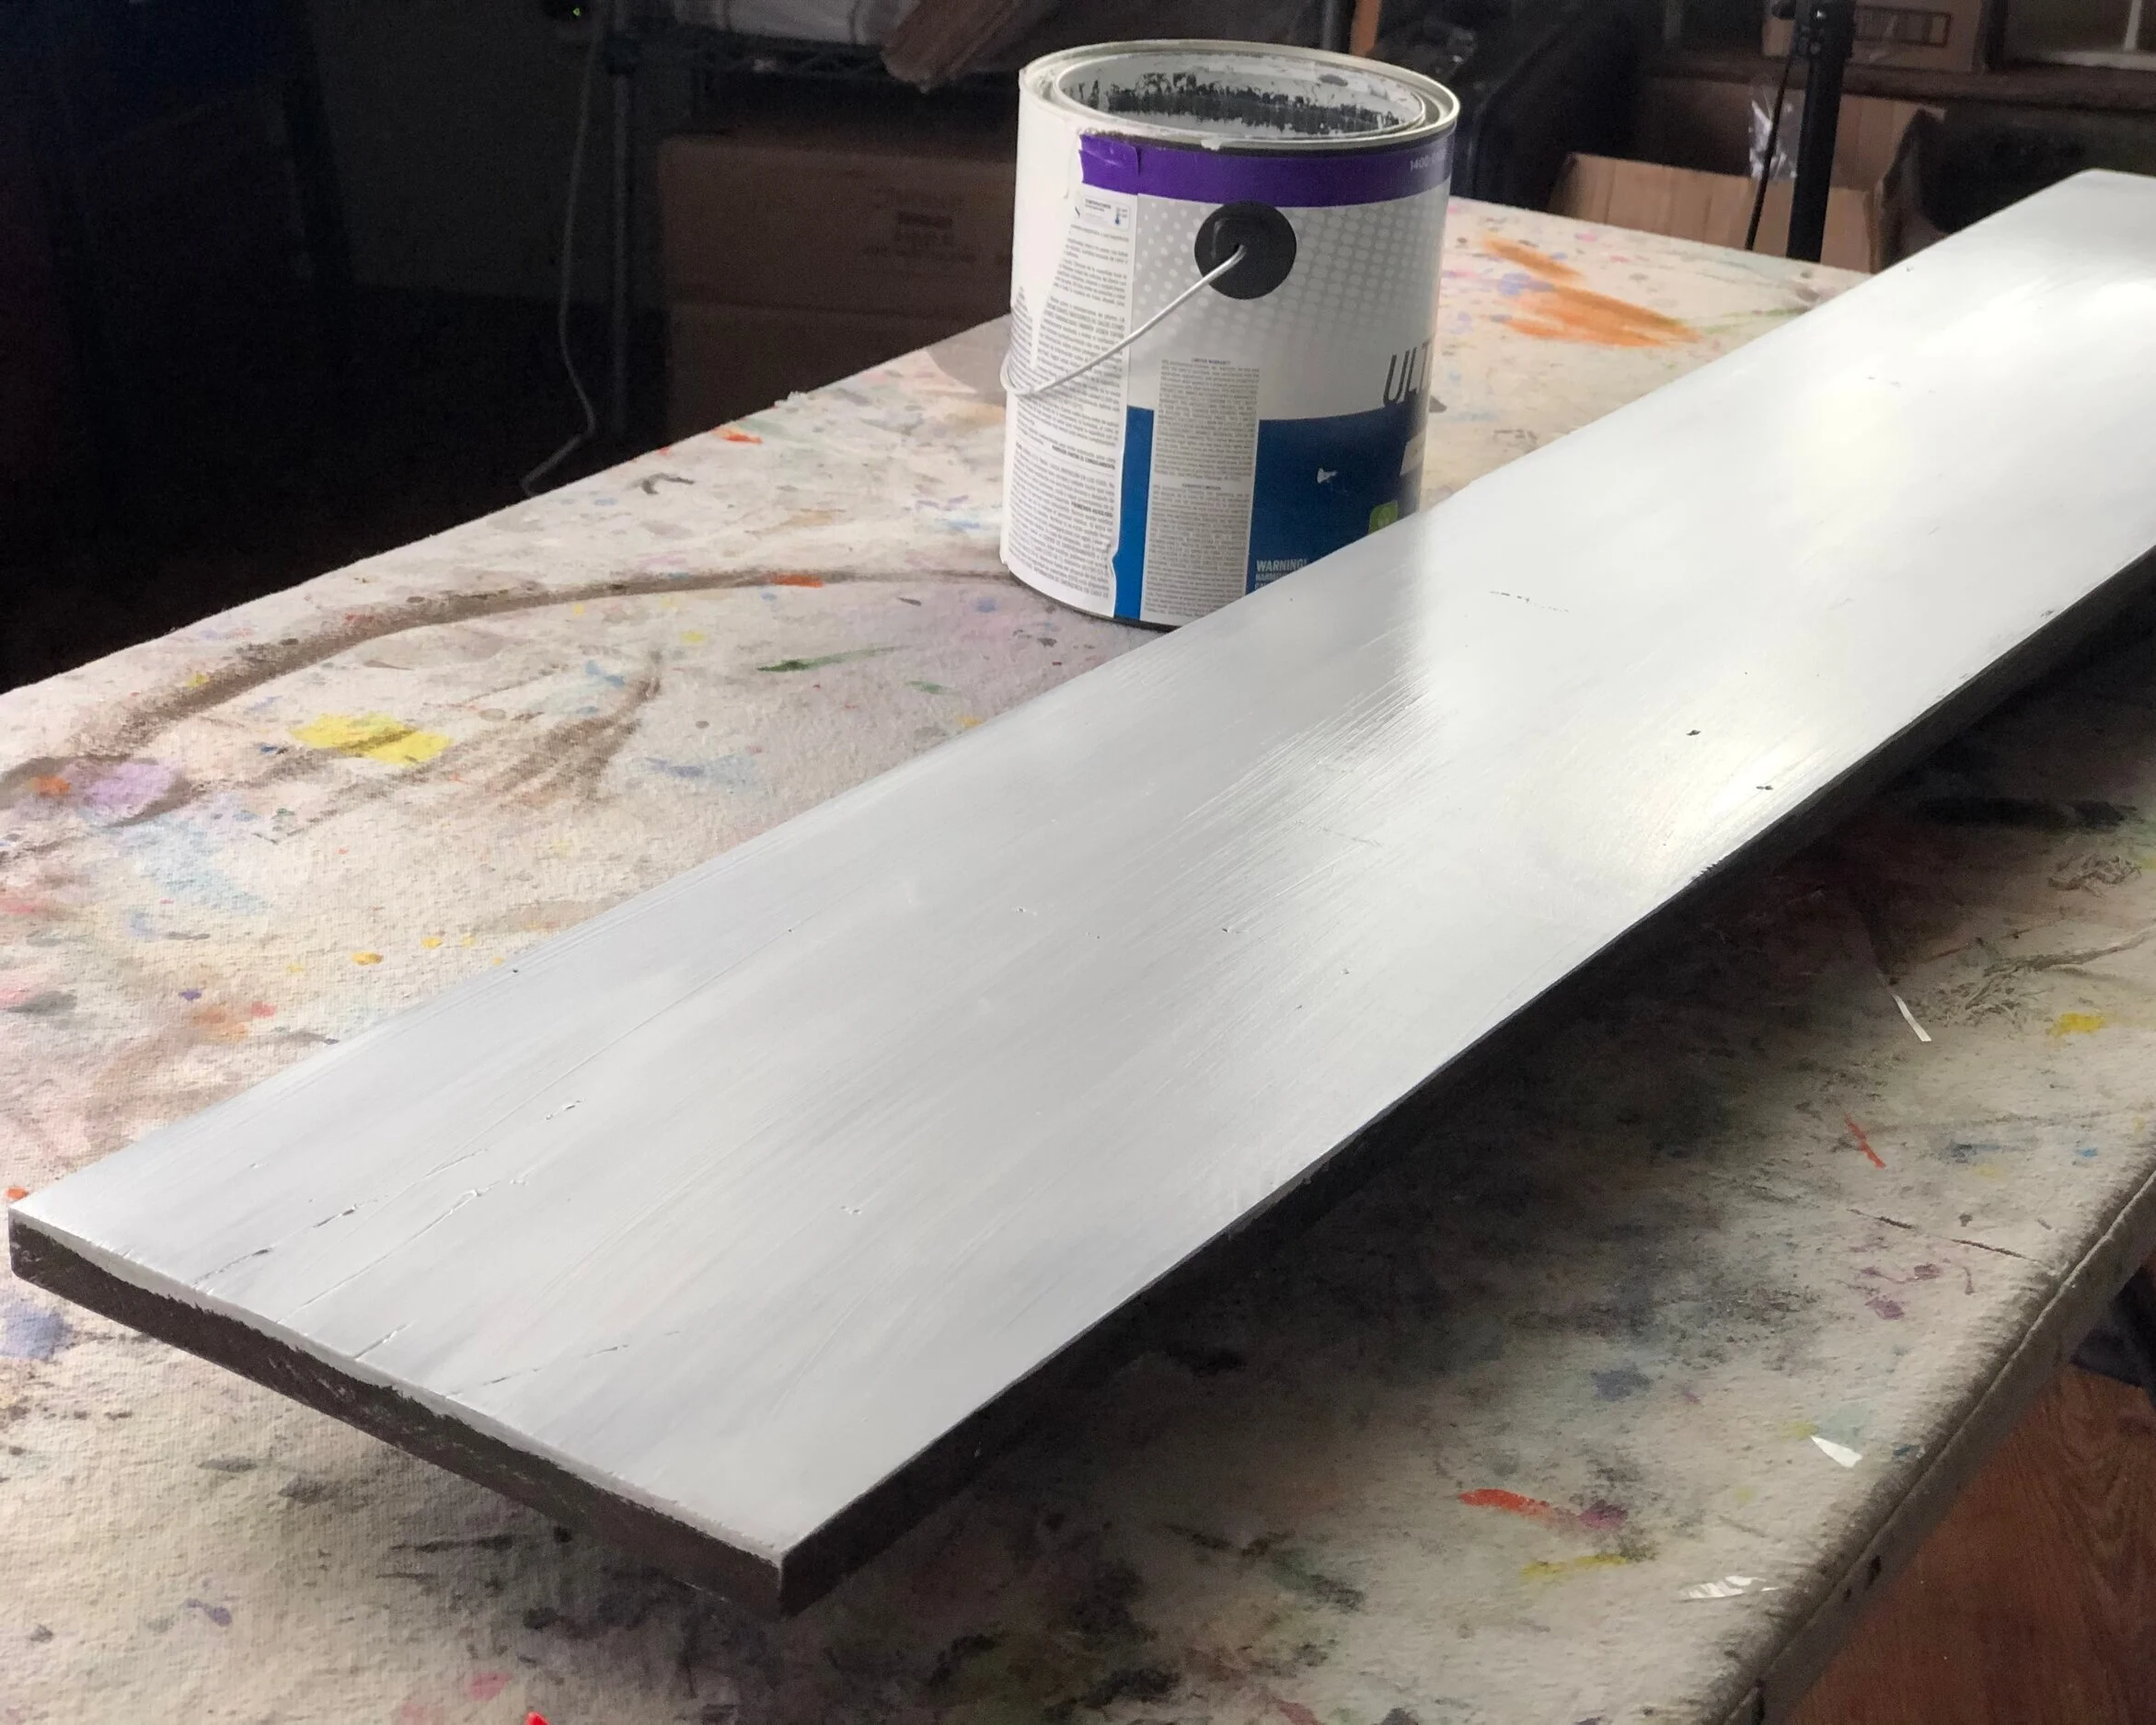
Stain your wood board and let it dry

STEP 2

Using my FREE SVG (you can get the SVG file here), upload into Cricut Design Space. Ungroup and RESIZE the letters to your liking.

Cut the “BOO” letters out on cardstock so you can use them as a stencil.

Cut the “hey there” letters out using outdoor grade vinyl. Set this aside, you will use the decal later.

STEP 3

Trace “BOO” onto your 1/4” sheet of wood.
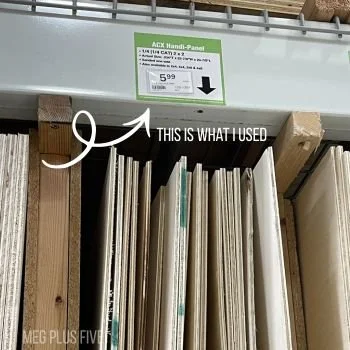
STEP 4

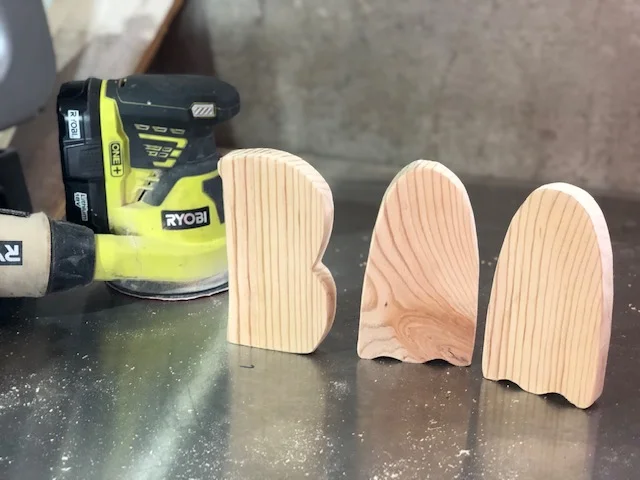
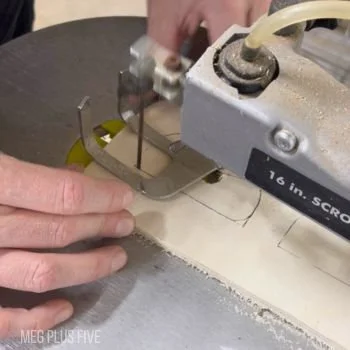
I’m sure I could have gotten something to use on my Cricut but instead I wanted to use my Ryobi Scroll Saw.

After tracing my letters and cut ghost outline onto the sheet of 1/4” wood I cut them out using my scroll saw. This is kind of a pain in the rear but it works.
STEP 5

Paint the letters black and the little ghost silhouette white. Let dry

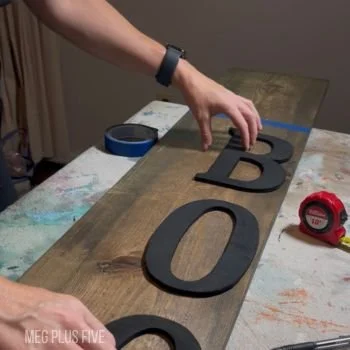
Once those were dry I measured where I wanted them on my board and I glued them down. Then, I used my Ryobi brad nailer to secure them into place.

I left 1’ of room at the top and bottom of my board to paint pink.
STEP 6

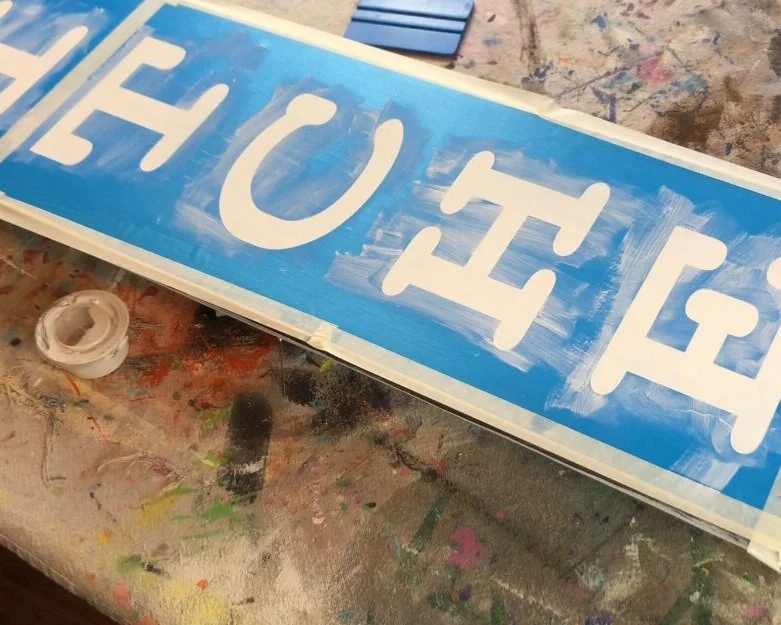
Tape off the top and bottom sections so you can paint it. I painted mine white, let dry, then I painted over the white with camo pink paint. It’s always a good idea if you are wanting a true color to show through that you prime it with white first then go back and paint with the color of your choosing after it’s dry.

STEP 7

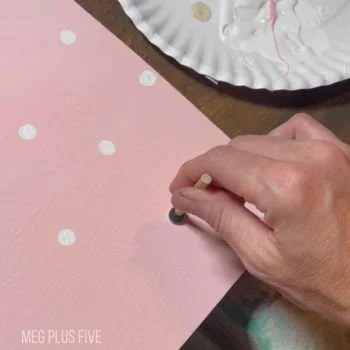
Add polk a dots. I used a small round dabber for this. You could use the end of a paint brush if you want. Let dry.
STEP 8

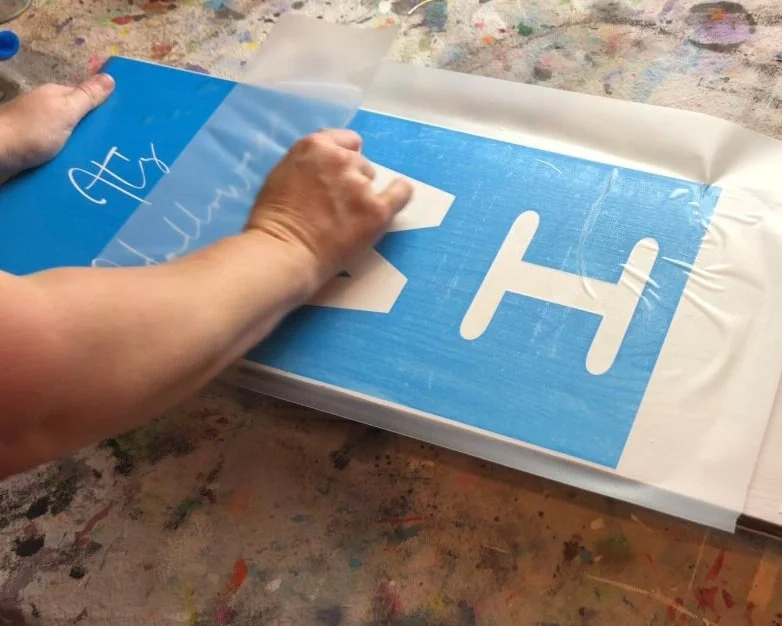
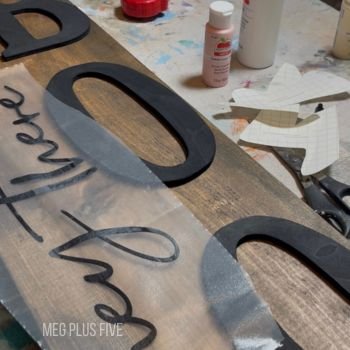
Add your “hey there” decal. Read this tutorial on how to transfer decals effortlessly.
STEP 9

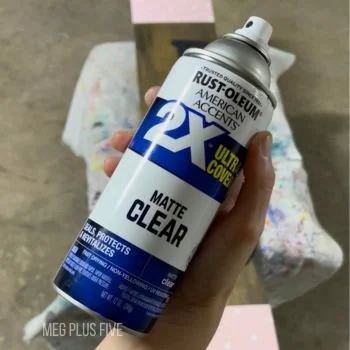
Seal your sign with an outdoor sealant. I used a spray matte finish sealer but a satin would be great too. Let dry.
STEP 10

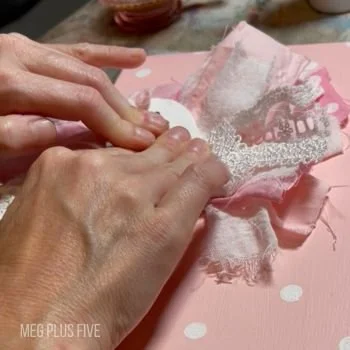
Add your ghost silhouette to your rag bow then secure it to your wood sign. I just used hot glue for this but can add hardware if you are worried that isn’t secure enough.


Leaning rustic front porch 'oh hello' sign + FREE SVG

How to make a rustic farmhouse style front porch sign. DIY oh hello leaning porch sign using your Cricut or Silhouette cutting machine plus free svg.

Leaning rustic front porch 'oh hello' sign + FREE SVG

Make your own unique rustic farmhouse leaning porch sign… bonus I’m giving you the same SVG I used for this tutorial for you to use for free!

65227969-C2CD-46D3-9B4D-87FB064CBF8D.jpeg

DIY rustic leaning porch sign

The other day I shared with you how I turned a rusty old metal locker / cabinet into a storage for our muddy shoes on our sunporch. I had picked up that rusted gem at a local antique store for just $20! I had no idea when I bought that chipped old farmhouse looking piece that it would actually serve our home double duty!

Affiliate Disclosure. Some of the links on this website are affiliate links, which means that I may earn a small commission if you click on the link or make a purchase using the link. If you make a purchase you will not be charged anything additional.

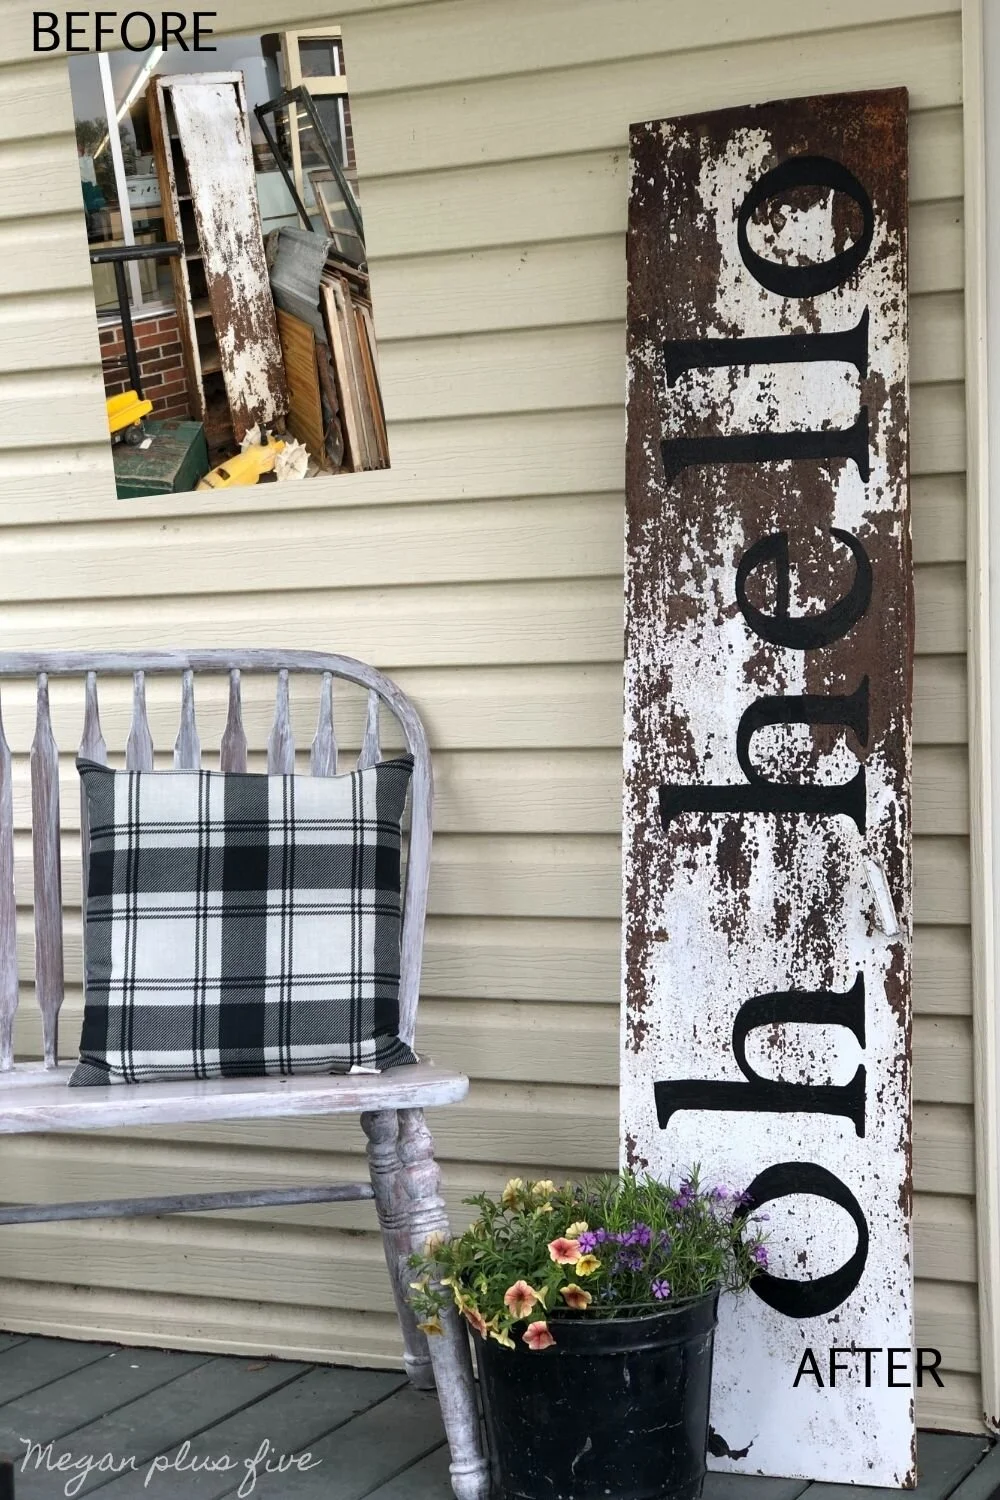
Here’s what the metal cabinet looked like when I picked it up from the antique store.

How to make a rustic farmhouse style front porch sign. DIY oh hello leaning porch sign using your Cricut or Silhouette cutting machine plus free svg.

And here’s what I repurposed it into. So perfect for our family’s muddy shoes on the sunporch!

How to make a rustic farmhouse style front porch sign. DIY oh hello leaning porch sign using your Cricut or Silhouette cutting machine plus free svg.

Since one of the pins on the door was gone I removed the door from the cabinet all together. I wasn’t sure what I was going to do with the door but I knew if I put it on a shelf in the garage it would sit there for a long time because honestly I’d forget it was there. So I did some head scratching and thought I could turn it into a super cute painted sign. And so I did!

How to paint your own farmhouse style welcome sign for your front porch

Here’s what I used

How to make a rustic farmhouse style front porch sign. DIY oh hello leaning porch sign using your Cricut or Silhouette cutting machine plus free svg.

1. CUT OUT LETTERS

You can grab the same oh hello SVG that I used in my free resource library. That’s where I keep all of my printables, cut files, and more for my readers to use free of charge <3!

I opted to use a cardstock stencil on this metal porch sign. I was afraid if I used a sticky back stencil (like used on this other leaning porch sign) would remove a lot of the paint and rust that was already on the metal door.

I uploaded the SVG into Cricut Design Space then sized it so that it would fit on the 12”x59” door. I sized mine so that it was about 10”x50” or so then I had to break up the oh hello SVG so that I could cut it out. This is easy, just take a square and slice the letters out so now you have individual sections instead of one single image, I hope that makes sense. Here’s what my SVG looked like after I sliced it and deleted the duplicate slices (I changed the colors so you could see them better).

How to make a rustic farmhouse style front porch sign. DIY oh hello leaning porch sign using your Cricut or Silhouette cutting machine plus free svg.

To cut them out I used 12”x12” cardstock. If my cut image was larger than 12” I just butted two pieces together and taped the seam. Click Click here to see how I do this on another projectto see how I do this on another project.

2. ARRANGE LETTERS & TRACE

After my letters were cut out I decided which end I wanted to be the top…then I did opposite of that lol I placed my door on one side of my table then went to the other side to arrange my letters, total facepalm moment. But that’s ok it turned out SO CUTE even with that mess up. I left more blank space toward the bottom of the sign so that I would have room to place a plant at the base if I wanted without hiding the first letter. Here’s a great still shot from my video lol!!

How to make a rustic farmhouse style front porch sign. DIY oh hello leaning porch sign using your Cricut or Silhouette cutting machine plus free svg.

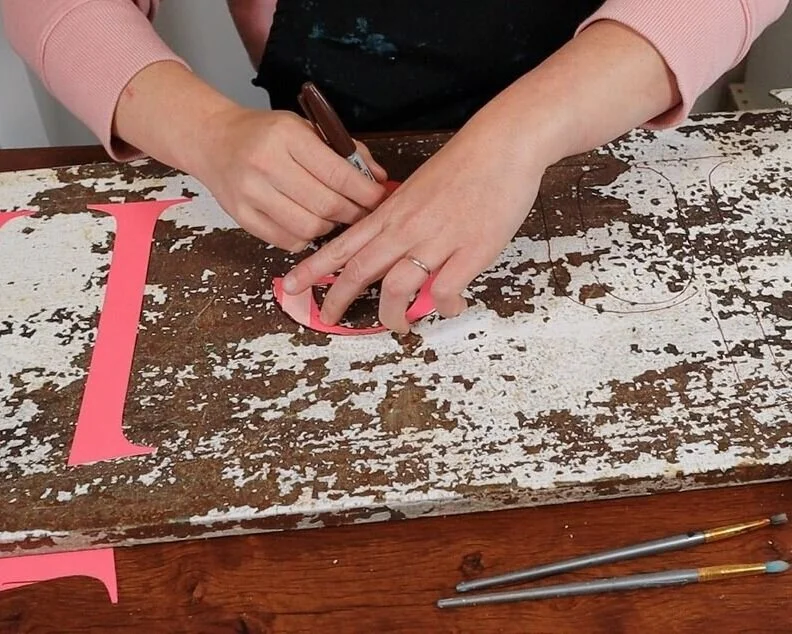
I started tracing with a pen but that just wasn’t cutting it so then I found the nearest sharpie and used that. It was brown but the black paint covered it perfectly!

How to make a rustic farmhouse style front porch sign. DIY oh hello leaning porch sign using your Cricut or Silhouette cutting machine plus free svg.

3. PAINT

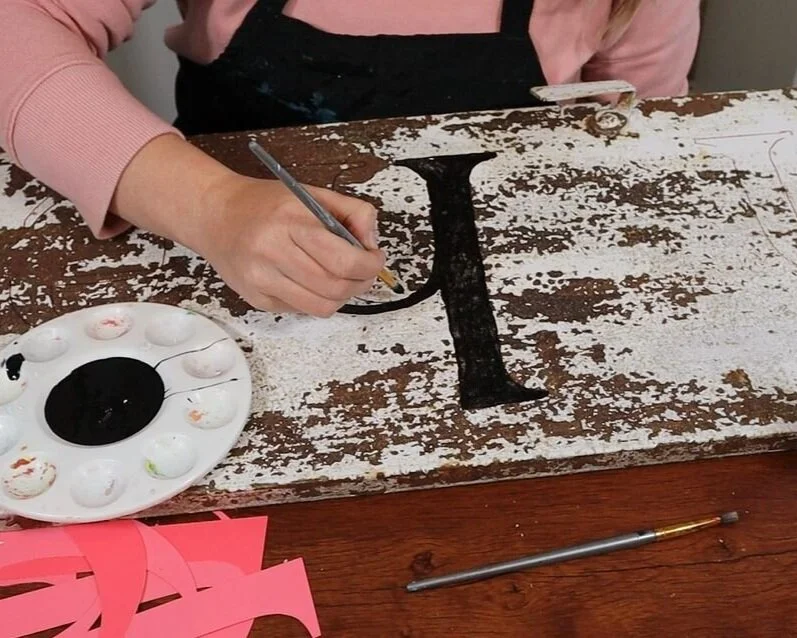
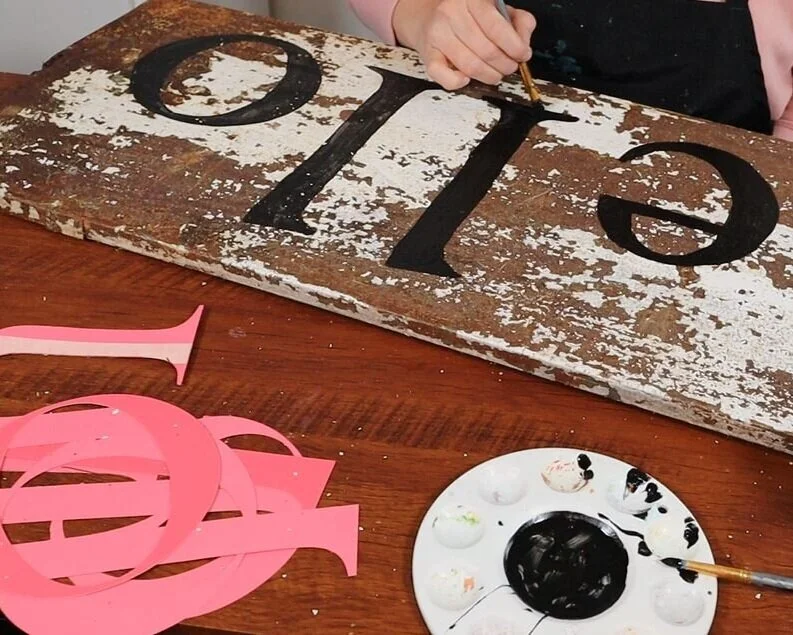
I had a bottle of old outdoor paint, like 3 years old, and used that to paint my sign. I used a small round tipped brush to outline the letters but also fill them in as I went along.

How to make a rustic farmhouse style front porch sign. DIY oh hello leaning porch sign using your Cricut or Silhouette cutting machine plus free svg.

4. DRY

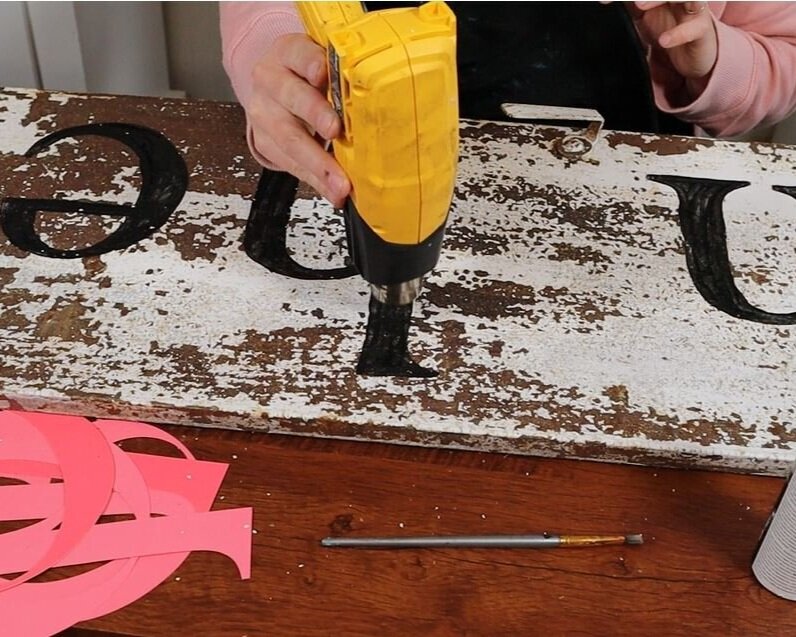
Like with most of the DIYs I do for around my house I needed this one to be quick and easy. I’m a busy momma to four girls and we had a movie to catch at the theatre so I used my heat gun to speed up the dry time.

How to make a rustic farmhouse style front porch sign. DIY oh hello leaning porch sign using your Cricut or Silhouette cutting machine plus free svg.

5. 2ND COAT OF PAINT

I thought maybe one coat of paint would do it but it wasn’t quiet enough coverage so I painted a second coat. This went much faster than the first coat. Then I used my heat gun to dry it again.

How to make a rustic farmhouse style front porch sign. DIY oh hello leaning porch sign using your Cricut or Silhouette cutting machine plus free svg.

I’m super impatient so I put my sign out as soon as that second coat was dry.

How to make a rustic farmhouse style front porch sign. DIY oh hello leaning porch sign using your Cricut or Silhouette cutting machine plus free svg.

I just LOVE how this old porch sign turned out! I still can’t believe it turned out so stinking good! I had no plans for that door when I bought that cabinet but I’m so glad I made use of it instead of it just sitting on a shelf collecting even more dust in the garage.

I hope you enjoyed this crafty tutorial. If you have any questions please leave them in the comments below.

Happy Crafting!

More posts you’ll love

Rustic It's Halloween Witches framed leaning porch sign + FREE SVG

DIY Halloween framed leaning porch sign for your fall rustic farmhouse home decor. How to paint a Halloween front porch sign. It's Halloween witches large Halloween sign

Rustic It's Halloween Witches framed leaning porch sign + FREE SVG

Make your own vertical rustic farmhouse leaning porch sign for Halloween. Bonus: grab the It’s Halloween Witches FREE SVG in my free to use resource library

It’s Halloween Witches! YES! I can’t believe how amazing this painted sign turned out. It has all the gorgeous elements of farmhouse basics but a not so common (on a porch sign) Halloween saying…which makes me extra love it! I could have went with a basic cutesy saying like “boo” or “trick or treat” but I wanted my porch sign to have just a bit of sass to it! And it totally does and fits my family SO well. We are a bit sarcastic and sassy lol!

DIY Halloween framed leaning porch sign for your fall rustic farmhouse home decor. How to paint a Halloween front porch sign. It's Halloween witches large Halloween sign

Affiliate Disclosure. Some of the links on this website are affiliate links, which means that I may earn a small commission if you click on the link or make a purchase using the link. If you make a purchase you will not be charged anything additional.

And I kept the back of it blank, well I went ahead and painted it white, so I could make it a reversible fall leaning sign later on. I’m all about getting double use out of my décor. I’m a momma of 4, double sided or dual purpose décor is wonderful in my world. Less to store and less to change out when the seasons change.

I have actually had this piece of 1x10 pine hanging around forever! I stained it when I stained this round wood base for this last name sign a couple years ago and am just now getting around to creating on them. Life of a mom and entrepreneur! Here’s what it looked like before I smothered it in creativity. Just a blank stained piece of wood. You can’t see it in this pic but it had a ton of scratches and some gouges on it from being moved around so much in my craft room over the last couple of years.

DIY Halloween framed leaning porch sign for your fall rustic farmhouse home decor. How to paint a Halloween front porch sign. It's Halloween witches large Halloween sign

If you don’t already have a Cricut I HIGHLY recommend getting one. I still create on my old Cricut Explore and create some pretty awesome projects to share with the world ;) Cricut newbie? Read this post on 10 supplies and accessories you need to get started with your cutting machine.

Side note… If you need the checkered rug that’s on my porch get this one. I looked for hours trying to find the exact one and this one is perfect. I don’t have OCD but I really specifically wanted one that had the same stripe on the top and bottom so that it looked even and this one was the only one I came across that that did in the size that I needed it.

How to make a rustic farmhouse leaning Halloween porch sign you will love

Here’s what you’ll need

1.PAINT THE BASE

I chose to use a board that was already stained. This is not a must but I do like that the stain peaks through the sanded bits of my sign. I painted my wood sign with two coats of white wall paint. You can use acrylic paint too. I didn’t have white acrylic to use so I used the wall paint instead and it works just as great.

DIY Halloween framed leaning porch sign for your fall rustic farmhouse home decor. How to paint a Halloween front porch sign. It's Halloween witches large Halloween sign

After my first coat was dry I applied a second coat of white paint then let that completely dry.

DIY Halloween framed leaning porch sign for your fall rustic farmhouse home decor. How to paint a Halloween front porch sign. It's Halloween witches large Halloween sign

2. APPLY THE STENCIL

I cut my stencils out on my Cricut then weeded the letters out with a sewing pin. If you want to know how to make a reverse stencil sign be sure to check out this laundry sign tutorial.

DIY Halloween framed leaning porch sign for your fall rustic farmhouse home decor. How to paint a Halloween front porch sign. It's Halloween witches large Halloween sign

Because this sign was so large I had to break it up into three separate pieces in Design Space.

DIY Halloween framed leaning porch sign for your fall rustic farmhouse home decor. How to paint a Halloween front porch sign. It's Halloween witches large Halloween sign

I added masking tape to the sides and the seams where the stencils touch just in case I got paint a little too far outside of the stencil I wouldn’t have a big mess to clean up.

3.PAINT THE STENCIL

I used acrylic paint to paint the lettering of my stencil. The first thing I did was seal my stencil so that I would get minimal to no paint bleed. This isn’t a must but it does help to get super crisp lines.

DIY Halloween framed leaning porch sign for your fall rustic farmhouse home decor. How to paint a Halloween front porch sign. It's Halloween witches large Halloween sign

I just painted of paint on the lettering. I painted IT’S and WITCHES with black acrylic paint and HALLOWEEN with orange acrylic paint.

DIY Halloween framed leaning porch sign for your fall rustic farmhouse home decor. How to paint a Halloween front porch sign. It's Halloween witches large Halloween sign

4. PEEL UP THE STENCIL

I always peel up my stencils while my paint is wet. I started with the small lettering first then worked my way down the wood sign.

DIY Halloween framed leaning porch sign for your fall rustic farmhouse home decor. How to paint a Halloween front porch sign. It's Halloween witches large Halloween sign

I used a sewing pin to lift out all the little middle pieces

DIY Halloween framed leaning porch sign for your fall rustic farmhouse home decor. How to paint a Halloween front porch sign. It's Halloween witches large Halloween sign

If you love this tutorial be sure to check out how to make these super cute Halloween wood tags

5.CUT & STAIN THE FRAME

After my sign was dry I measured a 1x2 and cut pieces for my frame. Here’s what it looked like once I got my pieces cut and stained.

I had 2 pieces that were cut at 52” and 2 pieces that were cut at 10.75”.

DIY Halloween framed leaning porch sign for your fall rustic farmhouse home decor. How to paint a Halloween front porch sign. It's Halloween witches large Halloween sign

Before I attached my framed pieces to my Halloween sign I distressed the 1x2’s with my sander and 120 grit sandpaper

DIY Halloween framed leaning porch sign for your fall rustic farmhouse home decor. How to paint a Halloween front porch sign. It's Halloween witches large Halloween sign

7. ATTACH THE FRAME

I attached the two long side pieces first. I used a little bit of wood glue then used my Ryobi brad nailer to attach them to the sign.

DIY Halloween framed leaning porch sign for your fall rustic farmhouse home decor. How to paint a Halloween front porch sign. It's Halloween witches large Halloween sign

Don’t worry if you miss cut your wood frame pieces. I do this ALL the time. Just use your miter saw to square it up after you get them attached.

DIY Halloween framed leaning porch sign for your fall rustic farmhouse home decor. How to paint a Halloween front porch sign. It's Halloween witches large Halloween sign

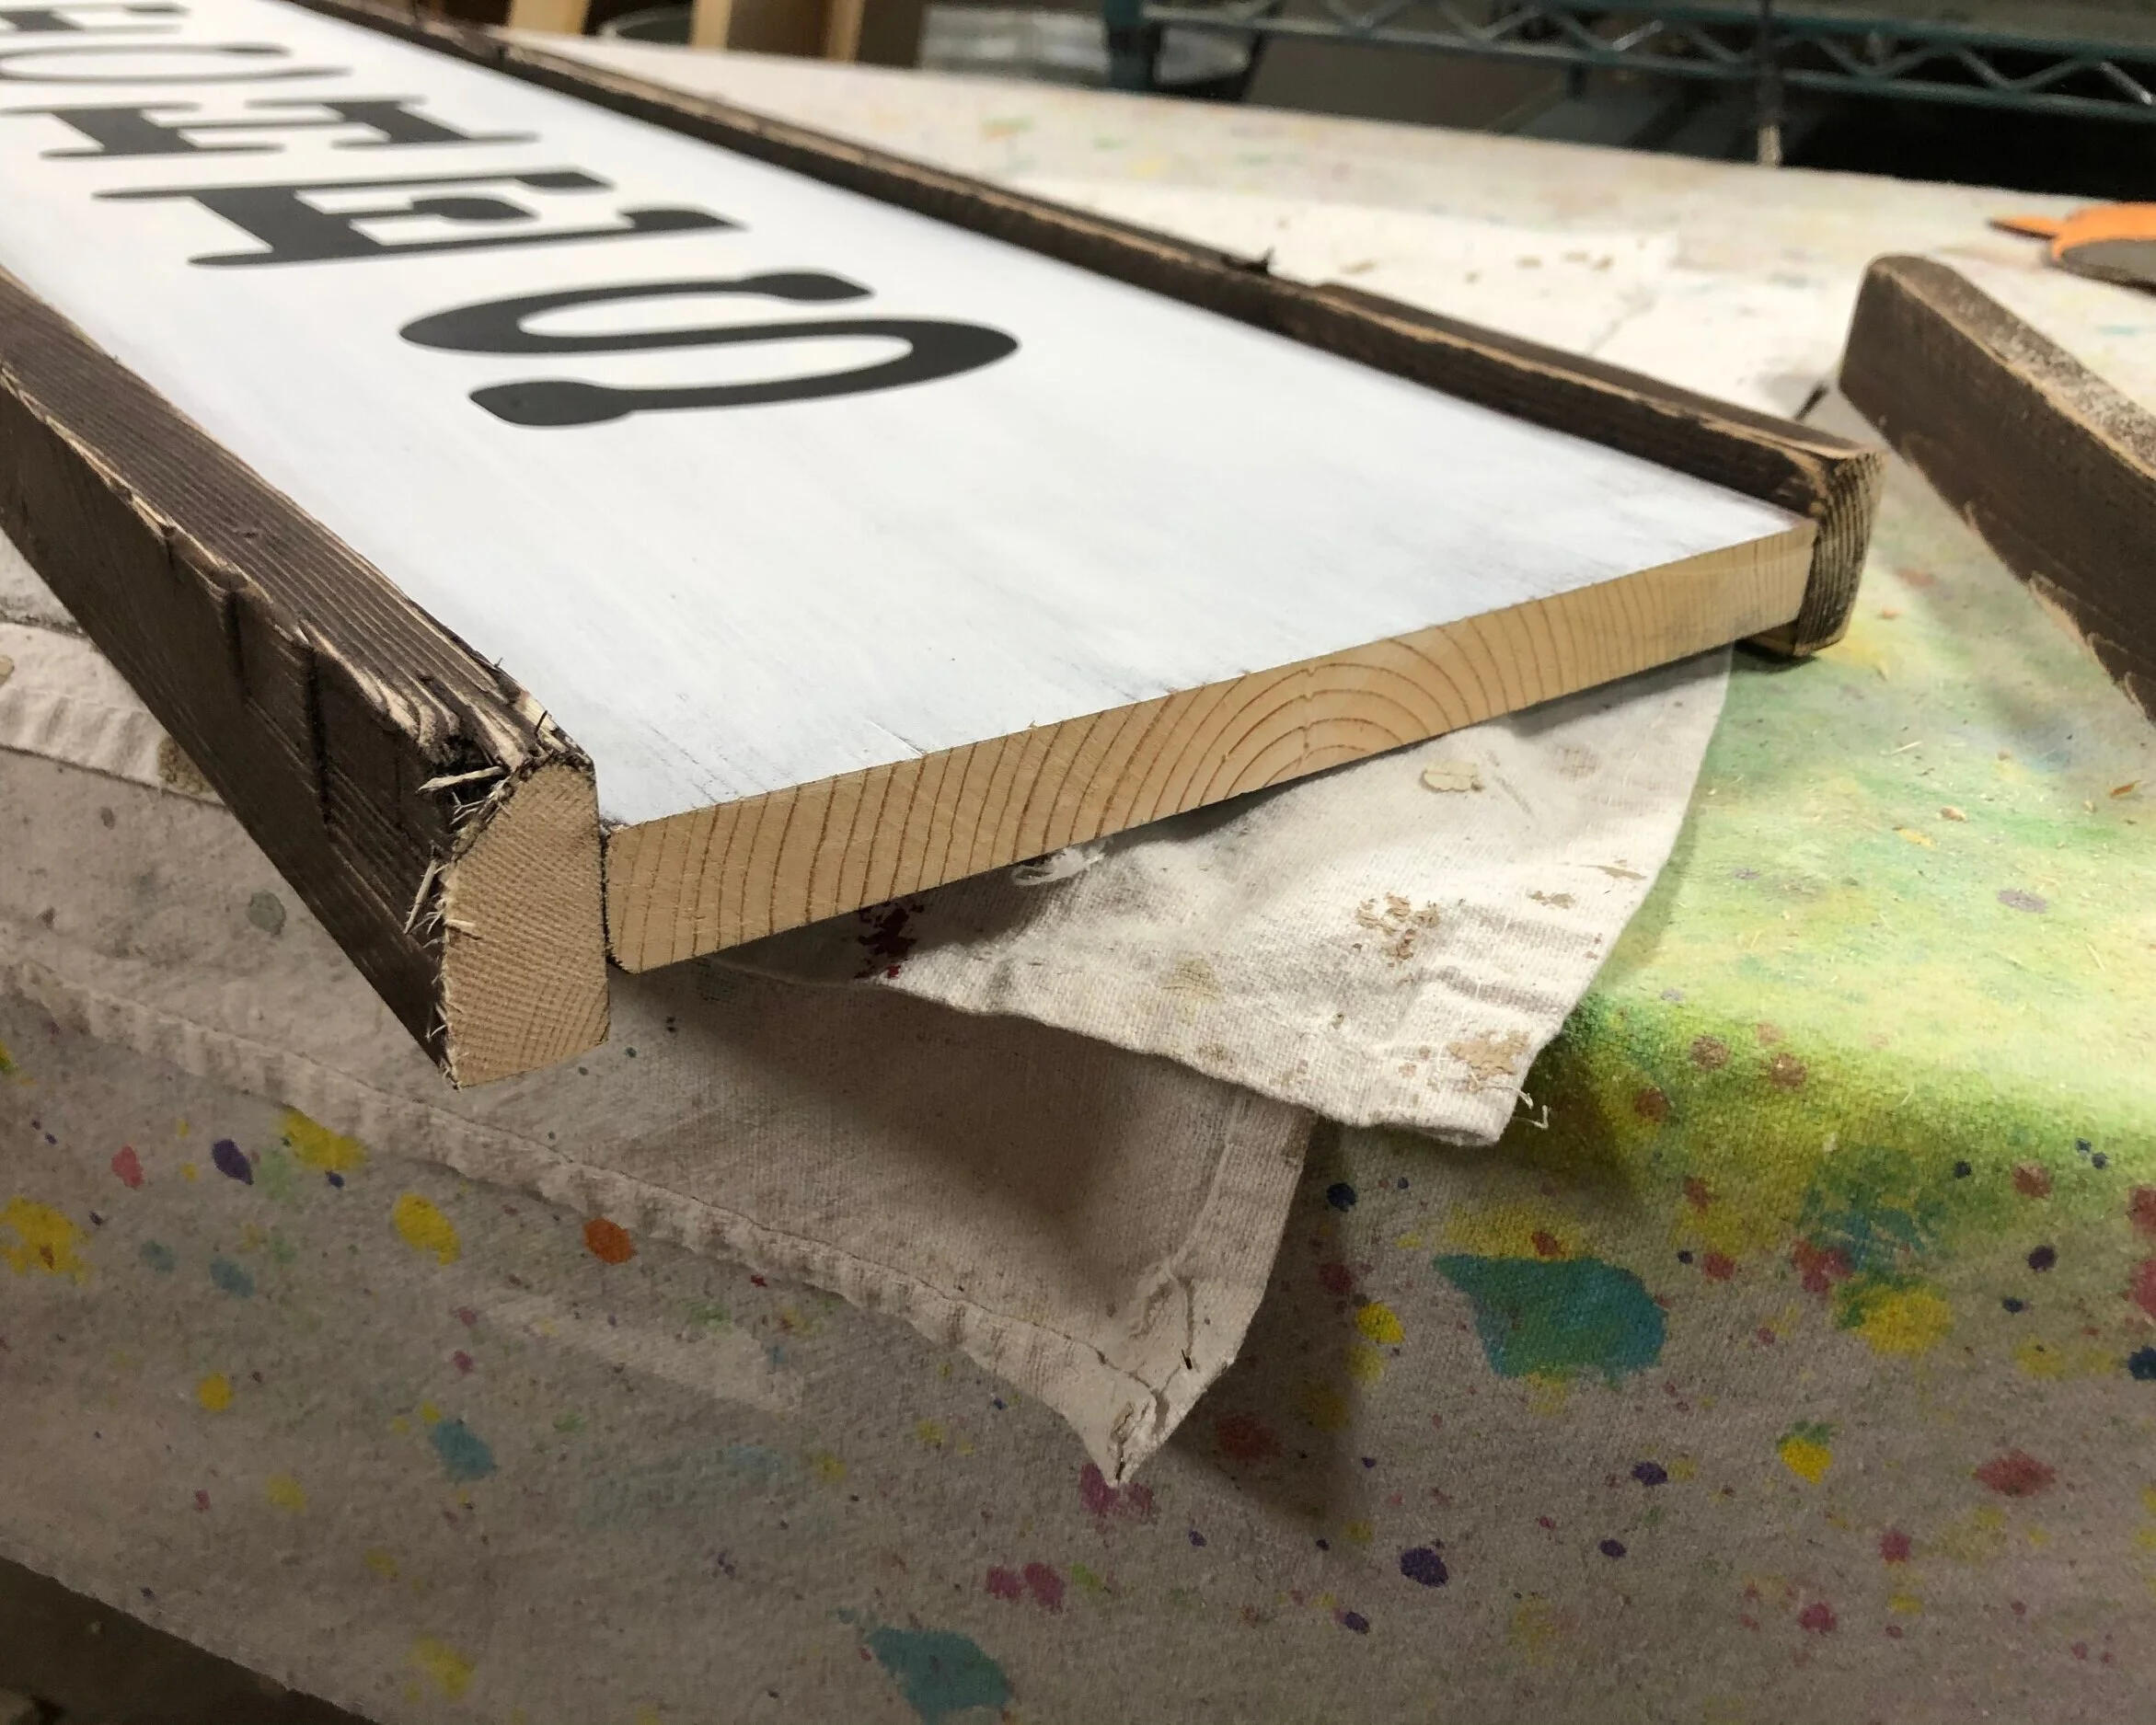
Here’s what my sign looked like once I got the side frame pieces attached. I framed the sign so that the sign would be in the middle of the framed pieces instead of flush with the back. You can also see where I used my miter saw to cut off the uneven parts.

DIY Halloween framed leaning porch sign for your fall rustic farmhouse home decor. How to paint a Halloween front porch sign. It's Halloween witches large Halloween sign

I did the same thing for the top and bottom pieces. Added the wood glue, my husband says to apply it in a squiggle line, idk if this is really how you’re supposed to do it or if he’s just messing with me lol but whatever it is this seems to work.

DIY Halloween framed leaning porch sign for your fall rustic farmhouse home decor. How to paint a Halloween front porch sign. It's Halloween witches large Halloween sign

8.SEAL THE FINISHED SIGN

If you want to protect your sign from the elements I recommend sealing it with an outdoor sealant like this one. I did not do this step because I plan to paint a fall themed stencil on the other side of this Halloween porch sign. But after I finish the other side I’ll seal it with the outdoor spray.

DIY Halloween framed leaning porch sign for your fall rustic farmhouse home decor. How to paint a Halloween front porch sign. It's Halloween witches large Halloween sign

Then you’re all done. I hope you enjoyed this DIY craft tutorial :)! If you have any questions please ask them in the comments below.

Happy crafting!

How to paint plastic flower containers for fall

DIY FLOWER BASE MAKEOVER. How to paint ugly plastic flower containers on a budget. Give you fall flowers a makeover on the cheap.

One thing I really wanted for my fall porch decor were fresh mums. They are just so gorgeous and scream HELLO FALL! But the only problem was that I only had $20 to spend on things fall for our home. You can read all about how I made that happen in my budget friendly fall porch decorations.

Affiliate Disclosure. Some of the links on this website are affiliate links, which means that I may earn a small commission if you click on the link or make a purchase using the link. If you make a purchase you will not be charged anything additional. This is just a way I can help add to our family finances to raise our four daughters. Please know I would never recommend a product or service I do not totally stand behind.

I headed to Walmart, because I knew I could make the most of my budget there, and found some super gorgeous deep red mums for under $5 each! The only problem was that their bases were HIDEOUS. That super undesirable dark green/brown color, yeah you know that standard plastic flower base color that all the cheap plants come in 😆!

So I thought, hey just grab a can of spray paint and paint those suckers up! And I did!

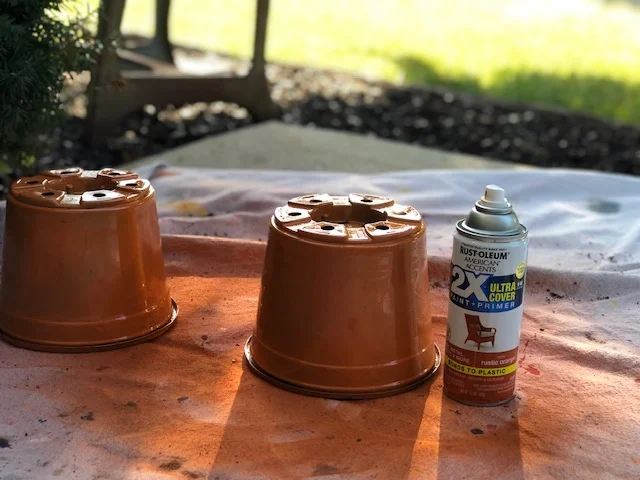
I didn’t just grab any spray paint thought. I’ve had my fair share of run ins with bad spray paint so instead of grabbing a cheap $.97 can I splurged and picked up a can of Rustoleum. Since I didn’t want the bases to be shiny, I really wanted them to be dull to tie in with the rest of the fall porch decorations I opted for the orange MATTE finish and it turned out so pretty!

Here’s what I used RUSTOLEUM ORANGE MATTE FINISH SPARY PAINT

First you need to take your plants out of the ugly containers. You’ll want to set the plants somewhere that they won’t get sprayed with the spray paint.

How to paint ugly plastic flower containers. Spray painting mum bases for fall. Decorating your fall porch on a budget

Then take a wet wipe or damp cloth and wipe down just the outside of the container. You won’t be painting the inside so it’s not necessary to clean the inside of it.

How to paint ugly plastic flower containers. Spray painting mum bases for fall. Decorating your fall porch on a budget

Next shake your paint can really really well. This is pretty important because you want the paint to get all mixed together before spraying onto the container. If not you will have streaks of off color. Trust me this has happened to me before with CLEAR satin finish spray paint. I didn’t shake it enough and I got a streak of white across my project. So shake, shake, shake!

How to paint ugly plastic flower containers. Spray painting mum bases for fall. Decorating your fall porch on a budget

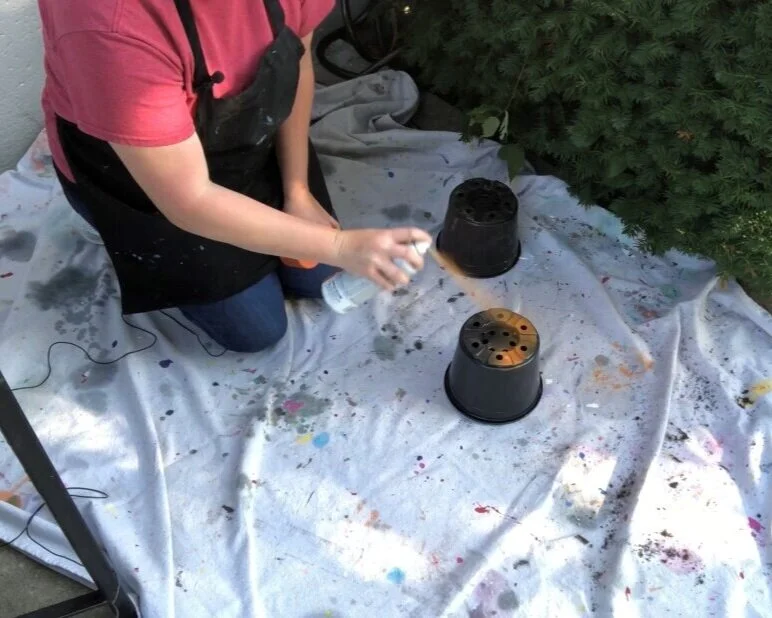
Then in short strokes spray the containers. If you spray too long in in one spot you’ll get a runny mess. I only sprayed my bases with one coat. This spray paint is AMAZING and literally covers like heaven so one coat is all you need.

How to paint ugly plastic flower containers. Spray painting mum bases for fall. Decorating your fall porch on a budget
How to paint plastic flower containers. Ugly plant base makeover, taking it from drab to super cute with spraypaint!

Let it dry. Ideally you want it to dry for several hours before you plant back inside. I didn’t wait that long because I was pressed for time, I was filming this tutorial for my YouTube channel. If you can wait a few hours then place your plants back inside their painted containers.

That’s it! You now have gorgeous plant containers and they didn’t cost you hardly anything to makeover! Bonus if you already have the paint on hand!

public.jpeg

I hope this helps if you are like me and on a tight budget for the non necessities. We can stay on budget and have cute things ;)!

Happy crafting!