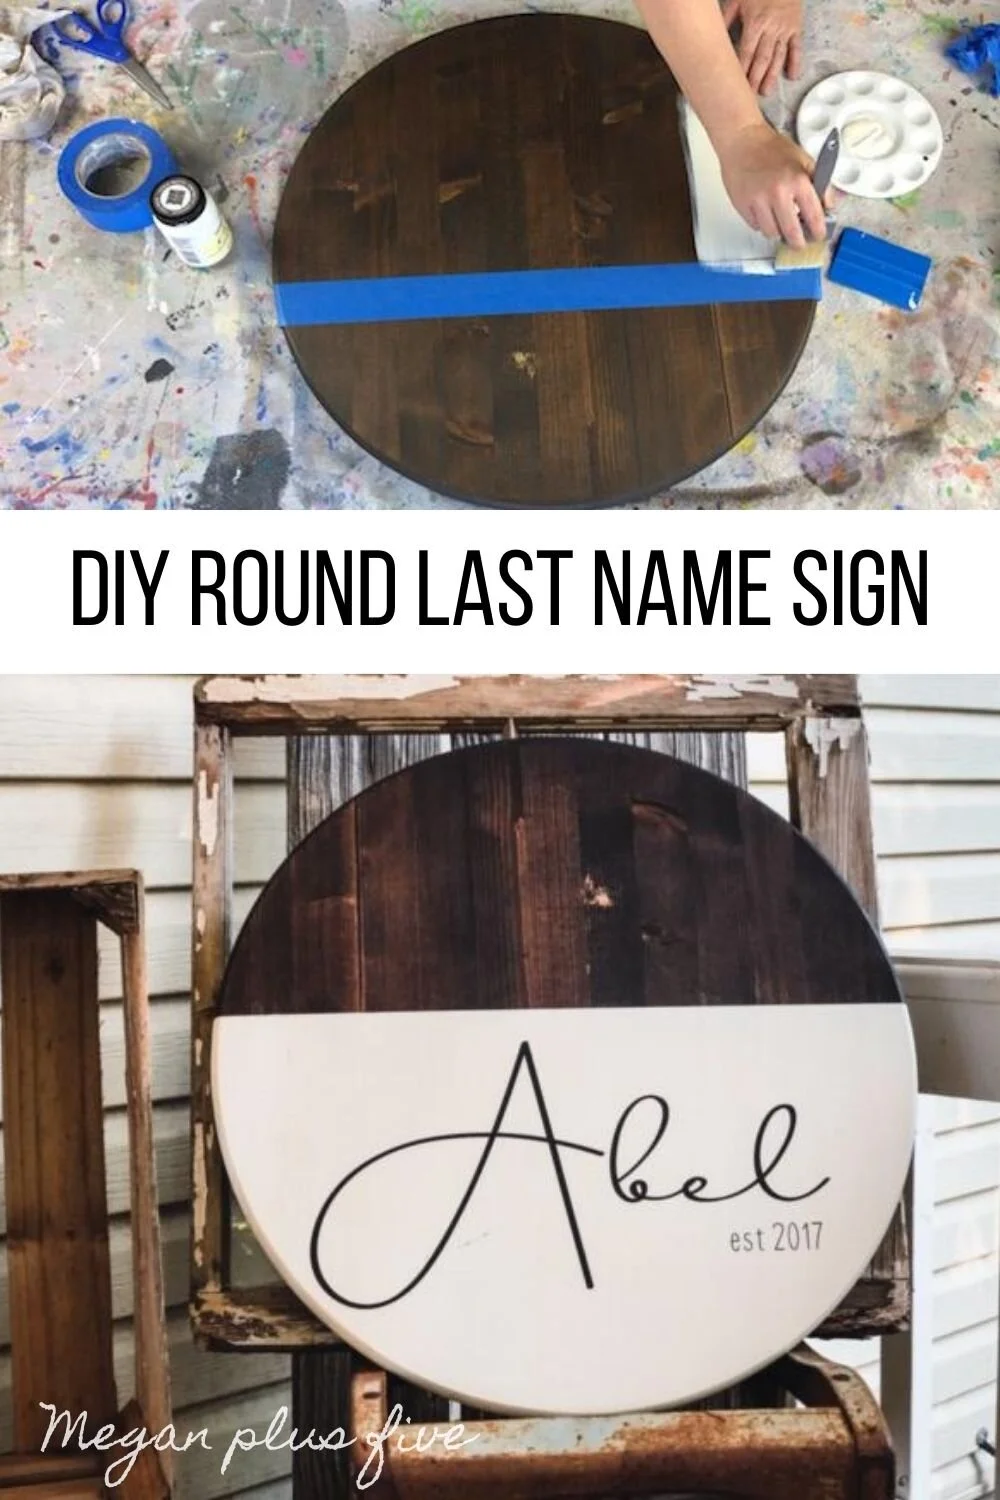
DIY round last name established sign with a modern farmhouse look
/
HOW TO MAKE A ROUND LAST NAME ESTABLISHED SIGN
Wow! I am so loving this round last name established sign I made for our realtor! It turned out even better than I thought it was going to. Usually I distress my wood signs, like this bless our nest sign, even if its just a tiny bit to give it a little bit of it’s own original character. But this one I left completely un-distressed (yup I’m using that one as a real word lol!). It’s more of a modern farmhouse look to me, and holy cow I love it!
Affiliate Disclosure. Some of the links on this website are affiliate links, which means that I may earn a small commission if you click on the link or make a purchase using the link. If you make a purchase you will not be charged anything additional.
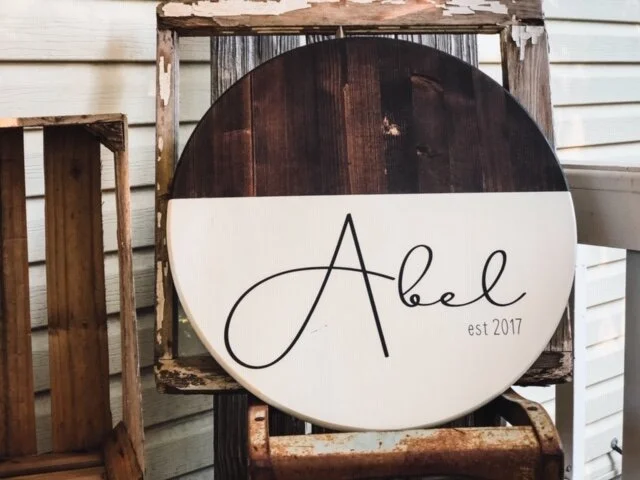
My husband and I bought our very first house, you can read about our first DIY home project here, and our realtor was AMAZING! Because she worked her butt off giving us such a wonderful first time home buying experience we wanted to give her a special thank you gift. I knew she loved personalized things for her home and I had a hunch she was more of a modern farmhouse kind of girl and not a chippy shiplap kind of girl.
I spent hours trying to find the perfect font for her gift and finally settled on one I found on www.dafont.com. Oh the anxiety of finding the right font. I swear I spend more time picking a font for my Cricut projects than I do actually making the craft…please tell me I’m not the only one who does this.
If you are on the fence about buying a cutting machine, no matter if it’s a Cricut or any other machine I am here to tell you to do it! Every crafty girl should have a fancy cutting machine. I still craft with the older model, the Cricut explore, mainly because I’m a super frugal momma and haven’t been able to justify a Cricut upgraded purchase.
If you’re new to the Cricut world these are my top 10 must have supplies and accessories to get started on your Cricut journey
I still can’t believe how amazing this sign turned out. I went back and forth on if I was going to add a burlap bow and lambs ear to this personalized round sign but I was instantly told no way by my four daughters and my husband. They all agreed the sign was perfect as it was! So I kept it a simply beauty!

How to make a round last name sign for your modern farmhouse decor
Here’s what you’ll need to make your own personalized round wood sign
round wood base that is prestained, I bought mine from Home Depot
drop cloth to protect your surface

DIY ROUND LAST NAME MODERN FARMHOUSE SIGN
1. STAIN YOUR BASE
I started with a pre-stained round wood base. If you are new to staining check out this quick video I made on how to stain wood easy without a giant mess. Be sure to let your sign DRY COMPLETELY for the recommended time according to the stain you use. If it’s not totally dry the stain will seep through to the paint and cause ugly unwanted marks.
2. TAPE OFF THE BASE
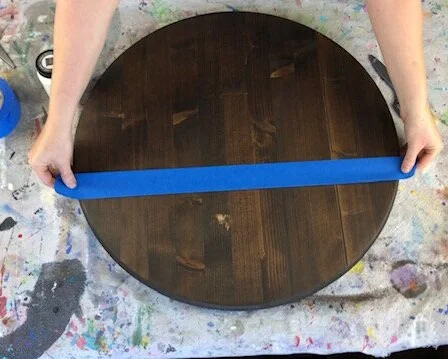
I chose to paint about 2/3 of my sign. I used wide painters tape to tape off my line. I just eyeballed this but if you want it to be super exact you can get out the measuring tape for this step.
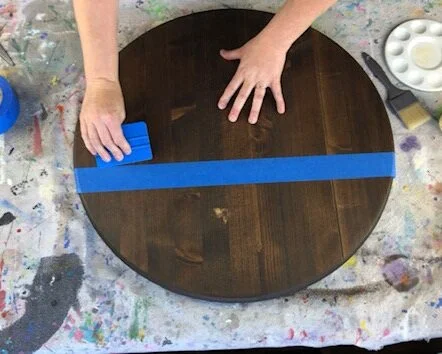
To be sure that there were no air bubbles in the tape I used my vinyl squeegee and pressed along the seam of the tape.
3. PAINT A BASE COAT
I used chalk paint to paint my base, the color sheepskin (I know weird name but it’s pretty!) Chalk paint isn’t for all paint projects but I do like to use it when painting over dark stain because it has great coverage.
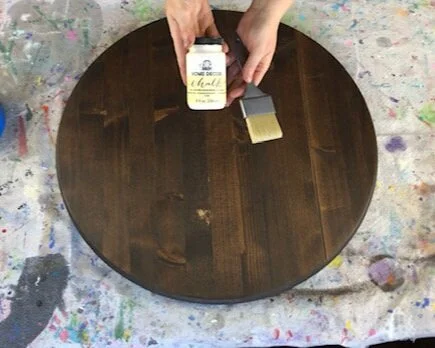
Since I didn’t seal this sign I was sure to paint downward pulling my brush away from the tape line. If you pull your brush up toward the tape you could risk paint bleed underneath the tape line.

I also painted around the outside edge of my round wood sign.
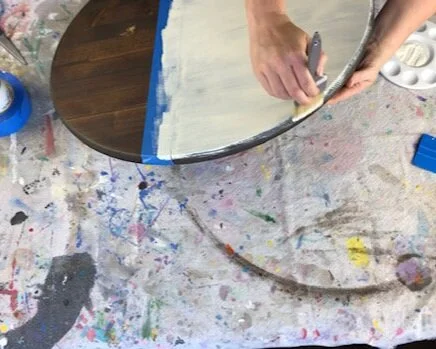
I like to paint a thin layer to start with, one you can still see the stain through. Then I let that dry completely.

4. SECOND BASE COAT
After the first coat is totally dry I painted a second coat. Be sure it is dry, if you apply a second coat of paint with the first layer is still wet your paint brush/paint will pull the first layer away from your base.
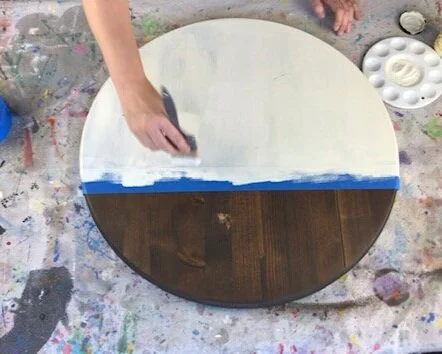
5. PEEL THE TAPE OFF
I usually always peel the tape/stencils while my paint is still wet. It’s all personal preference though. Some people wait till their projects are semi dry or even all the way dry before peeling but I have had great luck peeling while the paint is wet so that’s what I always recommend.
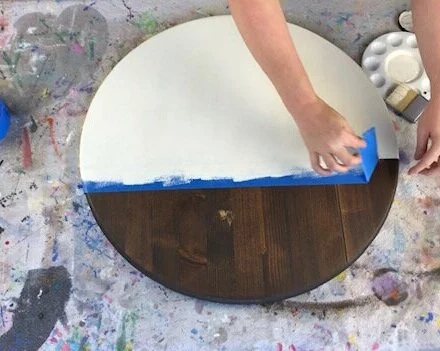
6. APPLY THE STENCIL
After my wood circle base was dry I stenciled on my design. I used oramask stencil film to stencil on the personalization. This is my go to material for doing most of my handmade wood signs. After I weeded my design I applied the transfer tape. For this wood sign I am using expressions transfer tape, I’ve tried several different brands and really like this one. Don’t forget you can reuse your transfer tape so don’t toss it when you’re done.
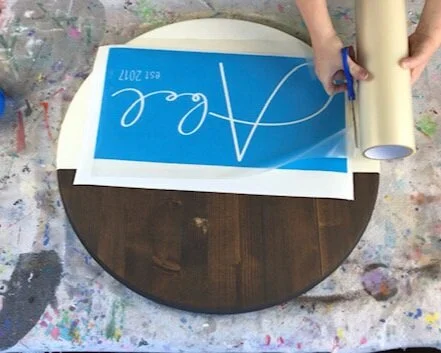
After I removed the paper backing I centered my stencil sticky side down on my wood base, I just eyeballed it.

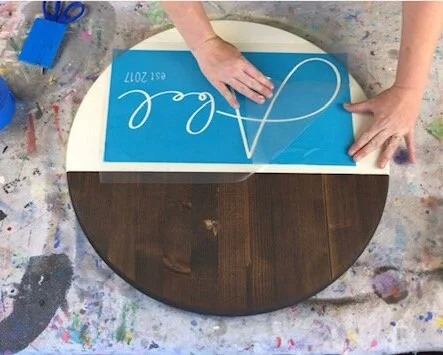
Once I was happy with the placement I used my vinyl squeegee to rub it to the base of the sign so it would stick.

Then I peeled off the transfer tape. When you do this you want to start from one corner and work your way to the opposite corner. Be sure not to pull up when doing this, you almost want to roll it off of the stencil.
7. SEAL THE STENCIL
I almost always do this with any sign I make to help prevent paint bleed. I seal my stencil with a SUPER THIN layer of matte finish mod podge. Then I let that dry.

8. PAINT THE STENCIL
I chose a classic black acrylic paint my personalized wooden sign. You can use chalk paint for this but with thin lines, like in the design I made, chalk paint can something be too thick and cause your paint to peel up when peeling up the stencil. Acrylic paint works perfectly for this DIY stenciling project.

I painted a really thin layer of the black acrylic paint, you still want to be able to see the base color through the paint. Then I let that dry.
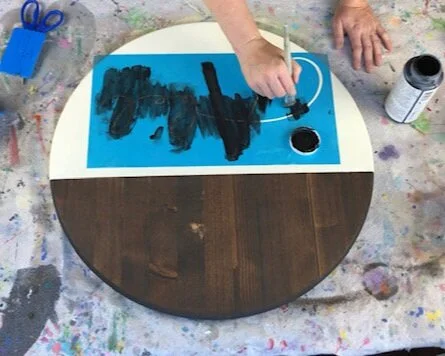
Once that was dry I applied a second THIN coat.

9. PEEL UP THE STENCIL
Just like with the painters tape I peeled the stencil up while the paint was still wet. Like I said above, this method works well for me but others like to wait till the paint is dry. I start at one corner and I pull up and across to the opposite corner.
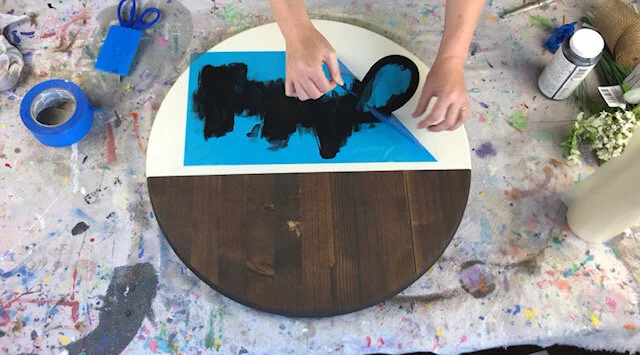
To take out all the little middle pieces I use a sharp xacto knife to lift them up and off of my wood base.

10. LET DRY
Once I was done painting I let my sign sit and dry. The last thing you want it to ruin your design by moving it while it’s still wet, I’m speaking from experience lol don’t make my mistake ;) !

I am so excited to gift this special sign to our realtor! I just know she is going to love and cherish it in her home. And I can’t wait to make my own personalized last name sign for my own home.

I hope you enjoyed this super simple sign painting tutorial. If you have any questions please feel free to ask them below in the comments.
Happy Crafting!