
HOW TO STENCIL WOOD SIGNS- using adhesive stencils
/
HOW TO STENCIL WOOD SIGNS TO GET STRAIGHT CLEAN LINES WITH NO PAINT BLEED
Have you struggled with getting those super straight crisp lines when making your painted lettered wood signs?
Oh girl, I have been there too! I began my sign painting journey when the youngest of my 4 daughters was a brand new baby. Let me tell ya the trials and errors seemed to be never ending! I was using a dinosaur of a Cricut machine, the Cricut Expression (I’m sure most people haven’t even heard of that one lol!!). My budget for materials was basically non existent so I was using what I had on hand to make stencils : cardstock and shelf liner paper. Eventually I started ordering vinyl and stencil film online as my business and my skills grew. The one BIG change to my sign painting game… ORAMASK STENCIL FILM.
Affiliate Disclosure. Some of the links on this website are affiliate links, which means that I may earn a small commission if you click on the link or make a purchase using the link. If you make a purchase you will not be charged anything additional.

While I am glad now that I had all of those issues in the beginning with paint bleed, my stencil material not sticking down, sticky residue left behind, paint peel up… at the time I was not. I just wanted to turn out successful painted signs. I would get so frustrated I wanted to cry or throw my project across the room or sometimes even both.

What I didn’t realize at that time was that all of tears and days of wanting to throw my projects out the window were actually setting me up for something much bigger than making a sale to help pay off debt. Those early days were teaching me how to do it all the wrong way so I could learn how to do it the right way AND how I can teach others what I know.
So paint bleed no more! Now my lines are crisp and clean each and every time I make a hand painted wood sign. And I love that I can share with you how you too can have super crisp lettering on your wooden signs.
If you’re new to the Cricut world be sure to check out my post on the 10 must have supplies & accessories you need when you’re just starting out using your cutting machine.
I do use a couple different techniques to achieve my perfectly crisp lines. Here are some of my sign painting projects below. I walk you through every tutorial on how I made each sign. To read them in full detail either click on the picture or click on a link below it.
My top 4 products to sign painting success:
If you plan to make a lot of stenciled wood signs buying your materials in bulk will save you SO MUCH MONEY. This is one tip I wish I would have known about sooner. My profit margins would have been a lot bigger if I knew where I could buy my oramask stencil film in large quantities for a fraction of the price. Click HERE to see where I buy my stencil film for sign painting.
1. DIY WOOD SIGN: MINI STENCILED SIGN WITH DISTRESSED EDGING
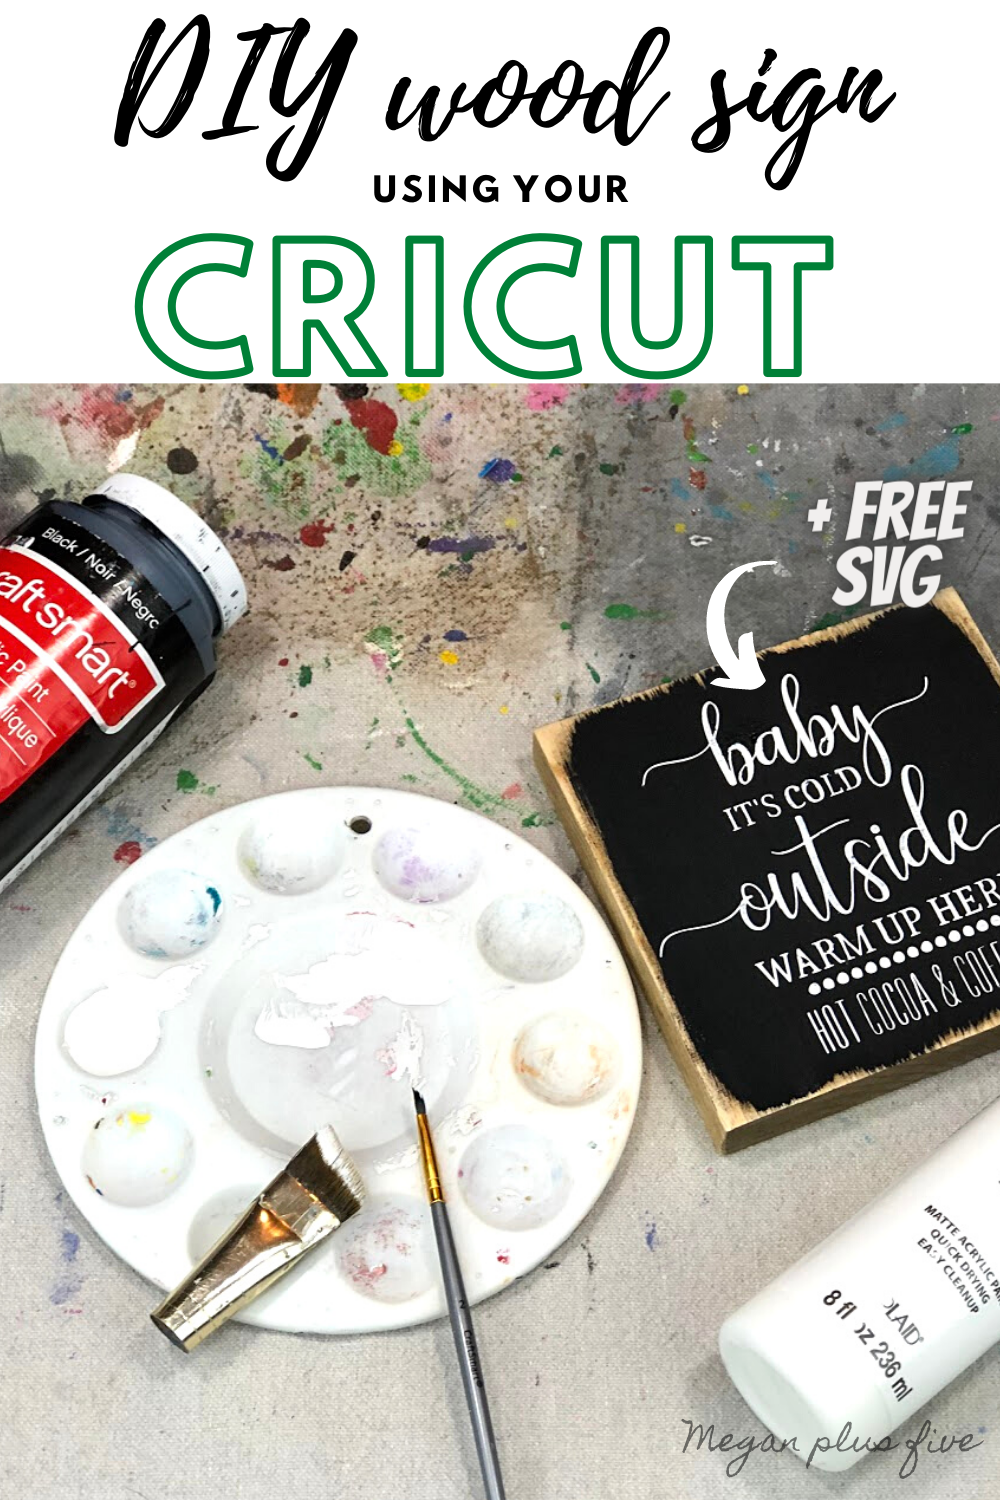
This was such a cute little sign I put up on my coffee bar this winter. You can read the tutorial HERE for the Baby it’s cold outside warm up here hot cocoa & coffee wood sign.
2. DIY WOOD SIGN: MODERN FARMHOUSE STYLE ROUND LAST NAME ESTABLISHED SIGN

This round last name established sign has to be one of my favorite signs I’ve ever written a tutorial for. This was a sign I made for our realtor after we bought our home. The amount of work she put into making it the best experience for us was amazing. I really wanted to gift her something super personal and gorgeous. You can read the full tutorial HERE DIY wooden round last name established sign.
3. DIY WOOD SIGN: COLORFUL HOT MESS METHOD
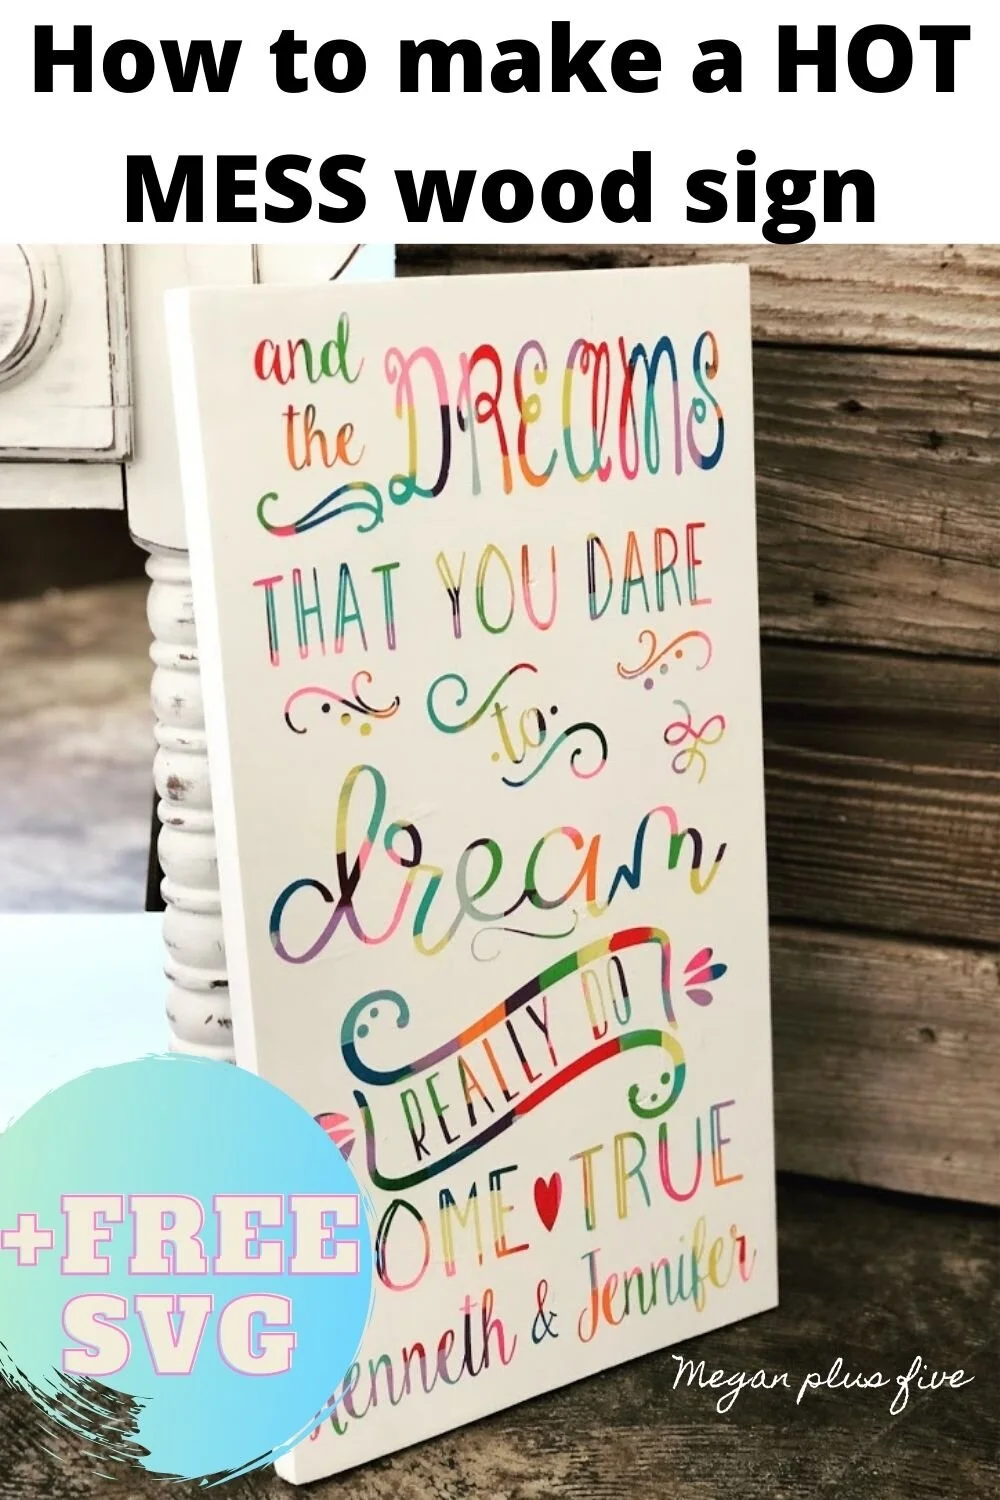
This was such a fun sign to make. Usually the HOT MESS method is seen done on a canvas, or it was when I made this sign. See all those crisp colorful lines? Yup, all thanks to Oramask stencil film. You can read the full tutorial HERE hot mess painted wood sign.
4. DIY WOOD SIGN: BLESS OUR NEST REVERSE STENCIL METHOD

I love this reverse stencil method for when I only using two different colors of paint. It’s quick and easy! You can read the full tutorial HERE bless our nest wood sign reverse stencil method.
5. DIY WOOD SIGN: LARGER THAN MAT LAUNDRY SIGN

Larger than mat projects don’t have to be intimidating. Learn how I made this big laundry room sign that exceeds the boundaries of my Cricut cutting mat. You can read the full tutorial HERE make your own easy laundry room sign using your Cricut.
6. DIY WOOD SIGN: STAINED BACKGROUND WITH PAINTED LETTERING

This was a fun project that a friend of mine asked me to make for her. The aqua stain color on this piece was a great way for her to add a pop of color to her gallery wall in her kitchen. Read the full tutorial HERE life is good lick
7. DIY WOOD SIGN: FRAMED LEANING PORCH SIGN

Oh my goodness I was SO in love with this framed it’s Halloween witches sign I made for my front porch! You can read the full tutorial Here DIY leaning Halloween porch sign.
I hope you enjoyed these sign painting tips to make your sign painting journey successful. If you have any questions please let me know in the comments below. Happy Crafting!










