REVERSE STENCIL, the NO paint bleed method
/
How to paint a REVERSE STENCIL wood sign, easy tutorial plus video
Have you tried stenciling wood signs but keep running into issues like paint bleed or your paint peeling up? I completely understand your frustration when that happens when painting signs. I have been there and am so glad I learned how to paint signs without these issues now AND I’m happy I get to show you how to paint wood signs without the headache.
One of the easiest methods to stenciling painted wood signs is the REVERSE STENCIL METHOD. It’s the method I suggest people start with when they are just learning how to paint signs. No matter if you are wanting to learn how to paint signs for a hobby or you are wanting to start your own momma side hustle this is THE sign painting tutorial you need to start with. I don’t want to overwhelm you with too much sign painting lingo but this is also referred to as the PVPP method. Or in other words, Paint Vinyl Paint Peel. But I like to call it a reverse stencil because that just sounds better to me ;).
DIY REVERSE STENCIL WITH YOUR CRICUT, the NO paint bleed method
Affiliate Disclosure. Some of the links on this website are affiliate links, which means that I may earn a small commission if you click on the link or make a purchase using the link. If you make a purchase you will not be charged anything additional.
After making thousands of hand painted wood signs for my own business I think I’ve pickex up a thing or two about how to paint signs and I am so excited to be sharing my tips, tricks, and techniques with you. So hopefully you don’t make the same mistakes that I did starting out.
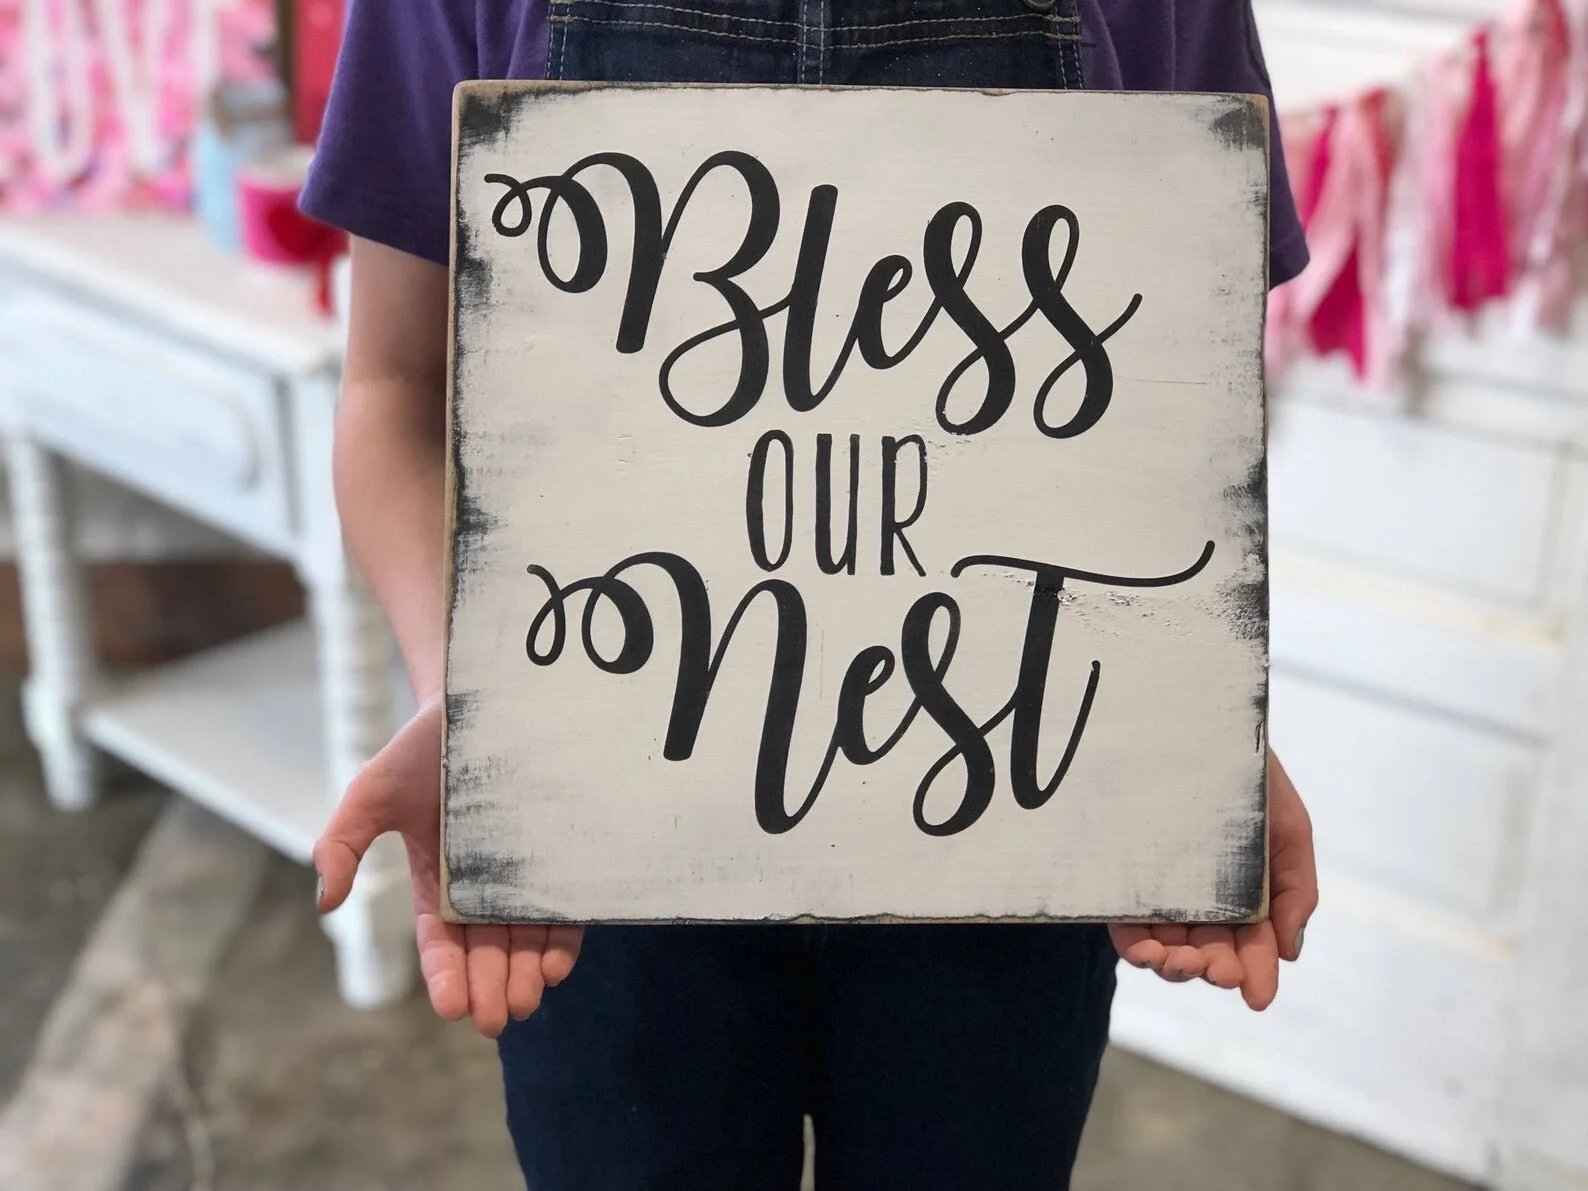
If you have a Cricut or Silhouette cutting machine you can purchase the SVG FILE for BLESS OUR NEST here. If you’re just getting started with your Cricut I highly recommend you read this list of 10 things you need to get started with your Cricut. .

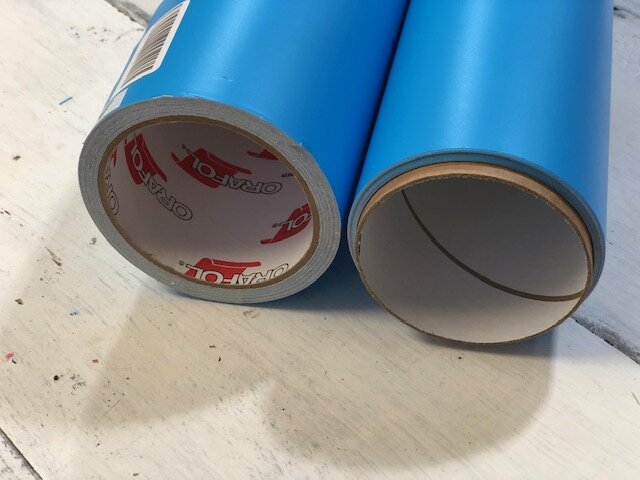
If you’re planning to make lots of signs like I do you may want to consider ordering stencil film in bulk to save some money. Here’s how I save 40% on my Oramask 813 stencil film.
Watch the video below or keep scrolling to read the written sign making tutorial.
NO PAINT BLEED REVERSE STENCILED SIGN
Here’s what you’ll need
Wood base
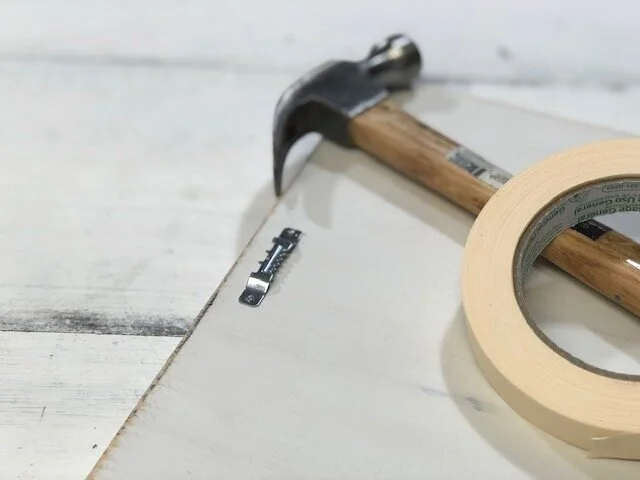
Helpful tools
1. CUT AND WEED YOUR DESIGN
The first thing you want to do is cut your design out. I use my Cricut to do this on Oramask 813 stencil film. After having issues with pretty much any other kind of “stenciling” material, I have found this stuff truly works and does the job it was made to do. Using things like shelf liner, aka contact paper, and oracal 631 they can cause so many issues and a giant headache. So now I just stick to what works and Oramask 813 works! Instead of weeding out the letters like you would on a typical stencil you will actually weed out the background, leaving the letters.

2. PAINT YOUR LETTER COLOR
I know this is going to sound super backwards BUT you want to paint your wood sign base whatever color you want your lettering to be. I have to add that if you are wanting your lettering/design to be multi colored this method will not work. But, if you want one solid color like the design I’m showing here this reverse stencil method is perfect. Let your paint dry.

3. APPLY YOUR STENCIL
After your letter color paint is dry you want to apply your stencil. This can be tricky to get on there straight at first. If it makes it easier you can measure or use tape as a guide line. Place your transfer tape over your design, use your vinyl squeegee to gently remove any air. Flip your stencil over and carefully remove the paper backing. Go slow you don’t want to rip your design. After you’ve removed the paper backing place your stencil down on your wood sign base sticky side down. Use your vinyl squeegee to remove any air bubbles then remove the transfer tape from your design, leaving your stencil film on your wood sign base.


4. SEAL YOUR STENCIL
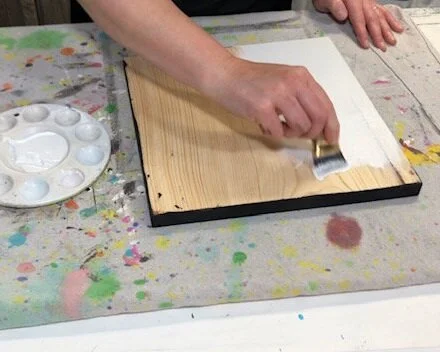
This is THE STEP to do if you want ZERO PAINT BLEED. I don’t know about you but I’m a busy momma and business owner and I don’t have time to daintily paint around stencils then cross my fingers that it won’t bleed. Nope! Instead, I seal my stencils with the same color that is under the stencil. So in this case I sealed my stencil with black paint. You want to paint a SUPER THIN layer of paint over your stencil. Be sure it’s a thin layer, this step does not need a lot of paint.

5. PAINT THE BACK
This step isn’t a must but I always finish the backside of all of my signs. It gives my signs a more polished look. When the sealing step is dry just flip your sign over and paint the back the same color you are going to paint the front. I just do one layer of paint for this step. I also paint a layer of paint on the sides while I’m on this step.
6. PAINT THE FRONT
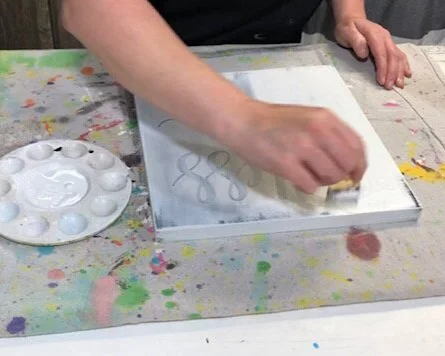
Once the front is dry flip your sign over and paint a SUPER THIN layer of whatever color you would like your background color of your sign to be. Let that dry completely. After the first layer is dry you can add a second layer if you’d like more coverage.

7. PEEL UP YOUR STENCIL
While your paint is still WET peel up your stencil. I find that a sharp xacto knife works perfectly for this step. It easily gets under the stencil film without damaging your wood sign so you can lift the stencil up and off your wood base.

8. FINISH
Let your sign dry completely. You can leave it as is or your can sand around the edges to give it a more distressed look like the Bless our Nest wood sign I made.

I hope you enjoyed this sign painting tutorial and it helps you on your sign painting journey. As with all of my tutorials, if you have any questions please leave them below in the comments.