
DIY sold by realtor sign + FREE SVG
/
DIY SOLD BY REALTOR SIGN + FREE SVG
Learn how to make your own sold by realtor sign + grab my FREE to use SVG in my resource library
Create a personalized SOLD BY (insert name here) sign for your realtor. Or if you’re a realtor create one for yourself.
These are wonderful and unique additions to the house selling world. You can gift them to your favorite realtor use them for a photo prop, or hang them in your office to give it a personalized and cozy touch.
Affiliate Disclosure. Some of the links on this website are affiliate links, which means that I may earn a small commission if you click on the link or make a purchase using the link. If you make a purchase you will not be charged anything additional.

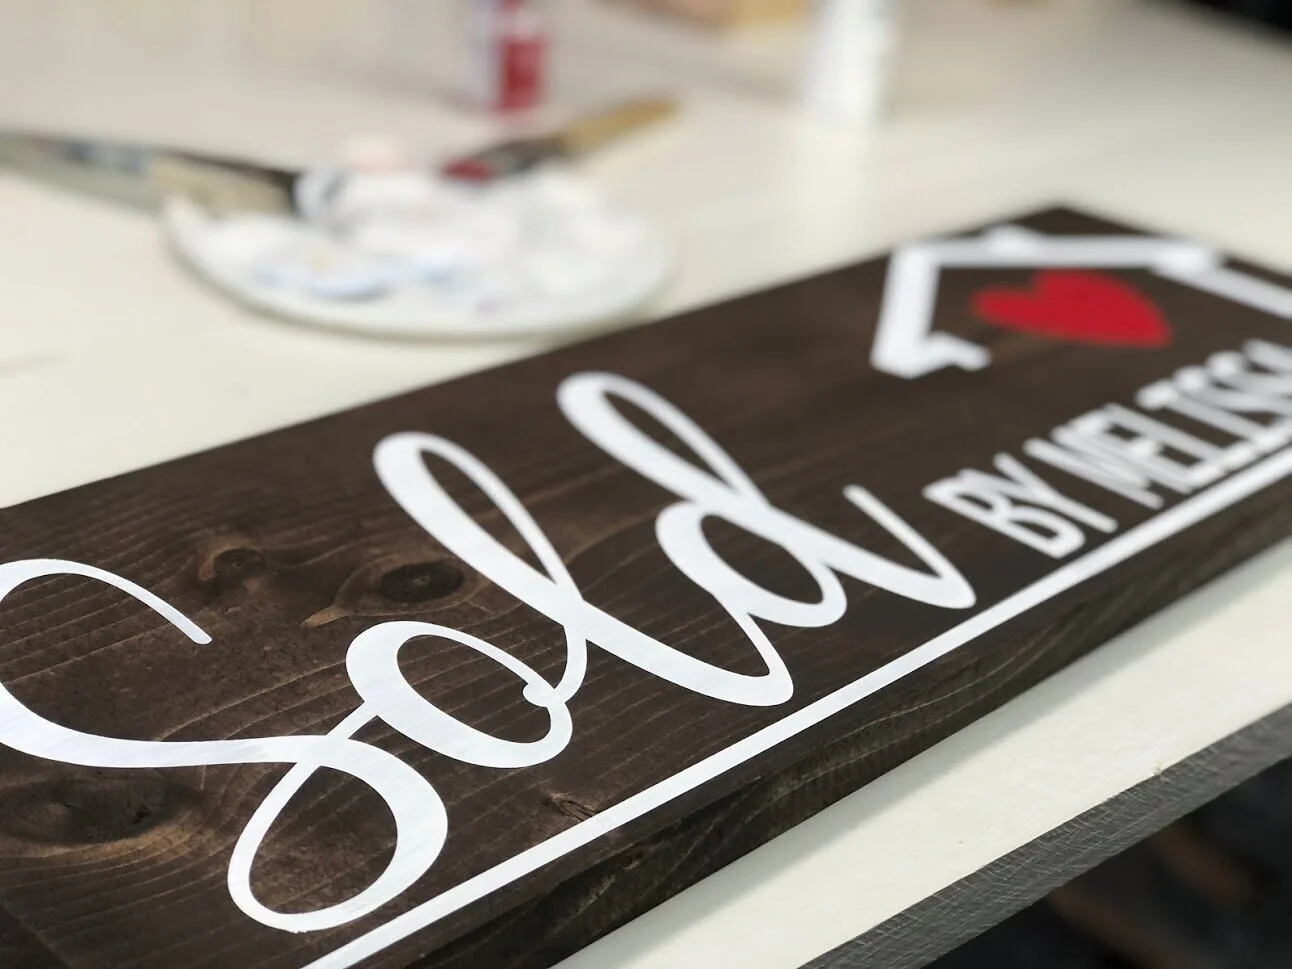
A realtor friend of mine reached out to me and asked me to make her a personalized SOLD BY MELISSA sign and of course I said yes! Her mom is also a realtor and the person who sold us our beautiful old home. I made her this gorgeous thank you gift, a ROUND LAST NAME SIGN, she made the whole home buying process seamless for us.
I was excited when her realtor daughter messaged me asking for a personalized realtor sign for herself. And excited to share the SVG I used with you to use for free. You can find the SVG in my free resource library. This is where I keep all of my free printables, cut files, and more.

HOW TO MAKE YOUR OWN SOLD BY REALTOR SIGN
What you’ll need
sewing pin or xacto knife
8”x21” pine board
stain (I used the color KONA)
1. CUT & STAIN THE WOOD BASE
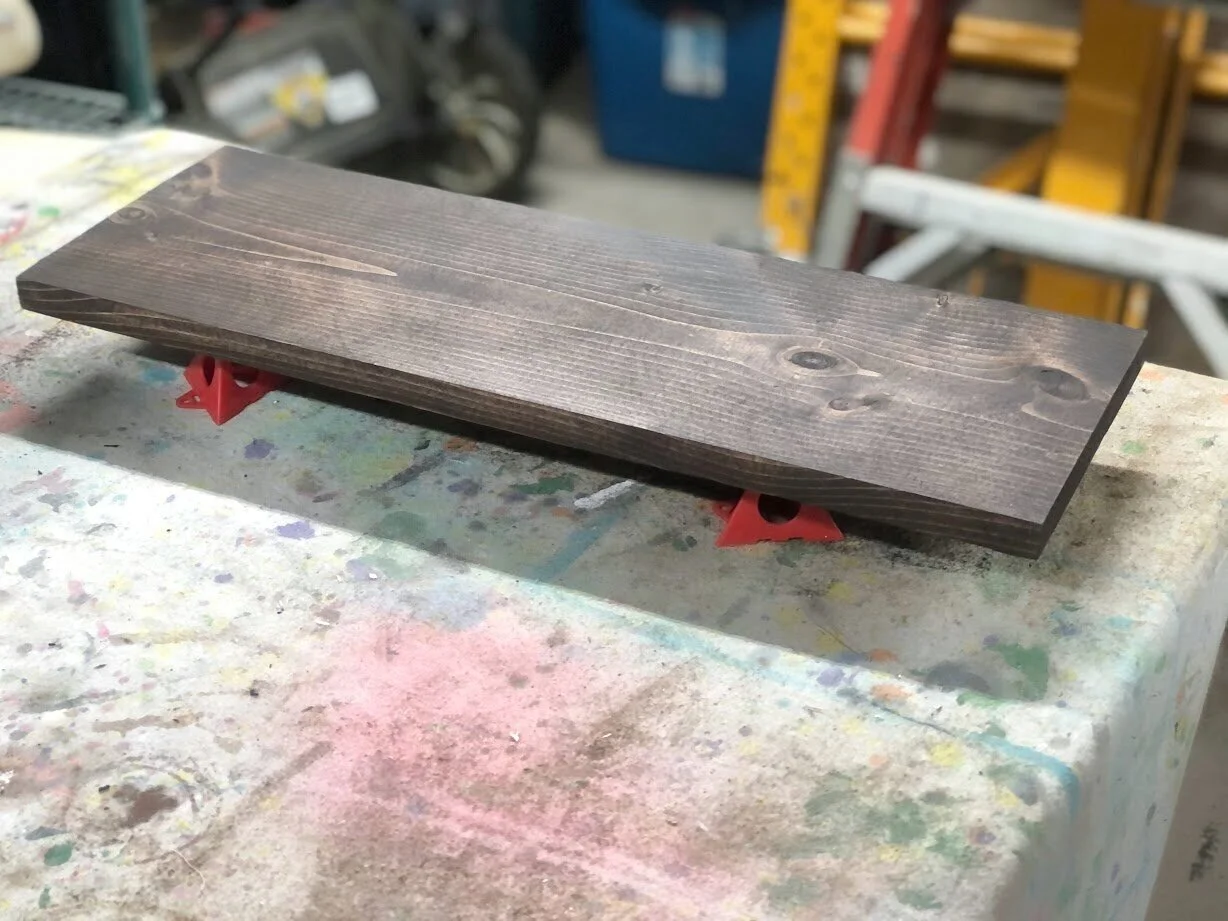
The first thing I did was cut and stain my wooden base. I made my SOLD BY realtor sign from a 1x8 (which actually measures 7.5” not 8” if you are new to using lumber to make things). I cut it to measure 21”. I thought was a good size for photo opps.

CLICK HERE TO LEARN HOW TO STAIN A PIECE OF WOOD
Then I stained it in KONA using my lint free rags. Even though it was a 1 hour dry stain I let my sign dry for 24 hours and used these super helpful paint stand gems I found on Amazon.
2. CUT & APPLY THE STENCIL
After the stain was COMPLETELY DRY I cut out my stencil and applied it to my wood base.
PRO TIP: stencil material will not adhere to a wet surface. It doesn’t matter if it is slightly wet or super wet, it’s not going to stick down. Think of it like a sticker, essentially that is what a stencil is except you remove it.
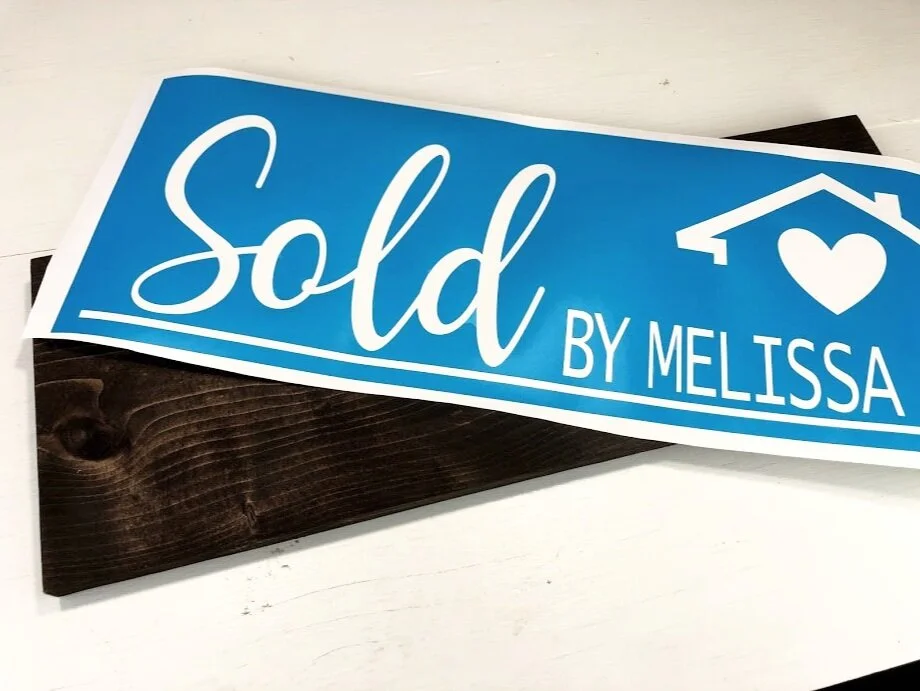
I applied my clear transfer tape to the front of my stencil then removed the paper backing from the backside of the stencil.

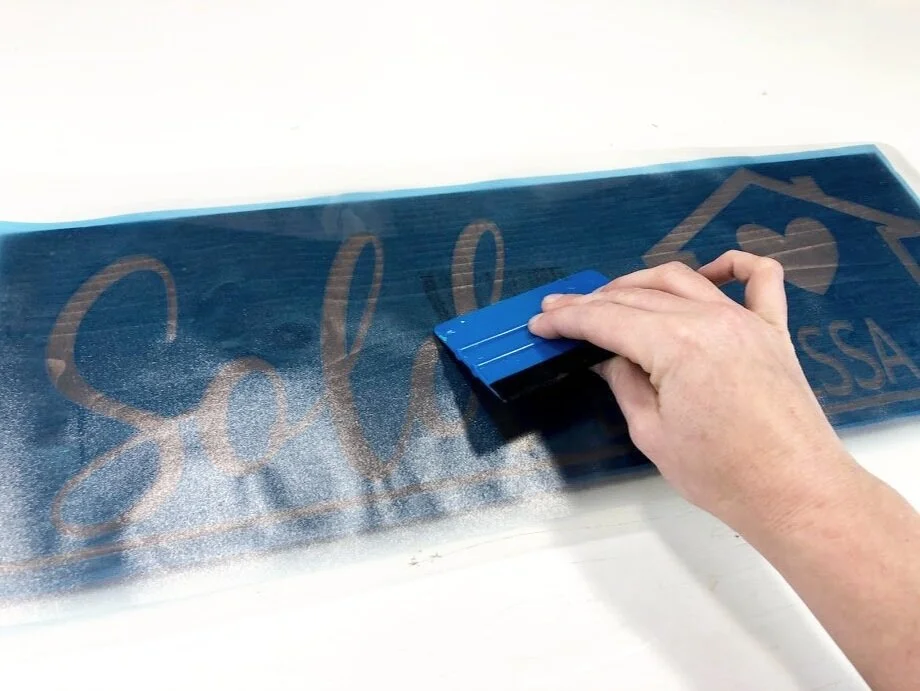
Then I placed the stencil stick side down onto my wood base. Once I was happy with the placement of the stencil I used my vinyl squeegee to press out any air bubbles.
I removed the clear transfer tape from my stencil, leaving the stencil adhered to my wood base. When you do this it’s best to start from one corner of the sign then roll it toward the opposite corner SLOWLY. Don’t go too fast, this can cause a fat mistake and leave you cursing your sign and possibly ruining your entire day lol! Seriously, this has happened to me LOTS of times and after that my day just went downhill from there.
3. REMOVE AIR BUBBLES & SEAL THE STENCIL
I used my vinyl squeegee to help press out any noticeable air bubbles.
Then I sealed my stencil with matte finish mod podge

I painted on a SUPER THIN layer of the matte finish mod podge. This fills in all of the tiny little air bubbles that you can’t really tell that are there BUT once you peel your stencil up you see where they were because your paint has bled into all of those little spots.
This is what my stencil looked like once I was done applying the mod podge.

4. PAINT THE STENCIL
After the mod podge was dry I painted my stencil. I chose white for the lettering and the house image and red for the heart.
I painted a SUPER THIN coat of white paint on the entire stencil, even the heart that I will paint red later.
You want to see the wood grain through your paint.

It didn’t take long for that to dry then I painted second coat of white and painted the heart red.

5. PEEL UP THE STENCIL
I will almost always peel my stencil up while the paint is still wet. Some people wait for their paint to dry but I’ve found my projects turn out better when I peel the stencil up with wet paint.
Start from one corner and peel toward the opposite corner.
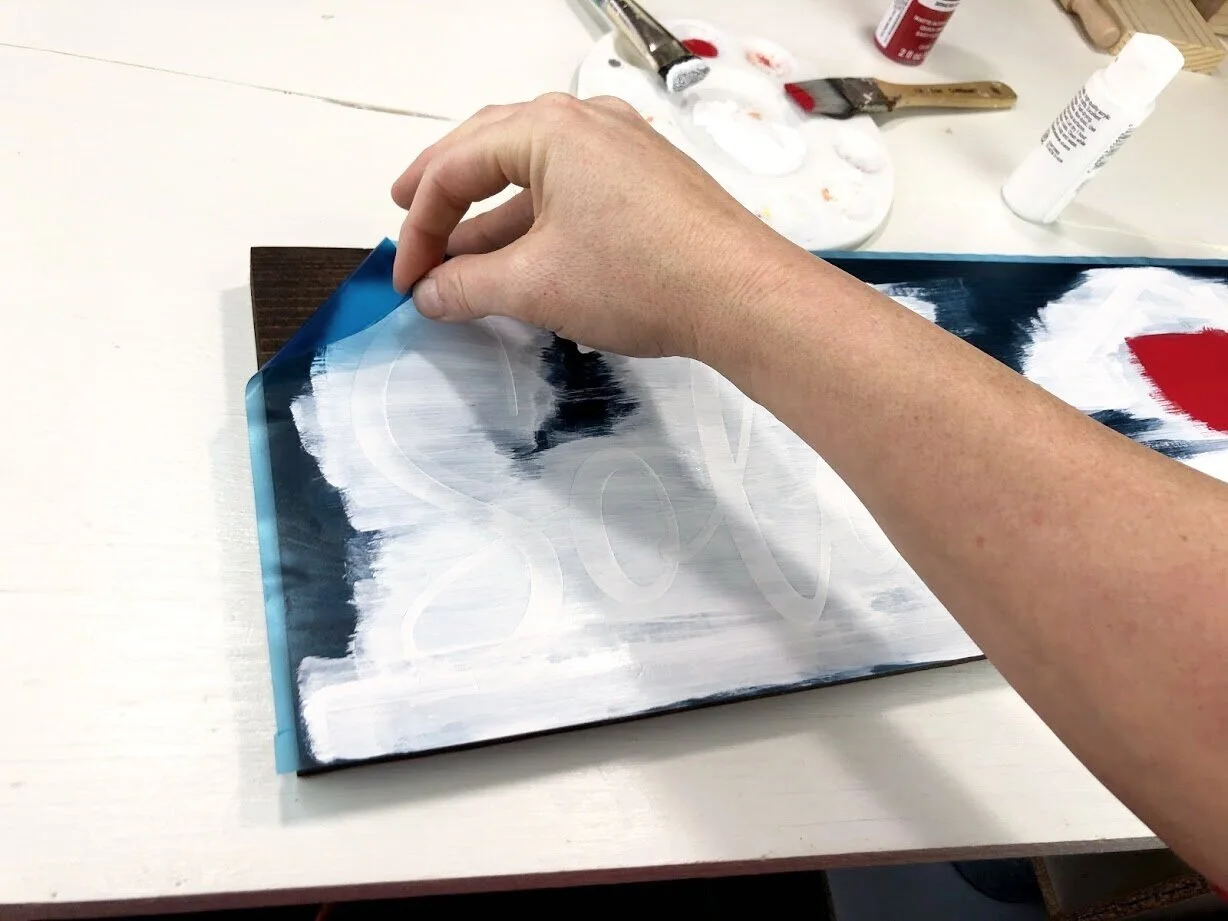
Then I used a sewing pin to peel up all the little middle pieces.

6. LET DRY
After I removed my stencil I let it dry completely and then sealed it with some clear matte finish spray.

I hope you enjoyed this sign painting tutorial. If you did be sure to sign up for my SIGN PAINTING COURSE teaching you EVERYTHING I know about sign making without the headache and stress it can be when you are first learning how to paint wood signs.










