Leaning rustic front porch 'oh hello' sign + FREE SVG

How to make a rustic farmhouse style front porch sign. DIY oh hello leaning porch sign using your Cricut or Silhouette cutting machine plus free svg.

Leaning rustic front porch 'oh hello' sign + FREE SVG

Make your own unique rustic farmhouse leaning porch sign… bonus I’m giving you the same SVG I used for this tutorial for you to use for free!

65227969-C2CD-46D3-9B4D-87FB064CBF8D.jpeg

DIY rustic leaning porch sign

The other day I shared with you how I turned a rusty old metal locker / cabinet into a storage for our muddy shoes on our sunporch. I had picked up that rusted gem at a local antique store for just $20! I had no idea when I bought that chipped old farmhouse looking piece that it would actually serve our home double duty!

Affiliate Disclosure. Some of the links on this website are affiliate links, which means that I may earn a small commission if you click on the link or make a purchase using the link. If you make a purchase you will not be charged anything additional.

Here’s what the metal cabinet looked like when I picked it up from the antique store.

How to make a rustic farmhouse style front porch sign. DIY oh hello leaning porch sign using your Cricut or Silhouette cutting machine plus free svg.

And here’s what I repurposed it into. So perfect for our family’s muddy shoes on the sunporch!

How to make a rustic farmhouse style front porch sign. DIY oh hello leaning porch sign using your Cricut or Silhouette cutting machine plus free svg.

Since one of the pins on the door was gone I removed the door from the cabinet all together. I wasn’t sure what I was going to do with the door but I knew if I put it on a shelf in the garage it would sit there for a long time because honestly I’d forget it was there. So I did some head scratching and thought I could turn it into a super cute painted sign. And so I did!

How to paint your own farmhouse style welcome sign for your front porch

Here’s what I used

How to make a rustic farmhouse style front porch sign. DIY oh hello leaning porch sign using your Cricut or Silhouette cutting machine plus free svg.

1. CUT OUT LETTERS

You can grab the same oh hello SVG that I used in my free resource library. That’s where I keep all of my printables, cut files, and more for my readers to use free of charge <3!

I opted to use a cardstock stencil on this metal porch sign. I was afraid if I used a sticky back stencil (like used on this other leaning porch sign) would remove a lot of the paint and rust that was already on the metal door.

I uploaded the SVG into Cricut Design Space then sized it so that it would fit on the 12”x59” door. I sized mine so that it was about 10”x50” or so then I had to break up the oh hello SVG so that I could cut it out. This is easy, just take a square and slice the letters out so now you have individual sections instead of one single image, I hope that makes sense. Here’s what my SVG looked like after I sliced it and deleted the duplicate slices (I changed the colors so you could see them better).

How to make a rustic farmhouse style front porch sign. DIY oh hello leaning porch sign using your Cricut or Silhouette cutting machine plus free svg.

To cut them out I used 12”x12” cardstock. If my cut image was larger than 12” I just butted two pieces together and taped the seam. Click Click here to see how I do this on another projectto see how I do this on another project.

2. ARRANGE LETTERS & TRACE

After my letters were cut out I decided which end I wanted to be the top…then I did opposite of that lol I placed my door on one side of my table then went to the other side to arrange my letters, total facepalm moment. But that’s ok it turned out SO CUTE even with that mess up. I left more blank space toward the bottom of the sign so that I would have room to place a plant at the base if I wanted without hiding the first letter. Here’s a great still shot from my video lol!!

How to make a rustic farmhouse style front porch sign. DIY oh hello leaning porch sign using your Cricut or Silhouette cutting machine plus free svg.

I started tracing with a pen but that just wasn’t cutting it so then I found the nearest sharpie and used that. It was brown but the black paint covered it perfectly!
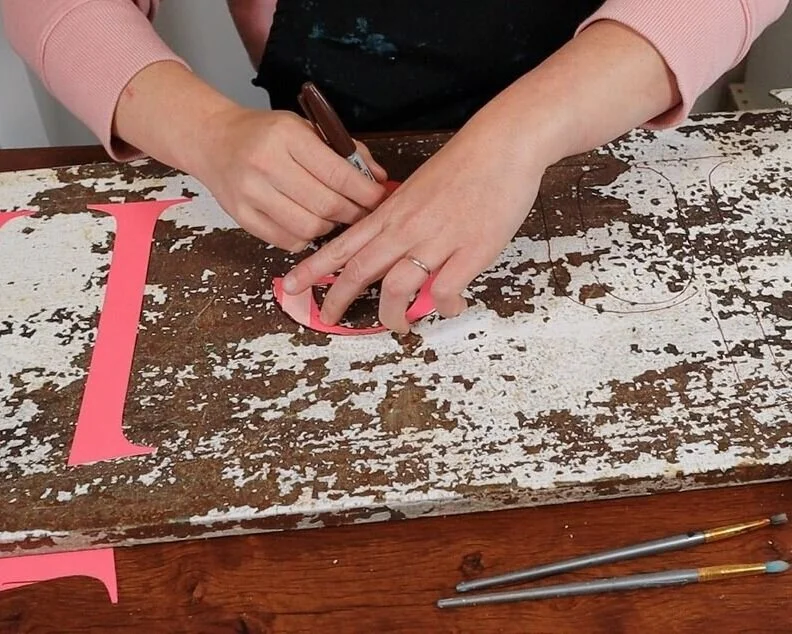
How to make a rustic farmhouse style front porch sign. DIY oh hello leaning porch sign using your Cricut or Silhouette cutting machine plus free svg.

3. PAINT

I had a bottle of old outdoor paint, like 3 years old, and used that to paint my sign. I used a small round tipped brush to outline the letters but also fill them in as I went along.
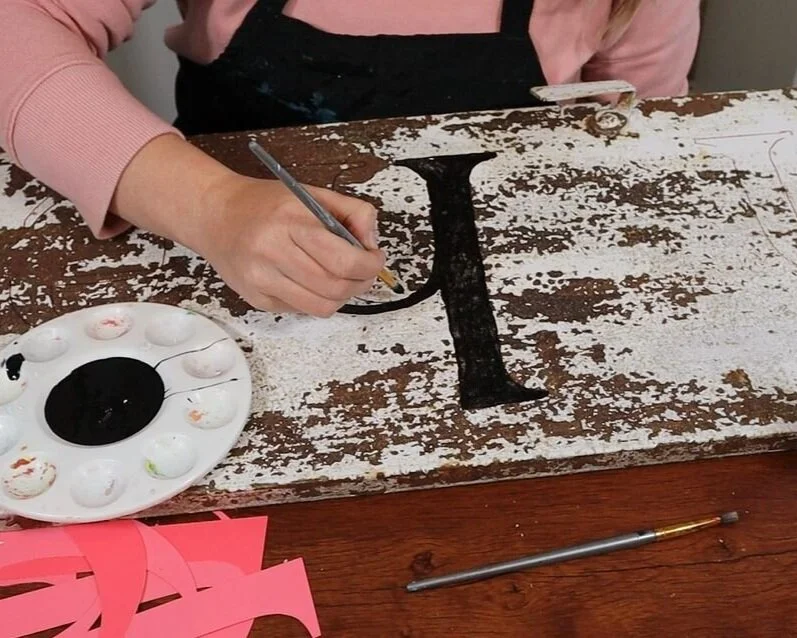

How to make a rustic farmhouse style front porch sign. DIY oh hello leaning porch sign using your Cricut or Silhouette cutting machine plus free svg.

4. DRY

Like with most of the DIYs I do for around my house I needed this one to be quick and easy. I’m a busy momma to four girls and we had a movie to catch at the theatre so I used my heat gun to speed up the dry time.
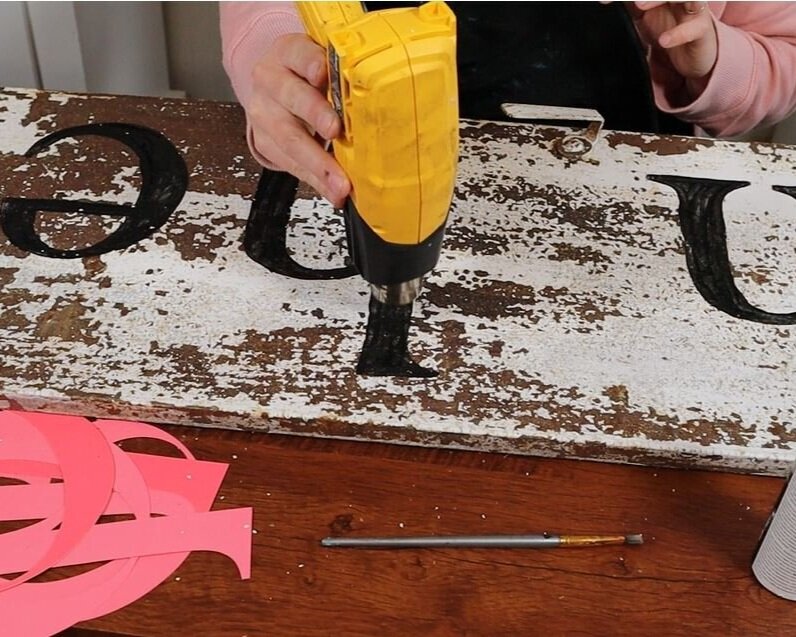
How to make a rustic farmhouse style front porch sign. DIY oh hello leaning porch sign using your Cricut or Silhouette cutting machine plus free svg.

5. 2ND COAT OF PAINT

I thought maybe one coat of paint would do it but it wasn’t quiet enough coverage so I painted a second coat. This went much faster than the first coat. Then I used my heat gun to dry it again.
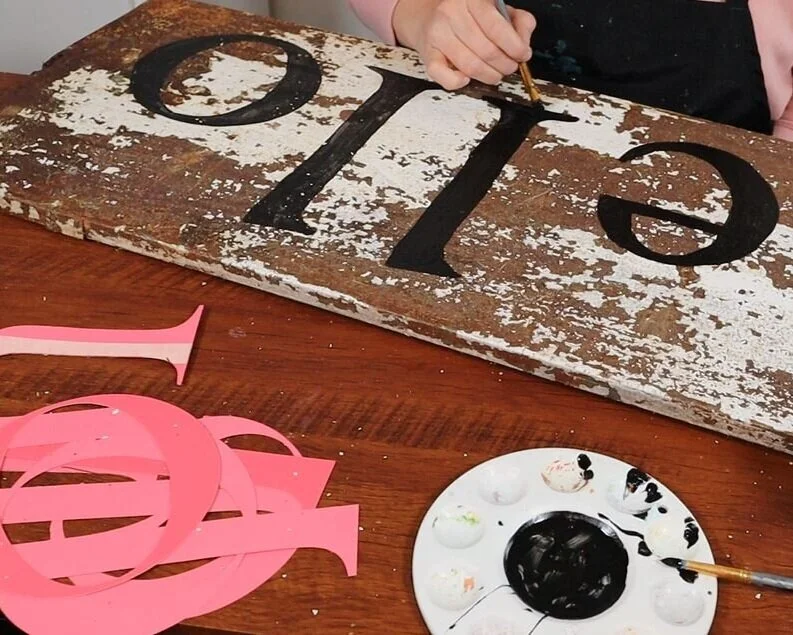
How to make a rustic farmhouse style front porch sign. DIY oh hello leaning porch sign using your Cricut or Silhouette cutting machine plus free svg.

I’m super impatient so I put my sign out as soon as that second coat was dry.
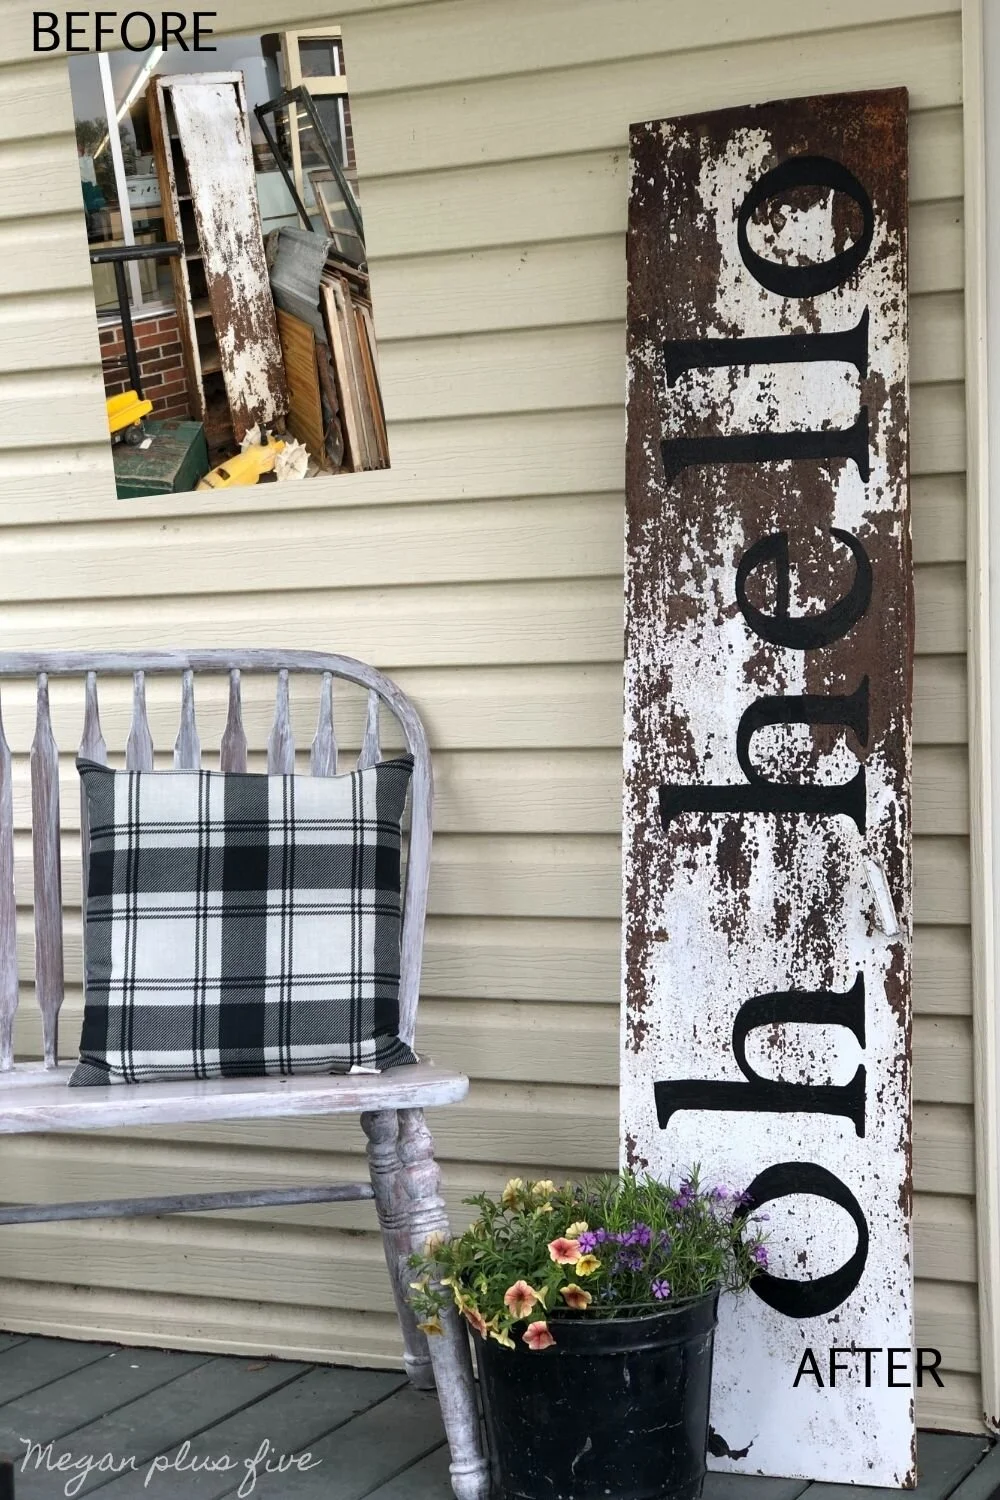
How to make a rustic farmhouse style front porch sign. DIY oh hello leaning porch sign using your Cricut or Silhouette cutting machine plus free svg.

I just LOVE how this old porch sign turned out! I still can’t believe it turned out so stinking good! I had no plans for that door when I bought that cabinet but I’m so glad I made use of it instead of it just sitting on a shelf collecting even more dust in the garage.

I hope you enjoyed this crafty tutorial. If you have any questions please leave them in the comments below.

Happy Crafting!

More posts you’ll love

Simple Halloween décor using a witch hat

How to make an easy and cute Halloween decoration using a Dollar Tree vase and a witch hat. DIY  Halloween decor using your Cricut cutting machine. Make your own adorable witch hat Halloween decoration.

Easy Witch Hat Halloween Decoration

There are some really super cute Halloween decorations out there. I love simple AND frugal! I’m not one to spend a lot on décor so I really loved this easy and cheap project!

If you want even more fun HALLOWEEN DECOR IDEAS be sure to scroll all the way to the bottom for more DIY’s for the fall season.

Affiliate Disclosure. Some of the links on this website are affiliate links, which means that I may earn a small commission if you click on the link or make a purchase using the link. If you make a purchase you will not be charged anything additional.

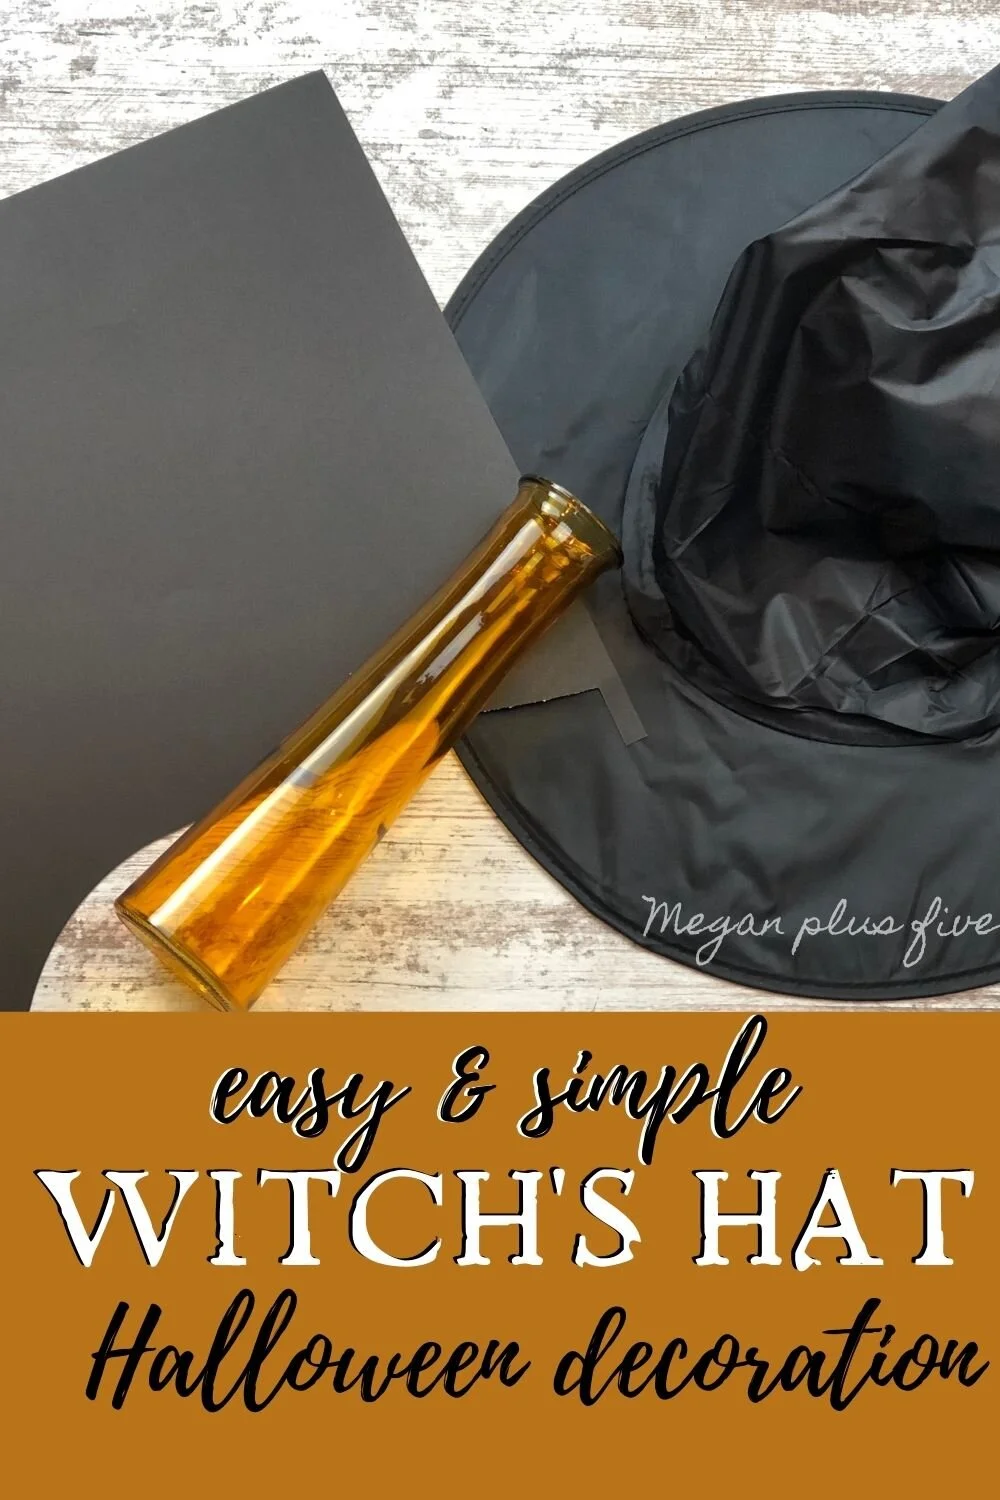
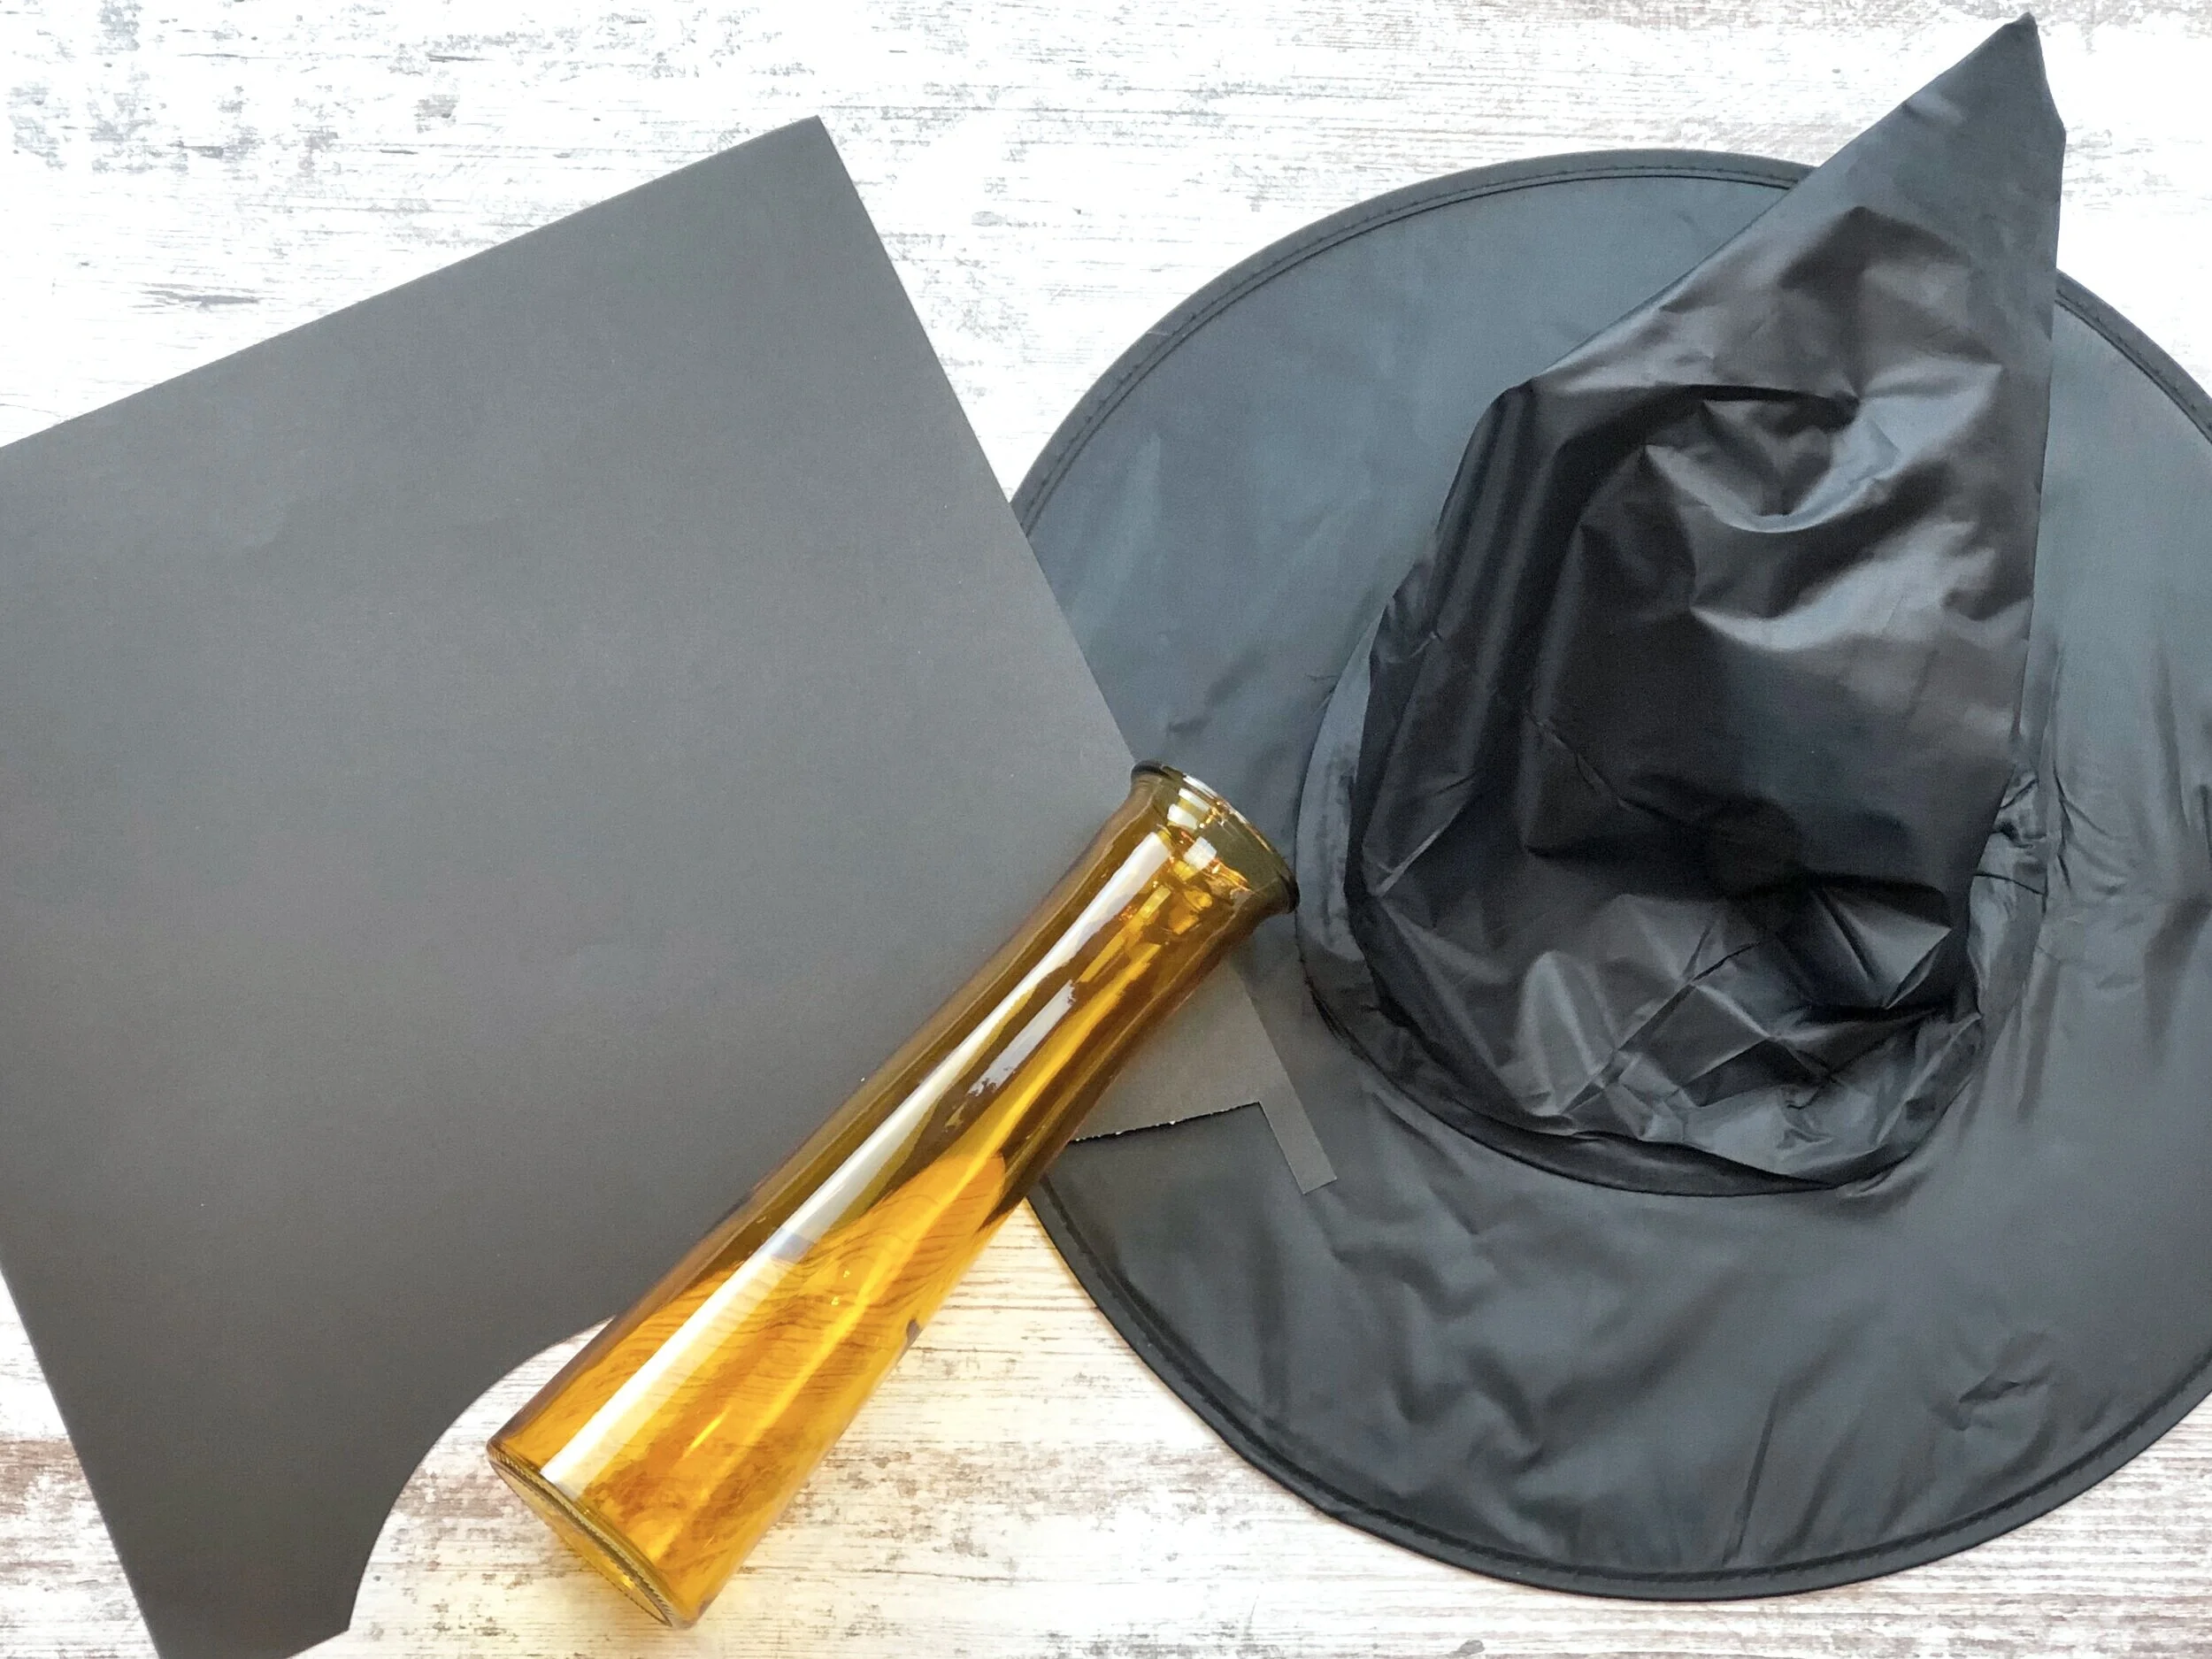
Here’s what you’ll need

How to make an easy and cute Halloween decoration using a Dollar Tree vase and a witch hat. DIY  Halloween decor using your Cricut cutting machine. Make your own adorable witch hat Halloween decoration.

The first thing I did was measure the opening of the witch hat.

How to make an easy and cute Halloween decoration using a Dollar Tree vase and a witch hat. DIY  Halloween decor using your Cricut cutting machine. Make your own adorable witch hat Halloween decoration.

Using Cricut Design Space I made a 9” circle and cut it out on black cardstock using my Cricut Explore.

How to make an easy and cute Halloween decoration using a Dollar Tree vase and a witch hat. DIY  Halloween decor using your Cricut cutting machine. Make your own adorable witch hat Halloween decoration.

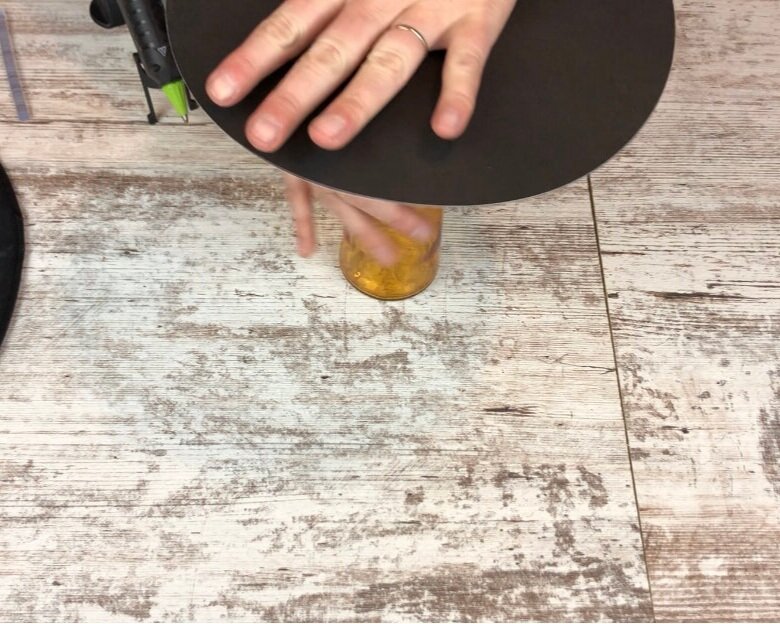
Next I used my glue gun and added hot glue to the top of the vase.

How to make an easy and cute Halloween decoration using a Dollar Tree vase and a witch hat. DIY  Halloween decor using your Cricut cutting machine. Make your own adorable witch hat Halloween decoration.

Then I quickly placed my cardstock circle cut out on top. Be sure to do this step quickly because hot glue can dry fairly fast.

How to make an easy and cute Halloween decoration using a Dollar Tree vase and a witch hat. DIY  Halloween decor using your Cricut cutting machine. Make your own adorable witch hat Halloween decoration.

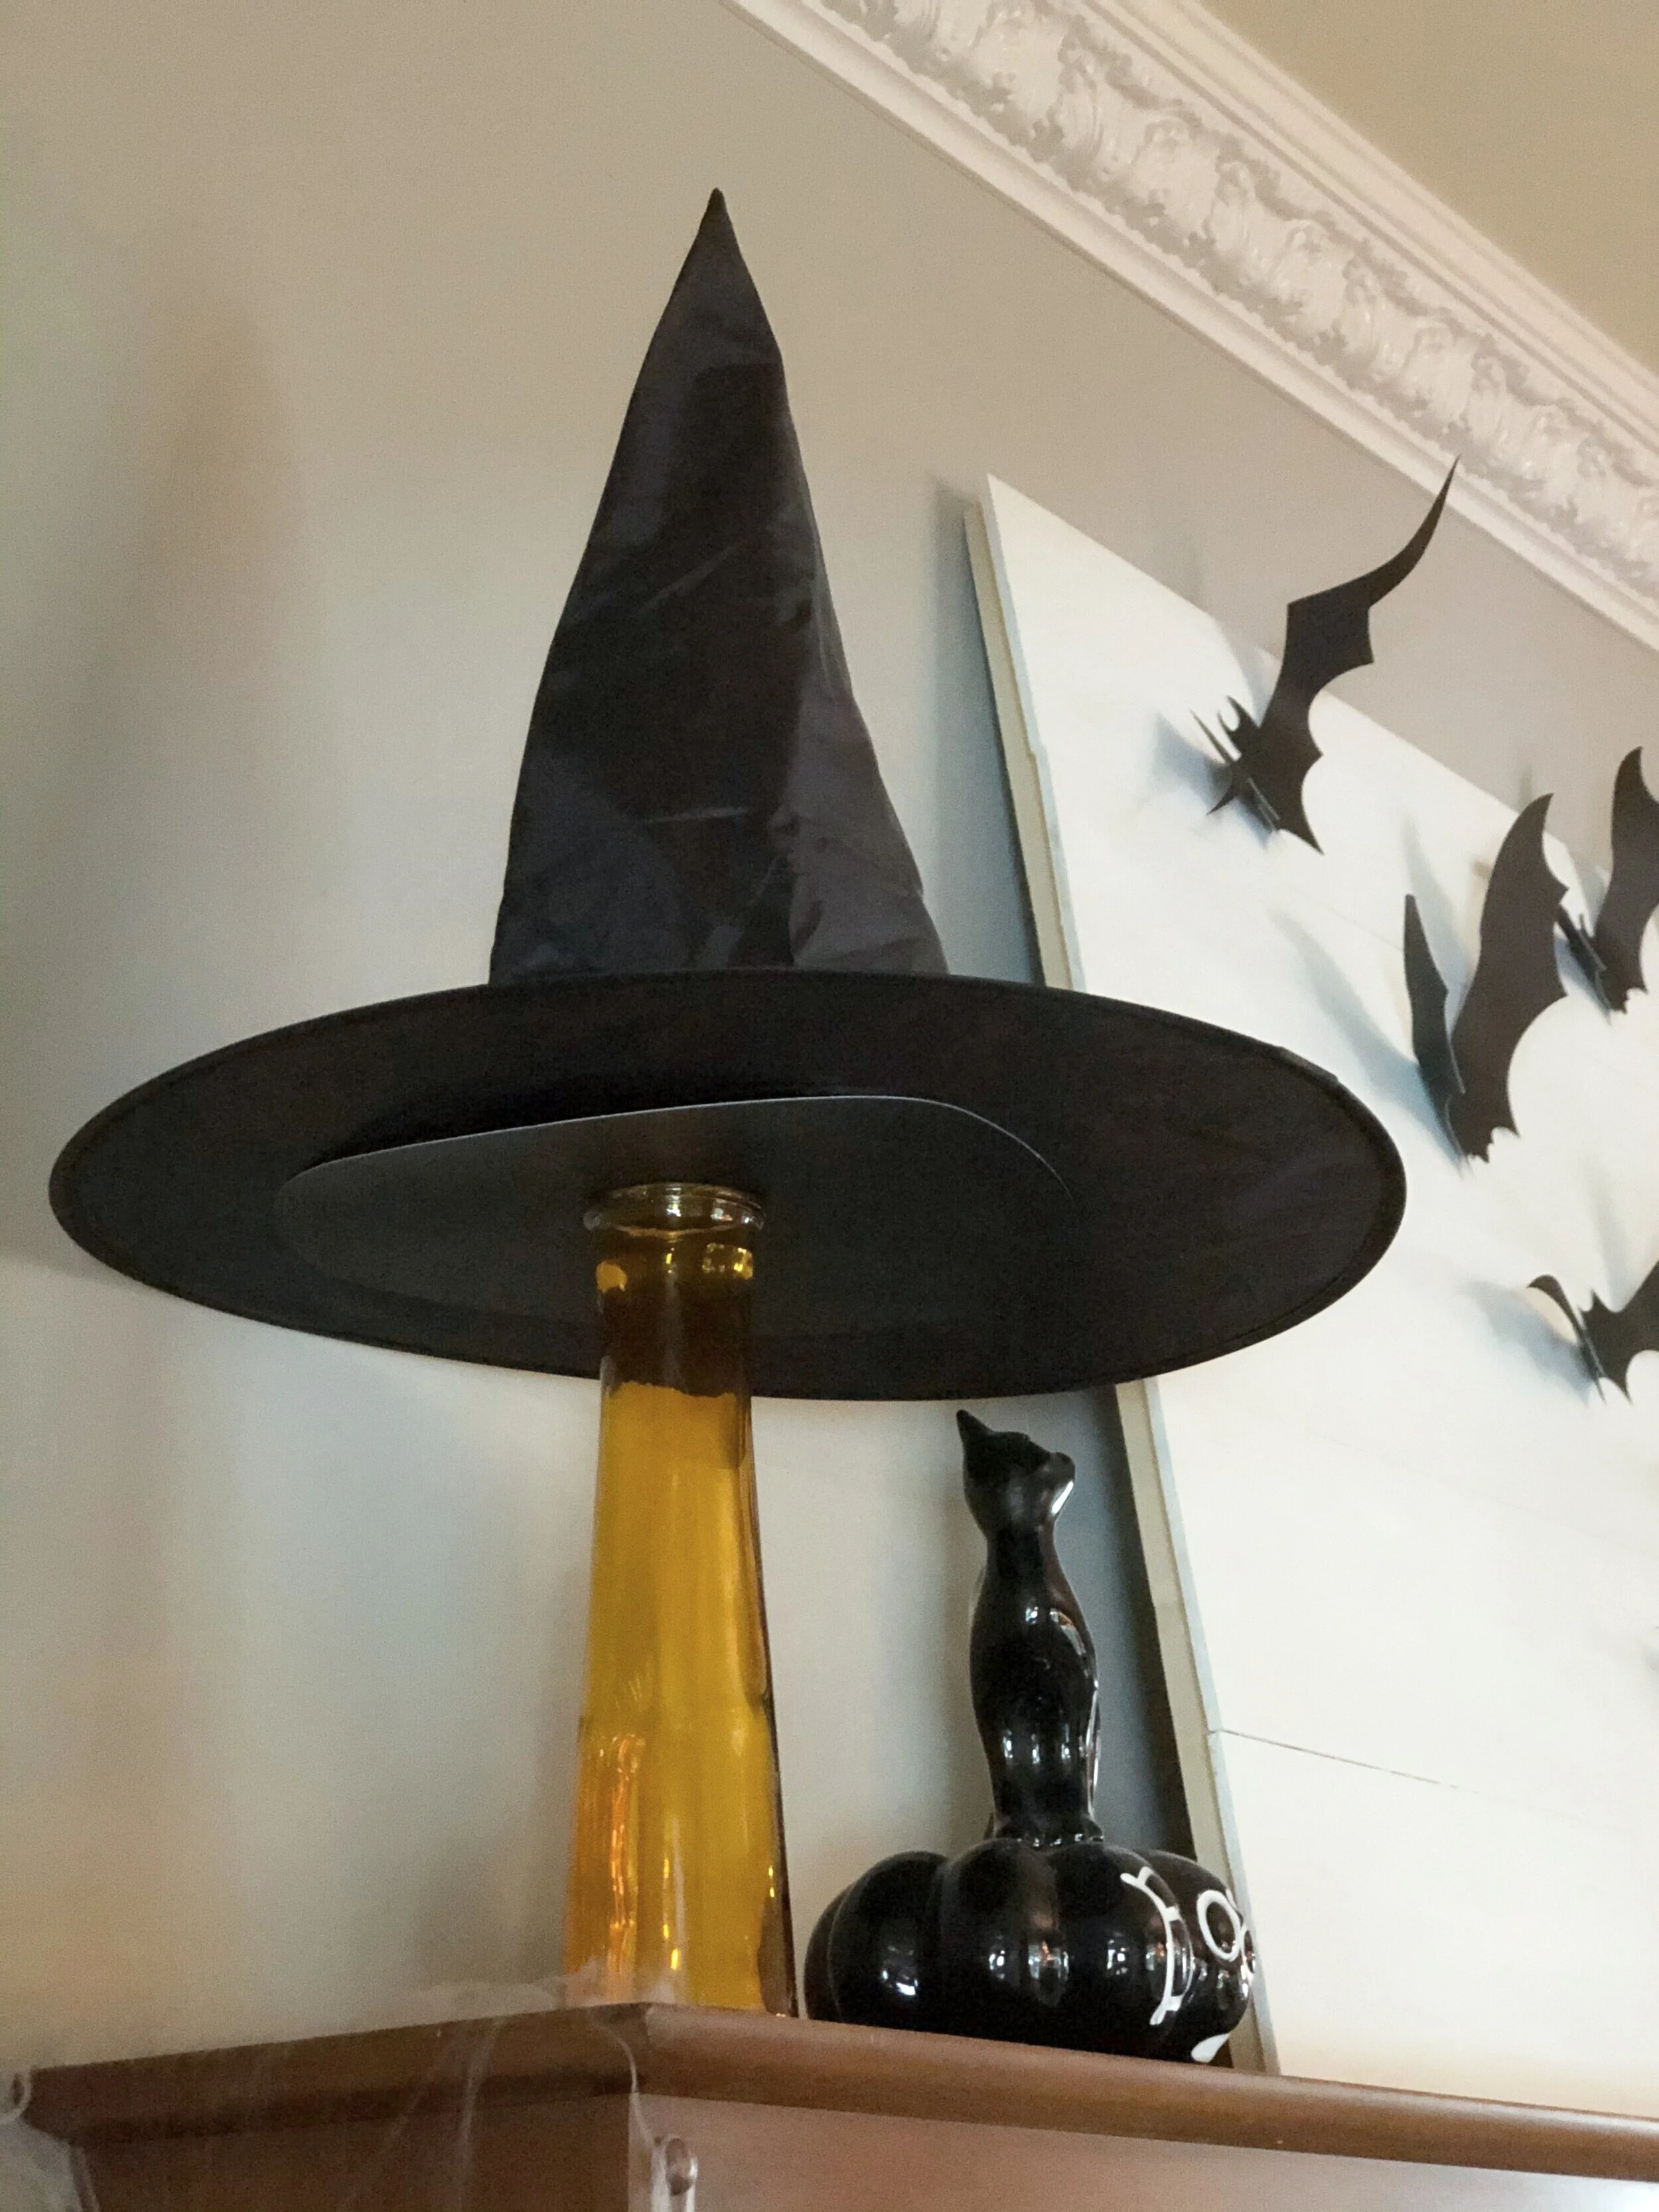
Then I placed it on my hutch and added my witch hat.

How to make an easy and cute Halloween decoration using a Dollar Tree vase and a witch hat. DIY  Halloween decor using your Cricut cutting machine. Make your own adorable witch hat Halloween decoration.

I love it! It was so super easy and adds so much height to my Halloween display.
How to make an easy and cute Halloween decoration using a Dollar Tree vase and a witch hat. DIY  Halloween decor using your Cricut cutting machine. Make your own adorable witch hat Halloween decoration.

I hope you enjoyed this super simple Halloween craft. Let me know if you have any questions in the comments below.

Happy Crafting!

Check out more of my fun Halloween & fall crafts below

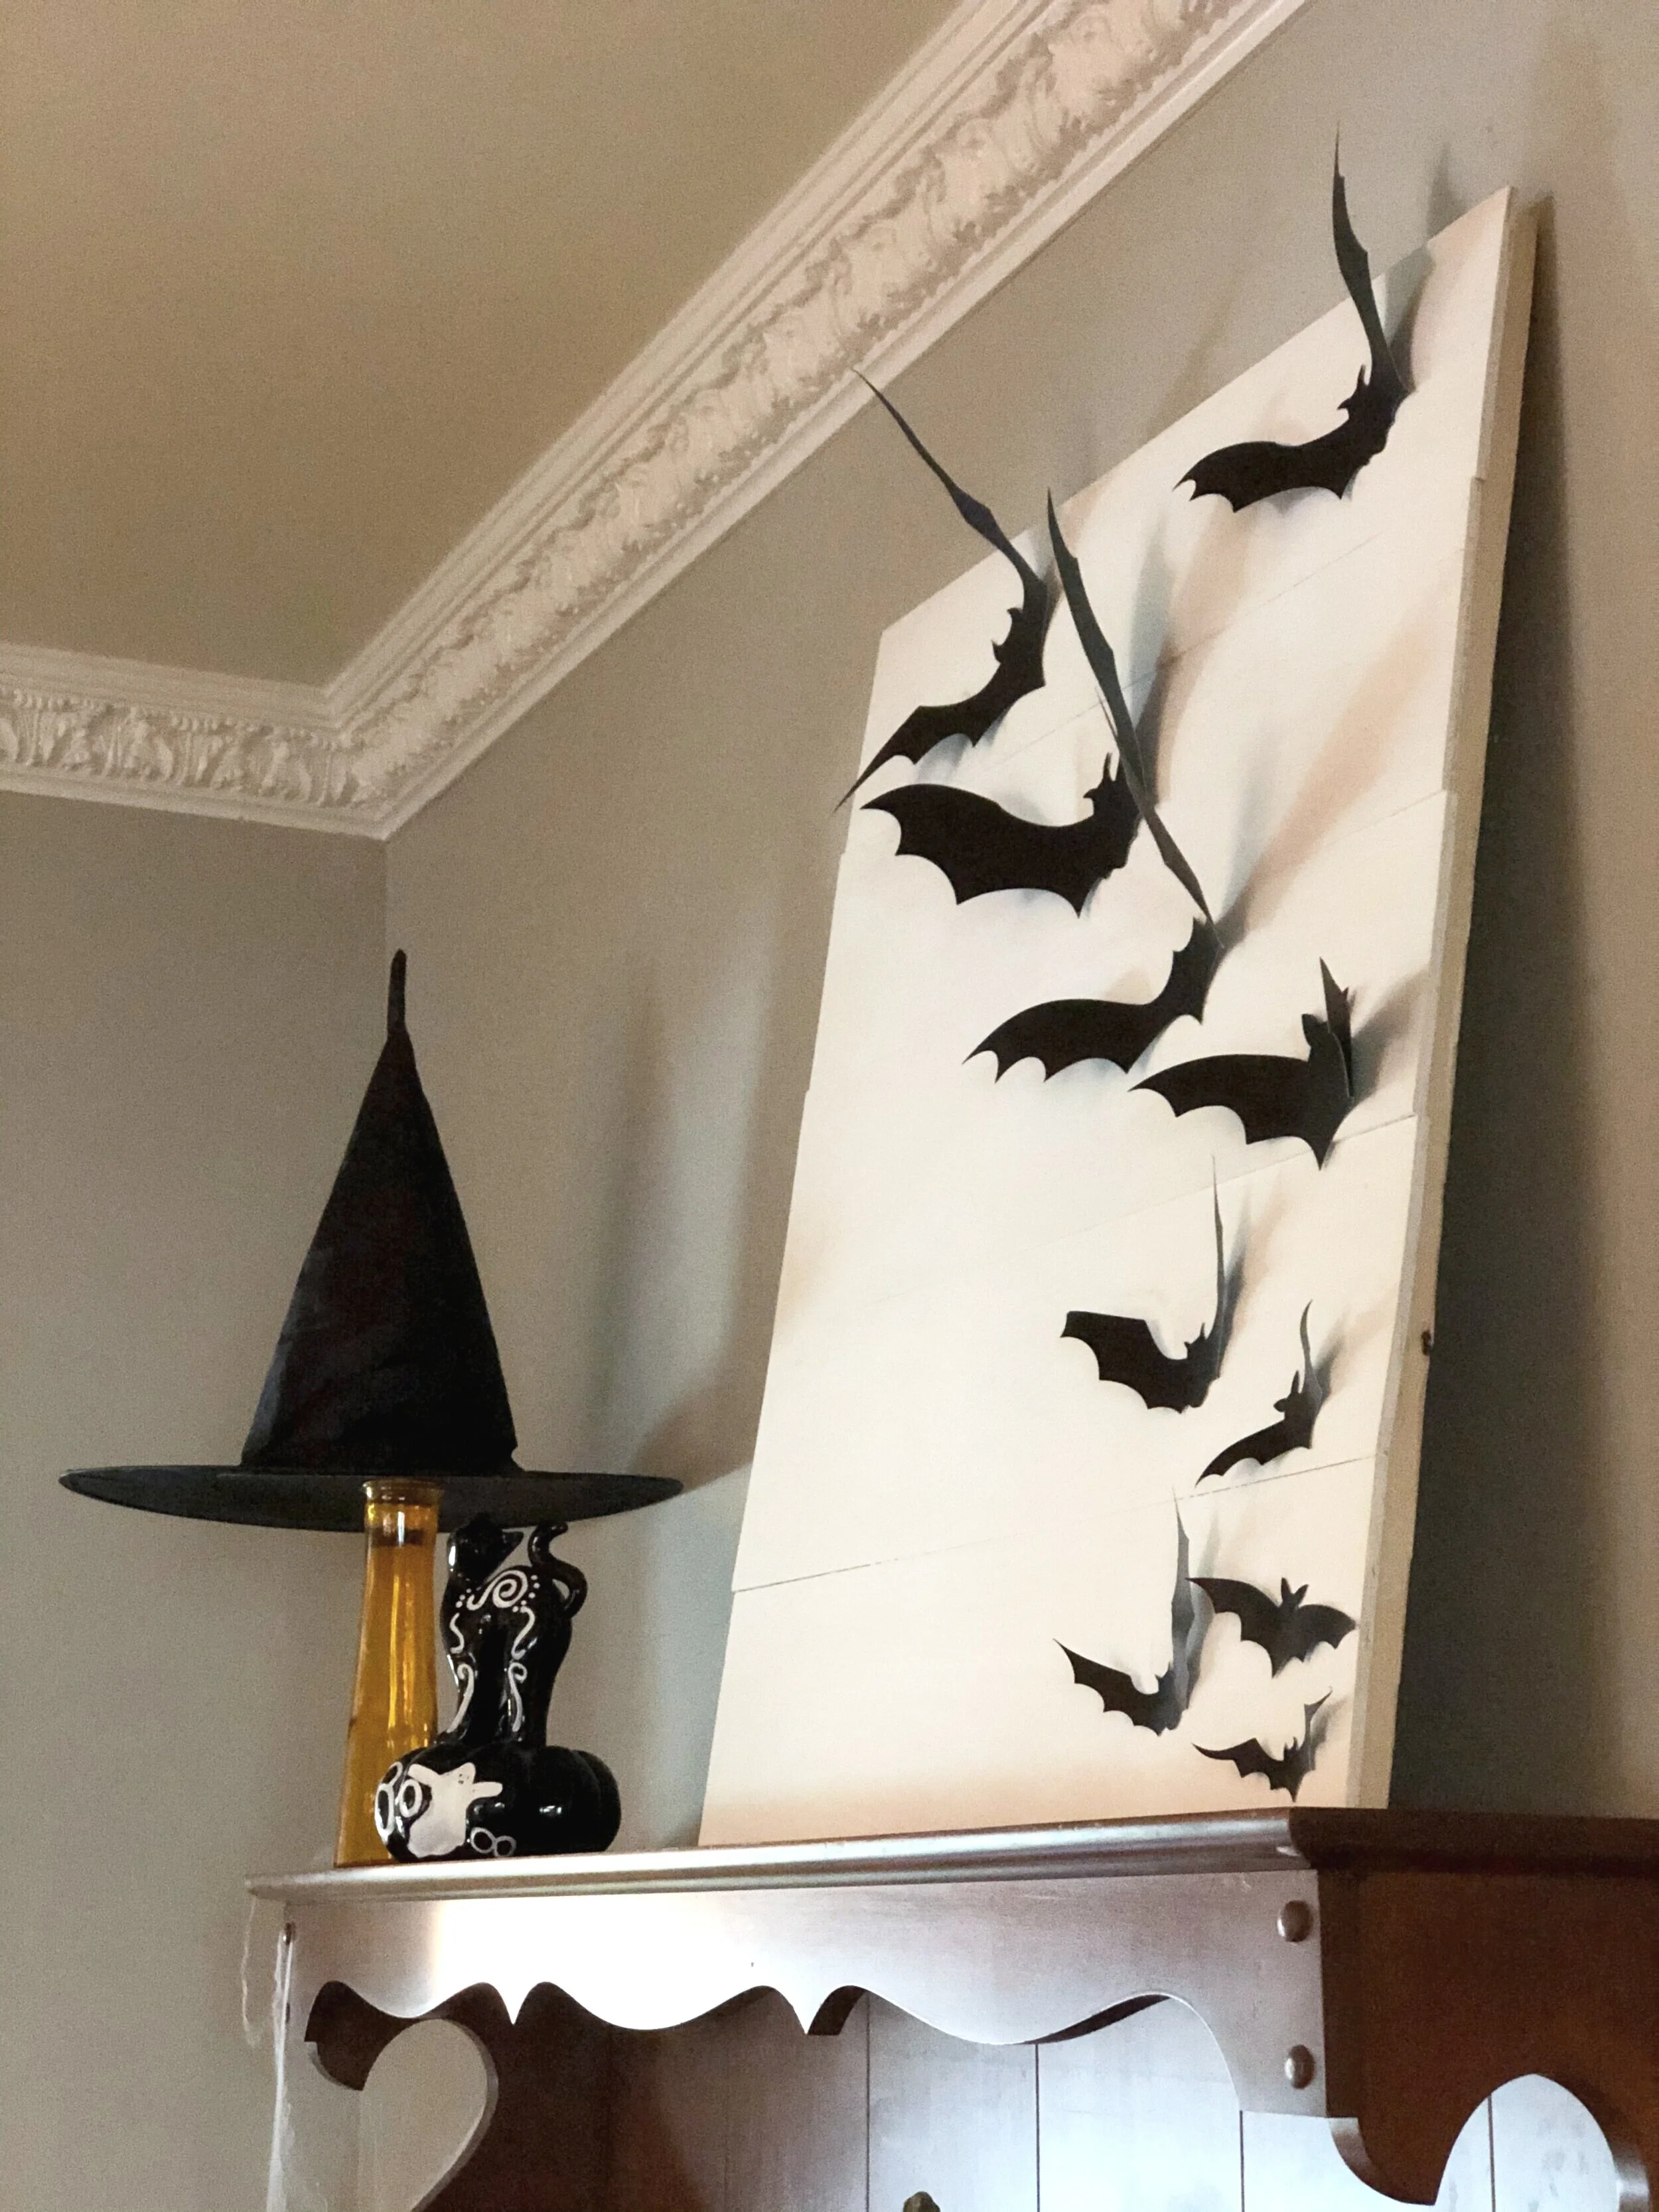
Flying bat sign, easy DIY sign for Halloween

DIY flying bat sign using your Cricut cutting machine. How to make cardstock flying bats for Halloween. Easy and simple rustic Halloween Decor for your farmhouse style

DIY - Super simple Halloween sign

This year I decorated for Halloween instead of my typical fall only décor. My girls are loving it! One piece they have especially loved, and I must say I do too, is my flying bat sign I made. It was so crazy simple to make too!

The best part of this wooden Halloween sign is that once Halloween is over I can simply take the bats off and replace them with something else.

If you love this DIY be sure to check out this framed Halloween sign I made for my front porch…p.s. it has a FREE SVG to use ;)!
Affiliate Disclosure. Some of the links on this website are affiliate links, which means that I may earn a small commission if you click on the link or make a purchase using the link. If you make a purchase you will not be charged anything additional.

The Best Machine for DIY Projects

MAKE YOUR OWN FLYING BAT SIGN

Here’s what you’ll need

If you’re new to the Cricut crafting world be sure to check out my post on 10 must have supplies and accessories when starting out using a Cricut cutting machine.
1. CUT OUT CARDSTOCK BATS

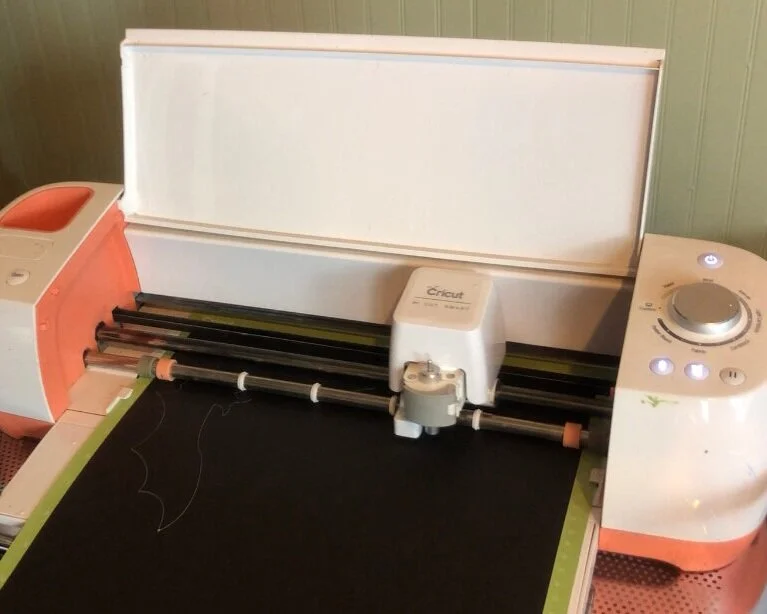
I used my older model Cricut Explore to cut out my cardstock bats. If you have Cricut Access you can use the Cricut image, click here for the link.
DIY flying bat sign using your Cricut cutting machine. How to make cardstock flying bats for Halloween. Easy and simple rustic Halloween Decor for your farmhouse style

2. REMOVE THE BAT CUT OUTS FROM YOUR GREEN CUTTING MAT

It’s easier to flip the cardstock facedown on your table then slowly roll the mat away from the material you’ve just cut.

DIY flying bat sign using your Cricut cutting machine. How to make cardstock flying bats for Halloween. Easy and simple rustic Halloween Decor for your farmhouse style

3. ARRANGE THE BATS

Before you put tape on the back of them decide where you want them to go. This took me entirely too long lol!

DIY flying bat sign using your Cricut cutting machine. How to make cardstock flying bats for Halloween. Easy and simple rustic Halloween Decor for your farmhouse style

4. MAKE THE BATS FLY

Give the bats some movement by gently curving their wings upward. I used a pencil to curl the wings up so they didn’t have creases.

DIY flying bat sign using your Cricut cutting machine. How to make cardstock flying bats for Halloween. Easy and simple rustic Halloween Decor for your farmhouse style

5. TAPE THE BATS DOWN

I used double sided tape to temporarily tape them to my wooden pallet style sign.

DIY flying bat sign using your Cricut cutting machine. How to make cardstock flying bats for Halloween. Easy and simple rustic Halloween Decor for your farmhouse style

This is seriously my favorite piece in the house for Halloween! It’s crazy simple but it gives the spooky décor a little something extra ya know?! I love it!

DIY flying bat sign using your Cricut cutting machine. How to make cardstock flying bats for Halloween. Easy and simple rustic Halloween Decor for your farmhouse style

I hope you loved this simple decoration to add to your own home for the Halloween season. Let me know if you have any questions in the comments below.

Happy Crafting!

Check out more of my Halloween & fall craft tutorials

How to make paper flowers without a cutting machine

How to make paper flowers without a cutting machine

I absolutely LOVE my Cricut cutting machine and use it almost daily but there are certain projects when it’s much easier to hand cut things myself. Being a buys momma of 4 I don’t always have time to wait on technology lol. Because we all know when we are rushed for getting a project done something is going to go wrong, like the app needing updated or the computer taking forever to start…that kind of stuff always happens, never fails.

I appreciate the simplicity of making hand cut flowers. There’s no need for technology. Each flower turns out totally and 100% unique. And it’s just plain fun! These small flowers are super simple and make a great starting point of learning how to make flowers by hand. If you can cut a circle and hold a paint brush then you don’t have any worries!

Affiliate Disclosure. Some of the links on this website are affiliate links, which means that I may earn a small commission if you click on the link or make a purchase using the link. If you make a purchase you will not be charged anything additional.

I had everything I needed on hand to make this but I’ve included the links where you can get some of these supplies. Yes, those are affiliate links but not to worry, you will not be charged anything extra if you make a purchase through them. They are just a way for this stay at home momma to help with the daily bills of raising our four little girls :)!

How to make hand cut paper flowers, no cutting machine required

How to make paper flowers without a cutting machine

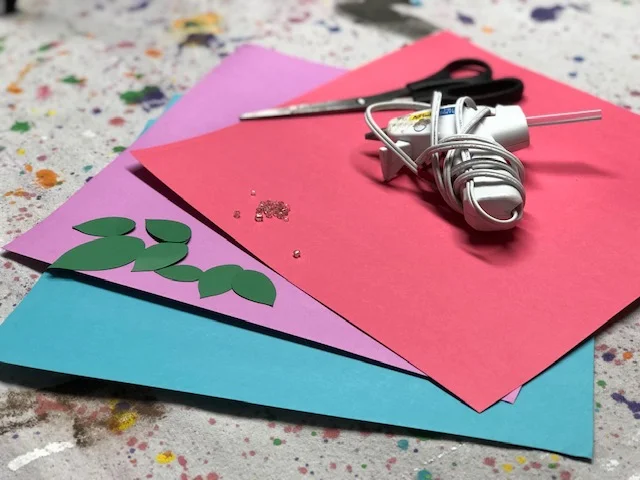
Here’s what you’ll need

  • scissors

  • cardstock

  • a small paint brush, pencil, or pen {you won’t be painting or writing with this}

  • small beads

  • LOW TEMP GLUE GUN

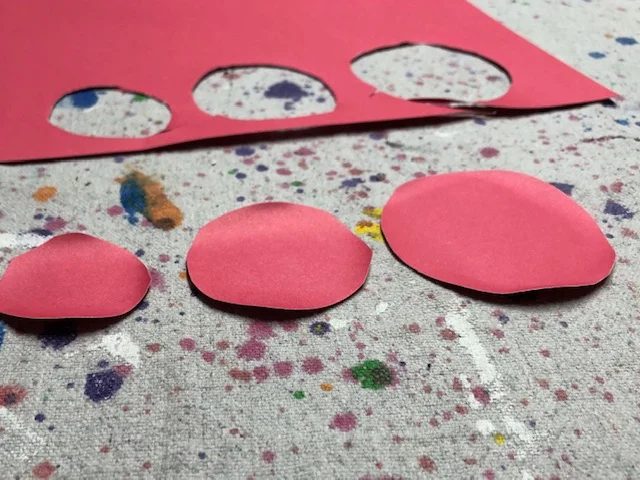
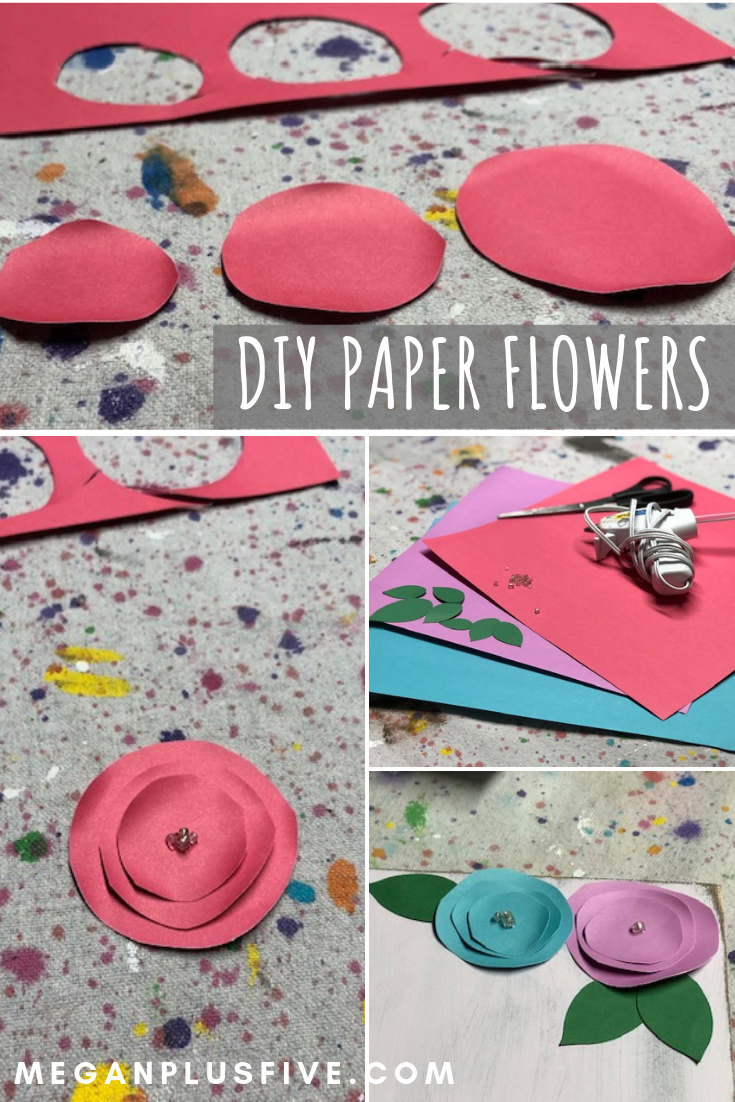
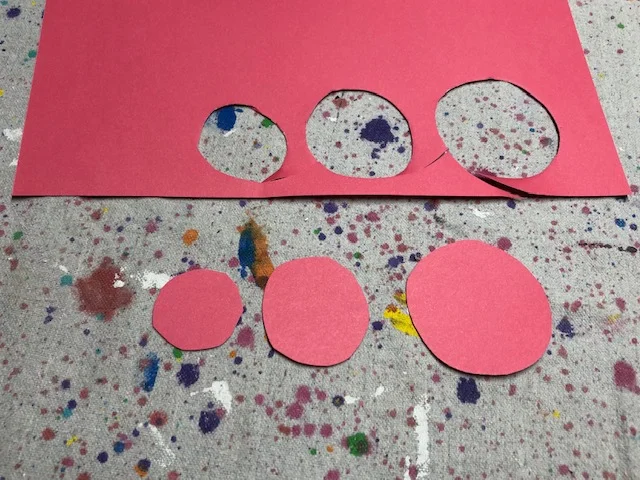
Start by cutting out three circles that are just a tiny bit smaller as the last one. I always cut the biggest one first then work my way to the smallest. I eyeball how big of a diameter I need for the space I’m filling. They will almost look like you are cutting out circles to build a paper snowman.

I chose cardstock to make my flowers out of but you can truly use any kind of paper you’d like. If you choose cardstock there are a few things you should know. One, it’s fancy a fancy name for thick paper {or at least that’s what I think of it}. Two, it comes in a wide variety of colors, thickness, prints, and textures. Three, it can be a little pricey but if you catch it on sale at Michael’s or any other craft store you can stock up at a really low price. This is what I do. Anytime I find cardstock on sale I grab what I can afford because I make so many different projects using cardstock. Like this DIY LIGHT UP FAIRY JAR , or this DIY VALENTINE’S DAY PALLET SIGN, or this adorable KIDS CATERPILLAR CRAFT. I used cardstock I had on hand to create all of those fun projects. And since I’m an impulse maker lol, I hardly ever plan my projects out ahead of time so having things on hand is just apart of my create process;)!

How to make paper flowers without a cutting machine

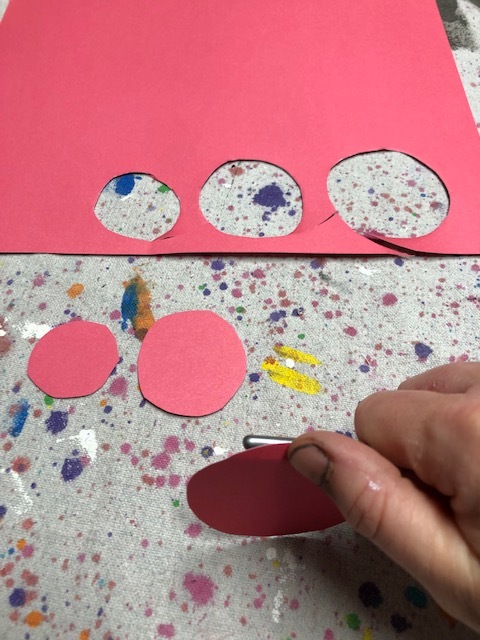
Taking your paintbrush, pen, or pencil and roll just the edges of each circle. I used a paint brush but a pen or pencil will work just fine too. don’t roll them too much as they’ll end up too curled under. If you don’t have any of these on hand you can always just use your finger to curl up the edges of your paper pedals.

How to make paper flowers without a cutting machine

This is what your circles should look like once you’ve rolled the edges. You can see they are starting to look like paper flowers already! I love you uneven the circles are, it makes them so unique!

How to make paper flowers without a cutting machine

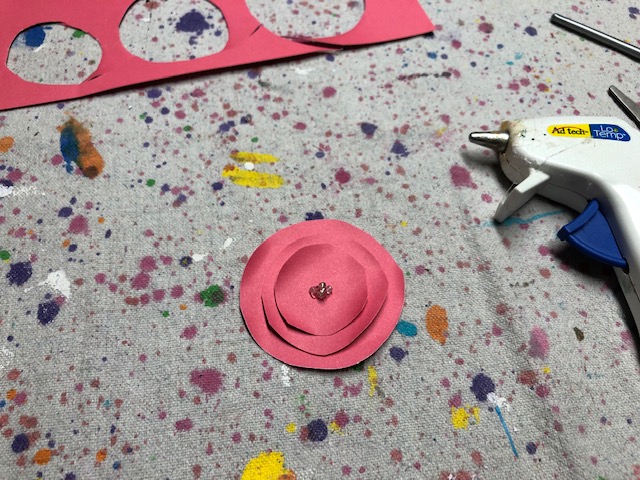
Then glue the circles on top of one another, starting with the biggest circle as the base, the medium circle in the middle and the smallest circle on top. Just a small dab of hot glue from a low temp glue gun will work great. Add another dab of glue to top of the smallest circle and add some beads.

How to make paper flowers without a cutting machine

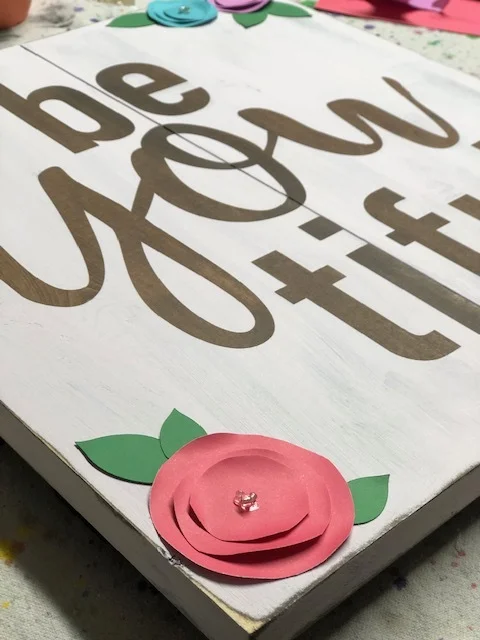
And your hand cut paper flowers are done. So cute right?!!! I added a few green leaves that I had already cut form a prior project using my Cricut cutting machine.

How to make paper flowers without a cutting machine.

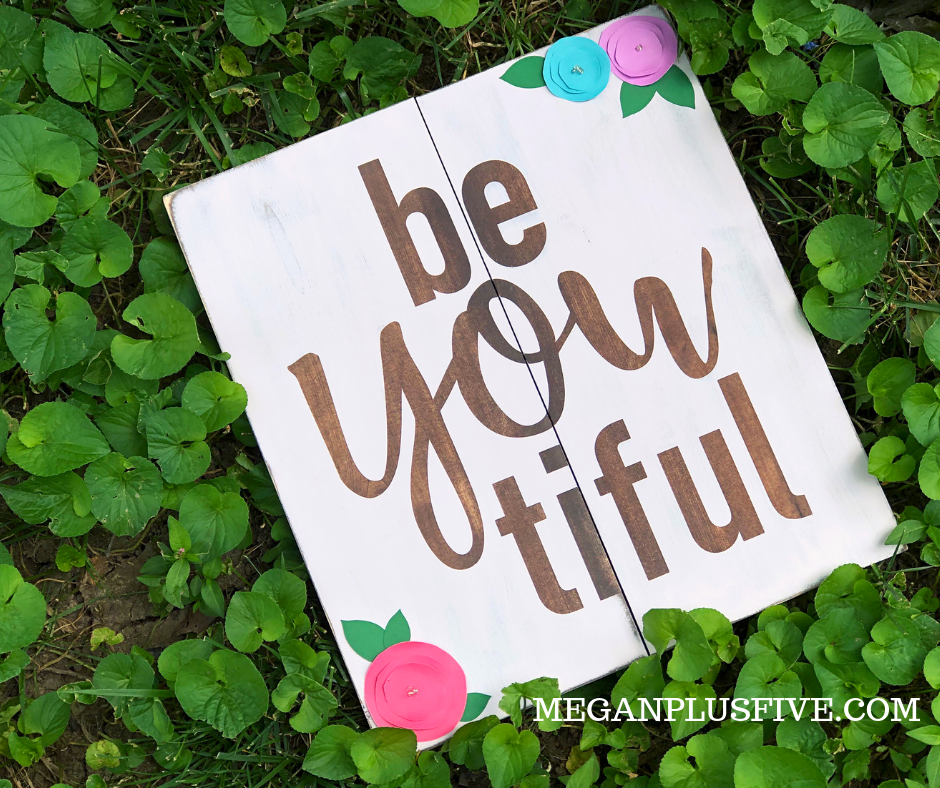
You can add these hand cut flowers to almost anything. I used them for this beYOUtiful sign that you can purchase in my Etsy shop.

How to make paper flowers without a cutting machine

Be sure to leave your pictures below of the gorgeous hand cut paper flowers you make using this tutorial.