How to make your own corsage with faux flowers
/
DIY YOUR OWN CORSAGE WITH FAKE FLOWERS
Real corsages are gorgeous! But they can be a little pricey, especially for being a small part of the fancy attire. Our small town held a father daughter dance and I really wanted my girls to feel extra special and wear a corsage. Since my husband was taking three of our four daughters I figured it would be more cost effective if I ordered them from a big chain grocery florist. I looked online and they were $20+ per corsage plus $20 for my husbands boutonniere. A total of $80 for accent flowers…that was not in the budget. What I did instead was take a trip to our local Walmart and picked out some inexpensive flowers, hair ties, and floral tape. I spent a total of $13 and everyone got a beautiful corsage/boutonniere to wear to the fancy daddy daughter dance.
Affiliate Disclosure. Some of the links on this website are affiliate links, which means that I may earn a small commission if you click on the link or make a purchase using the link. If you make a purchase you will not be charged anything additional. This is just a way I can help add to our family finances to raise our four daughters. Please know I would never recommend a product or service I do not totally stand behind.
I’ll be honest, I tried to make one for the oldest of the four daughters when she was in the first grade and it turned out awful! I used a real flower that was WAY too big and it seriously looked like a Pinterest fail! This time around I extra crossed my fingers they would turn out as a win and thank goodness they did! The girls got SO MANY C0MPLIMENTS on them at the dance.

DIY FLOWER CORSAGE
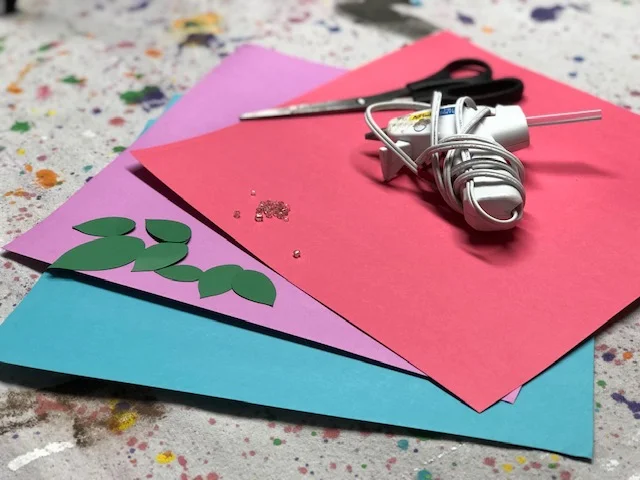
Here’s what I used
faux round roses
faux babies breath
faux spring flower bunch
green floral tape
felt
scissors
wire cutters
black hair tie (pony tail holder)
hot glue gun
gorilla glue hot glue sticks
Make this DIY even more inexpensive by visiting your local DOLLAR TREE. They have a great floral selection depending on the season.

I found everything I needed at Walmart. I already had the glue, glue gun, and felt on hand so I didn’t need to pick those up. I also had a ton of supplies left over. I used some in their hair for little accents and then still had some left over. I couldn’t believe it cost around $3 per corsage to make. That beats $20/ wrist corsage any day!
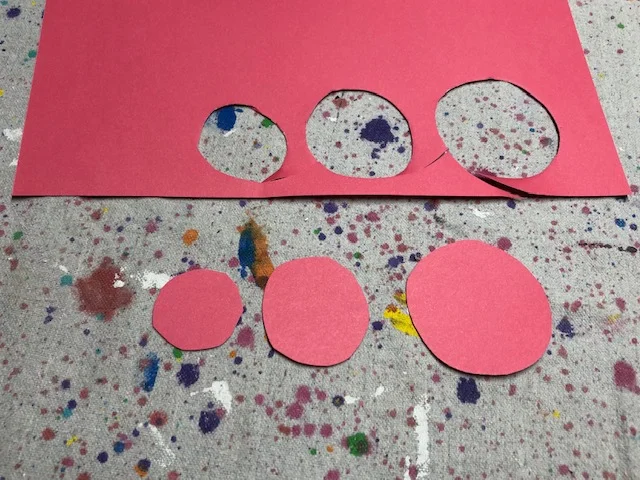
1. I cut a rectangle that was smaller than the width of one of my daughter’s wrist. This is what I glued my flowers to. Then, I cut a second rectangle that was a little smaller than the first rectangle.

2. I picked out 2 main flowers for the corsages. I used these gorgeous round roses I found at my local Walmart that were about $3 per stem. I used 2 per corsage and 1 for my husband’s boutonniere. I made these round roses the focal point and added the other flowers as accents. I pulled the round rose flower heads off of their stems then I cut them flush at the bottom of the flower so that the bottom side of the flower was flat.

3. I started layering the flowers that surrounded the main flowers. This took me a little while to get the flowers where I wanted them to go. I used a combination of baby’s breath, lavender, and a spring flower bunch. I had to trim them up here and there, so don’t be afraid to do that too. This will keep your corsage from being gigantic. See the picture below, I had to trim down the lavender stems so that they wouldn’t be so long. I did this carefully making sure I wasn’t removing too much.

4. I attached the accent flower stems together. Basically I made double ended floral stems. I tried to make them somewhat similar in size in both length and width so that the corsage wasn’t lopsided. I didn’t make them identical, I used different accent flowers on each end but was sure to incorporate baby’s breath on each end. Then I wrapped the middle of the double ended floral stem in green floral tape to keep them together.

5. I placed them on the bigger rectangle to see where exactly I wanted to place them before I started gluing anything down. This is the time to trim your felt down if you need to.

6. Then I used my glue gun to glue everything down to the felt. I first glued down the double ended floral stem I made. Let that dry so that it gets secure. Then I glued down the main focal point flowers, the round roses.

7. Fill in the gaps. After I got the roses glued down and the glue dried I added in more accent flowers where I thought the corsage was bare. I even cut off single leaves, this spring bunch I picked up had the most beautiful soft lambs ear like leaves. I added in several of those leaves where I thought they would look good. I attached some to the sides of the roses. I also did this with the baby’s breath. Before I glued them down I was sure to double check I liked that placement. A tiny dab of glue is all you need for these little pieces.

8. Once I was happy with how it look and the glue was dry I flipped it over and added a thick hair tie. While recording this tutorial I actually attached my hair tie the wrong way. For the most comfort I suggest gluing on the hair tie so that the corsage lays vertically against the wrist. So you would want to attach your hair tie so that it would sit on the rectangle horizontally. Once that glue dries glue the second rectangle on top of the hair tie so that the hair tie is sandwiched in-between the two pieces of felt. This will make it really secure and will be difficult for the elastic to come off.


I hope you enjoyed this inexpensive tutorial. Like with all of my posts, if you have any questions at all please don’t hesitate to ask.

Happy crafting!