
Extracting a zipped file & uploading an SVG into Cricut Design Space
/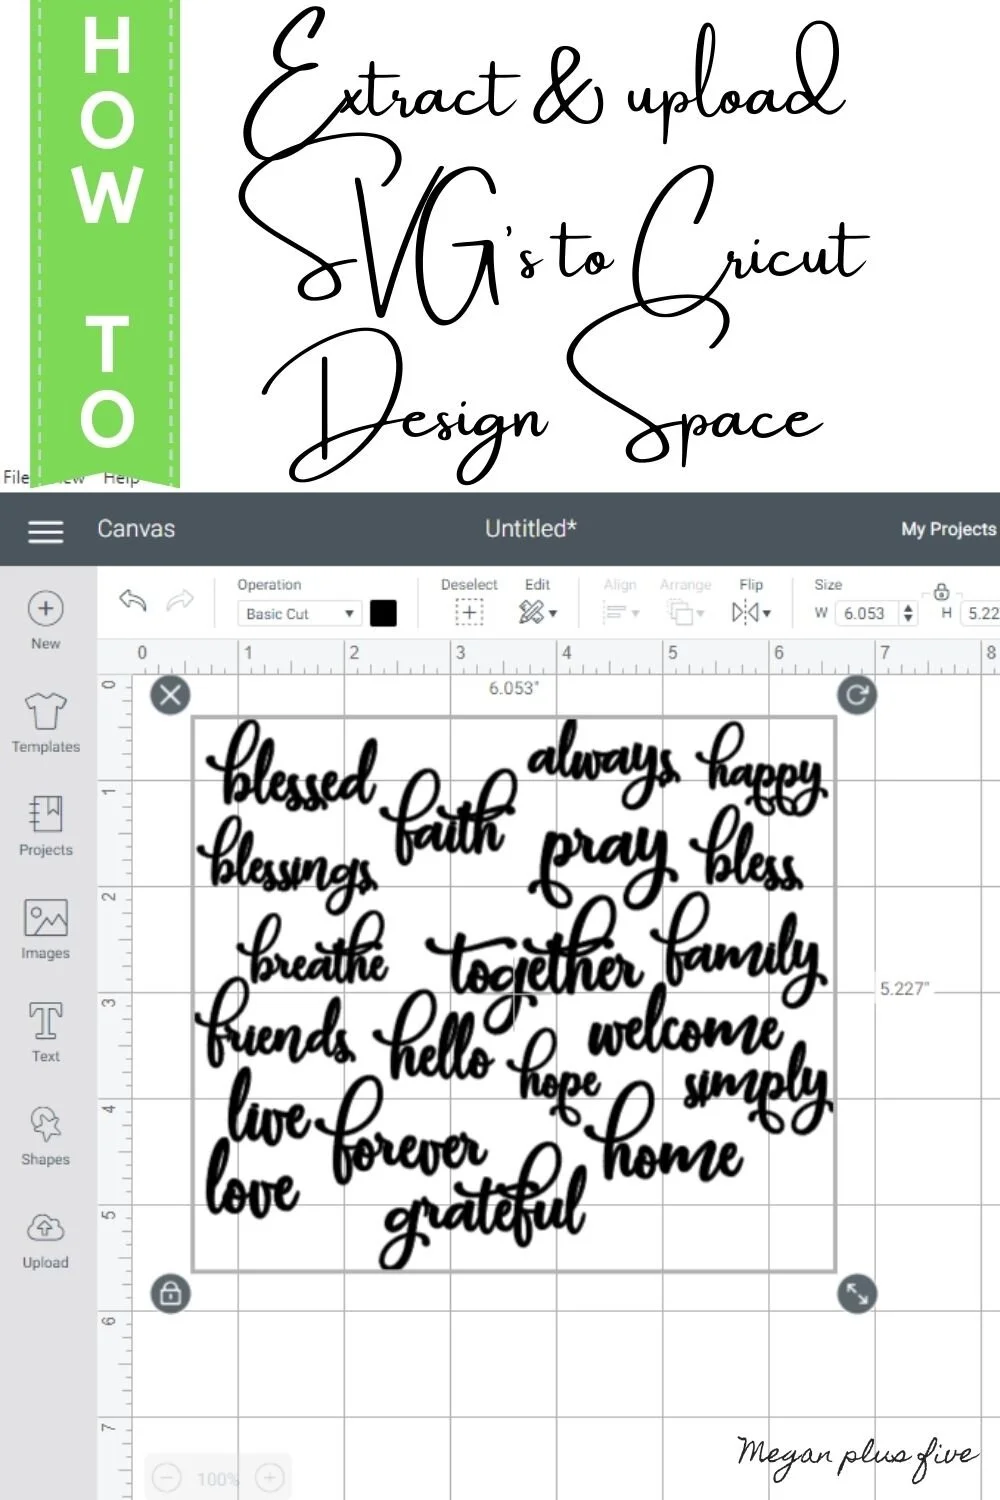
HOW EXTRACT FILES & UPLOAD SVG’s TO CRICUT DESIGN SPACE
Need to unzip a folder to extract a SVG file to upload into Cricut Design Space? Whether you bought a cut file from Etsy (or any other SVG cut file site), a friend sent it to you, or you downloaded it for free from a crafty website like this one extracting the files from a zipped folder is all the same.
Affiliate Disclosure. Some of the links on this website are affiliate links, which means that I may earn a small commission if you click on the link or make a purchase using the link. If you make a purchase you will not be charged anything additional.
Here’s what you need to extract & upload a SVG into Cricut Design Space
Materials:
Computer
zipped folder with SVG inside
Watch the video below or keep scrolling to see the written tutorial…the audio isn’t the best BUT I do walk you through every step on my desk on how to extract zipped files and then upload them into Cricut Design Space. Idk what was up with my audio recording that day but it just wasn’t working quite right…such is life though lol.

Cricut newbie? If you’re new Cricut be sure to check out these 10 must have supplies & accessories to get started on your Cricut journey.
1. FIND THE FOLDER
First you need to locate your file. I like to save my files to my desktop because they are easy to find there but if you can’t find yours check your recent downloads, it should be there.
2. OPEN THE ZIPPED FOLDER
Click open the zipped folder then click open the folder that is inside the zipped folder.
3. EXTRACT THE FILE
This sounds fancy but really you are just moving the file you need out of the folder. This is usually a SVG file. The easiest way to do this is to click on the file, hold down you clicker on your mouse, and drag it out of the folder and onto your desktop. It’s that easy!
4. UPLOAD TO CRICUT DESIGN SPACE
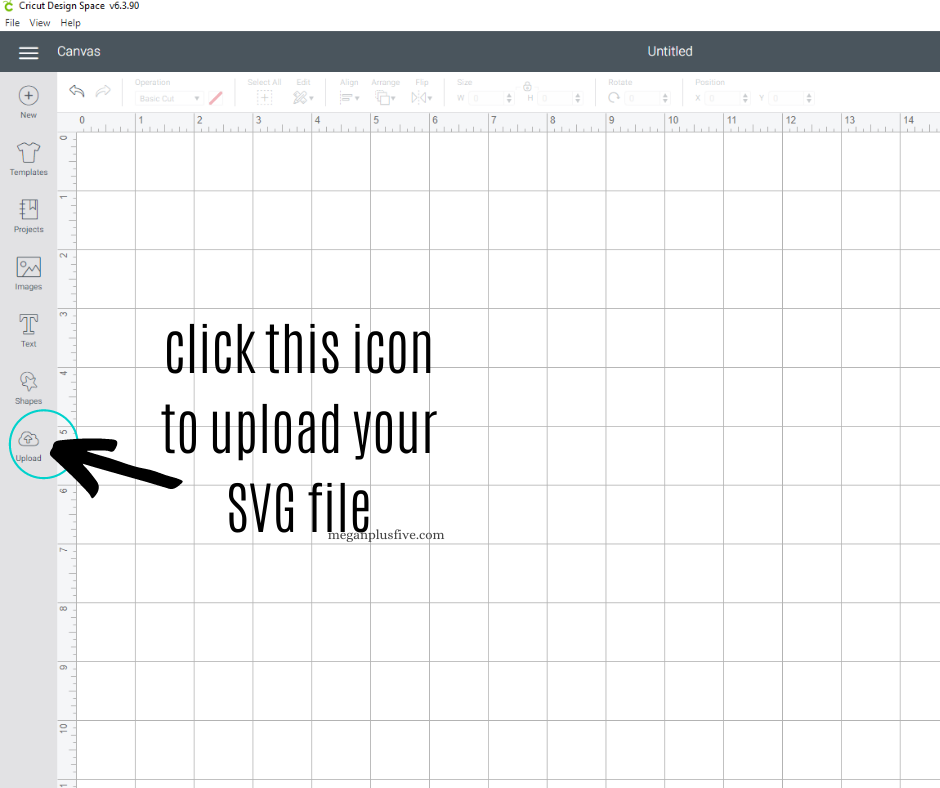
Once the file is out of the folder you can upload it into Cricut Design Space. Open your Cricut Design Space app on your desktop. Click upload on the far left at the bottom (that’s where it’s located at the time I’m writing this tutorial).
Click upload image.
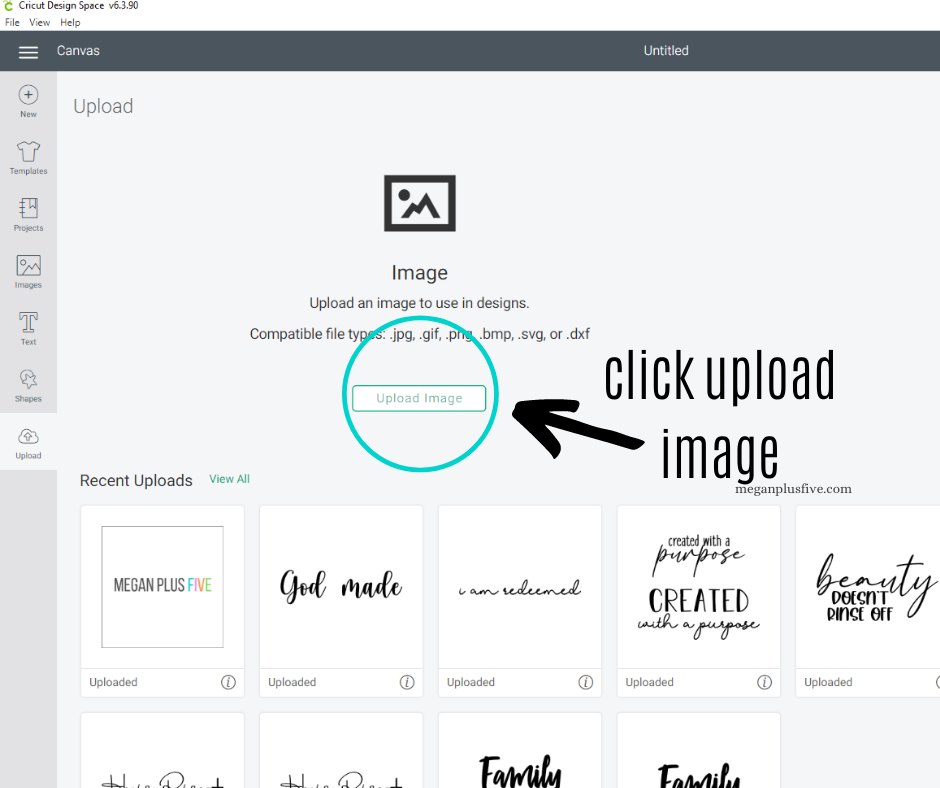
You can drag and drop your file where it says browse OR you can click browse to find the file on your computer.

If you have a message pop up that says items are not supported in Cricut Design Space just click continue.

Click save to save the SVG in your Cricut Design Space uploads.

Click your files you want to add to your canvas. Then click insert images.

Cricut will automatically group images in an SVG file. Be sure to click ungroup if you don’t want all the pieces grouped together.

I hope you found this tutorial helpful for extracting and uploading SVG cut files. If you have any questions please ask in the comments below.
Happy Crafting!
Check out more Cricut projects below.










