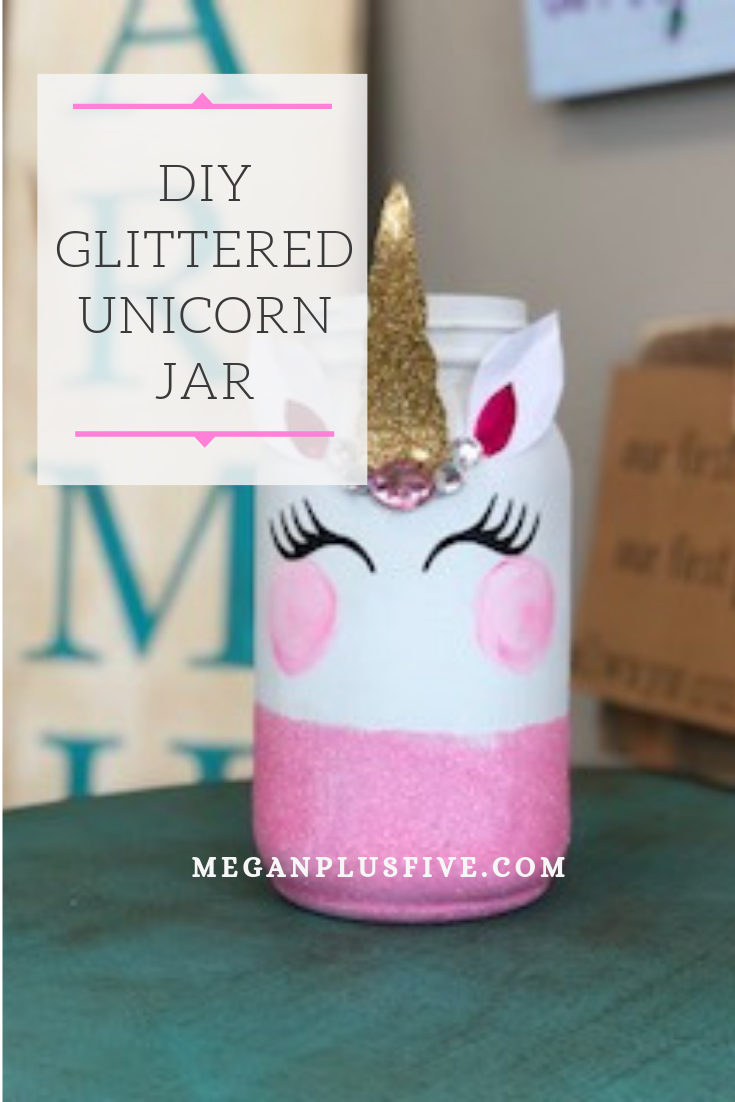
DIY How to make a RUSTIC UNICORN sign + FREE SVG
/
Unicorns…my third daughter is OBSESSED with these magical creators and has been for years. She was the inspiration behind these rustic looking glittery unicorn themed mason jars that we found on Pinterest and HAD to make our own. Everything is unicorn theme from her bedroom décor to her birthday party themes to her clothing. So, this year for her birthday of course she asked for…you guessed it UNICORN themed presents!
With all the craziness going on the world in the year of 2020 she couldn’t have a traditional birthday party. BOO! Instead she had a small but SUPER FUN day at home filled with a unicorn shaped cake made by her older sisters and LOTS of fun outdoor activities.
While she did get a few store bought gifts I thought it would be so fun to make her a rustic looking unicorn sign to hang in her unicorn themed side of the bedroom. She already has this gorgeous unicorn themed bedspread and SO many other purple glittery unicorn knick knacks I thought this sign would tie in perfectly with all of it.
Affiliate Disclosure. Some of the links on this website are affiliate links, which means that I may earn a small commission if you click on the link or make a purchase using the link. If you make a purchase you will not be charged anything additional.


And she LOVED it! I was so happy because sometimes you make or buy something for your kid and you don’t always get the reaction you were hoping for. You know the one where they give you a huge smile and a thank you but you can tell deep down that it really wasn’t what they were expecting. Thank goodness my sweet girl BEAMED with unicorn excitement when she got her handmade rustic always believe in magical things sign from her momma! YAY a mom WIN!!
If you want to make this exact unicorn SVG you can get it for FREE here in my FREE RESOURCE LIBRARY. If you’re new to the blog my resource library is where I share all of my freebies. It’s all in one place so you can access it super easy. Just click here to get my password. If you already have the password click here and it will take you to my secure page.

Here’s what you’ll need to make your own rustic unicorn sign
premade pallet sign - DIY tutorial to build a pallet sign
assorted flowers
nail polish I used a glittery gold

HOW TO MAKE A RUSTIC PALLET STYLE UNICORN SIGN
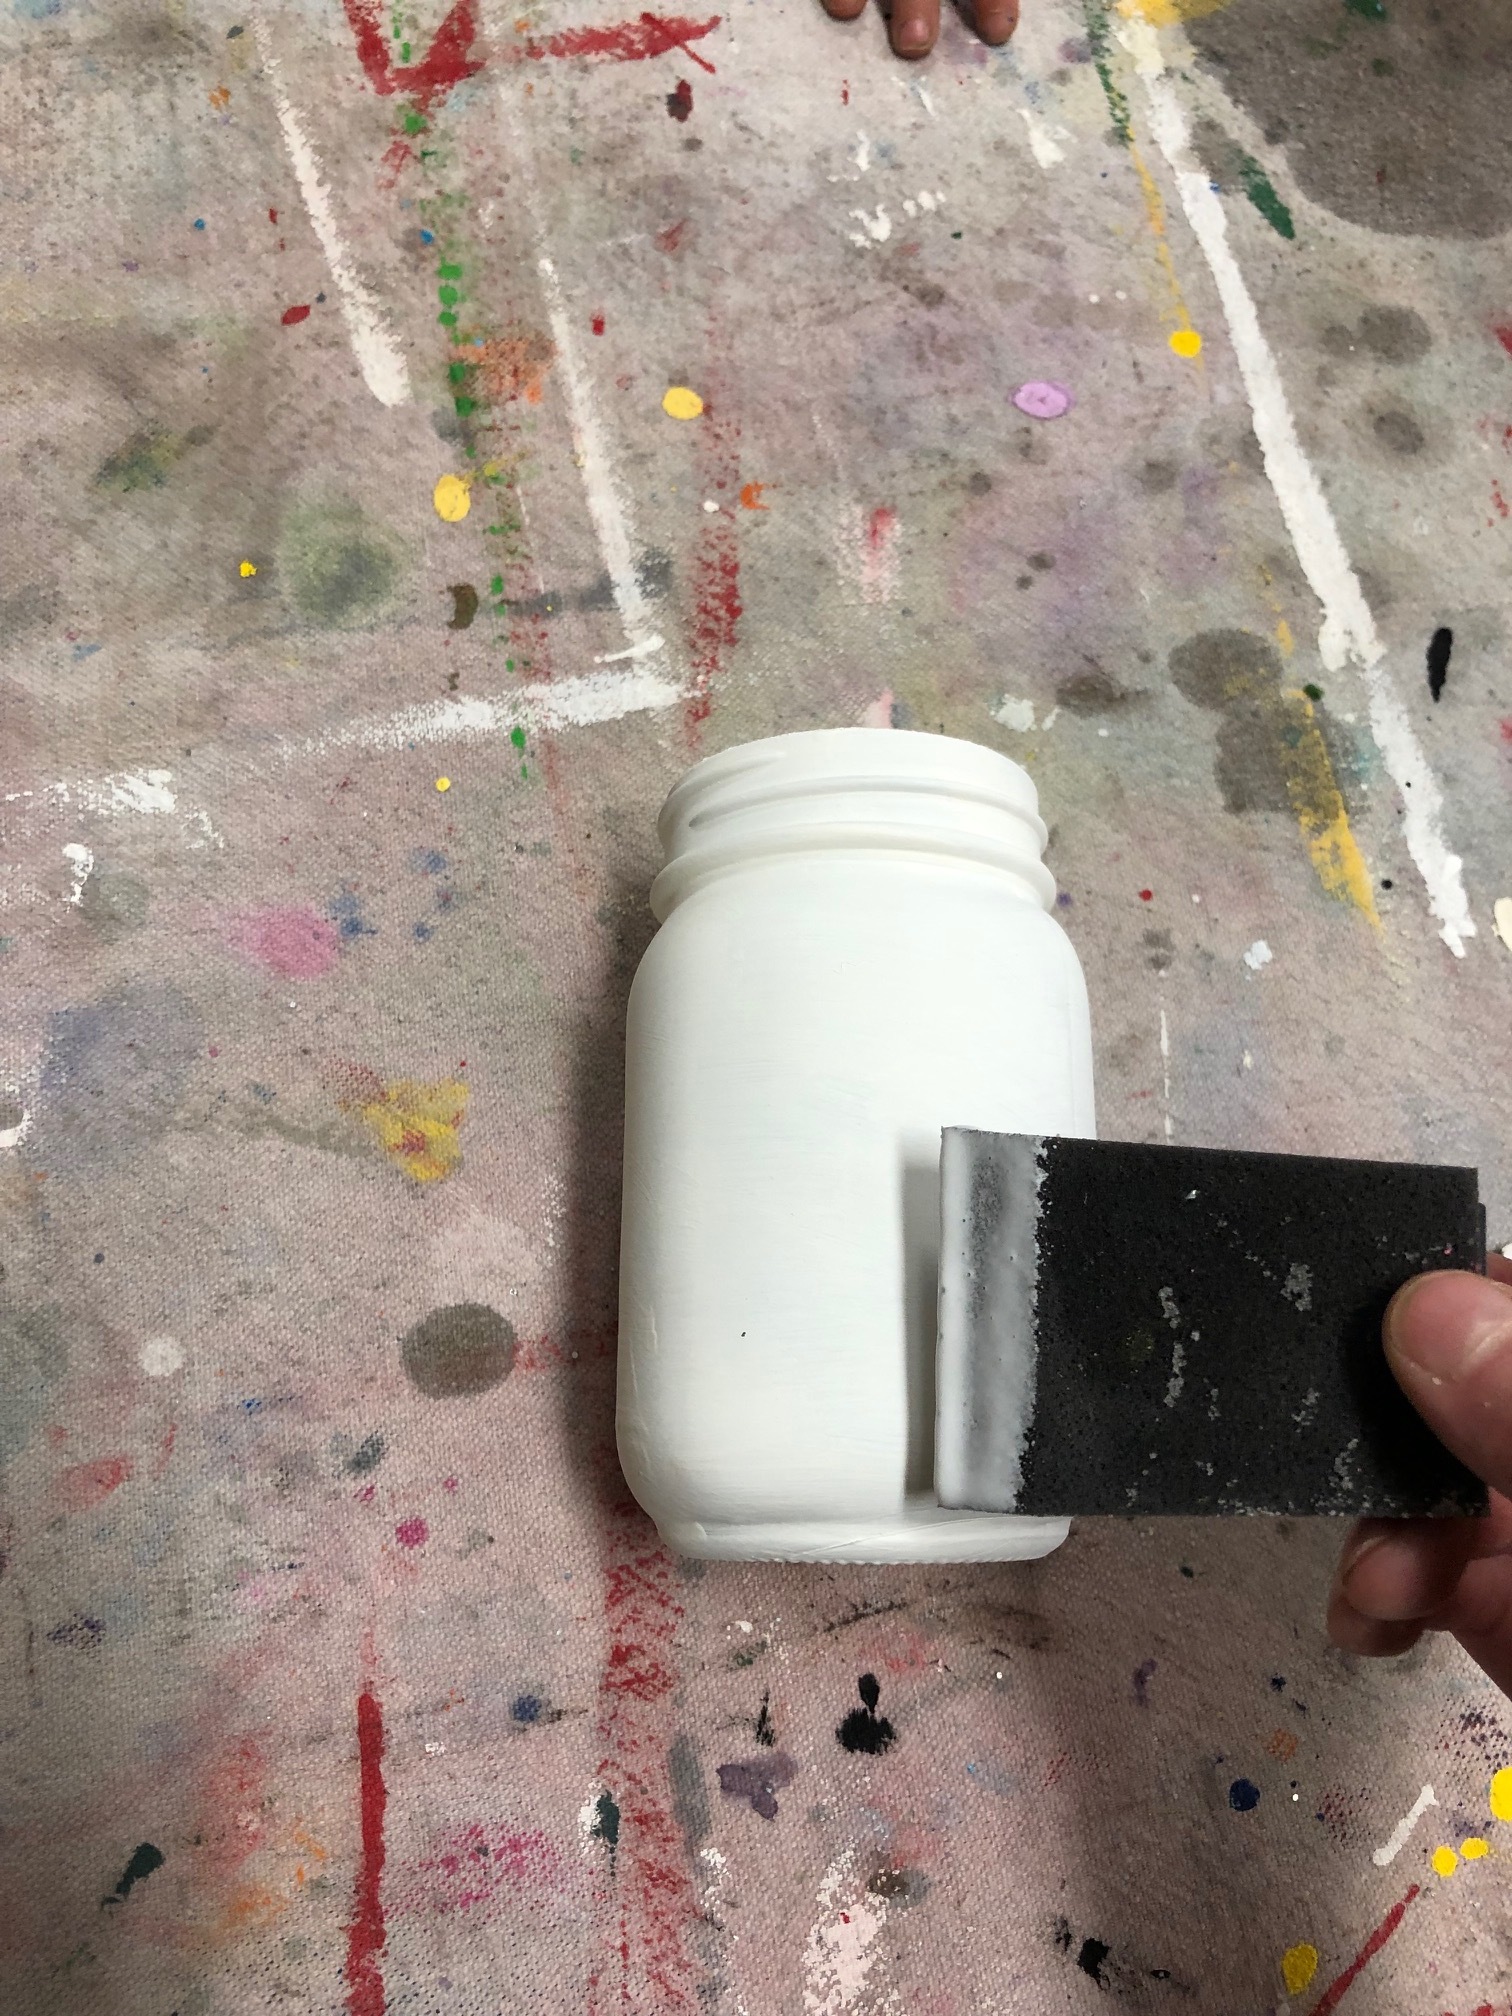
For this tutorial I’m starting with a pre built, stained, and painted pallet style sign. If you’ve never built a pallet style sign before not worries they are actually really easy to make. You can read my post on how to built your own pallet style sign here. I also used a weathered gray stain on this wood unicorn sign along with white paint for the background colors.
1. CUT OUT YOUR UNICORN STENCIL
The first thing I did was cut out my stencil on ORAMASK STENCIL FILM. If you plan to cut out a ton of stencils and want to buy stencil film even cheaper you must read my oramask stencil film post on how I dramatically my out of pocket on this material for my small business. I used my Cricut to cut out my stencil and weeded my unicorn themed stencil with a super sharp exacto knife.
If you’re new to the Cricut world here are 10 must have to get you started on you Cricut journey.

2. APPLY YOUR UNICORN STENCIL
Using transfer tape apply your unicorn stencil to your wood base. When removing the transfer tape it’s easiest to roll the transfer tape off your of stencil film. Use your vinyl squeegee to get your stencil good and adhered to the base of your unicorn sign.

3. PAINT YOUR STENCIL
To prevent tons of paint bleed you can seal your unicorn stencil first with the same color paint that you used for your background color. In my case I used white paint because my background is white. The wood I used to make my daughter’s rustic unicorn sign was EXTRA RUSTIC. Meaning it had lots of imperfections. The wood was very uneven, rounded on the edges, and had small and large gouges all over. I knew even with sealing my stencil I would still have paint bleed unless I took extra time to paint the sign very slowing. I’m a momma of 4, I don’t have time to be that perfect lol so my sign had more than usual paint bleed. When painting your stencil you can use a cosmetic sponge or a paint brush. If using a cosmetic sponge you want to make an up and down dabbing motion to paint the stencil. Do very THIN even coats and layer up to 3 THIN layers but no more than that. I promise the coverage will be darker once the stencil is removed.

4. REMOVE YOUR STENCIL
An xacto knife works great for removing stencils. Just be sure is super sharp. If you don’t have an xacto knife you can also use a sewing pin. You want to gently lift the stencil film up and off your wood base without causing damage.


5. DISTRESS YOUR UNICORN SIGN
I used a sanding sponge to lightly sand over my lettering on my unicorn pallet sign once my paint was dry. Just to give it a little more rustic look. I didn’t want my sign to be all gorgeously distressed and the lettering be crisp.

6. PAINT ON UNICORN EARS
I almost forgot to do this part…insert facepalm!… I freehanded the ears with a pencil then painted them in with light pink paint. I added a little detail with a little bit of gray paint while the pink paint was still wet just so they didn’t look so flat. Then I distressed them with the sponge sander.

7. MAKE THE HORN
I used a foam cone for this and cut it down to the size I needed. I used craft paint for this instead of spray painting it (check out my tips for spray painting Styrofoam here). Let dry. Once dry wrap it in tulle, I did this several times to get a good coverage.


8. ADD ACCENTS TO THE HORN
I only needed a small piece of wire for this project so I used what I had on hand. I only had silver or green floral wire so I painted a piece of the silver wire with glittery nail polish and let it dry. Then I wrapped it around the horn and secured the ends inside of the foam. This really made a big difference in how the unicorn horn looked overall. Without this piece of glittery wire I don’t think it would have turned out as cute.


9. GLUE ON FLORAL UNICORN CROWN
I picked up my floral accents from Walmart. It’s spring/summer so they had a great selection of florals that had a magical unicorn vibe. I used gorilla hot glue in my glue gun to attach them to my wood base. I highly suggest doing a dry run with the floral crown before you actually glue them down. You want to make sure you are going to like the placement before you commit to the glue. Don’t be afraid to cut down your florals. Sometimes you just need a small piece of baby’s breath instead of a whole piece of it.
Some of the florals I used on this unicorn crown were leftover from these DIY corsages I made from my youngest three daughters for the daddy daughter dance. I love that I could also incorporate them into this piece. They were such beautiful florals and my store was completely out of them so I couldn’t get any more for this sign.


Now you’re ready to give this gorgeously rustic unicorn sign to your sweetest unicorn obsessed little girl to hang in her room. I hope you enjoyed this crafty tutorial. If you have any questions please leave them in the comments below.
Happy Crafting!