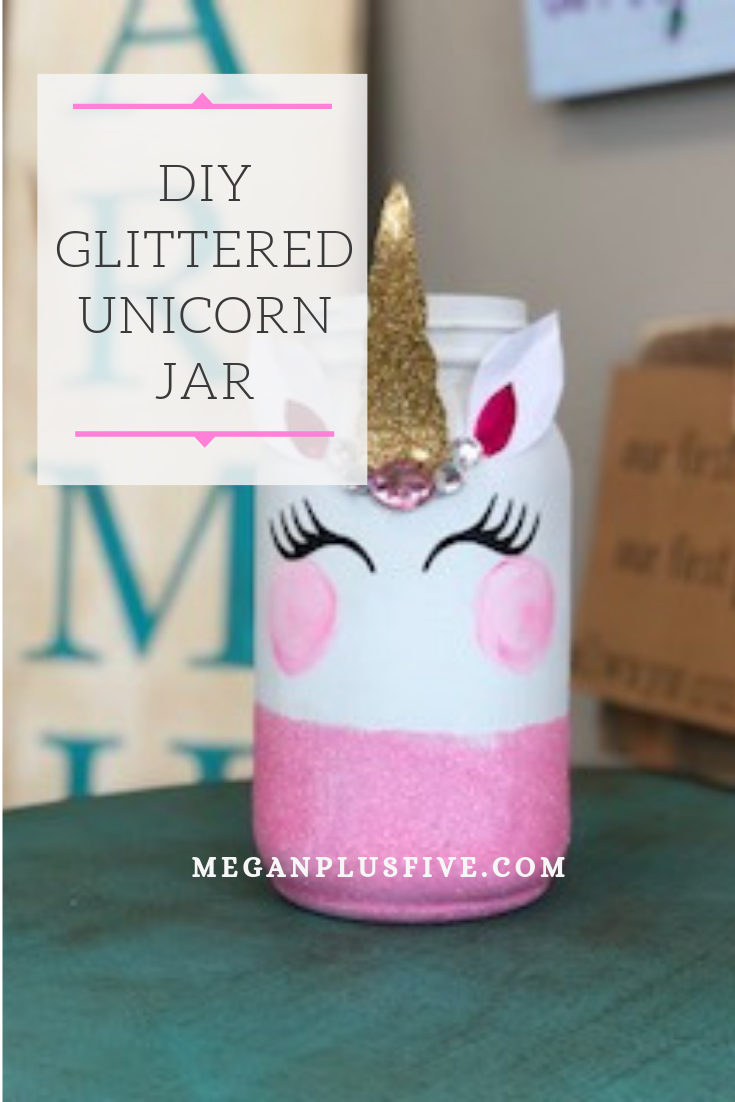
DIY 2x4 glittered pumpkins
/
How to make 2x4 glitter pumpkins
These 2x4 pumpkins are one of the easiest fall crafts you can make yourself. If the glitter and sea blue isn’t really your thing you can make these more traditional rustic orange and white pumpkins I posted last year. But I really wanted to make a set of nontraditional glittery pumpkins, well because why not? I love rustic décor but I also LOVE glitter! So I went for it and I’m so glad I did because they turned out soooo super cute!
Affiliate Disclosure. Some of the links on this website are affiliate links, which means that I may earn a small commission if you click on the link or make a purchase using the link. If you make a purchase you will not be charged anything additional. This is just a way I can help add to our family finances to raise our four daughters. Please know I would never recommend a product or service I do not totally stand behind.
You’ll need a few power tools for this DIY craft and I recommend hands down using Ryobi power tools, you can read my article on what power tools does a crafter need?
No matter what style of decorating you have these pumpkins are really fun to make and if they don’t fit in with your décor you can always gift them to a loved one.
Don’t have time to DIY them but NEED them in your life? You can buy a set of these glittery pumpkins in our Etsy shop.
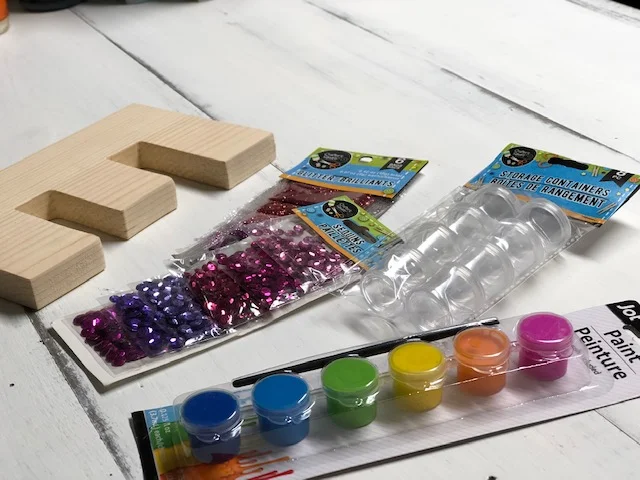
Here’s what you’ll need
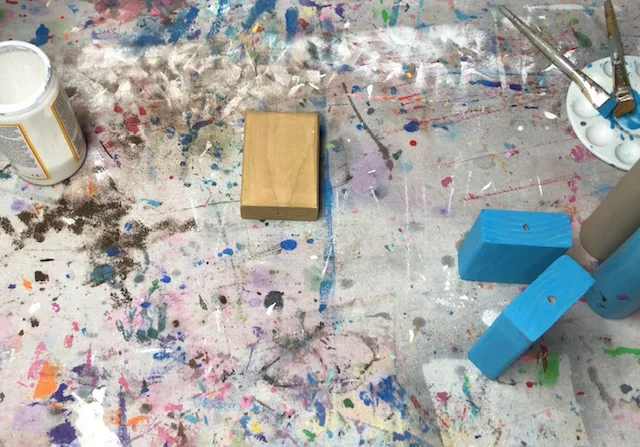
2x4 cut into 7”, 5.5”, & 4” pieces
wire {I picked mine up at my local farm store}
sticks for the stems
1” strips of fabric {I used pieces from my fabric stash}
tape
paint brushes

So, how do you make these gorgeous nontraditional fall glitter pumpkins?
First you need to cut your 2x4 into 3 pieces. You’ll need a 7”, 5.5”, and a 4”. These are the sizes I used and they seem to be the perfect size. Give them a quick sanding to knock down the rough edges. I used my Ryobi Cordless Sander for this but you can use a piece of 120 grit sand paper.
Next you need to drill a hole for your stems. I matched my stick up to a drill bit that was about the same size. Drill a hole in the middle of each top of your pumpkins.

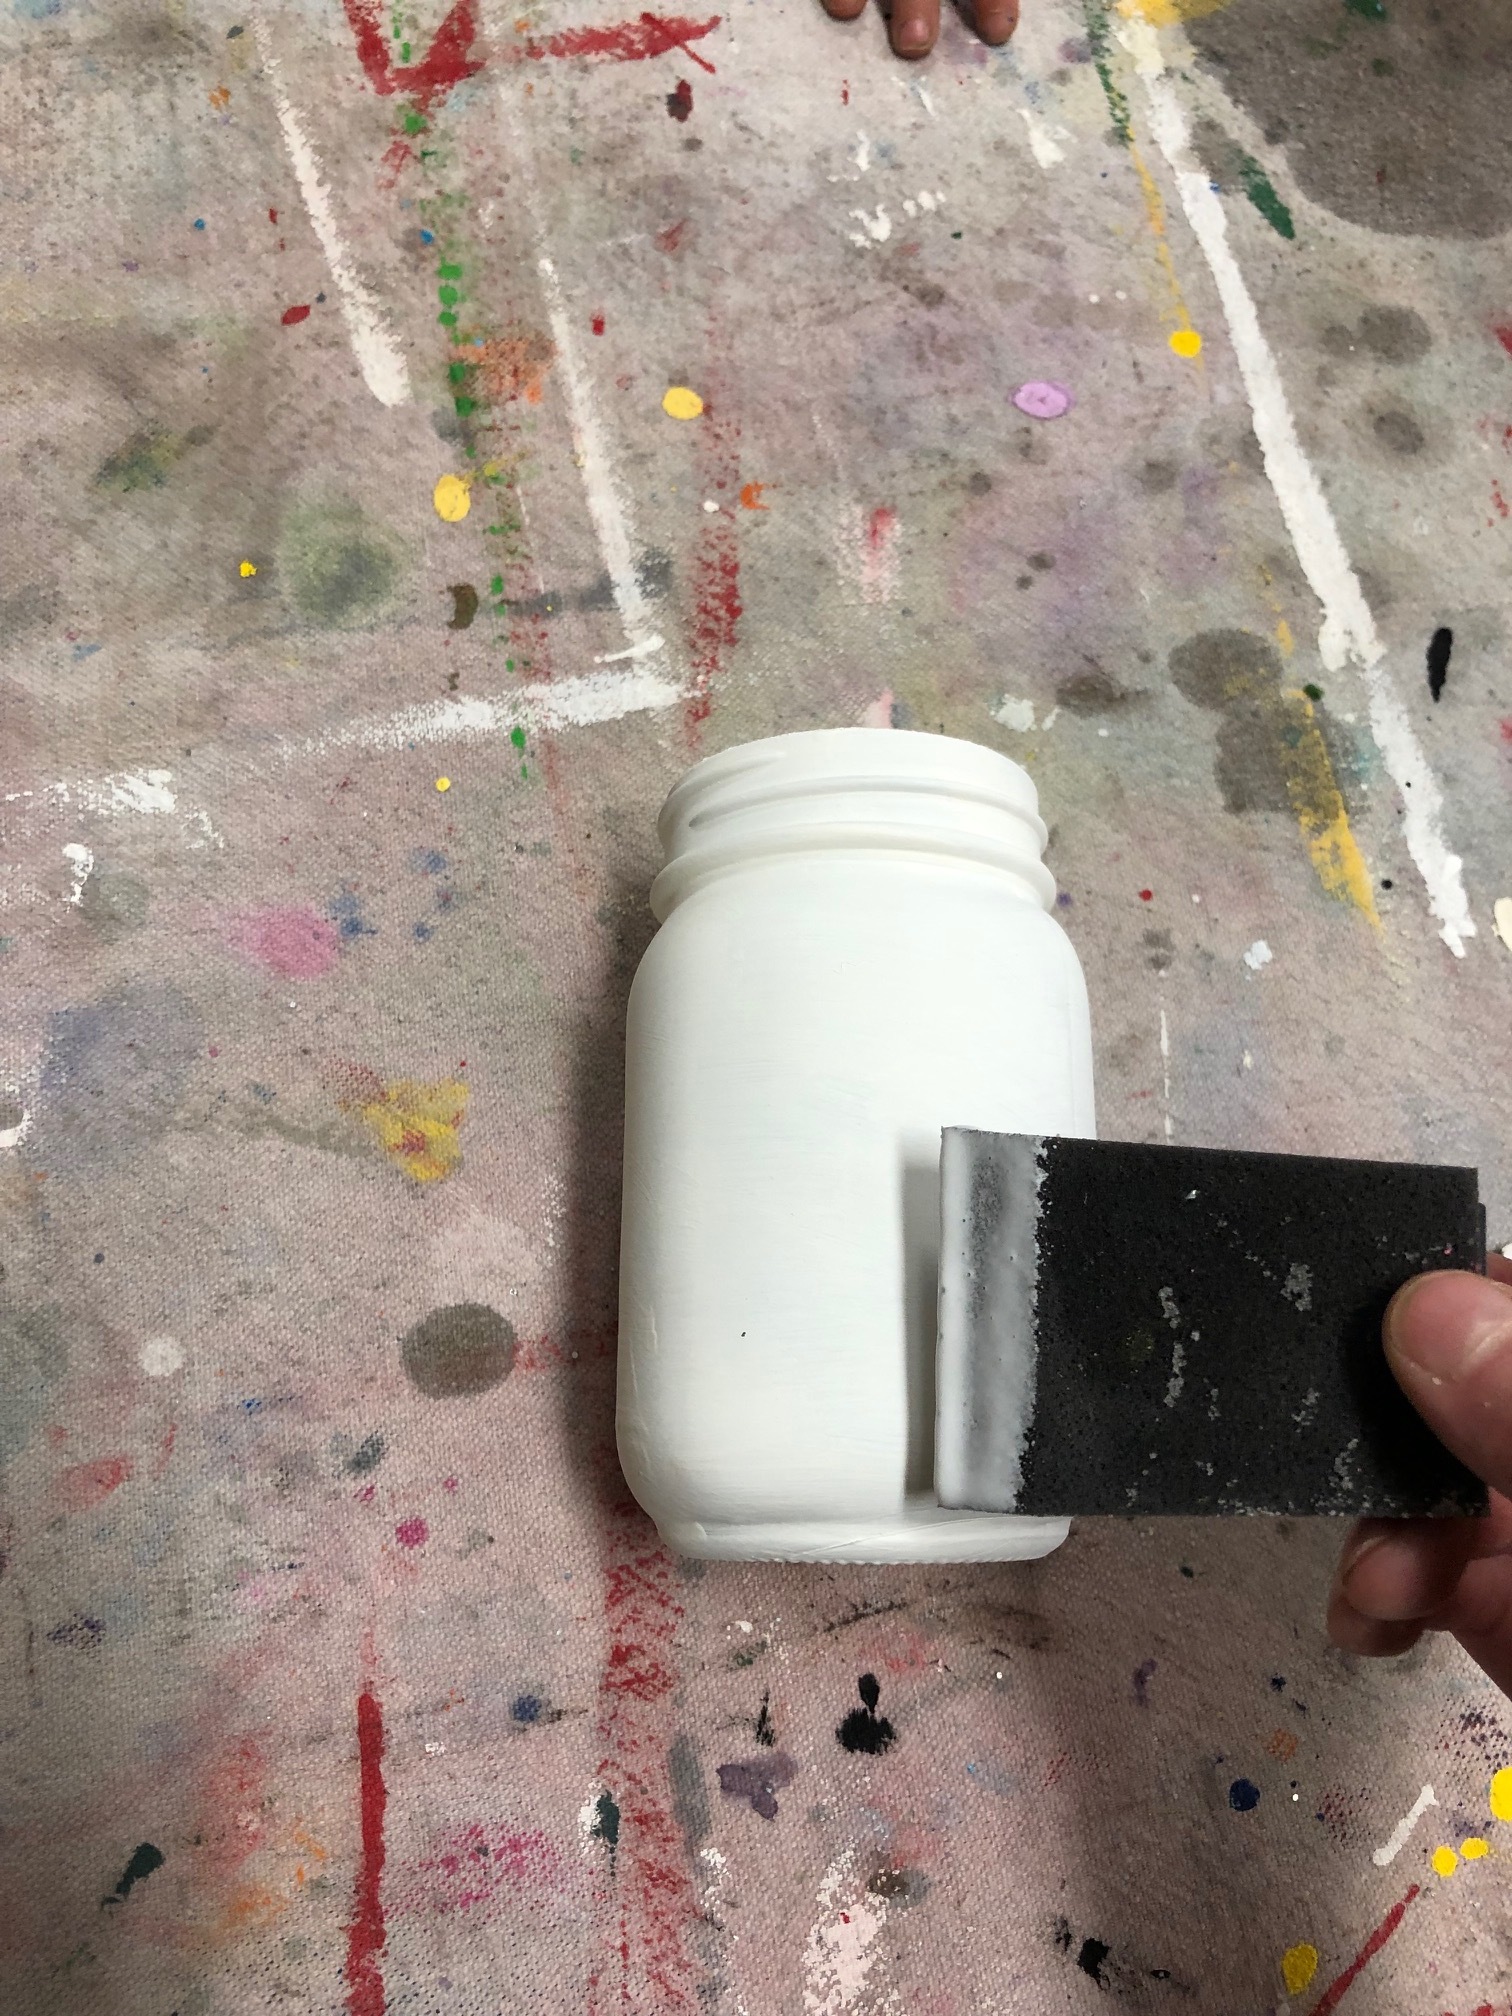
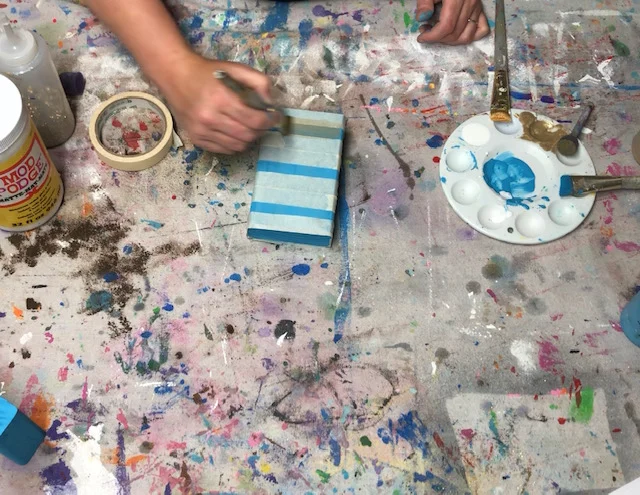
Then paint each pumpkin. I painted the largest and smallest blue and the middle sized one gold. Be sure to let them dry COMPLETELY between coats.
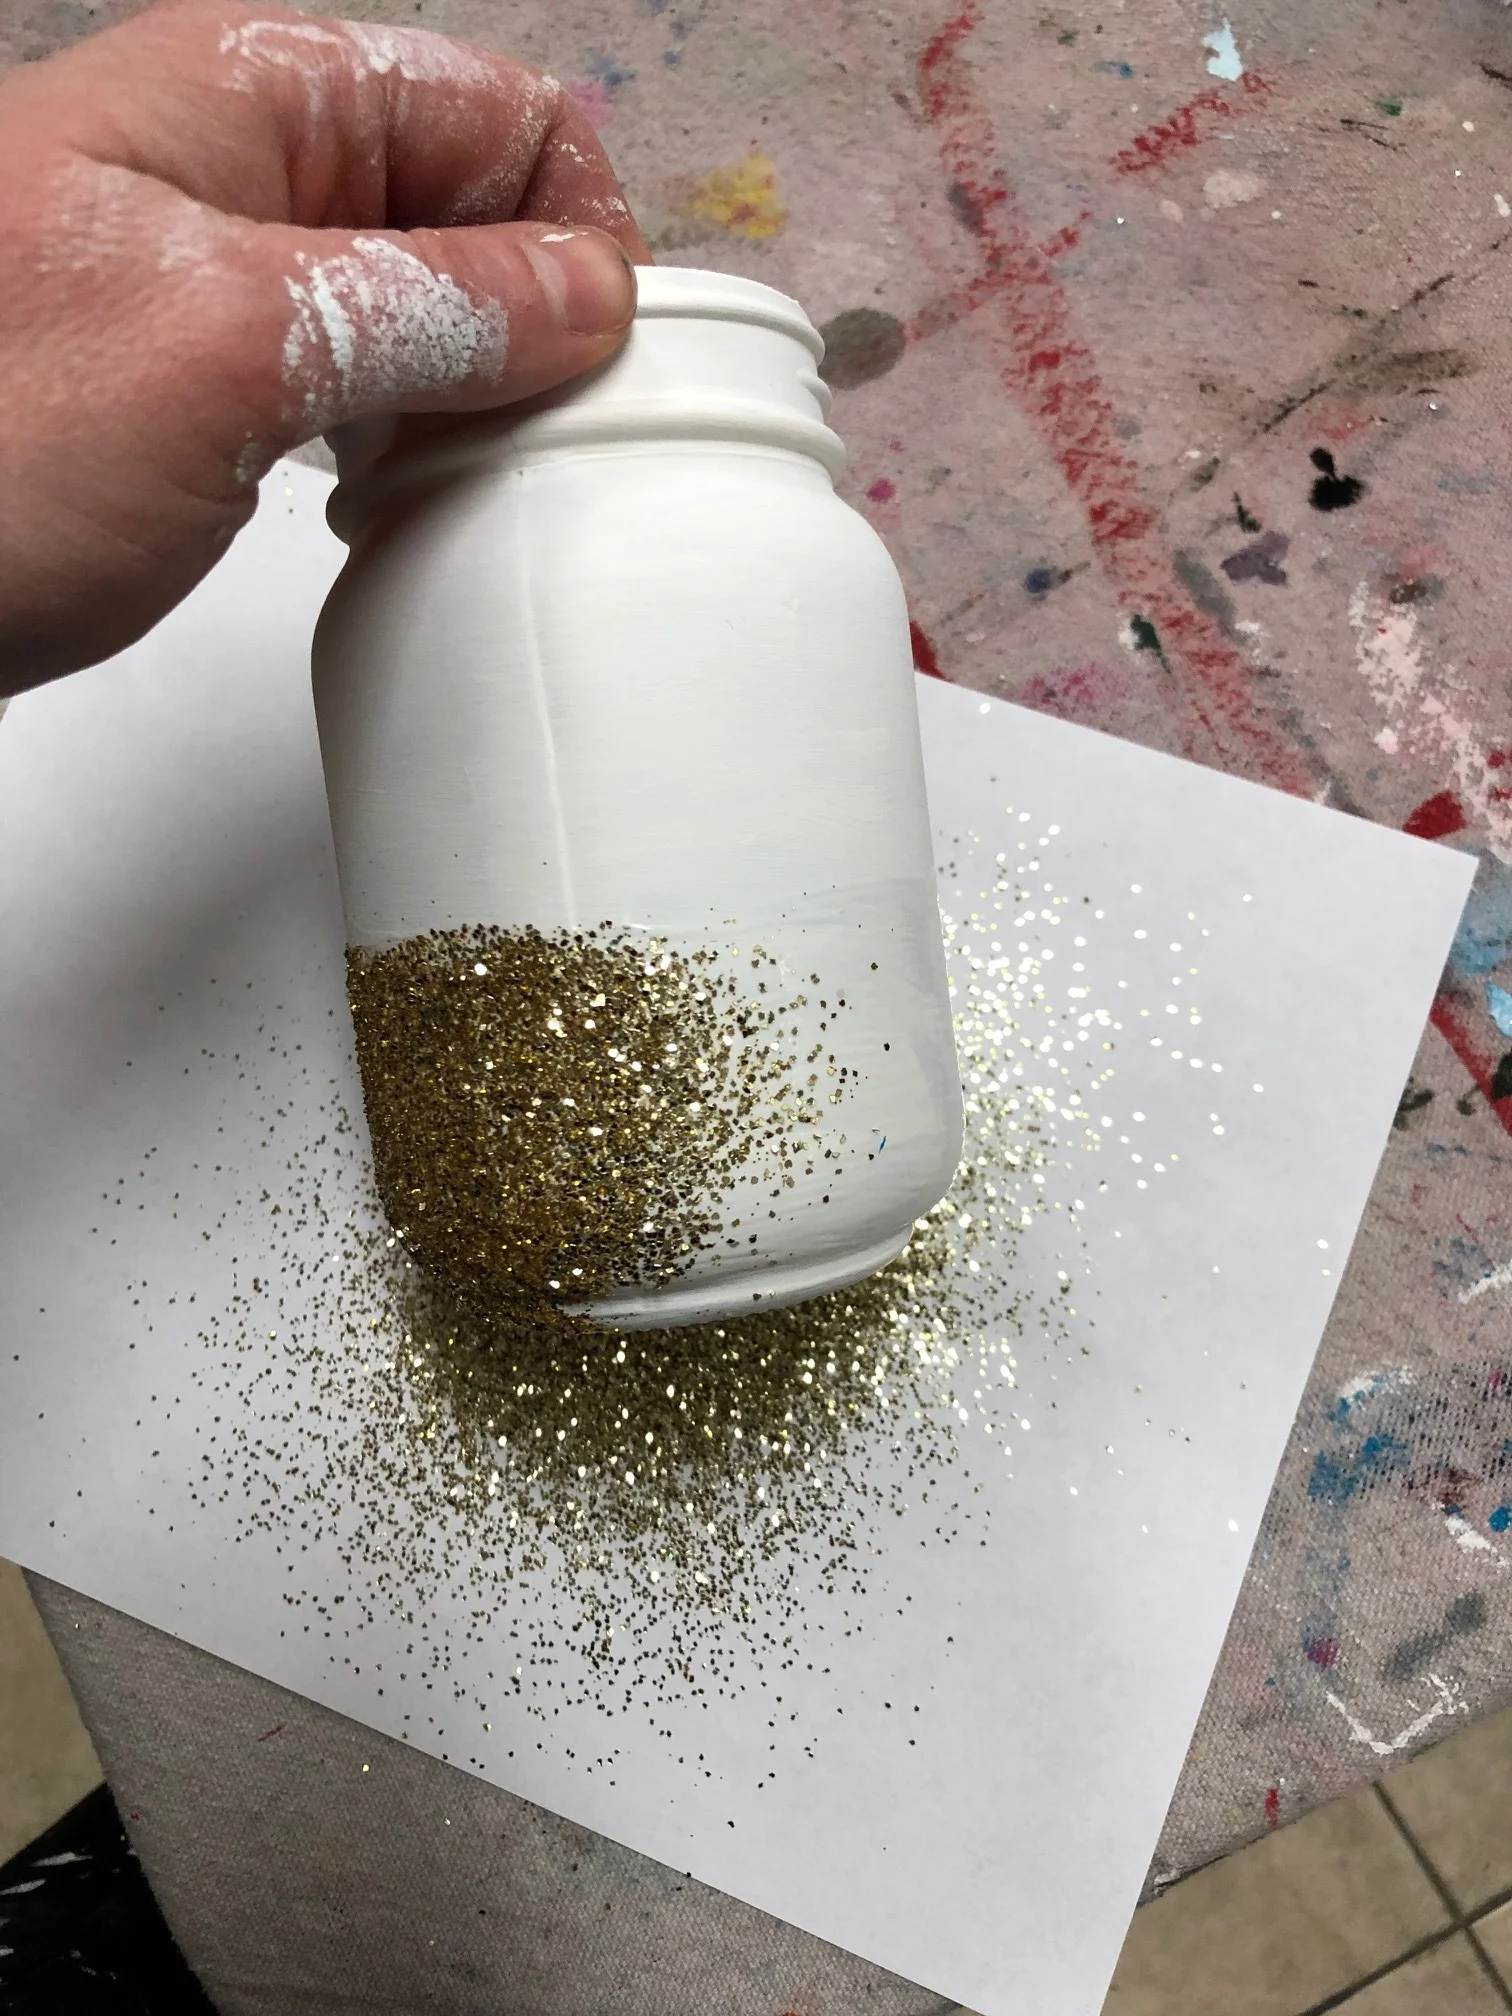
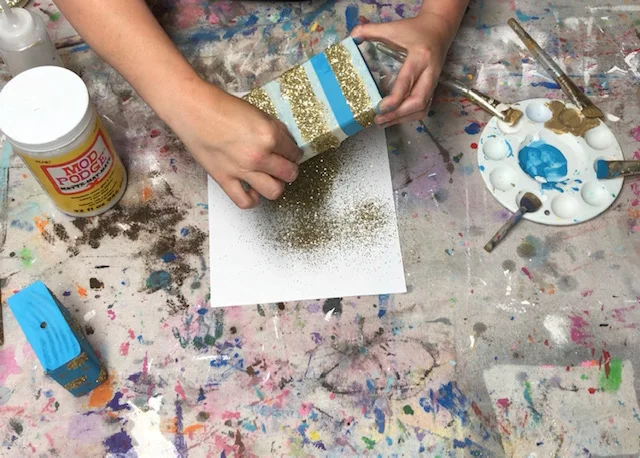
Once your gold pumpkin is dry add a layer of Mod Podge to the front of it, be sure you get an even coat. Then add glitter right on top of that. I place paper under my projects when using glitter to catch the excess that doesn’t stick. Then I empty it back into the glitter container.

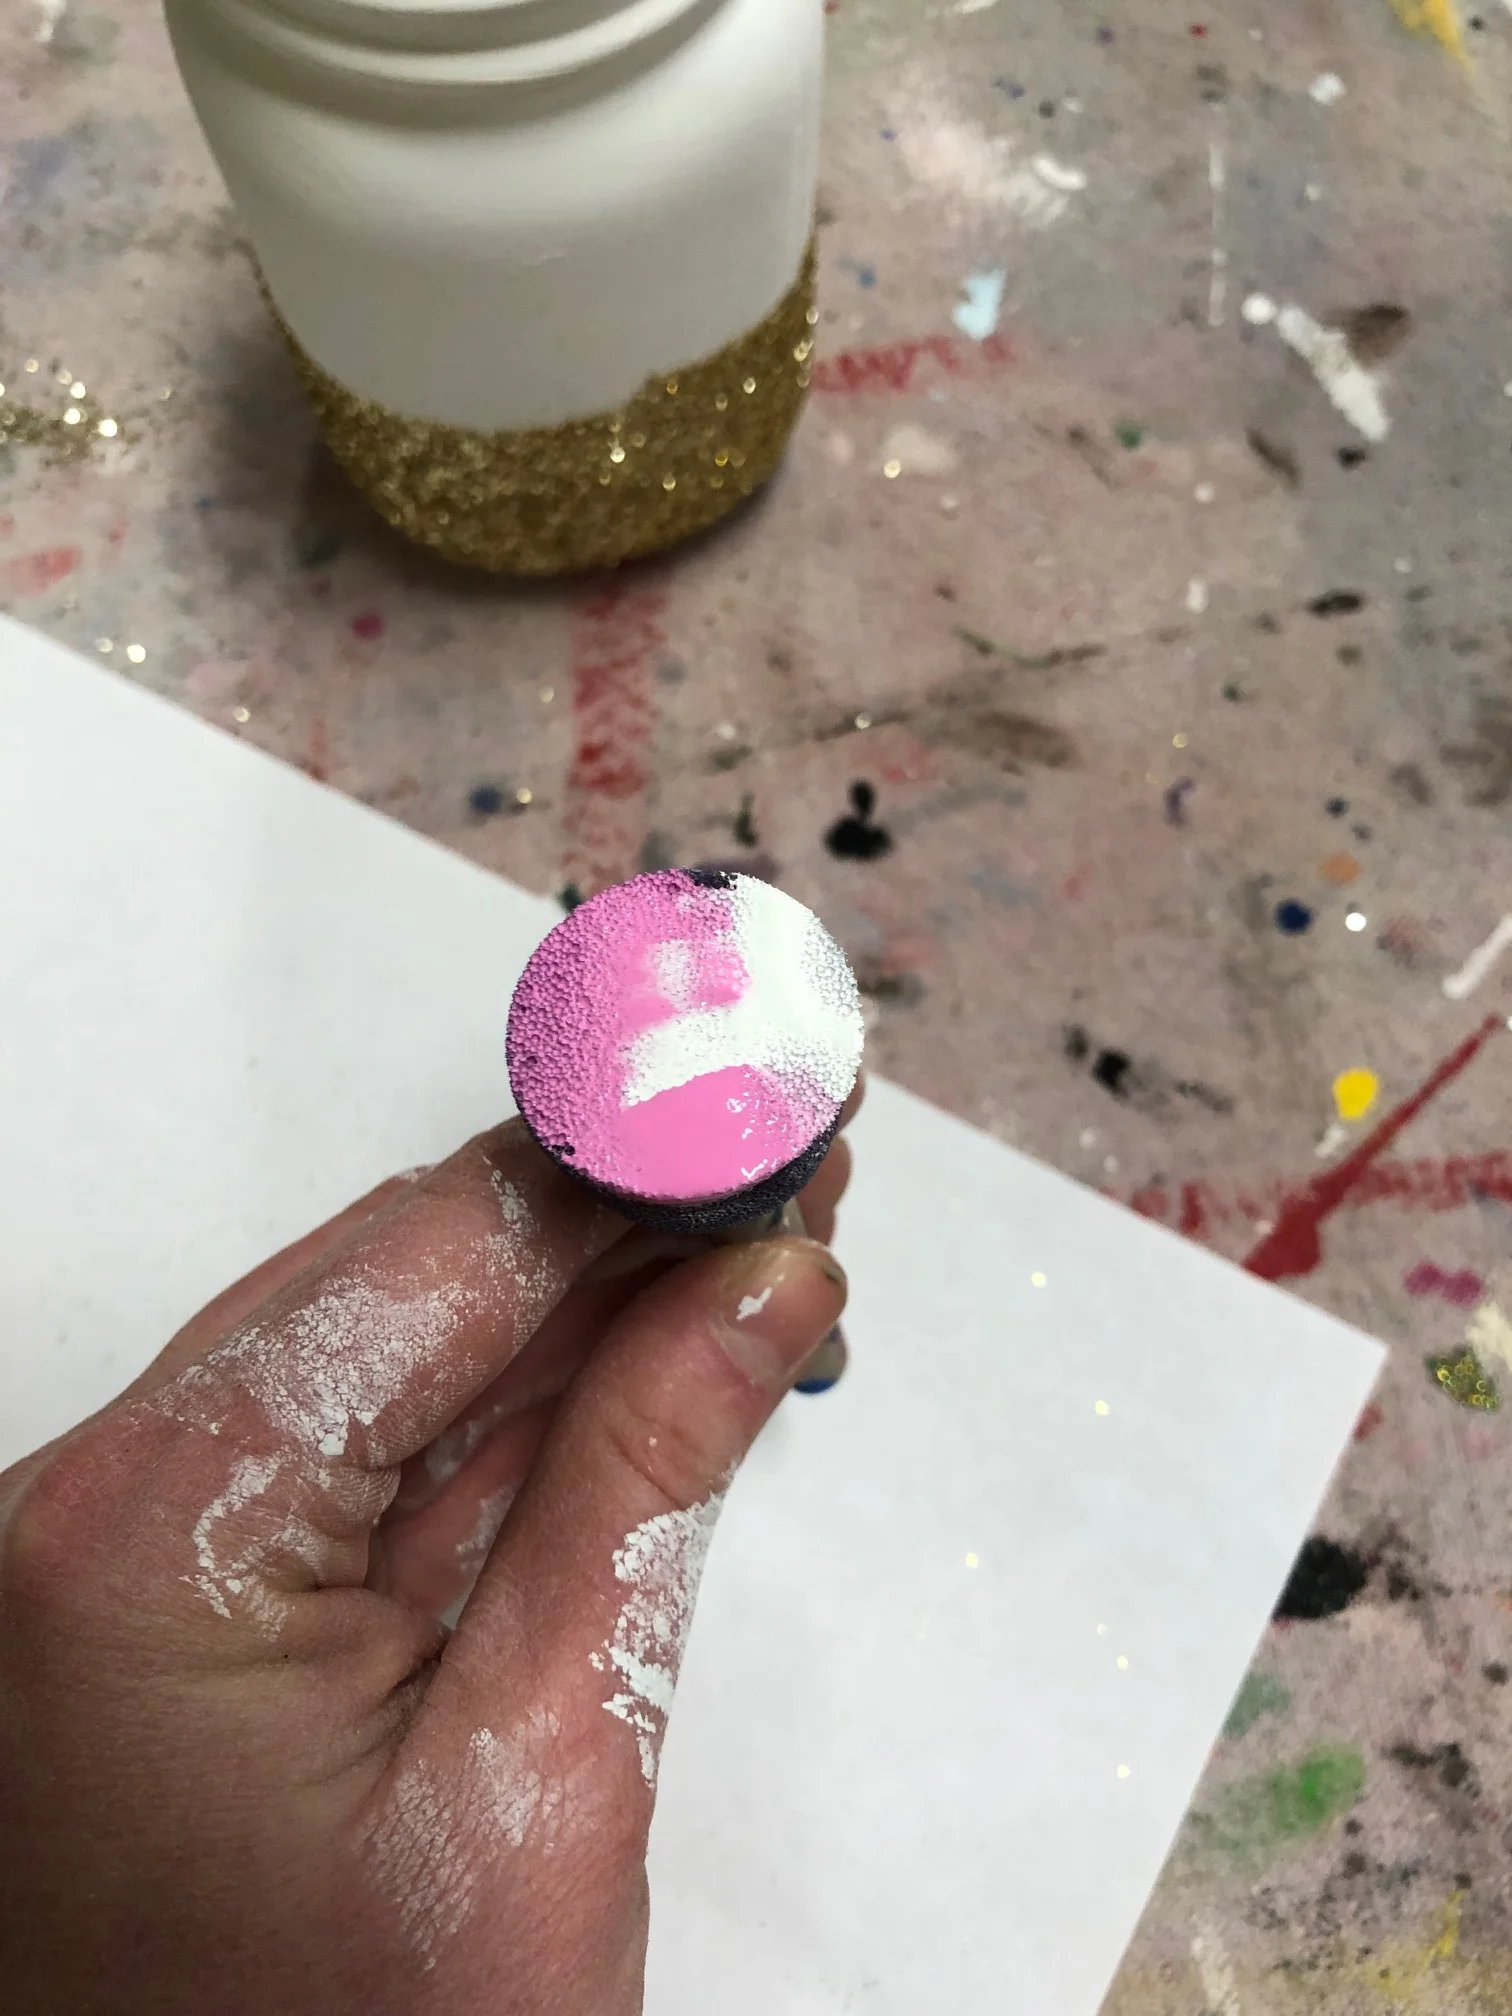
Using the round sponge brush add some circles to the smallest block. I used both ends of the brush to add two different sizes of circles.

Tape off the largest pumpkin so it has 3 stripes. Paint a thin layer of gold, let dry.
Add a layer of Mod Podge to the large circles then add glitter. Add a layer of Mod Podge to the gold stripes, add glitter, then peel the tape off carefully.

Add a dab of glue inside the hole you drilled then place the stick inside. Doing it this way will give your stick more stability.

Add a piece of rustic wire and a scrap piece of fabric and you’re done. Super easy!