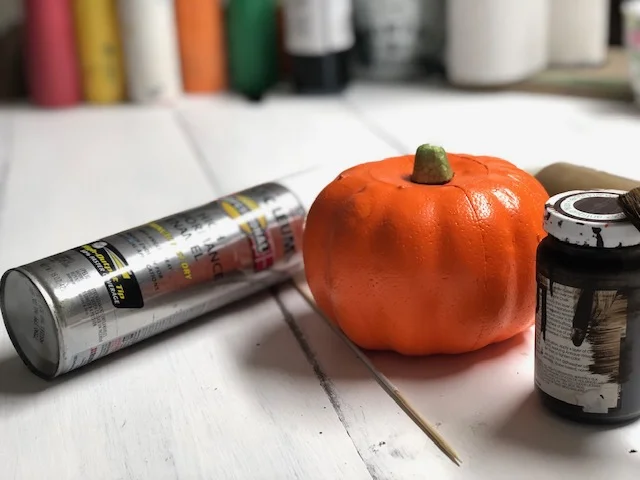
DIY rusty pumpkin from mason jar rings
/
How to make a rusty pumpkin from a mason jar lid
I’ll admit I have an obsession with MASON JARS!! Seriously though, who doesn’t in the days of rustic décor? But our family doesn’t just do crafts with them like this DIY LIGHT UP FAIRY JAR. Or these adorable DIY GLASS ETCHED MASON JARS. Other than storing food our family actually uses them as our drinking glasses. They are just so darn versatile! You can even buy these plastic mason jar lids so you don’t have to hassle with the two pieces that traditionally comes with mason jars.
Affiliate Disclosure. Some of the links on this website are affiliate links, which means that I may earn a small commission if you click on the link or make a purchase using the link. If you make a purchase you will not be charged anything additional.
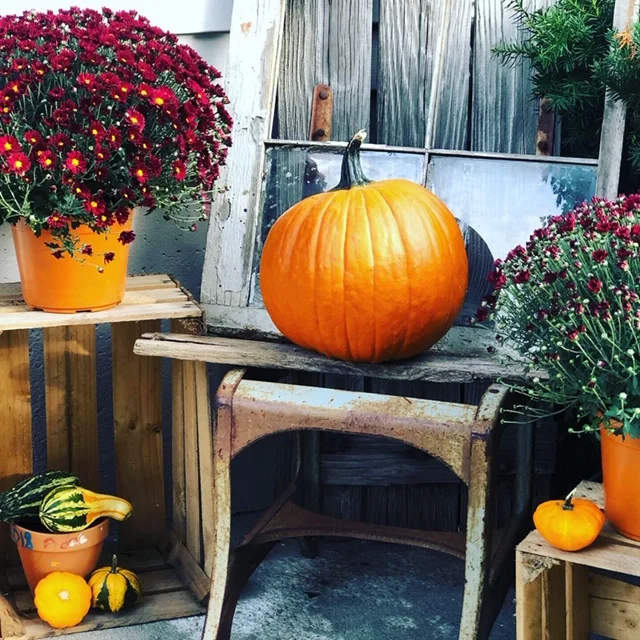
Ok, so enough about how much I LOVE and use mason jars lol! Let’s get to the rusty mason jar lid pumpkin tutorial. These rusty pumpkins will tie in perfectly with your rustic décor. You can place these on the table as a centerpiece, on a mantle, sit them on a deep shelf, you could even put them on your front porch with the rest of your gorgeous fall decorations.
Here’s what you’ll need
stick
rustic wire
pliers

If you aren’t in the reading mood skip to the bottom to catch the full rusty pumpkin video tutorial.

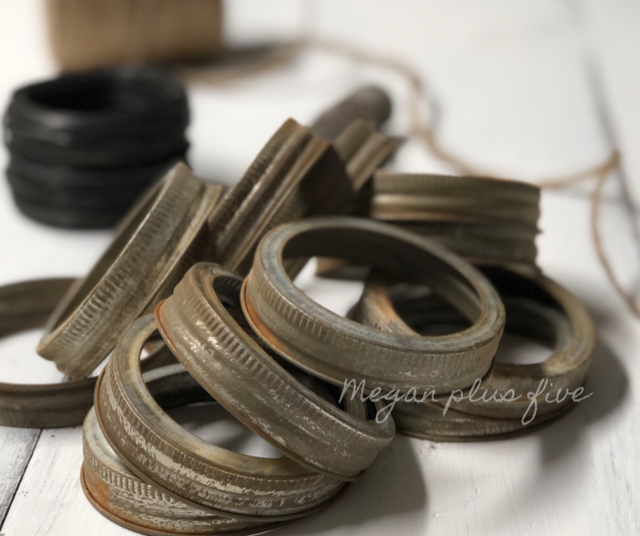
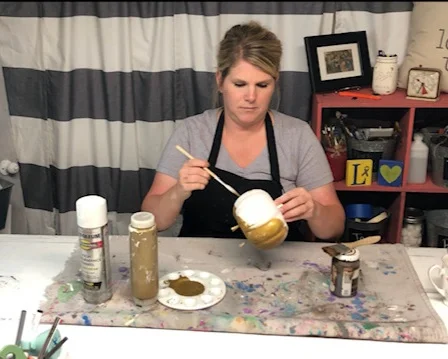
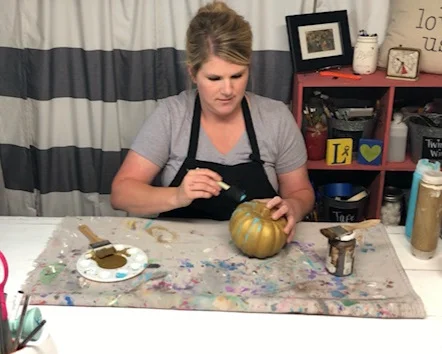
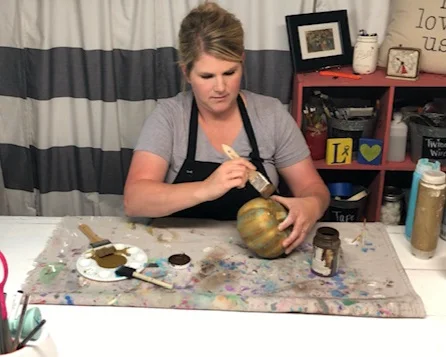
You’re probably wondering…how do I make my canning jar lids rusty? I don’t have a tutorial up just yet for how to make your mason jar rings rusty. But don’t worry I’m working on it and it is SUPER easy! You basically just soak them in a mixture of vinegar and salt for a week or so. Take them out when you're satisfied with the rustiness. Rinse them off. And let them air dry. That’s it!
You can make yours as full as you like but I don’t like that super uniformed look that most mason jar ring pumpkins have. I use a few less rings than a lot of the other tutorials call for but the others are still gorgeous 😍. For mine, I used 12 rings but you can use more if you like that look better :)!
First, string your rusty mason jar lids on a piece of twine. Be sure they are all facing the same direction

Next, make your mason jar rings curve into a circle and place the stick in the center. Then move your rings around so that they form the circle shape of the pumpkin. Tie the twine in a few knots. Remove the stick. Move the rings around to where you like them.

Once you have your lids where you want them place a ring of hot glue around the base of your stick and place your stick back in the center of the lids.

Then cut a piece of your wire, fold it in half and use your pliers to twist the ends. Place some hot glue on the curved end of the wire and then stick it in where your stick is.

Turn your pumpkin upside down and add more hot glue around where the stick is. This will give it more stability.

Cut a circle out of either fabric or felt and glue it to the bottom. This will give it a more finished look.

Now you’re ready to display your perfectly rusty mason jar ring/lid pumpkin!

Check out the video tutorial below
Check out these other pumpkin themed crafts