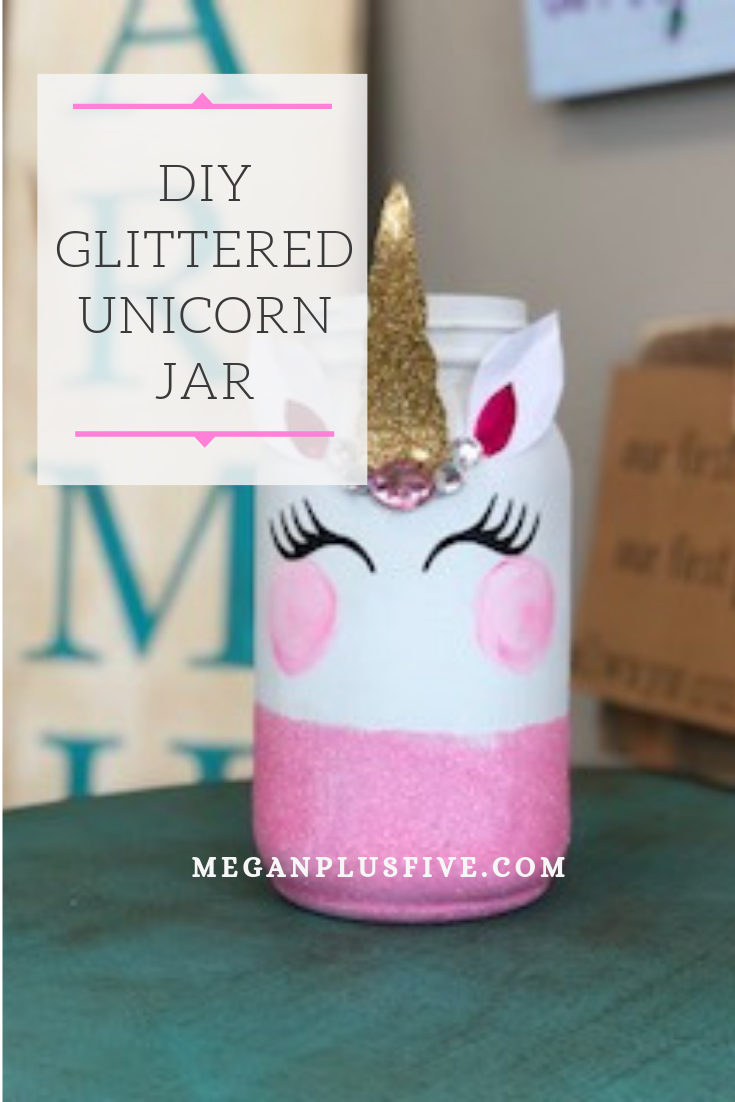
DIY craft kits- learn how to make your own

How to put together a DIY craft kit. Learn how to make your own craft kits, to sell, gift, or make just for fun. What goes into a DIY craft kit?

HOW TO PUT TOGETHER DIY CRAFT KITS

My best tips for creating DIY craft kits and how to package them for shipping

Craft kits are all the rage right now. I know when I started selling DIY craft kits for adults it took a little bit of trial and error for me to get them just right. I wasn’t sure what I should include, what I should leave out, how I should package the craft kits for shipping, and how I should write the instructions.

Affiliate Disclosure. Some of the links on this website are affiliate links, which means that I may earn a small commission if you click on the link or make a purchase using the link. If you make a purchase you will not be charged anything additional.

If you found this post helpful be sure to check out my post on HOW TO SHIP MASON JARS WITHOUT BREAKING.

How to put together a DIY craft kit. Learn how to make your own craft kits, to sell, gift, or make just for fun. What goes into a DIY craft kit?

Over time I have not just figured out how to package them and what to include in them I have MASTERED it! And I want to share with you what I’ve learned so you can spread some crafty love and ship DIY craft kits too.

There really is no better time than now to send DIY craft kits to loved ones.

It gives people something to do, something to keep their mind off of the craziness of the world, and something to bring them joy!

If you are thinking about gifting someone a DIY craft kit, or maybe you want to start selling them I am here to share with you what I’ve learned over the years. My small business specializes in DIY CRAFT KITS. I can’t even begin to tell you how many I have sold even just this year. It seems like I’ve been making craft kits in my sleep these last few months lol!

But seriously, I have learned so much since the first DIY craft kit I boxed up and shipped out. Now, I have perfected my craft kits, gotten tons of amazing feedback from my customers and can’t wait to share so here I go…

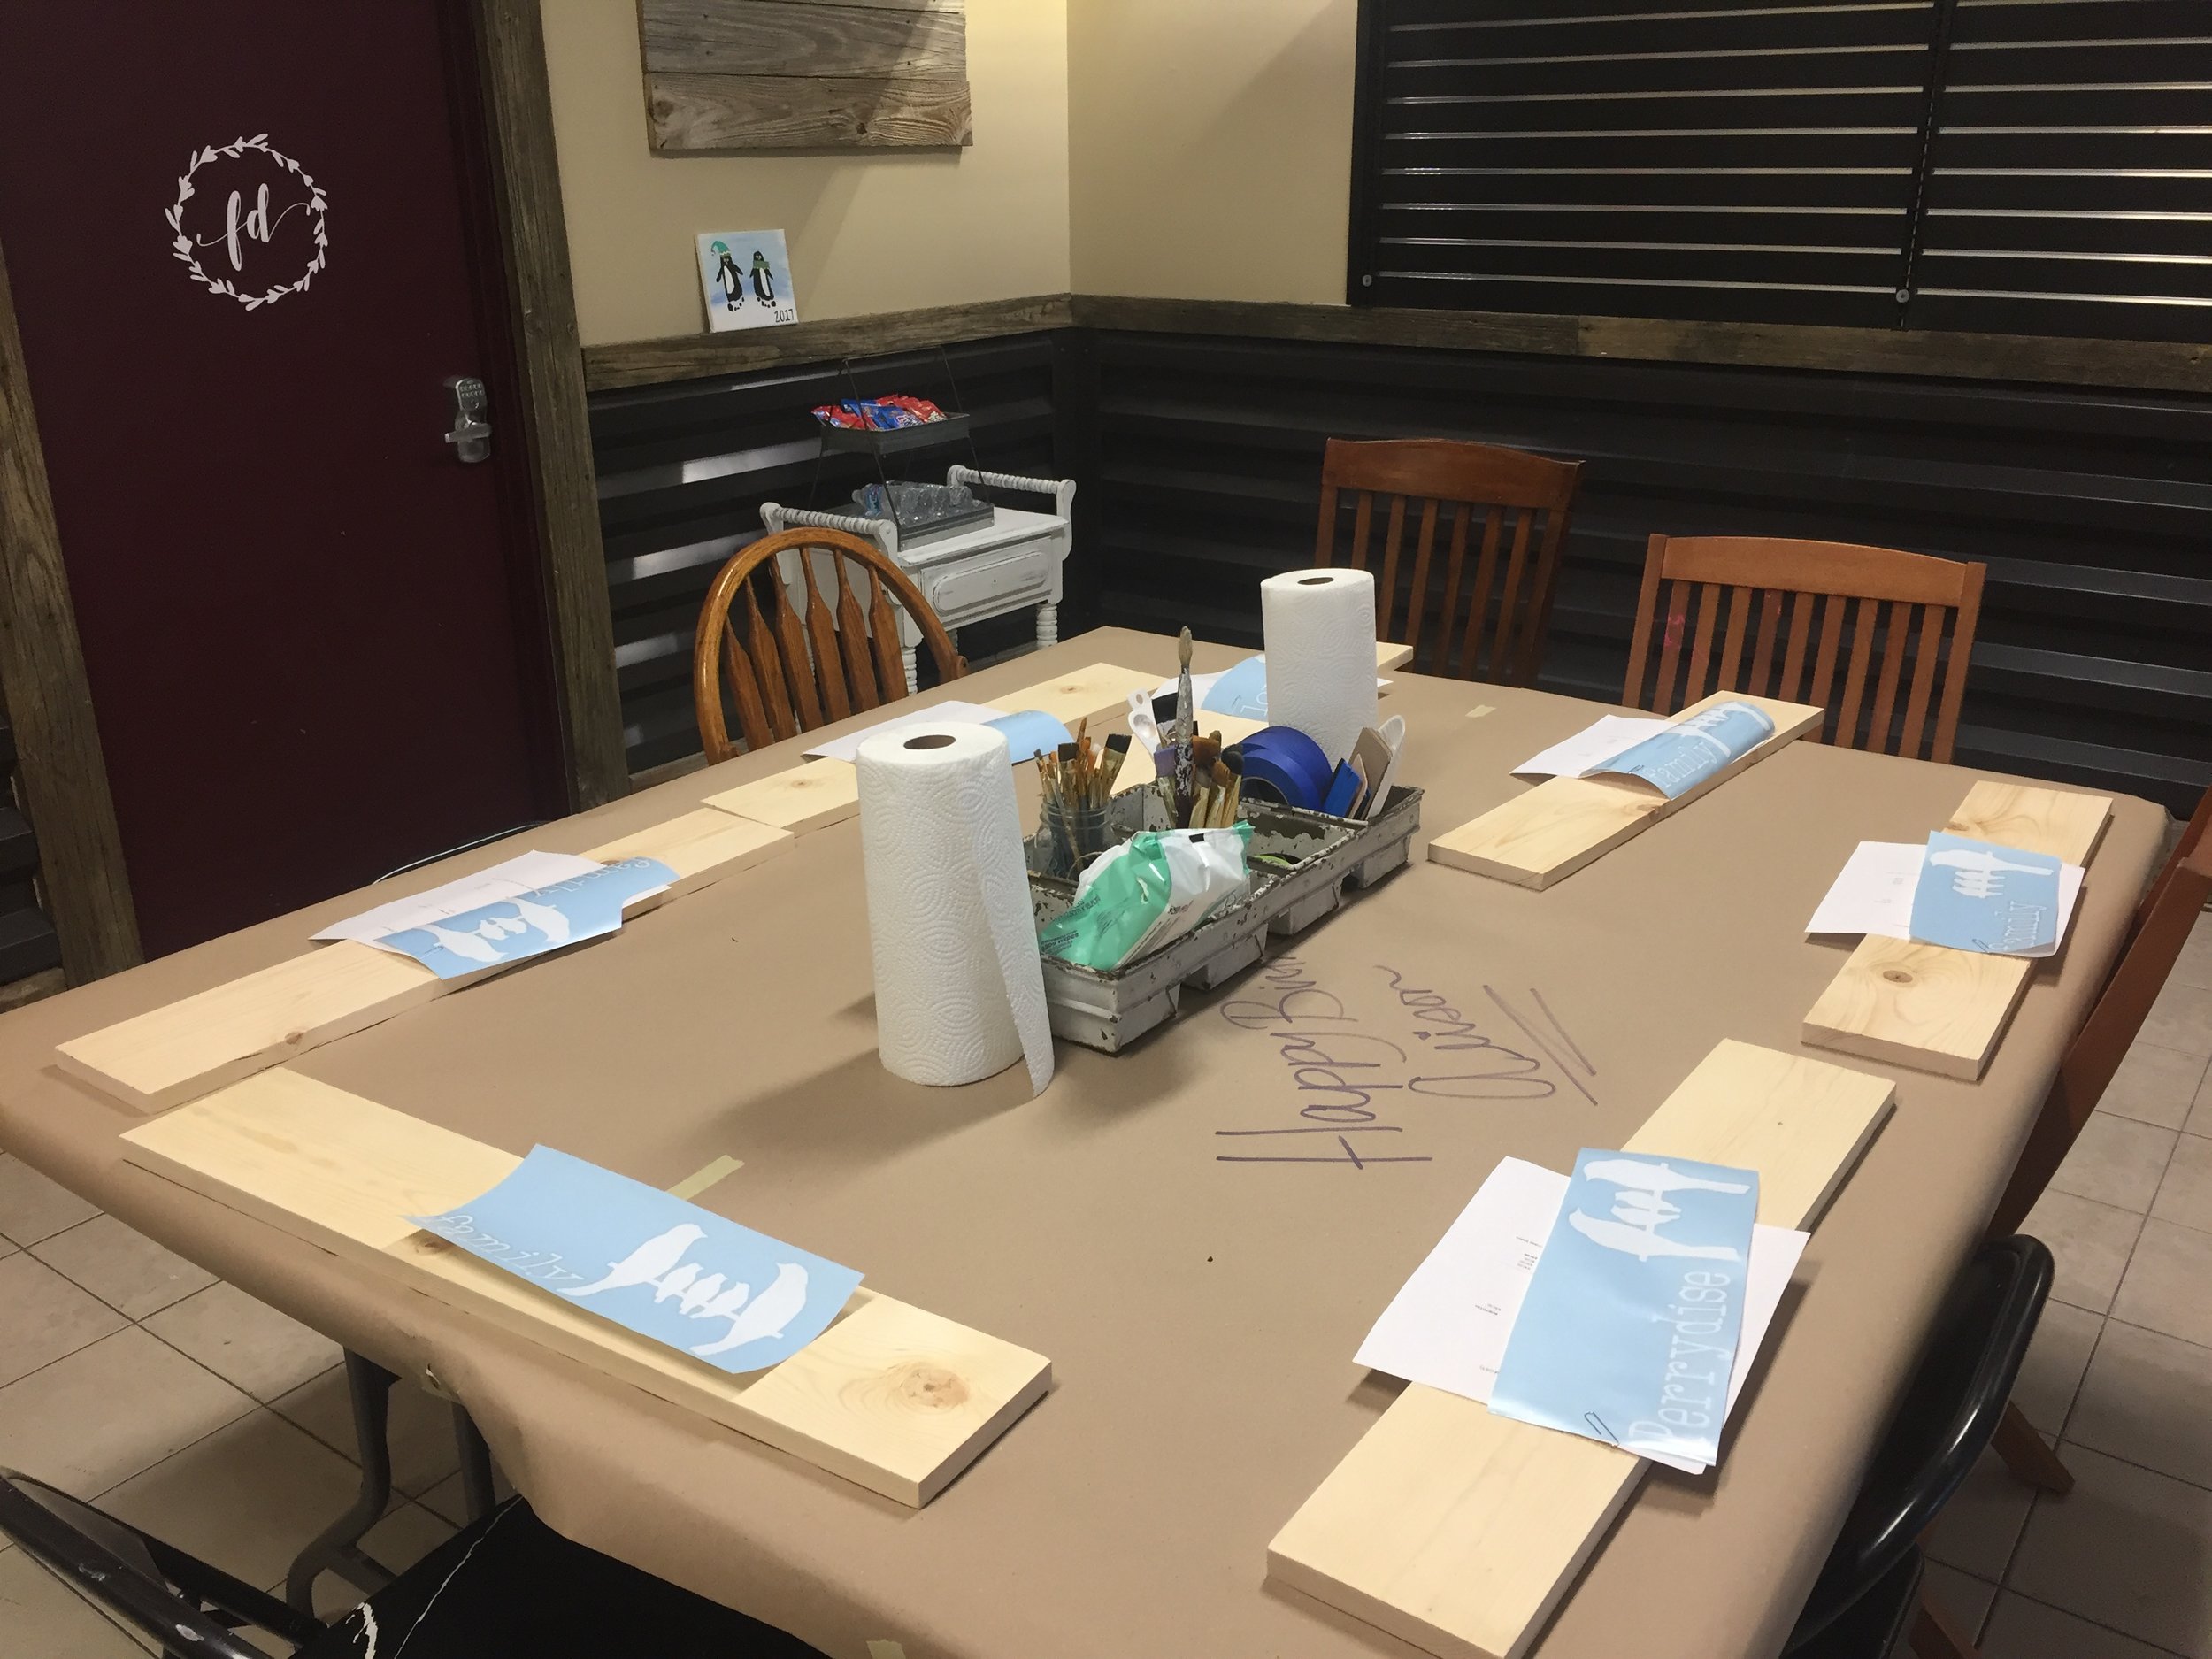
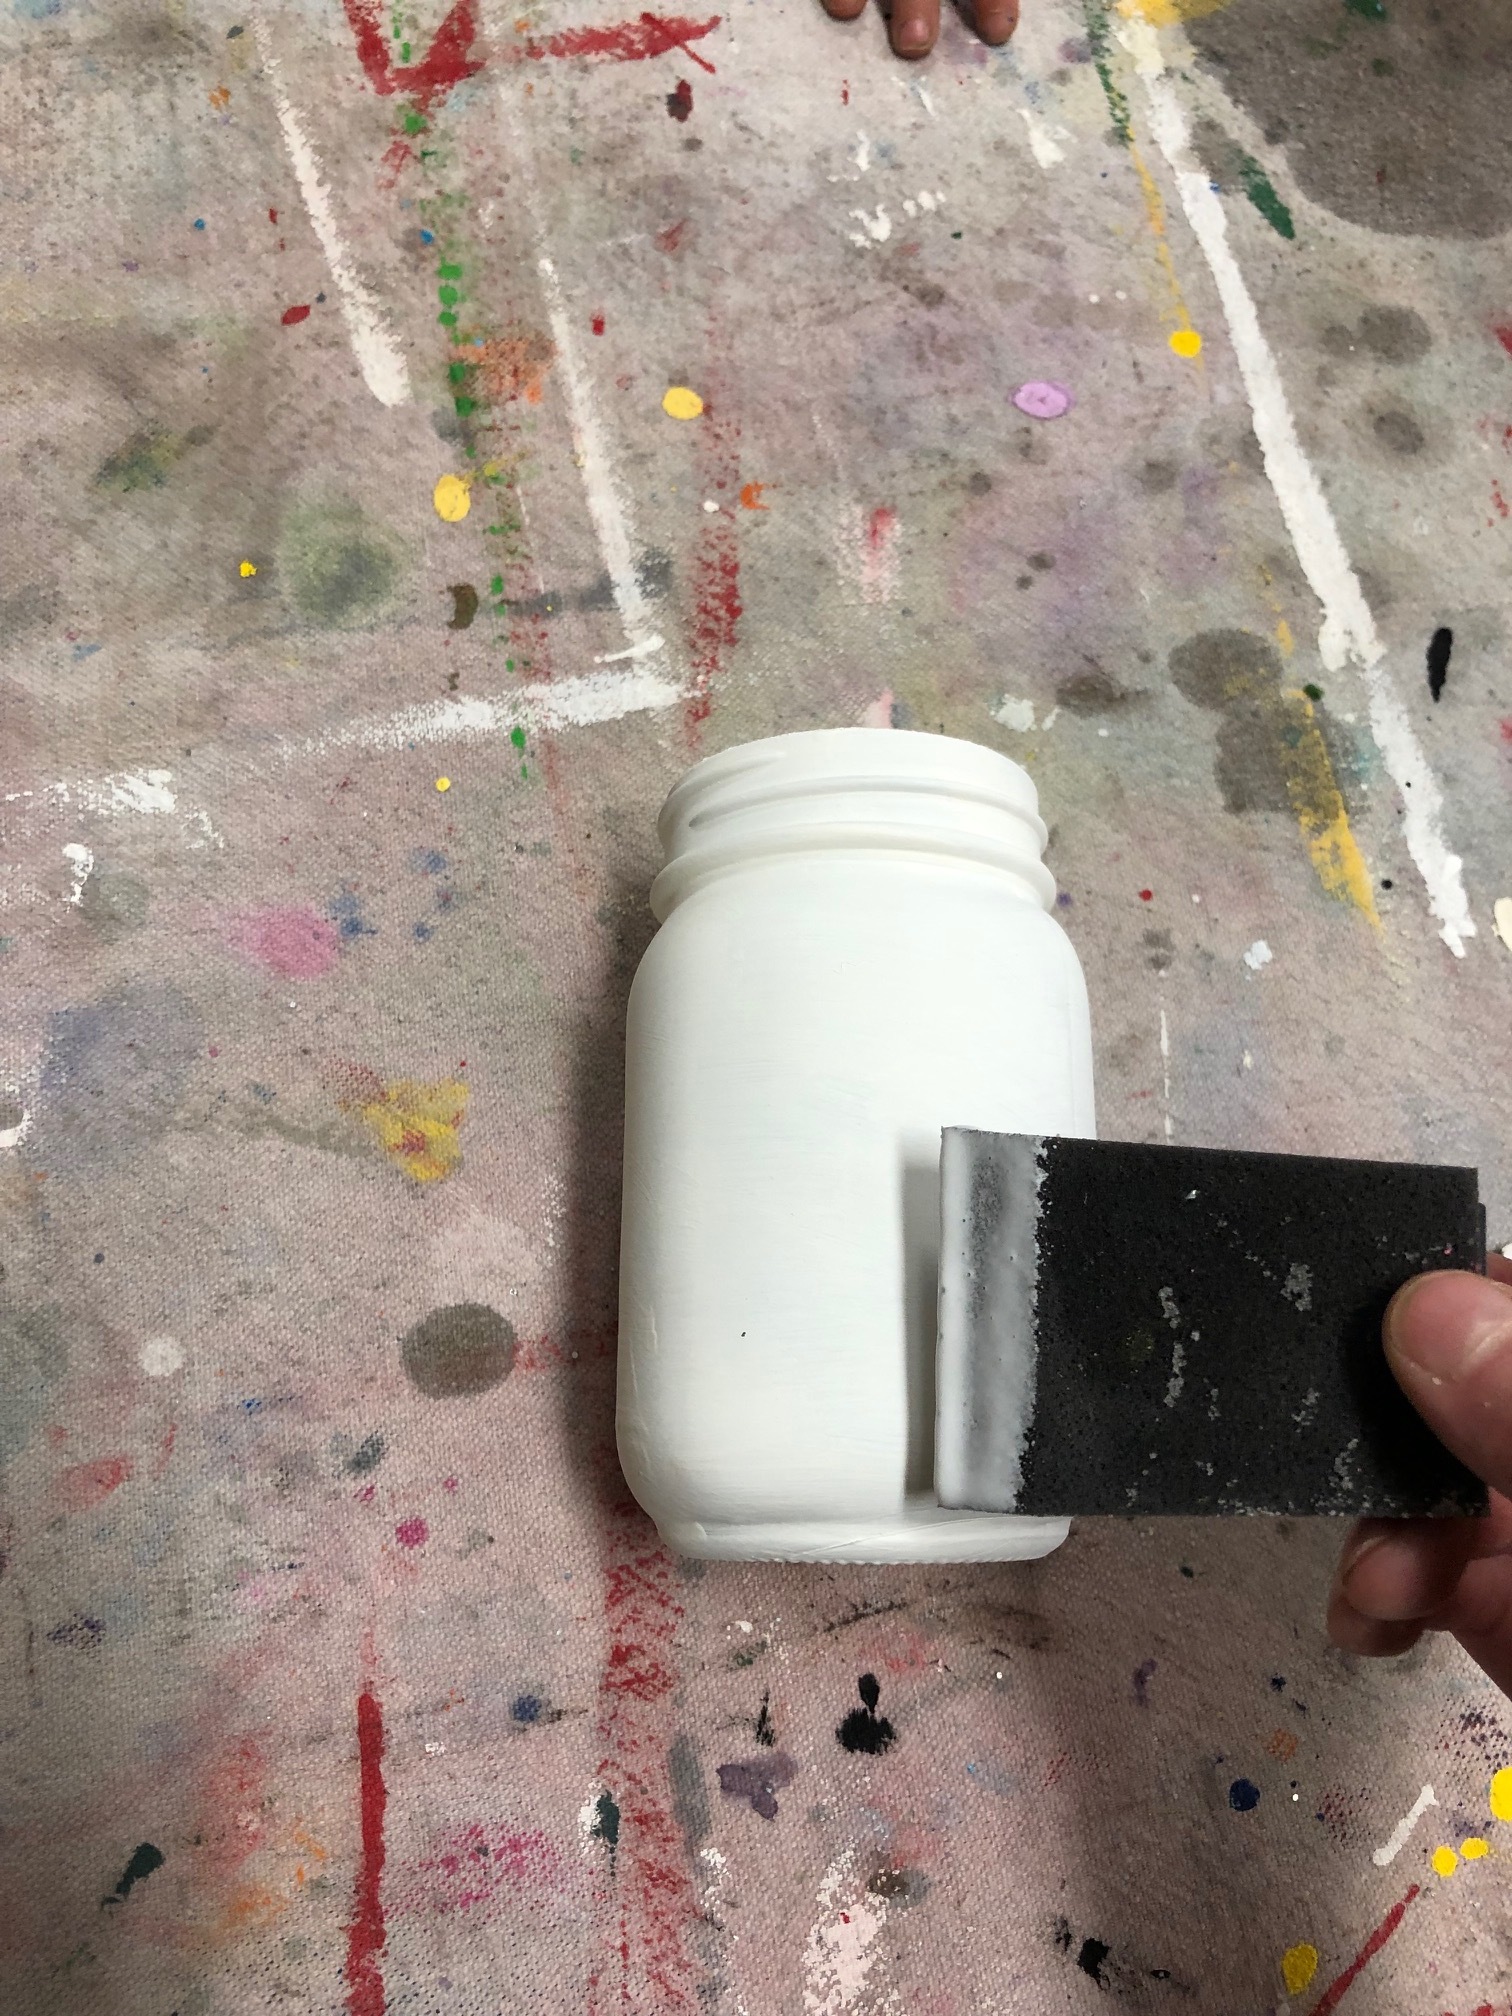
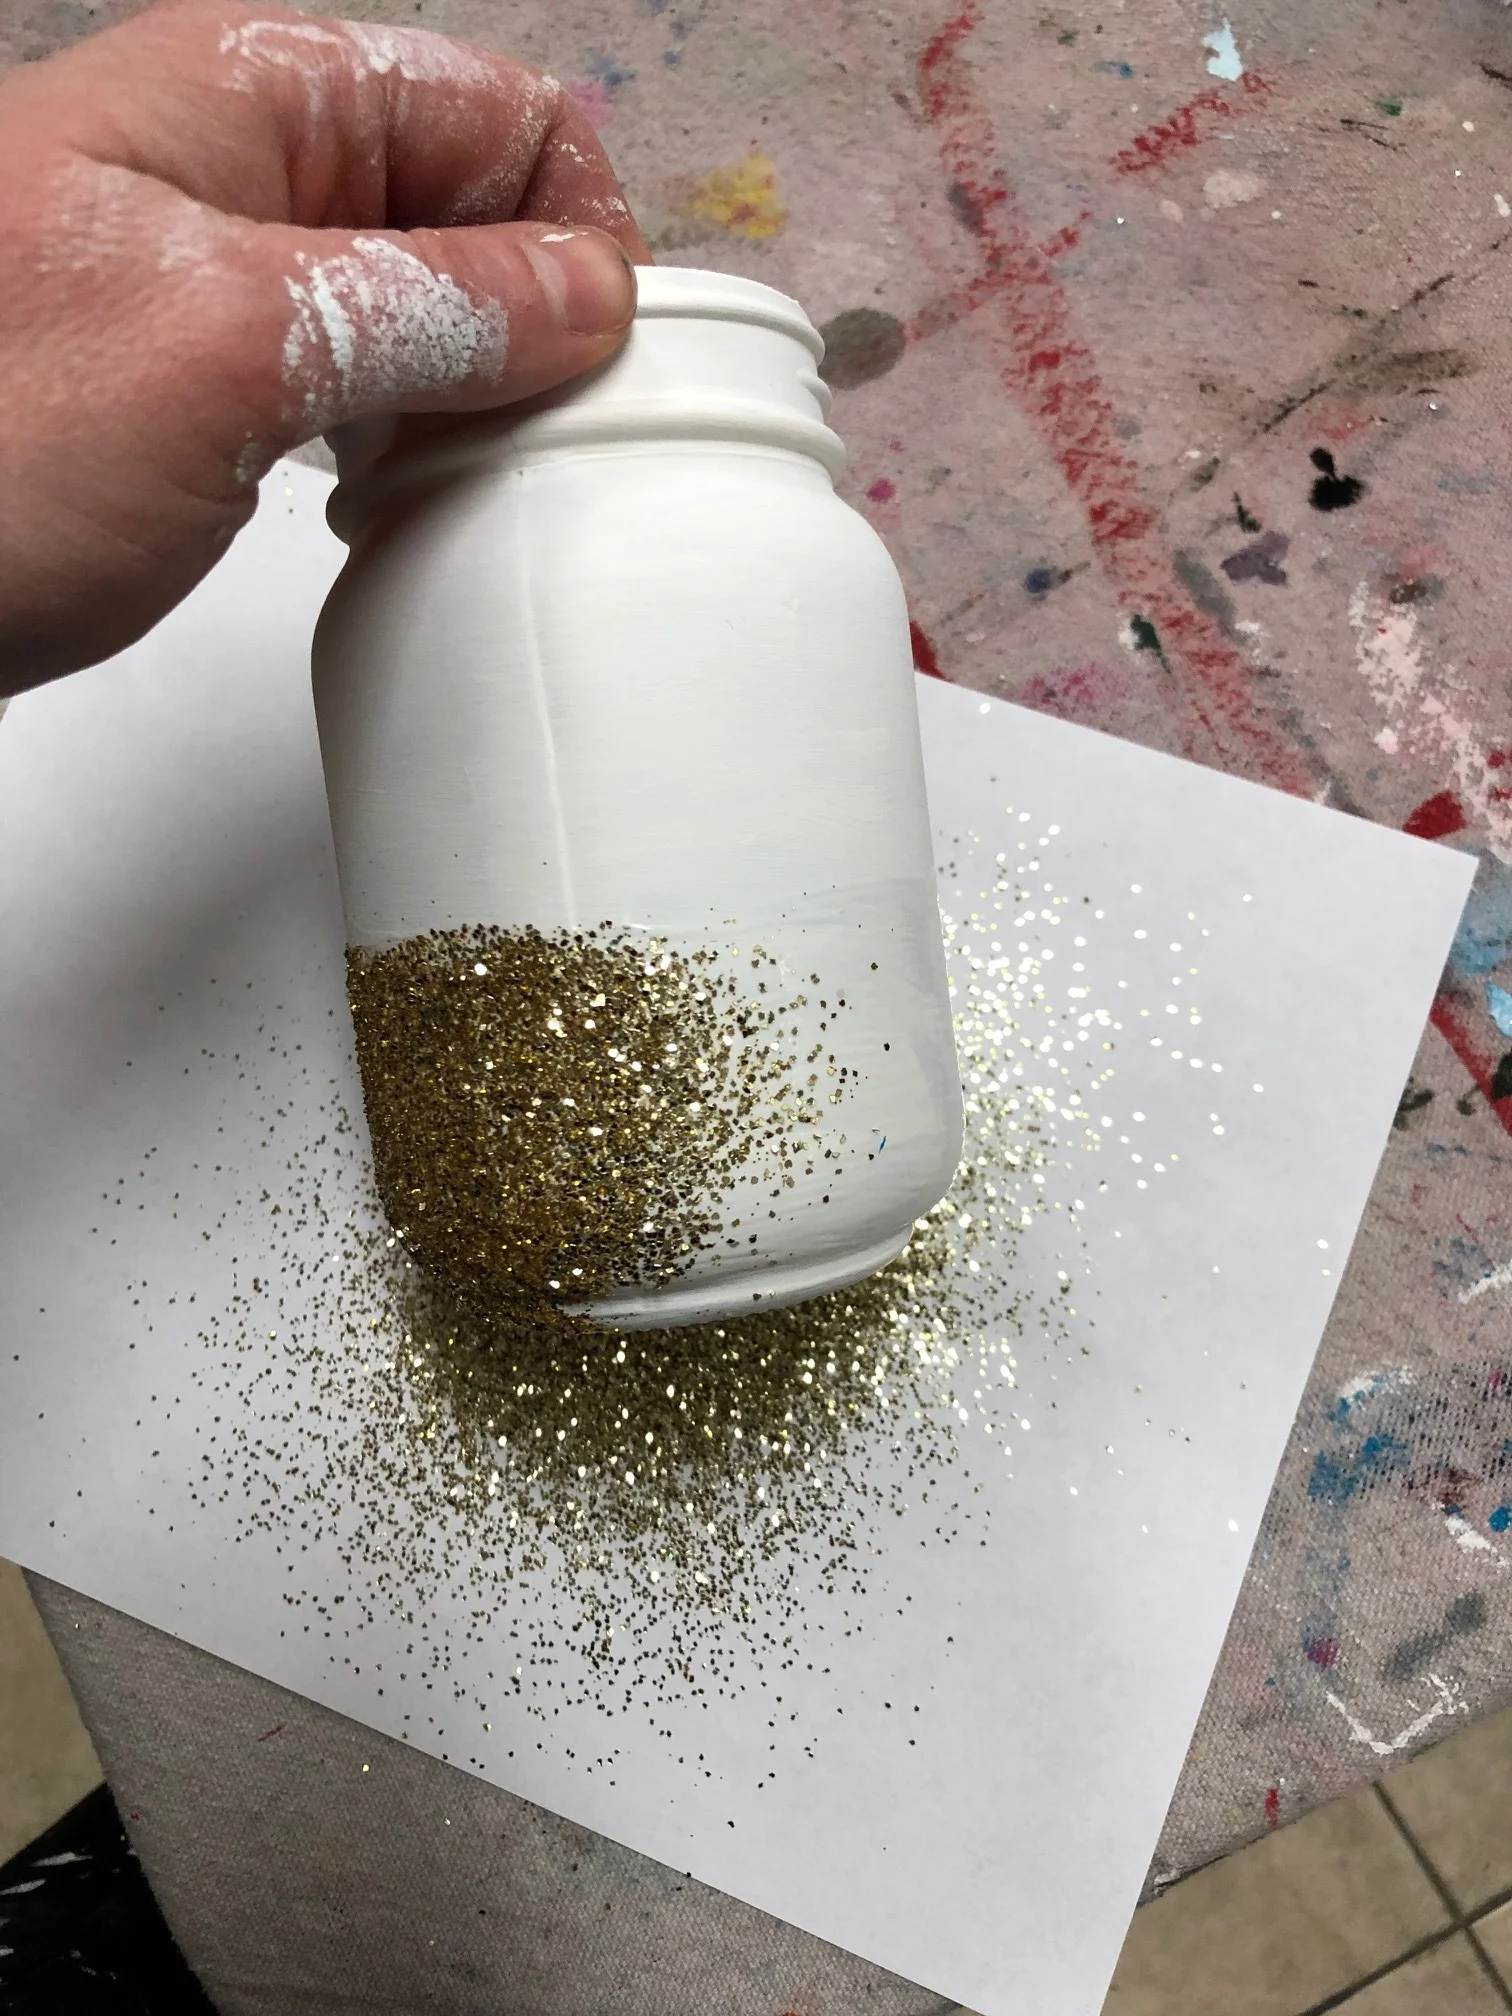
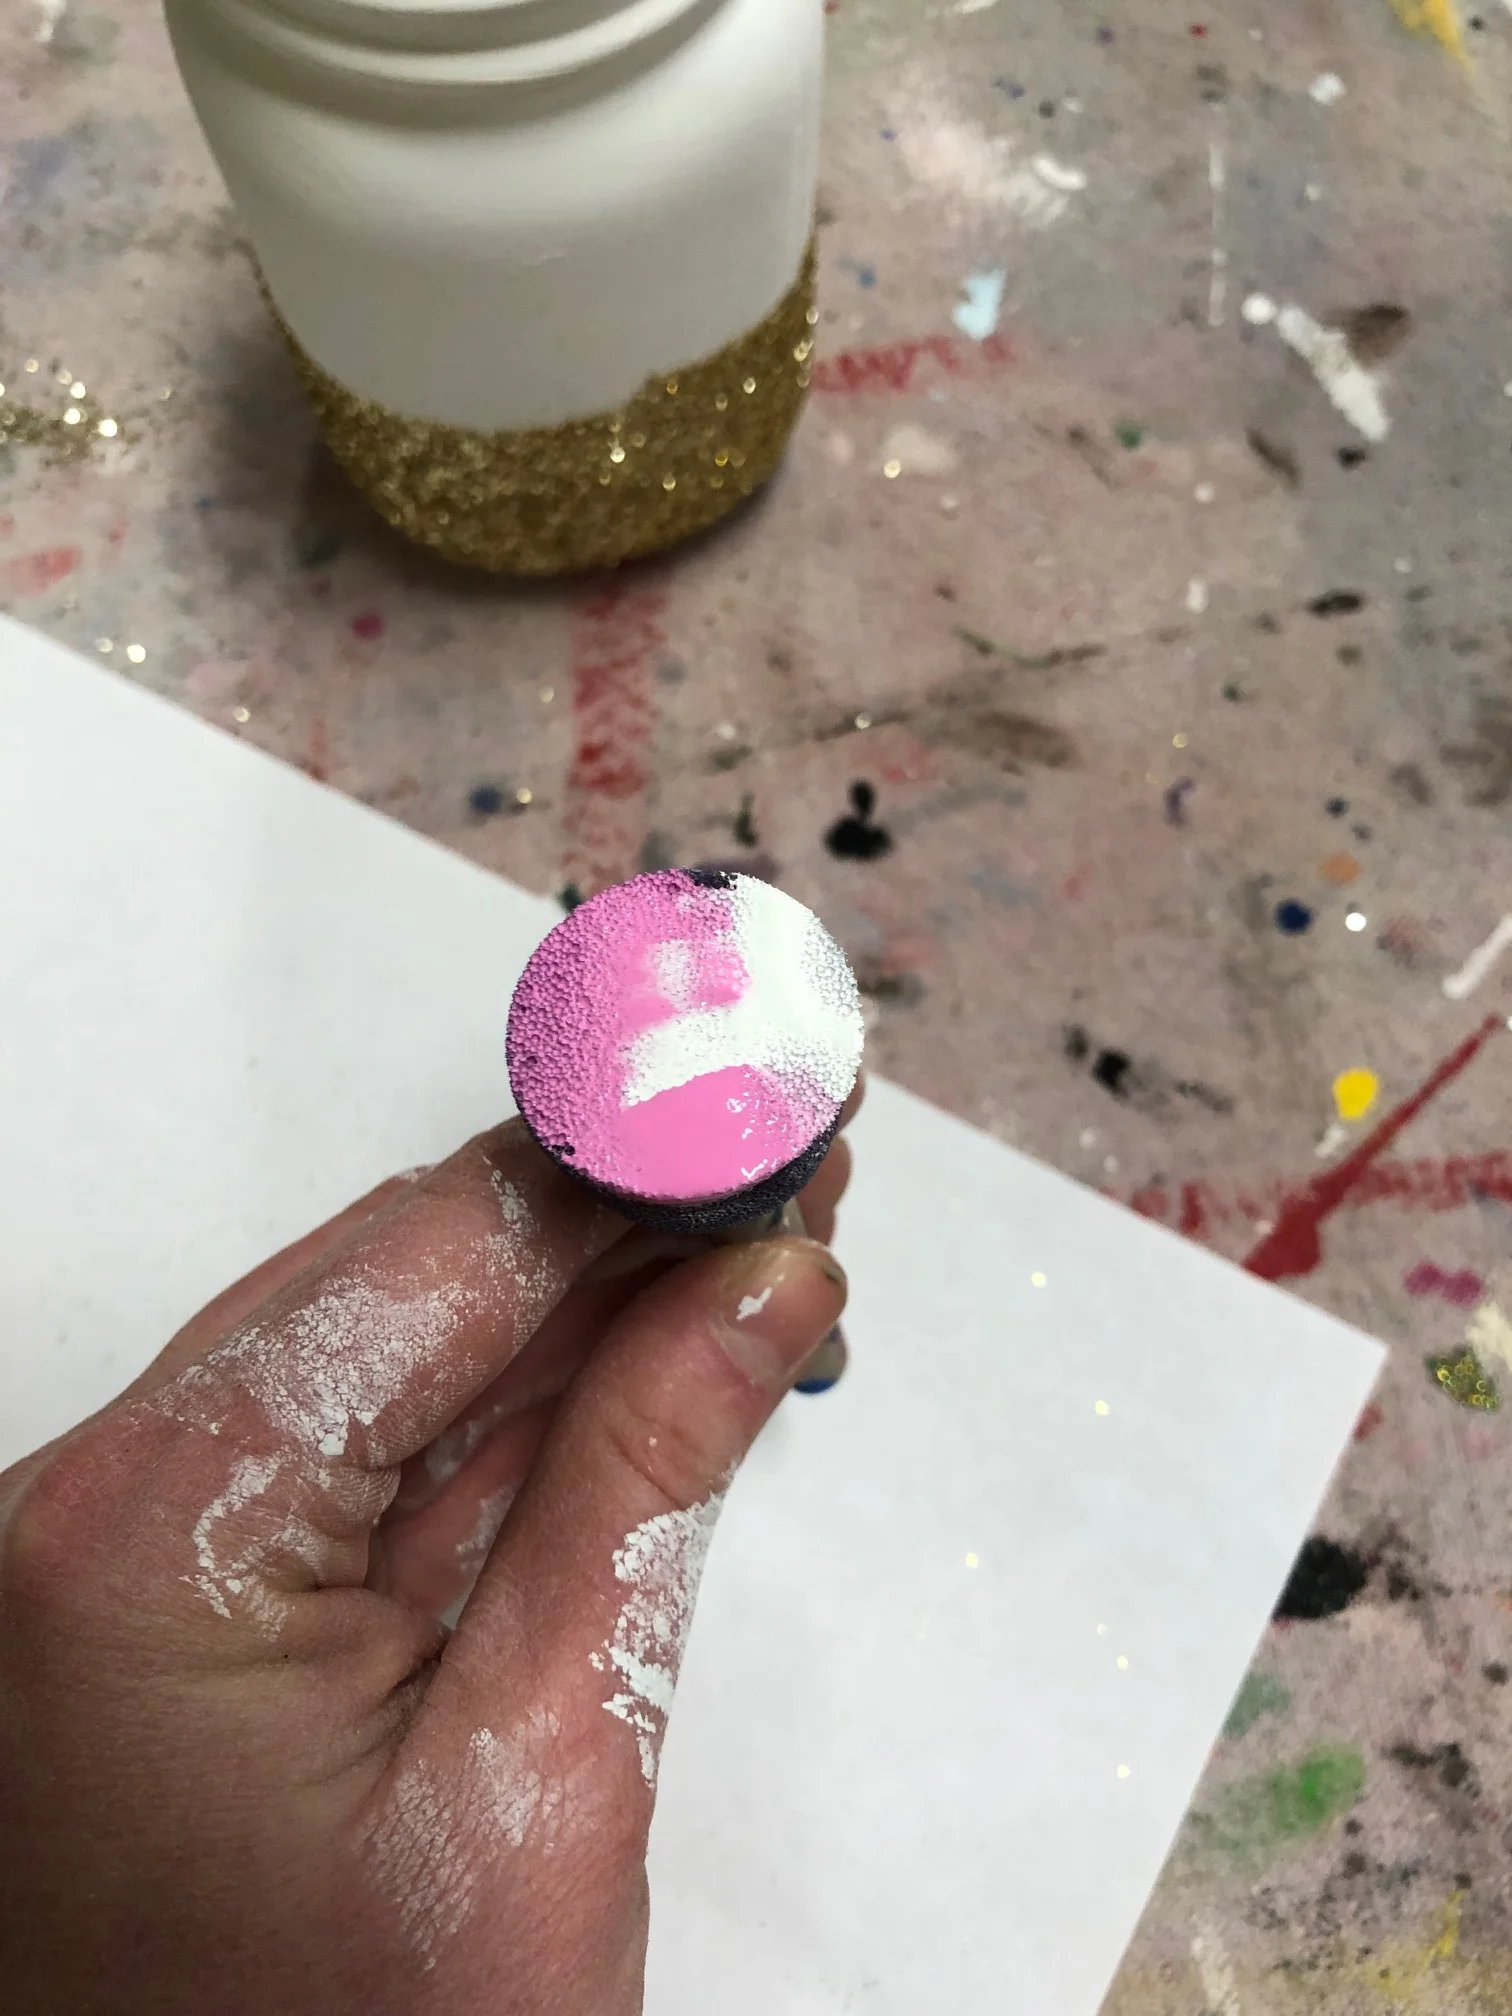
Ps… We just moved and I have yet to find where to put all the things so things are a bit untidy lol! I almost didn’t post pictures/take a video of me showing what I put in my DIY craft kits but then I said to myself ‘Megan! Girl, this is real life, show the mess’ so here I am showing my mess of a crafting space.
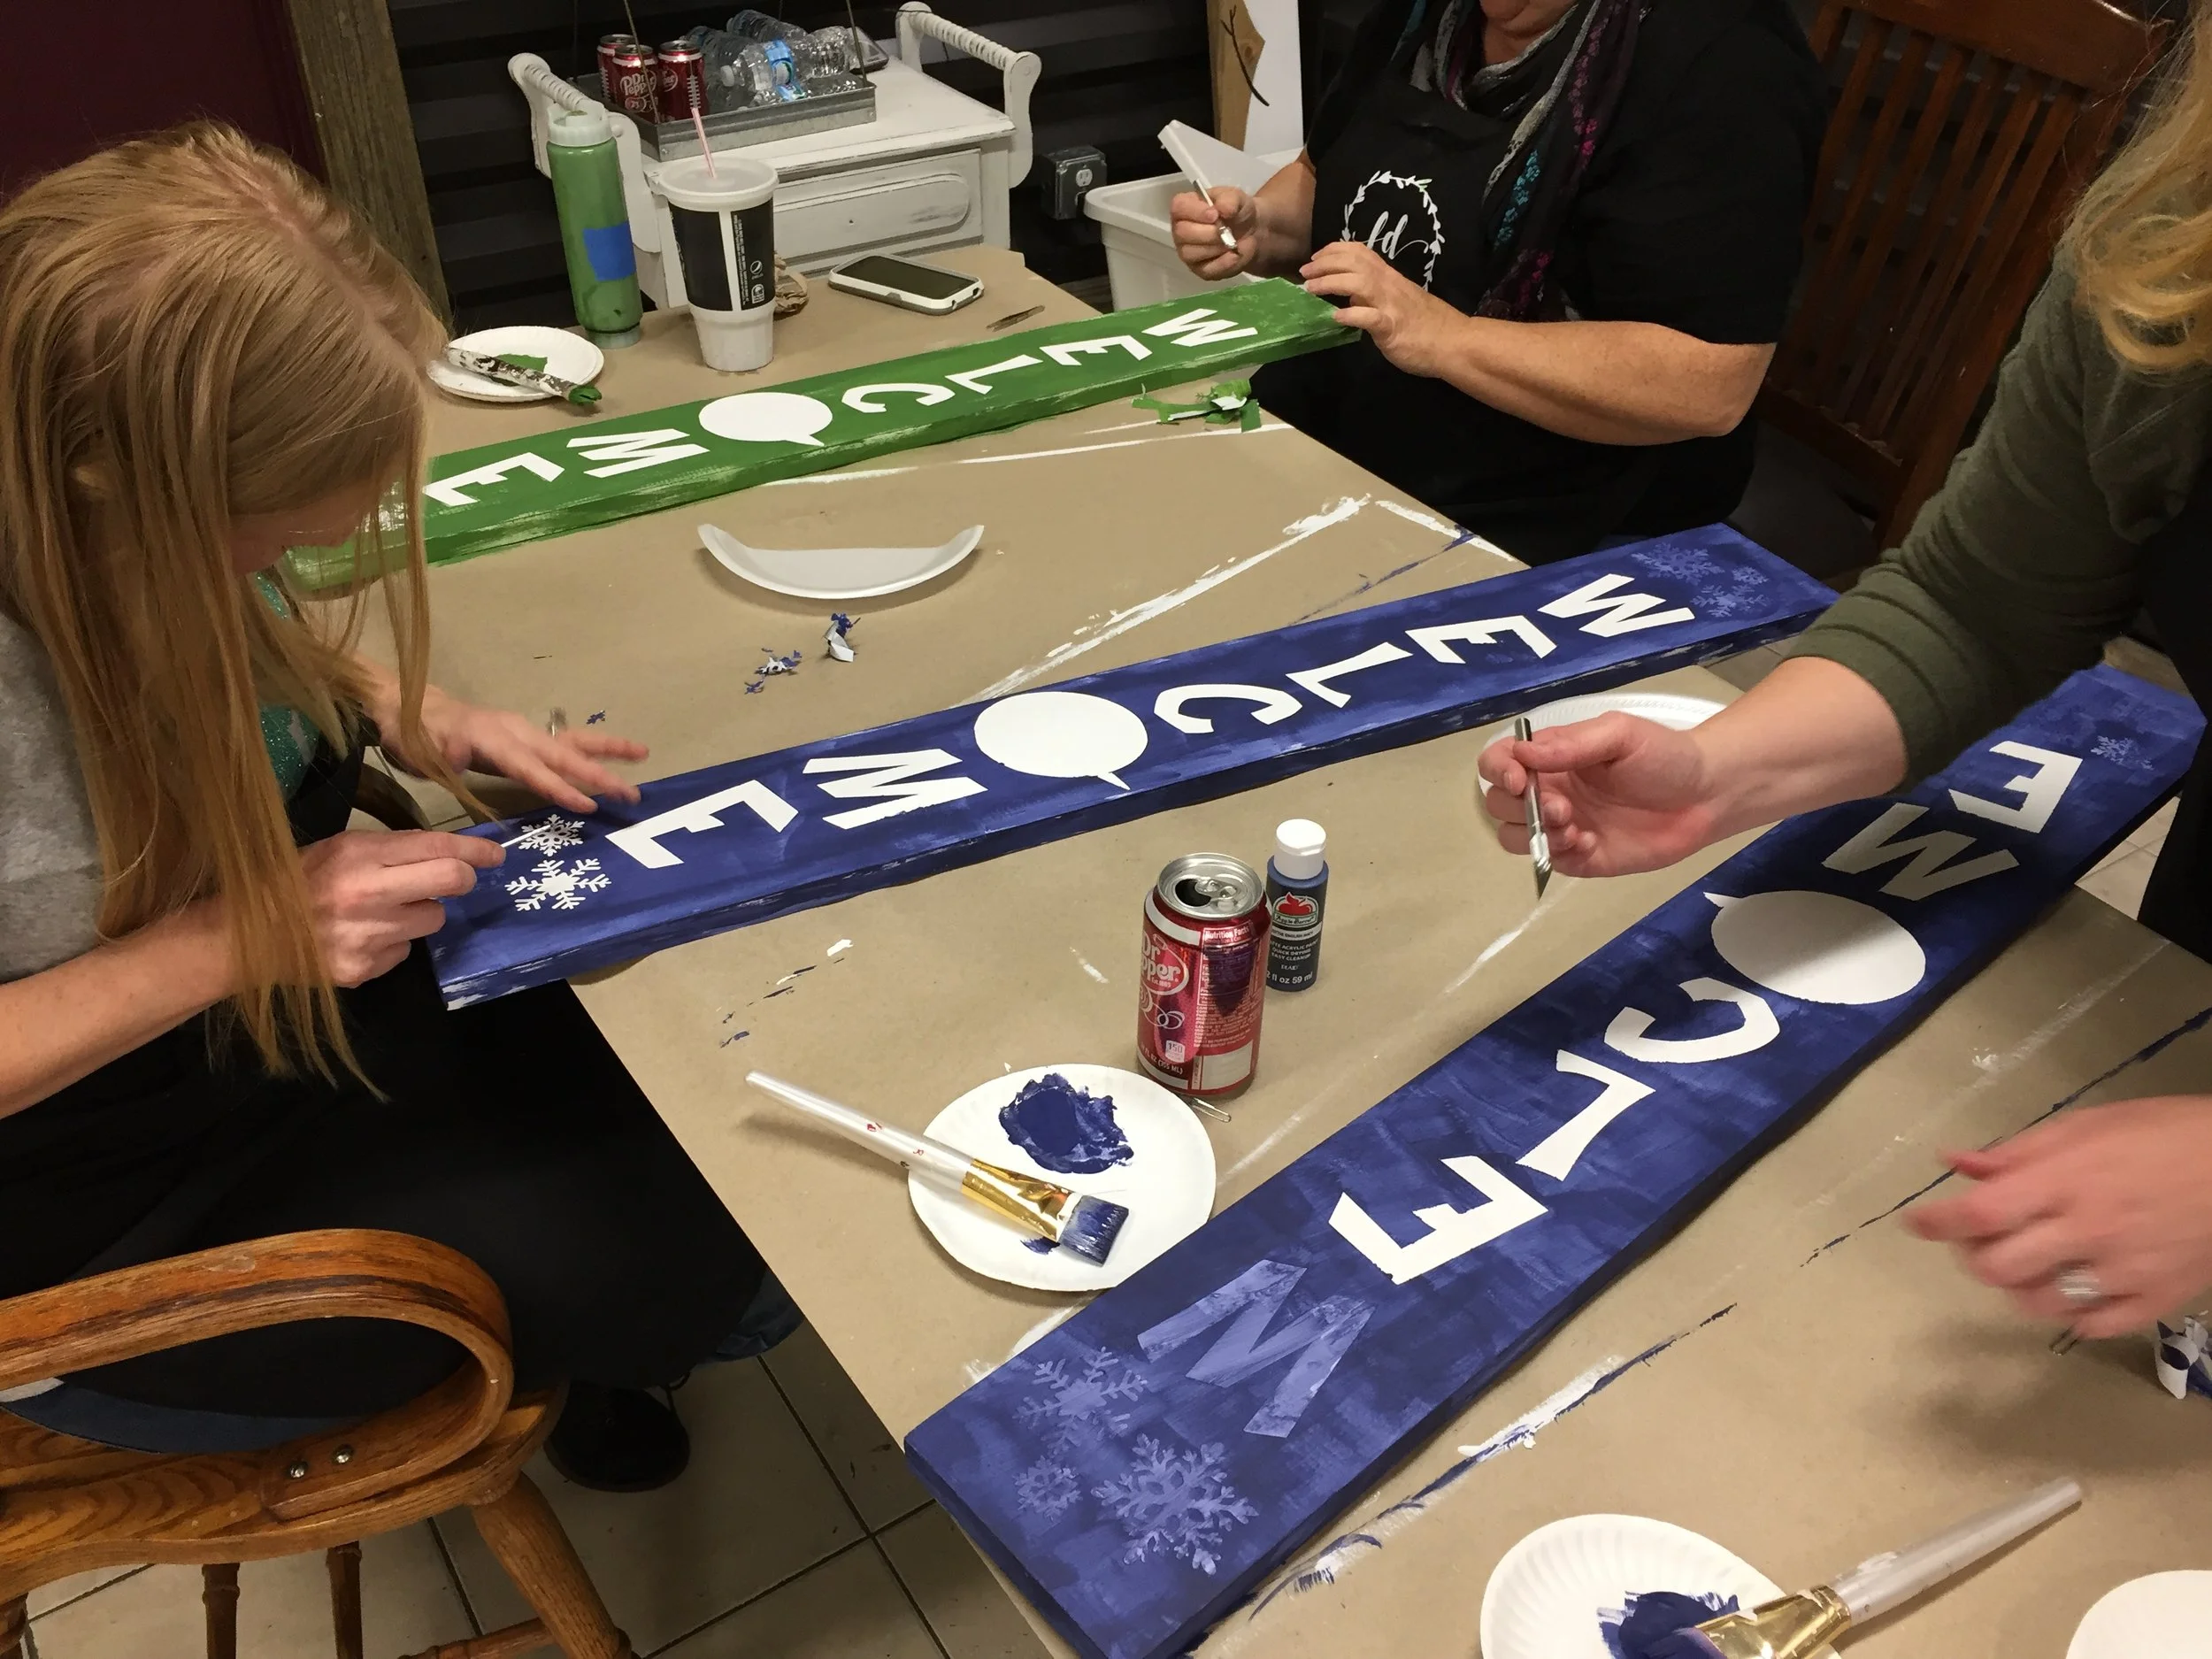
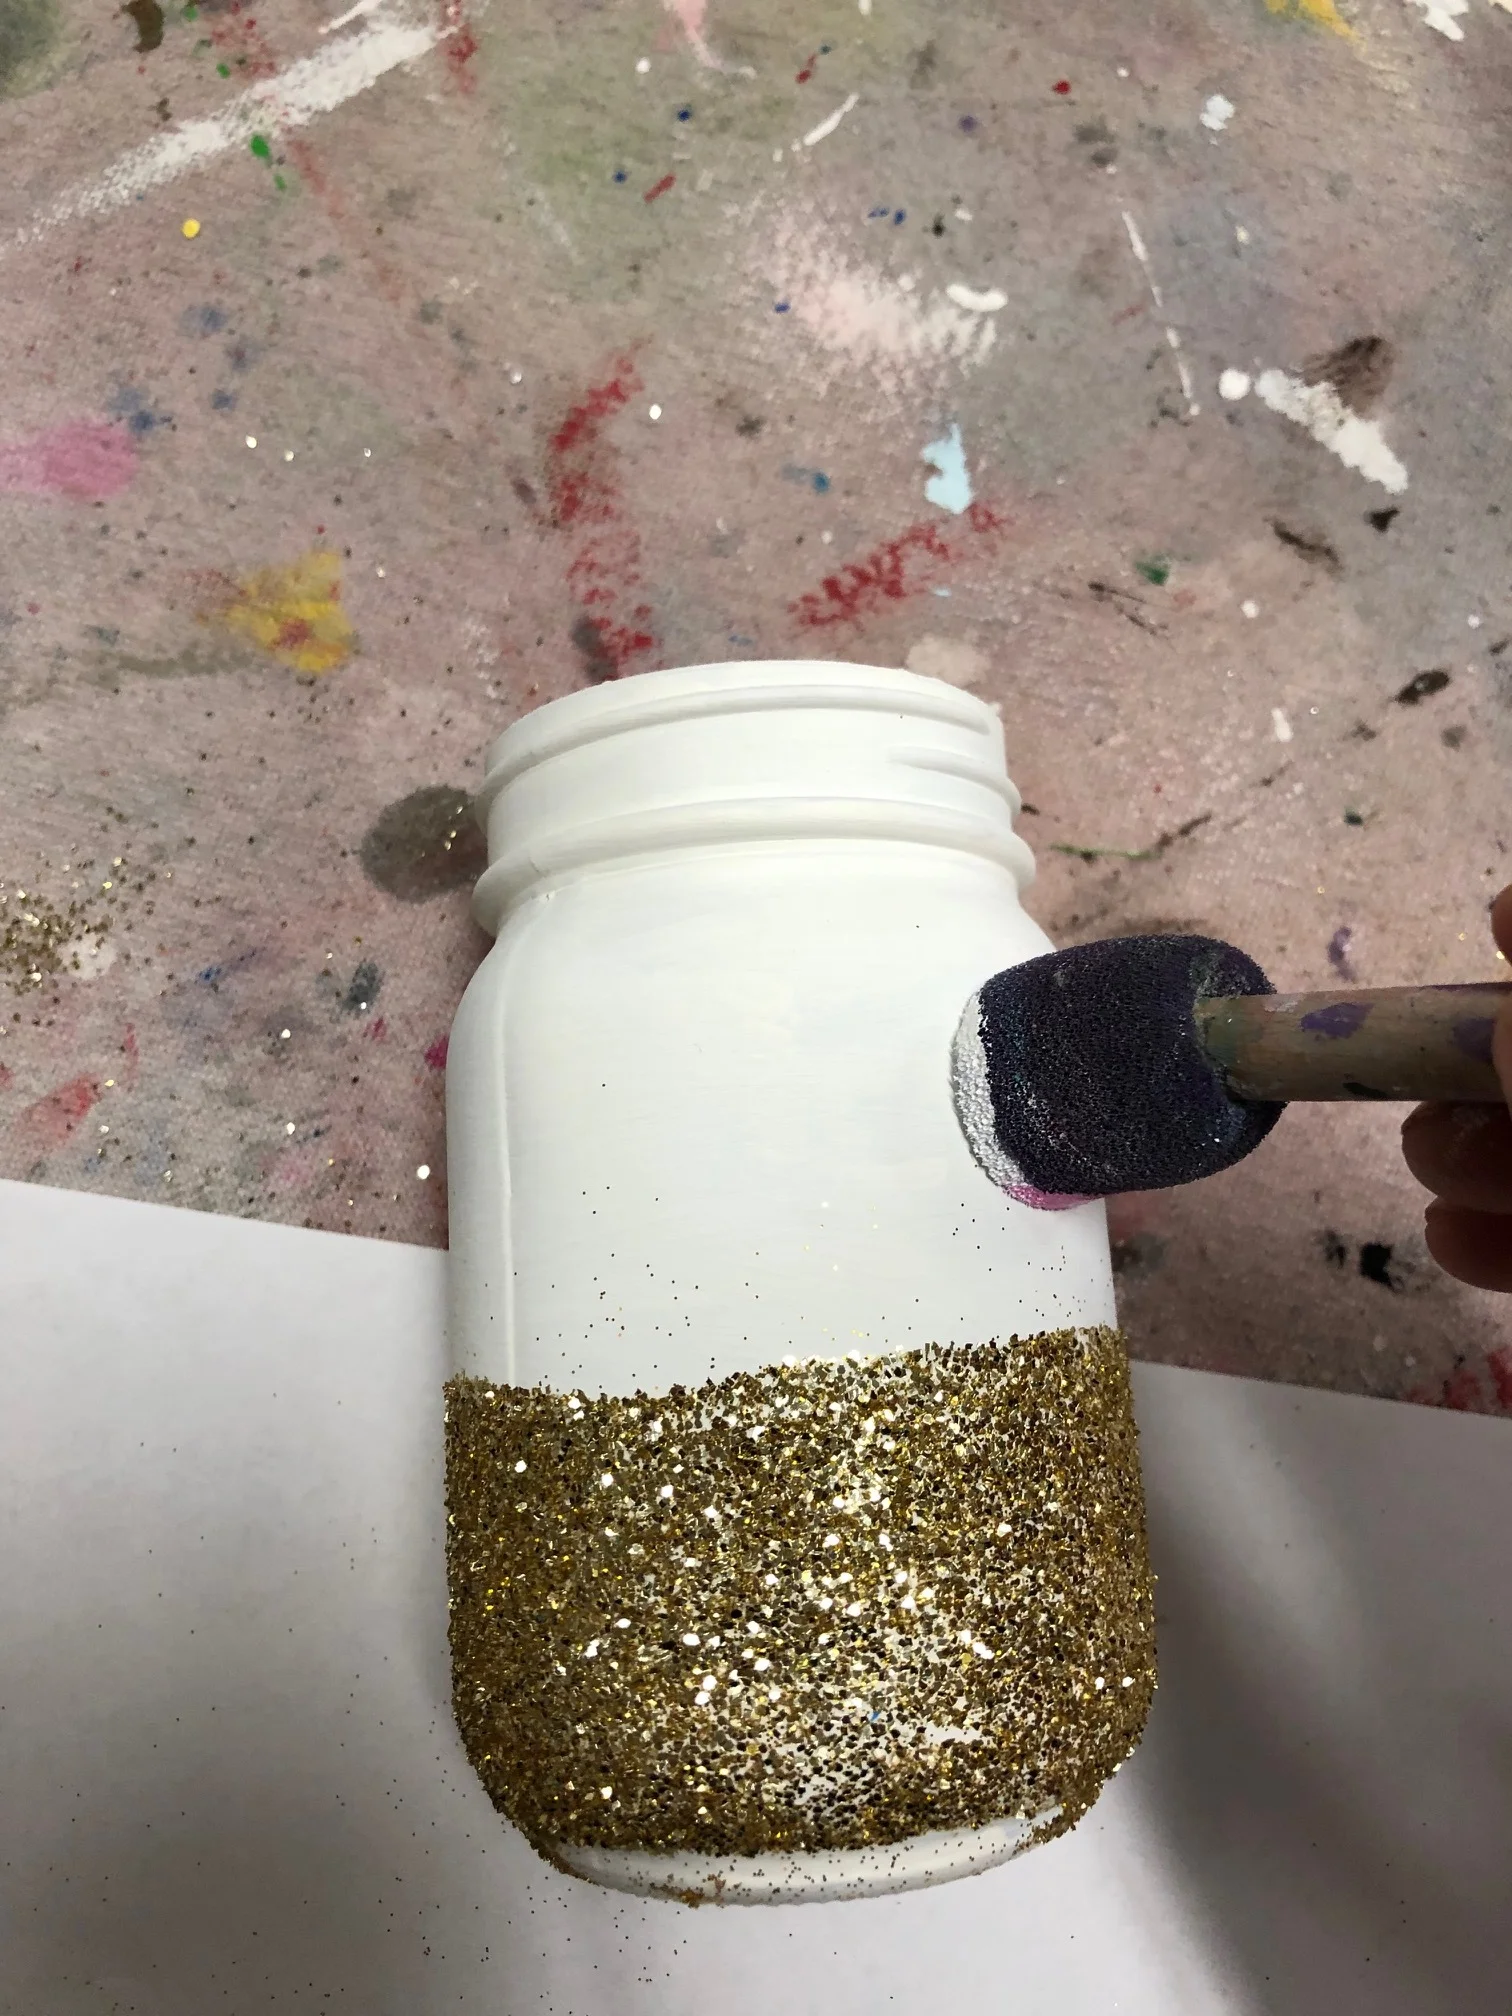
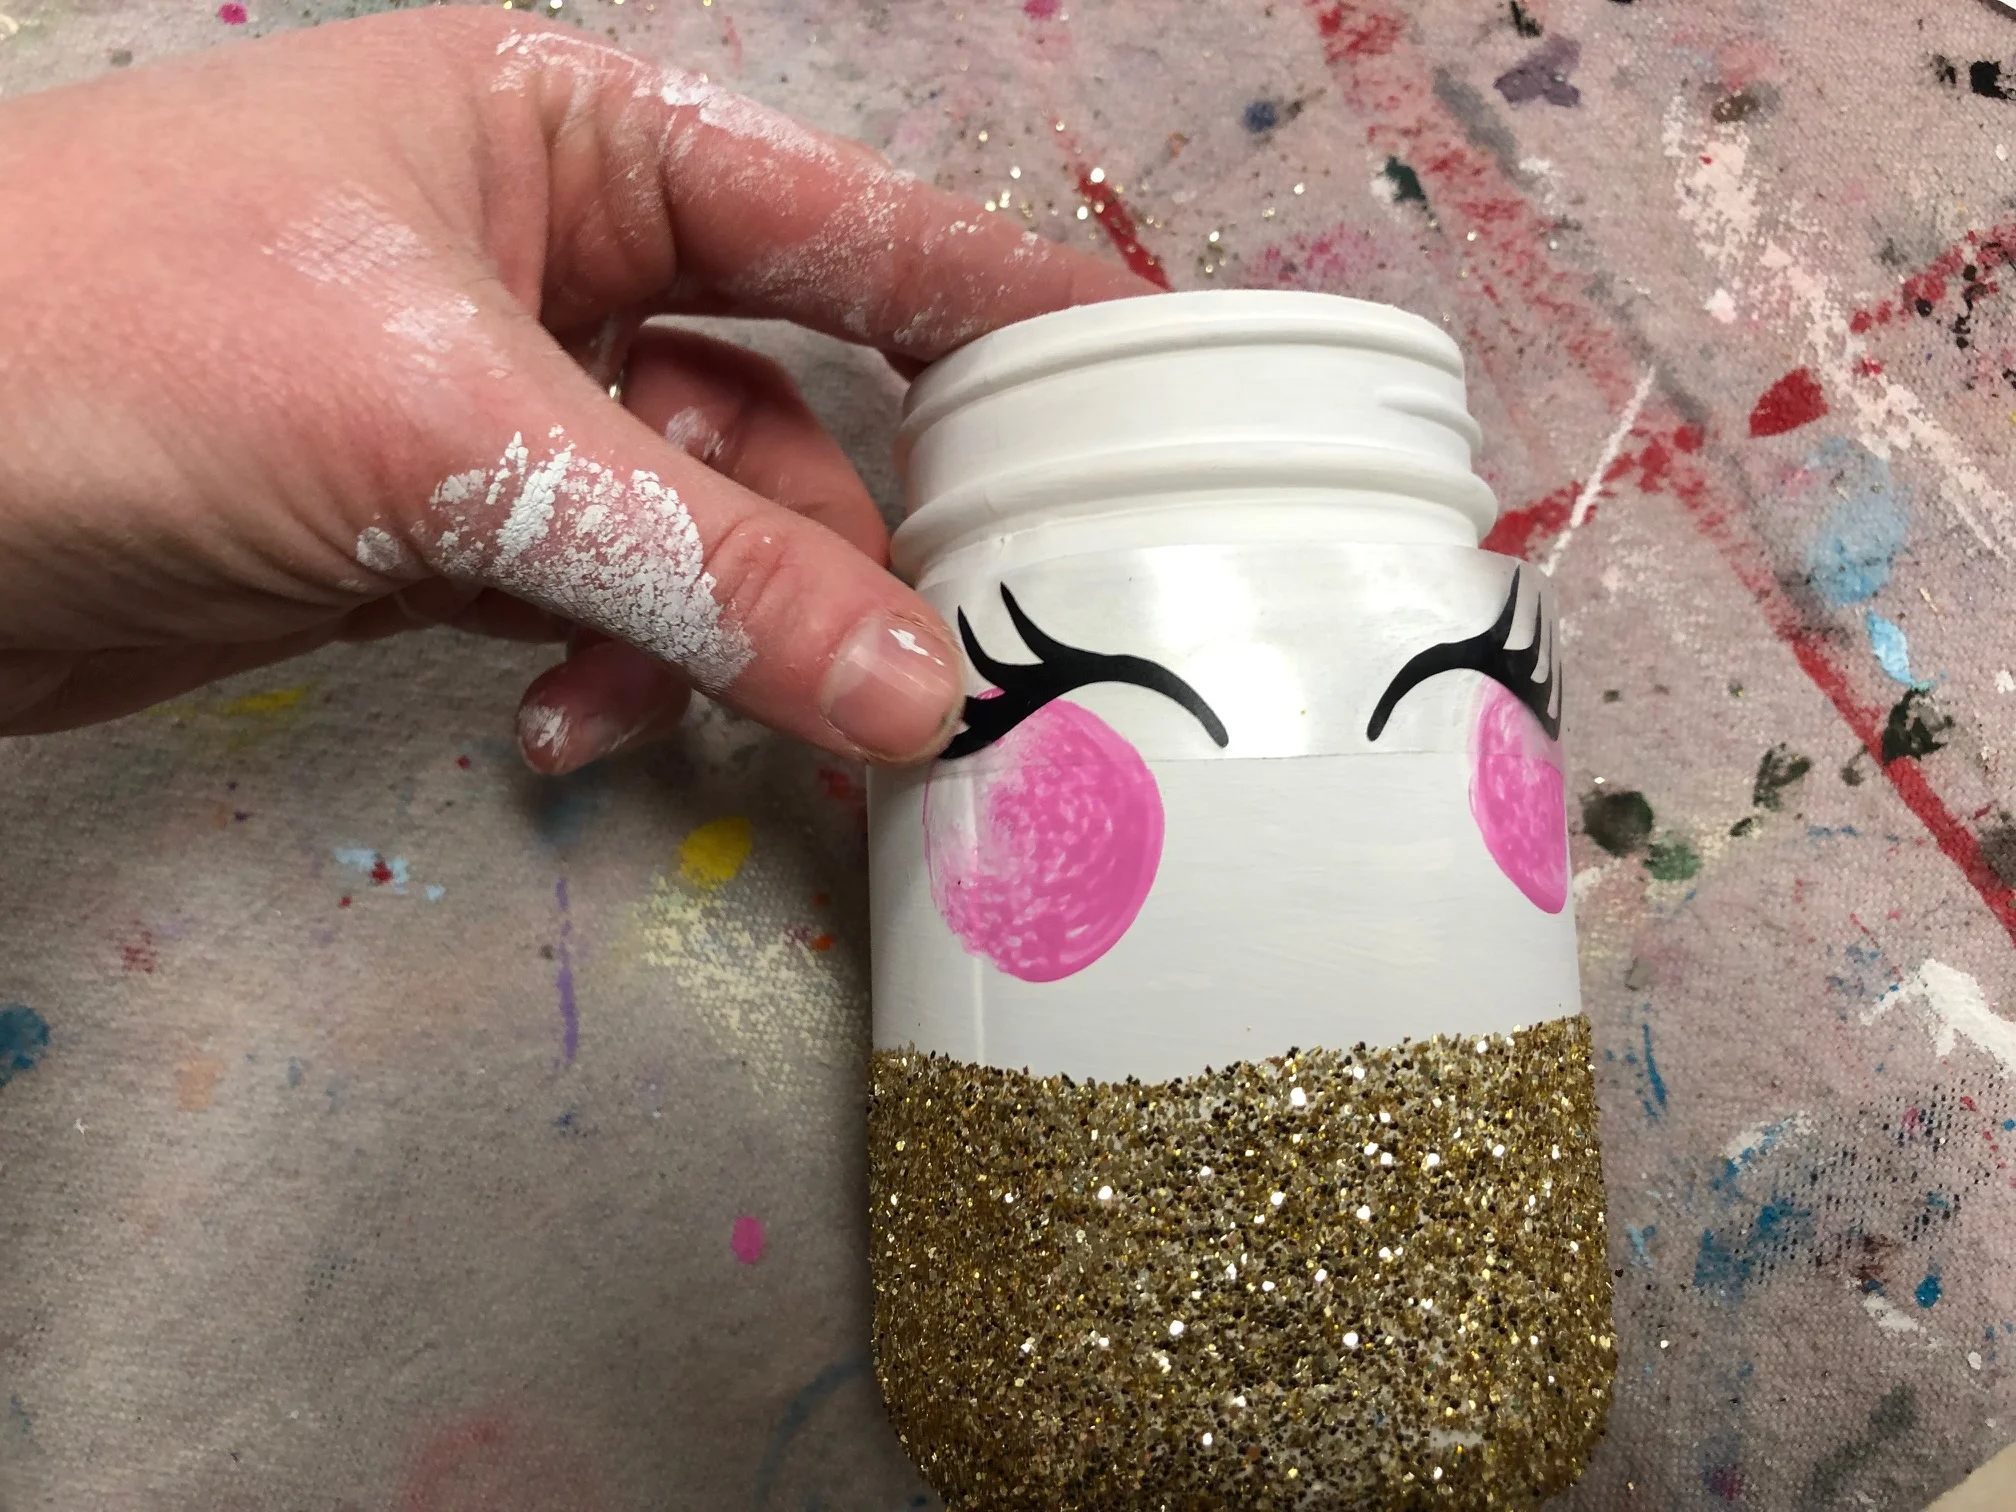
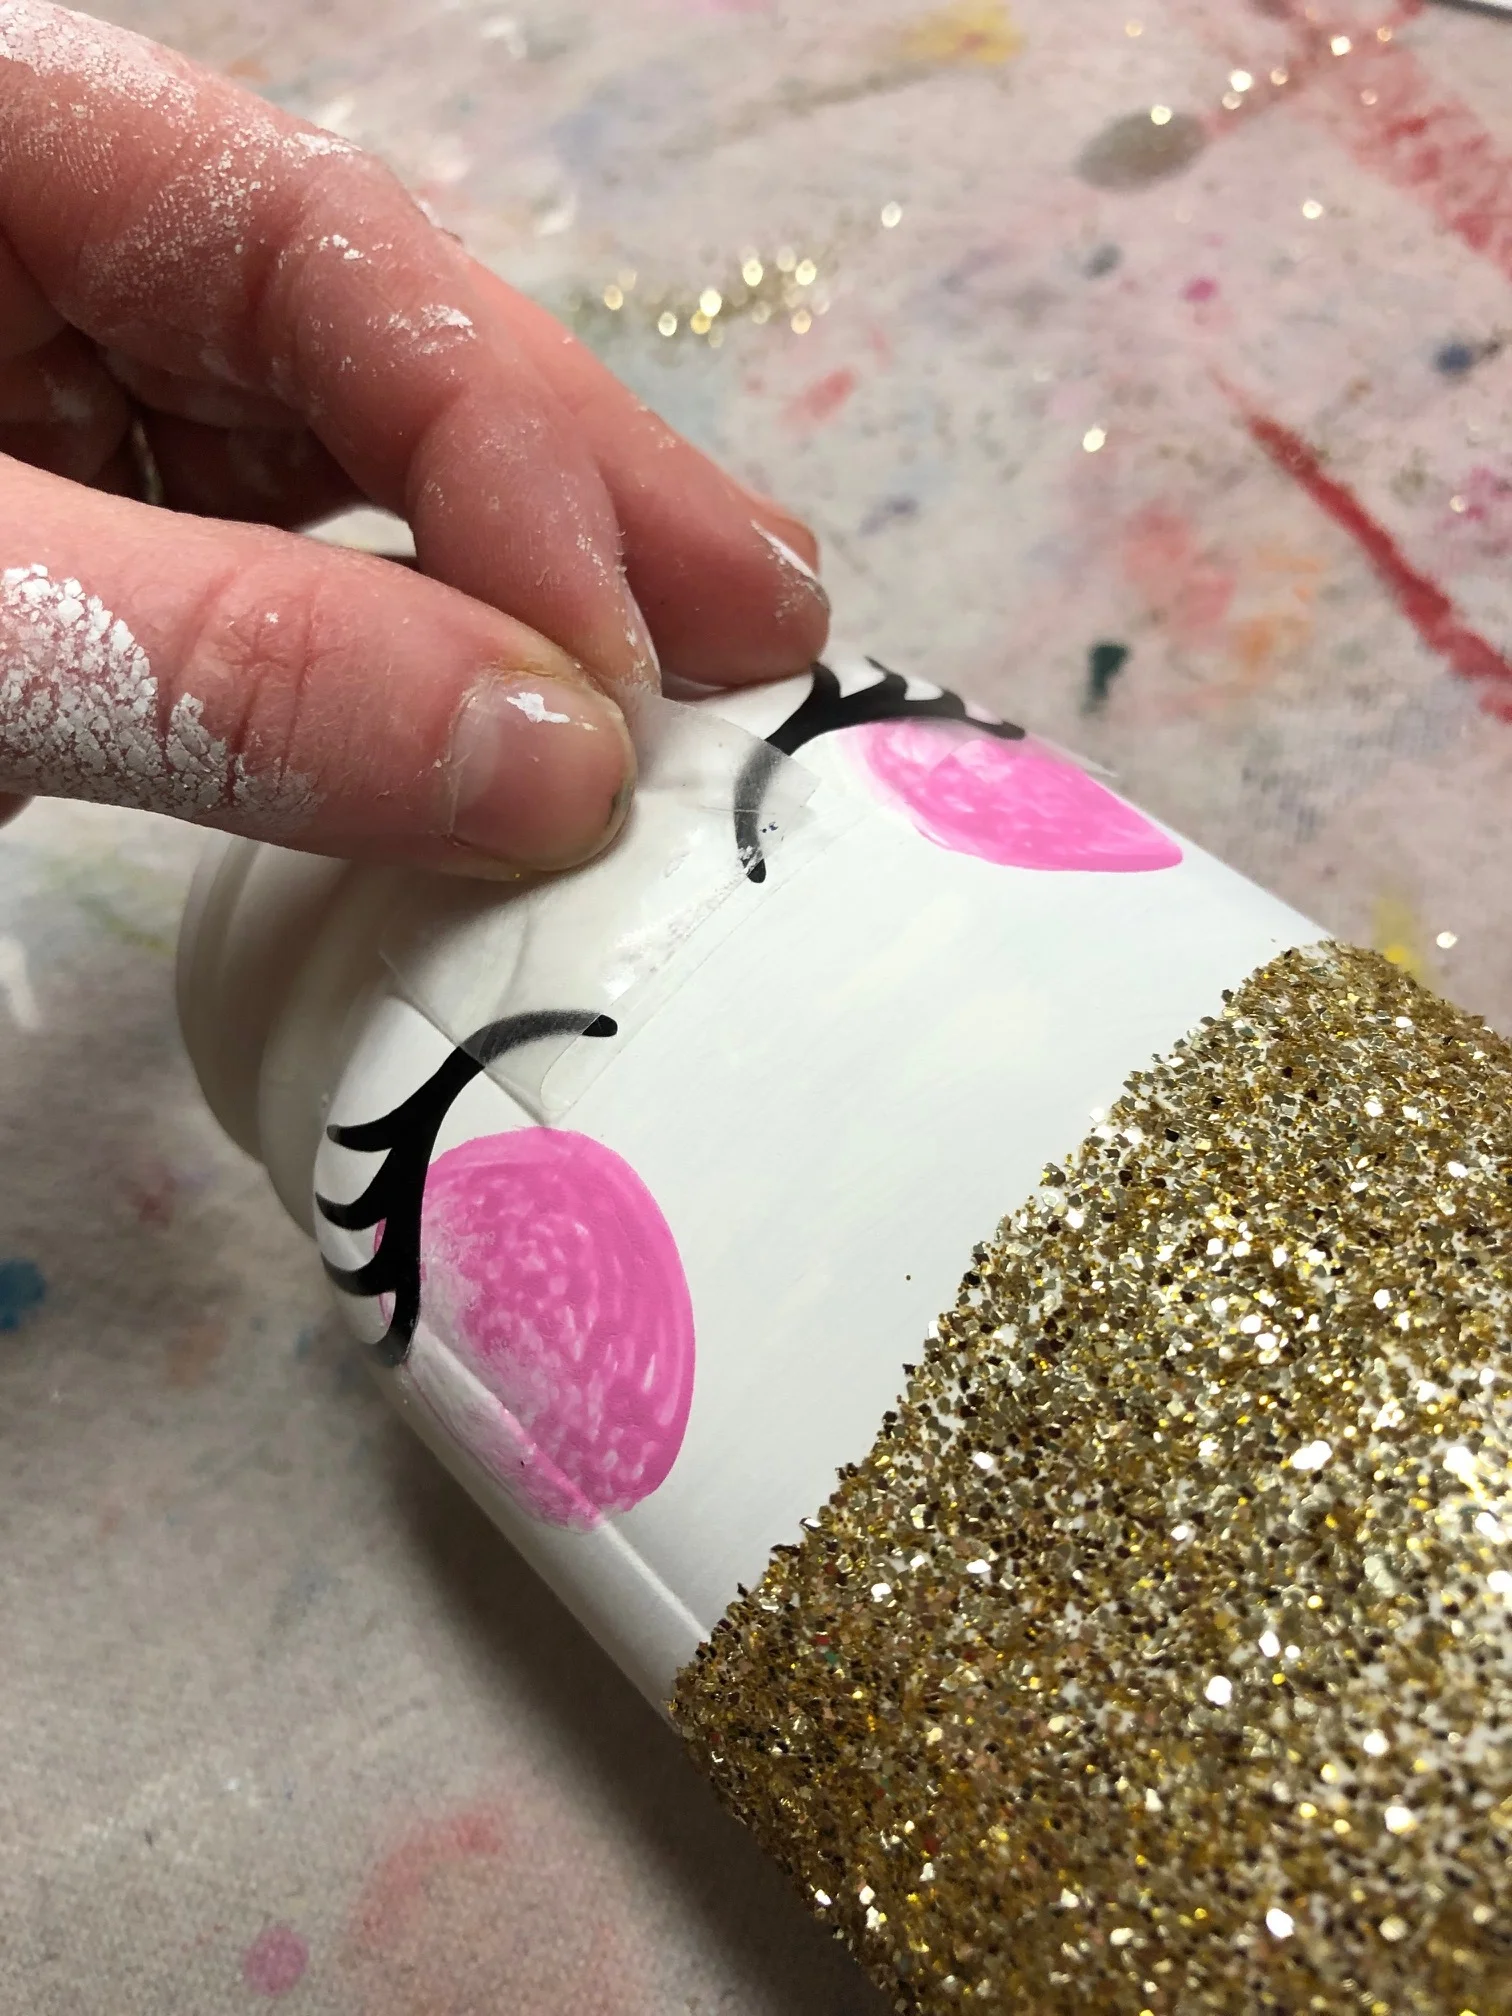
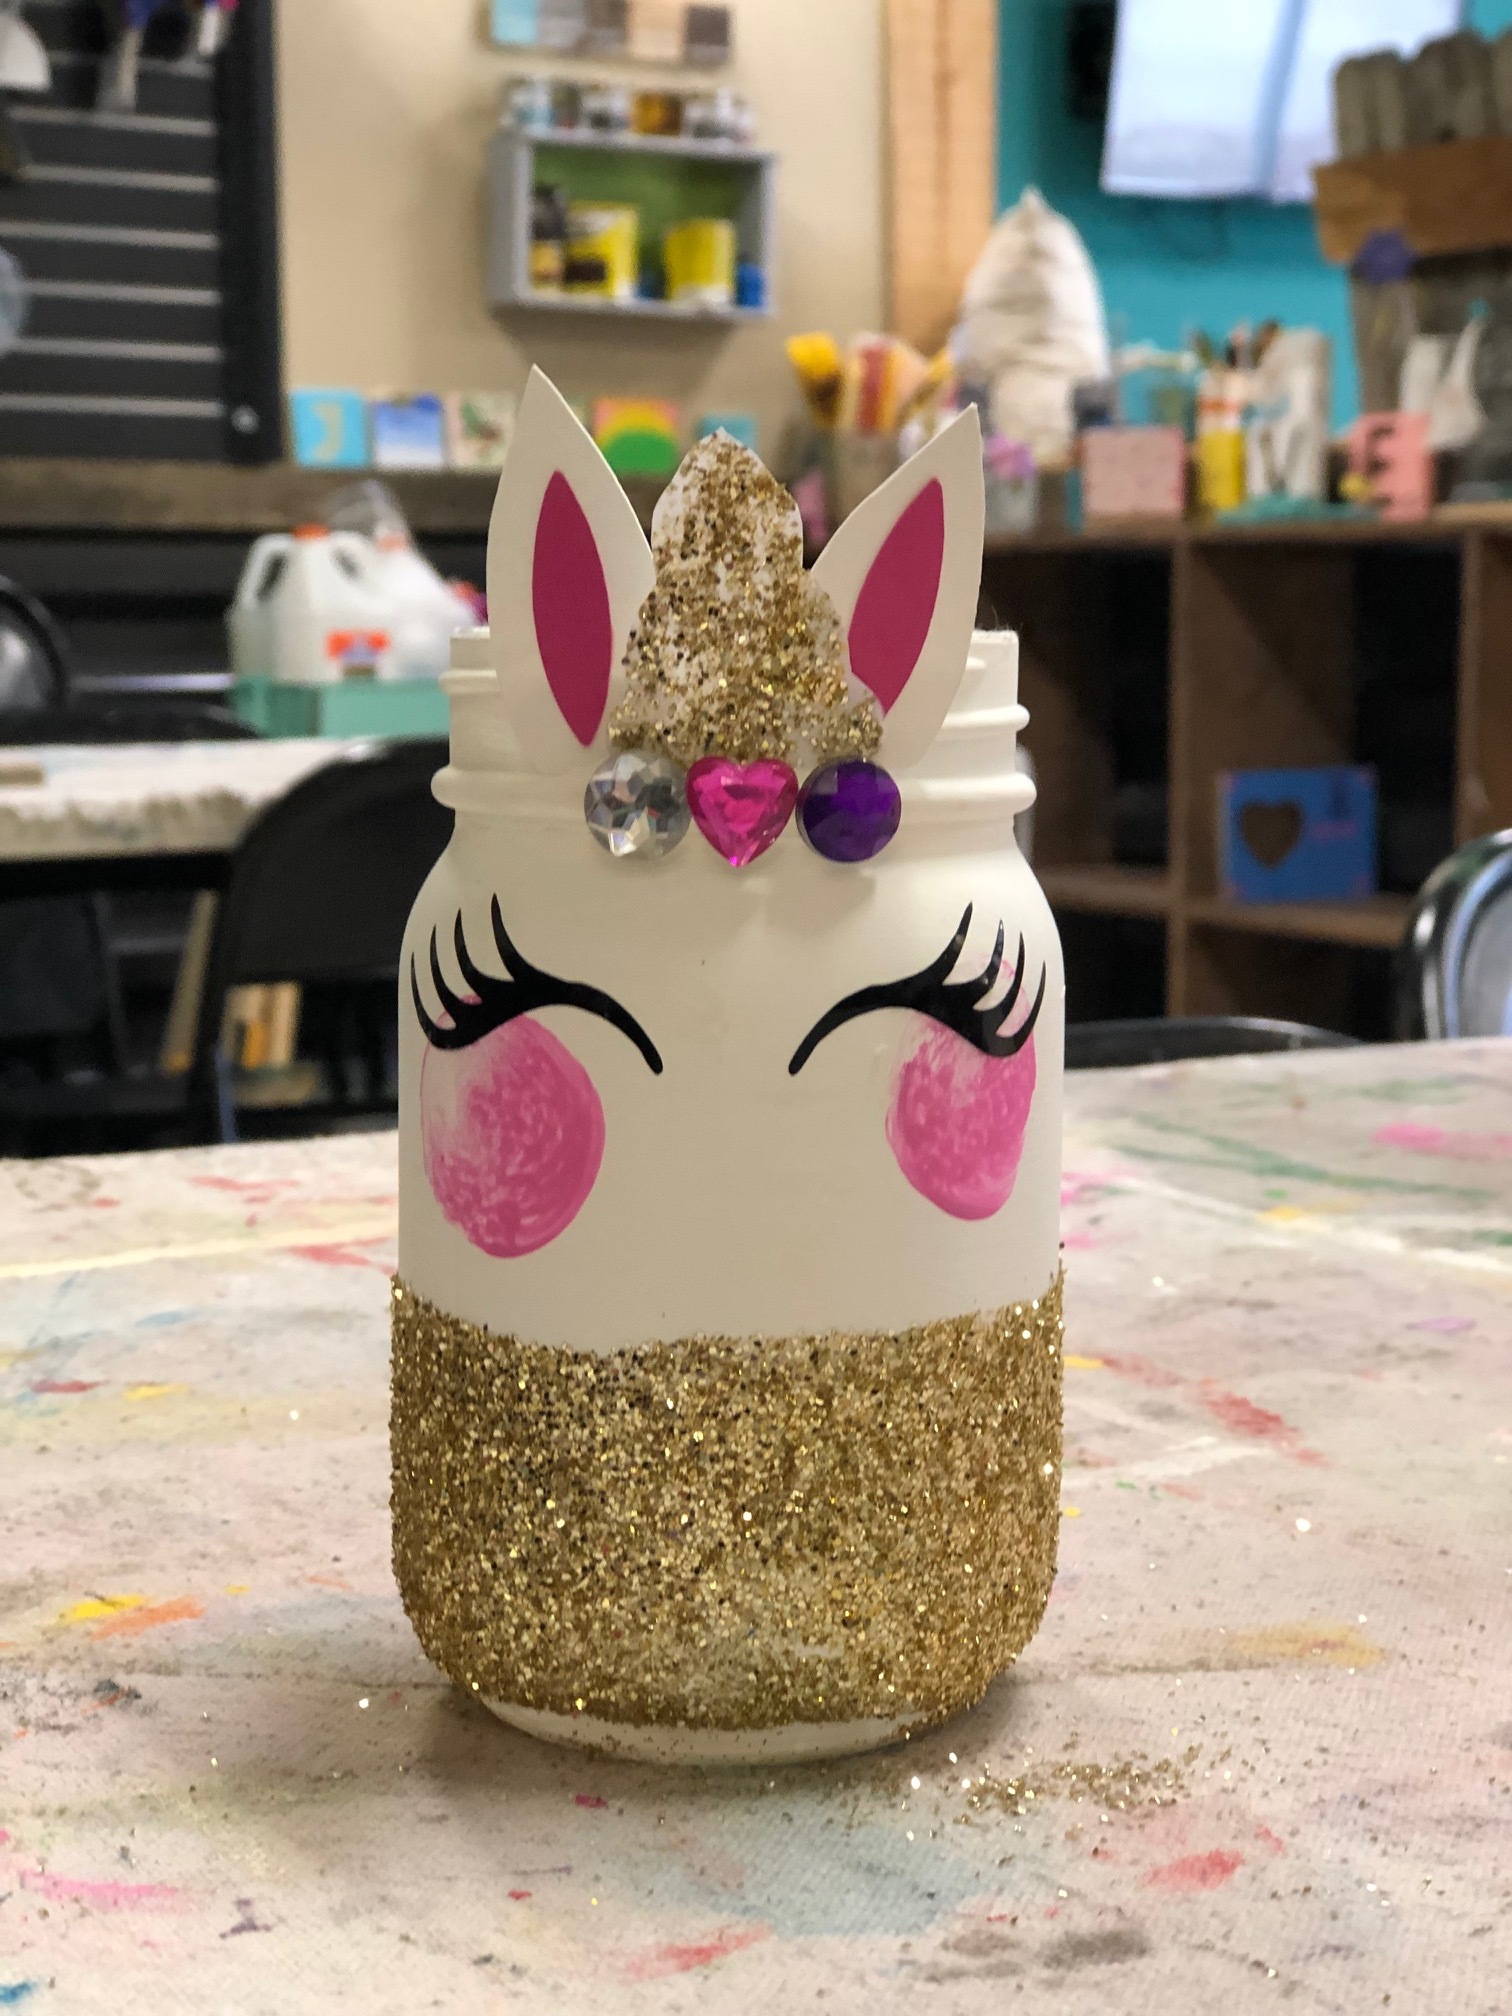
How to put together a DIY CRAFT KIT. Learn what to put inside a craft kit to ship or gift to someone. What materials and supplies goes into a DIY craft kit, learn what to add.

1.KEEP IT SIMPLE

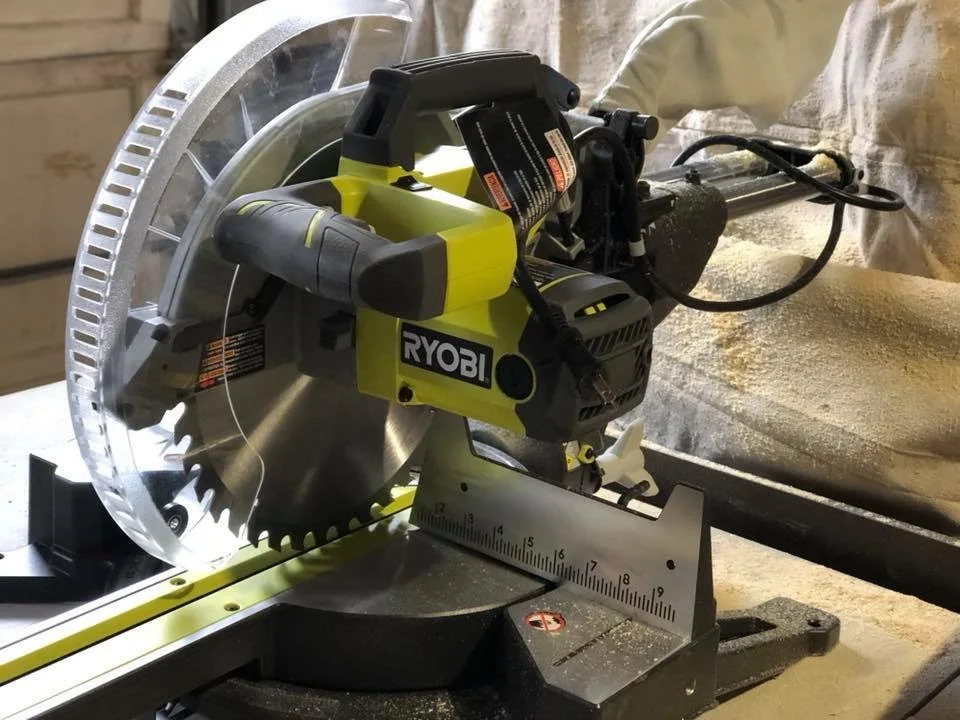
The very first thing is to decide what kind of craft you will putting together. Try to keep this simple. Something that seems easy, and may look easy too, but that is actually complex with a ton of steps might leave your recipient feeling frustrated. People love things they can accomplish relatively easily so keep it simple:)!

How to put together a DIY craft kit. Learn how to make your own craft kits, to sell, gift, or make just for fun. What goes into a DIY craft kit?

2. INSTRUCTIONS

Every good craft kit will come with written AND picture instructions. Something that my customers have raved to me about is that my instructions are clear and easy to follow.

My biggest tip for writing DIY craft kit instructions is to write them out like you were writing the instructions for a 6th grader to follow. That is in no way an insult either. If a middle schooler can understand what you are writing then an adult can too.

I know for myself, I don’t like instructions that are super politically correct anyway. I write my craft kit printables just how I would say them if my customer were standing in front of me. I also include pictures and a link where they can find my tutorial online.
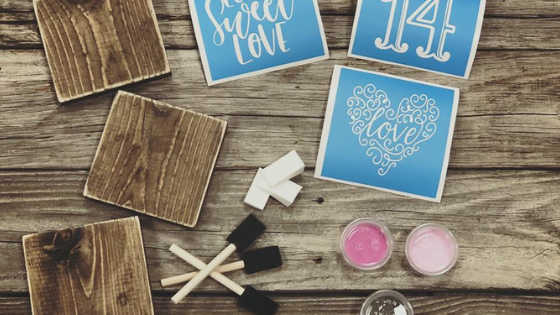
How to put together a DIY craft kit. Learn how to make your own craft kits, to sell, gift, or make just for fun. What goes into a DIY craft kit?

3. WHAT TO INCLUDE

Here’s where I struggled a little in the beginning with my DIY craft kits. I wasn’t sure what I should include and what I should leave out.

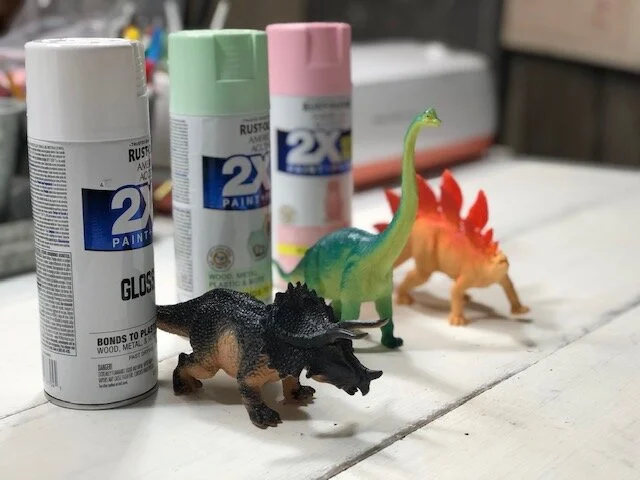
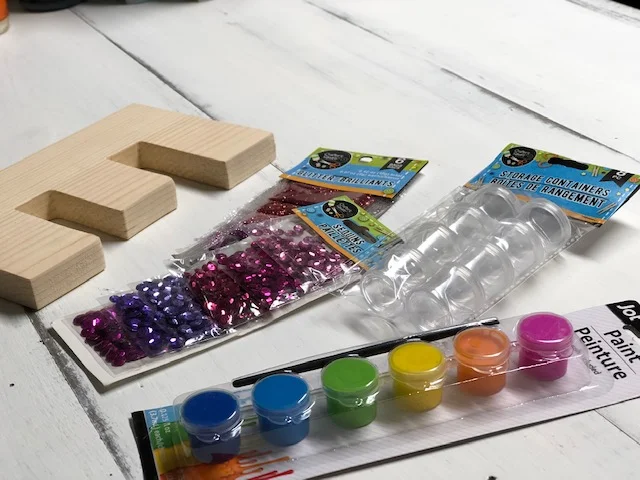
Do I include every little thing? Brushes? Paints? Sandpaper? All the things? Really this is up to you. For me, I have some craft kits that include everything my customers need and other craft kits that just include the bases (the wood, canvas or any other type of base). I have a good mix of both in my shop and truthfully get the most orders for my hand cut craft blanks that don’t include any supplies.

Here are the absolute musts that you need to include in your DIY craft kits

  • CRAFT BASE- this is a must. Examples of the base are: wood, stretch canvas, rocks, basically what your recipient will be crafting on.

  • INSTRUCTIONS

Optional items to send in your DIY craft kits

You will need to decide how easy you want your craft kit to be for your recipient. Since I am in the business of selling DIY craft kits I do offer a variety of kits that range from blanks only to full on everything is included craft kits.

4. PACKAGING

If you aren’t shipping your craft kit then all you’ll need to do is put everything in a pretty bag with some tissue paper. But if you plan to ship your DIY craft kit to someone then you’ll need to do a little more work than that. Here’s how I package my craft kits up for shipping:

How to put together a DIY CRAFT KIT. Learn what to put inside a craft kit to ship or gift to someone. What materials and supplies goes into a DIY craft kit, learn what to add.

-I place all of my base pieces in a clear bag or wrap them in paper if they are too big to fit in the bags I carry.

How to put together a DIY CRAFT KIT. Learn what to put inside a craft kit to ship or gift to someone. What materials and supplies goes into a DIY craft kit, learn what to add.

-Then I place all the other materials in a separate bag and I leave a little air inside the bag, but not too much, so that the bag acts as it’s own cushion. That way the supplies don’t get smashed up during transit.

How to put together a DIY CRAFT KIT. Learn what to put inside a craft kit to ship or gift to someone. What materials and supplies goes into a DIY craft kit, learn what to add.

After everything is in a bag I place them inside a shipping box. I ship all of my packages via USPS and if I’m shipping anything over a pound it gets shipped USPS priority mail. I order all of my boxes in bulk online from the USPS website and have them delivered right to my door. It’s a wonderful thing to take advantage of!

Here are the plastic bags I use. I have never ordered from Ebay before but this was the closest thing I could find to what I use. They are cotton candy bags. Fun fact, my husband and I used to own a cotton candy machine and we would go set up at different locations, flea markets, auctions and things to make ends meet. Boy am I glad those days are behind us! We had thousands of these bags leftover after we hung up the towel on that and my husband had the genius idea to use them for packaging orders!

How to put together a DIY CRAFT KIT. Learn what to put inside a craft kit to ship or gift to someone. What materials and supplies goes into a DIY craft kit, learn what to add.

{So cute my 5th daughter, the furry one, made an appearance this snapshot!}

Most of the time I don’t have any extra space in the shipping box but if I do I will add either bags of air, thin packaging paper, or bubble wrap.

A little tip…if you order a LOT from online businesses like I do you likely have a TON of packaging materials. You can reuse those! I save all of the packaging materials that come in my packages so that I can reuse them for my online orders. There is no need to throw away perfectly good items when you can easily reuse them for their intended purpose:)!

Let me know if you have any questions about putting together a DIY CRAFT KIT in the comments below.

How to stencil on a canvas bag

How to stencil on a canvas bag. Faux screen printing on a canvas bag

Learn how to stencil on a canvas bag

Have you been wanting to learn how to stencil on a canvas tote? It’s actually super easy! Make it an even more fun with a DIY CANVAS TOTE PAINT PARTY. I’ve put together this DIY canvas bag craft kit to make it even easier. There’s no guess work for you. Just choose your stencil and I’ll send you everything you need to make your party a hit!

If you love this tutorial you’ll probably love this other stenciling project I did a tutorial on. I show you how to make a custom name canvas and it is one of my most popular posts on my blog AND one of the most popular craft kits I sell in my Etsy shop.

Affiliate Disclosure. Some of the links on this website are affiliate links, which means that I may earn a small commission if you click on the link or make a purchase using the link. If you make a purchase you will not be charged anything additional.

What’s included in the DIY canvas tote craft kit?

If you don’t purchase the kit here’s what you’ll need

How to stencil on a canvas bag tote. Paint on a canvas bag to personalize it.

A tip before you start… to get the best outcome you will want to use a contrasting paint color so that your colors really pop.

Ok, let’s get started painting on this canvas bag.

1. Flip your stencil over so that the white paper backing is facing up.  Then using your vinyl squeegee {burnishing tool} rub the stencil  backing.

How to stencil on a canvas bag. Learn how to faux screen print to personalize your canvas totes.

2. Slowly peel the paper backing away from the stencil and transfer  tape {the blue & clear pieces}. GO SLOW and work from one corner  across to the corner diagonal from it. Another tip is to peel it away  at a very sharp angle, it helps to glide it across itself.

How to stencil on a canvas bag. Learn how to faux screen print to personalize your canvas totes.

3. Flip you stencil over so that the sticky side is facing down. Now  place it on your bag. Use your vinyl squeegee to help press it to the  bag.

How to stencil on a canvas bag. Learn how to faux screen print to personalize your canvas totes.

4. Slowly peel off the clear transfer tape. Use the same technique that  you did when taking off the paper backing. GO SLOW and peel  from corner to corner at a very sharp angle

How to stencil on a canvas bag. Learn how to faux screen print to personalize your canvas totes.

5. Run your finger along all the exposed areas of your stencil. This will  help control the paint bleed and keep it minimal. If there are any air  pockets just press them out with our finger or squeegee.

How to stencil on a canvas bag. Learn how to faux screen print to personalize your canvas totes.

6. Before you start painting you need a barrier between the two layers  of your bag so you don’t have paint bleeding onto the other side.  You can do this by placing a plastic bag inside your canvas bag,  making sure it is in the same place as the stenciled area.

How to stencil on a canvas bag. Learn how to faux screen print to personalize your canvas totes.

7. Put a small amount of your paint colors on your paper plate. Using  a stenciling sponge LIGHTLY dip the bottom of the sponge into  your paint. Dab it off. You want VERY LITTLE paint on your sponge.  Too much paint will cause paint bleed.

How to stencil on a canvas bag. Learn how to faux screen print to personal your canvas totes.

8. Using an up and down pouncing motion apply the paint with the  stenciling sponge onto the exposed areas of the stencil. You do not  want to rub or make a back and forth motion. This will force the  paint up and under your stencil. Repeat this step until you have  painted all the exposed areas inside your stencil.

How to stencil on a canvas bag. Learn how to faux screen print to personalize your canvas totes.

9. After you have your entire stencil painted it’s time to peel it up. You  do not need to wait for your paint to dry for this step. Just like you  peeled the paper backing and transfer tape, start in one corner and  peel to the opposite corner. Be sure not to drop your stencil  material on your bag as you peel. Use your xacto knife to take up all  the middles out of your design. THIS STEP MUST BE DONE BY AN  ADULT.

How to stencil on a canvas bag. Learn how to faux screen print so you can personalize your canvas totes.

10. After your design dries REMOVE the plastic bag. It is best to seal  your design with heat prior to washing it. You can do this by simply  ironing it, do not iron directly on the painted area always use a  pillow case or tea towel between the iron and your design.

How to stencil on a canvas bag. Learn how to faux screen print to personalize all your canvas totes.

How to host an adult Pinterest party

How to host an adult Pinterst party

Hosting a PINTERST party is easier than you think!

Affiliate Disclosure. Some of the links on this website are affiliate links, which means that I may earn a small commission if you click on the link or make a purchase using the link. If you make a purchase you will not be charged anything additional.

1. Decided on your project

To make this super easy the host should pick this. If you’re having a hard time deciding check out my Pinterest boards for inspiration. Seasonal crafts are usually a big hit!

 
How to host a Pinterest party
 

2. Location

For most people their home works just fine for this type of party. If your house is a little too cozy you can always opt for the garage or backyard , if weather permits. If you plan to host a lot of friends for your craft party you can look into renting space at your local community center.

3. Invites

I wouldn’t go inviting everyone on my social media friends list but I would invite those that I actually enjoy spending time with. You can get super fancy and mail out invites or you can text, email, or do a Facebook invite. All are good options, personally I’m a texter so that’s the route I would go.

4. Getting crafting materials

Instead of asking Susie to bring this and Sally to bring that I would opt to getting all the materials and splitting the cost between everyone. That way you know everything will be at the party and you don’t have to run to the store just when the party is getting started because Sally didn’t let you know that she couldn’t make it {and since she couldn't make it the materials she was supposed to bring doesn’t make it either}. Remember to include any brushes or paint trays {paper plates are great for this} that you might need. These are all items you’ll need to provide depending on the project you pick.

5. Costs

Add up all the materials you had to buy then divide that by the number of people, including yourself, that will be attending the party. That will give you the cost per person. It’s a good idea to make everyone pay BEFORE you host the party. You can do this a number of ways.

  • meet up with cash

  • mail a check

  • Paypal

  • Facebook pay

  • a number of other money accepting apps

6. Setting up

If not renting space you need to be sure you have enough seating for everyone. If you don’t have enough you can buy tables/chairs pretty inexpensively or you can always rent them from a local party rental company. I suggest using drop cloths for table covering as they are think and absorb spills but if it’s not in the budget plastic table coverings work well too. You might look into supplying aprons or ask your guests to bring their own. I am a very messy crafter and without an apron I wouldn’t have any clothes that aren't covered in paint. Here are the black aprons I use for my craft business. They have held up extremely well and nothing has yet to get through them.

7. Drinks

What’s a craft party without drinks? Ask everyone to bring in their favorite adult beverage. This will not only make for great conversations but this will ensure that everyone has a drink they like.

If you want to make your next party even easier try one of our craft kits or this paint party kit from Amazon.

Remember to have fun! Don’t go overboard on the details. I’ve found the less I stress about the small details of a party the more fun I have. So if you forget something it’s ok, it’s not the end of the world and it could just make your party even more fun and interesting with having to improvise a little.

How to host an Adutl Pinterest party

DIY Glittered Unicorn Jar

DIY Glittered Unicorn Jar

DIY UNICORN MASON JAR

Looking for a fun UNICORN themed craft to do with your unicorn obsessed little one {or by yourself ;)}? These jars are such perfect little project! You can use them as a money bank, colored pencil holder, stick a battery operated candle inside to make a fun and unique night light or be like our girls and keep little trinkets you find inside your jar. Whatever you use it for it will be oh so cute!

Affiliate Disclosure. Some of the links on this website are affiliate links, which means that I may earn a small commission if you click on the link or make a purchase using the link. If you make a purchase you will not be charged anything additional.

Here’s what you’ll need

Need a no stress craft kit for this project? You can purchase a UNICORN JAR CRAFT KIT in my shop. Everything you need to complete this project at home. It’s always an option to send this packaged as a gift. If you’re planning a birthday party here is my no stress UNICORN CRAFT PARTY IN A BOX.

unicorn jar kit.jpg

You want to start with a PRE PAINTED mason jar. I always use chalk paint to paint my jars. It goes on nice and even and has great coverage. You can use regular acrylic paint but you will not get the same coverage as the jar above. Your jar will need to cure for at least 24 hours prior. If it does not get proper curing time the paint can peel from the glass jar. I used both pint and quart sized mason jars for this project and they both turned out super cute! This is also a great way to use up an empty sauce or salsa jar from the kitchen.

I used my CRICUT CUTTING MACHINE to cut out all the facial features. I used cardstock for the ears and horn and black vinyl for the eyes. If you don’t have a cutting machine you can cut these by hand and draw/paint on the eyes.

Paint a thick layer of mod podge on the bottom of your jar. A wide 3” sponge brush works great for this. You can use the width as a guide for how high up to go on the jar.

DIY glittered unicorn jar

Place a piece of paper under your jar and sprinkle it with glitter. The paper will catch a good amount of the glitter that doesn’t make it on the jar so you can reuse it. You’ll want to work quickly so your mod podge doesn’t dry before you get done glittering.

DIY glittered unicorn jar

Once that is dry you will paint on the cheeks. Dip half of your round sponge brush into the pink paint and the other half into the white paint. When you apply the paint you will make a slight twist motion to get the swirly effect.

DIY glittered unicorn jar

After you paint is COMPLETELY DRY you can add the eye decals. It is important you wait for these to dry as the vinyl will NOT  stick to wet paint. Remove the white paper backing first, the clear transfer tape and the eyes are attached. Then place it on your jar. Give it a good rub with your thumb or a plastic card then slowly remove the clear transfer tape off. This works great if you peel it at a very sharp angle like pictured.

DIY glittered unicorn jar

Glue the pink ear piece onto the middle of the white earpiece with your detail brush. Apply glitter to or paint the horn. Then attach the ears, horn and rhinestones above the eyes. You can apply these anywhere you see fit, have fun with it:)! A glue gun works best for this but you can use the tacky glue to attach these pieces to your jar

DIY glittered unicorn jar
DIY Glittered Unicorn Jar

I hope you love creating this craft as much as my girls and I did! Don’t be afraid to veer off this tutorial and really make it your own.

Check out more craft kid posts below

Super FUN canvas art for kids, easy HOW TO create your own at home

Super FUN canvas art for kids, easy HOW TO create your own at home

A couple weeks ago we threw a birthday party for our 9 year old. We wanted to do something a little different than what we usually do in the shop for her special celebration. We were looking through pinterest to get some inspiration and came across these gorgeous mixed media canvas art pieces. She instantly loved them and wanted to make her own. The ones we found used fancy jewels…that’s not really our speed but we had rhinestones and buttons and knew the ones they would make would look just as amazing!


Affiliate Disclosure. Some of the links on this website are affiliate links, which means that I may earn a small commission if you click on the link or make a purchase using the link. If you make a purchase you will not be charged anything additional.

Super FUN canvas art for kids, easy HOW TO create your own at home

Mixed art kids canvas

What you'll need


Start by painting your canvas, I recommend a solid color or super simple design {i.e. polk a dots, paint splatter effect…}this will make your letter pop even more if it has a less distracting background.

Super FUN canvas art for kids, easy HOW TO create your own at home

Once the background color is dry, using your pencil trace your letter on your canvas. If you don’t have a paper letter cutout you can freehand this step, it will make it even more unique!

Super FUN canvas art for kids, easy HOW TO create your own at home

Now paint your letter, it’s ok if your paint gets outside of your lines, it’s art after all! You’ll want to use a color that is different from your background color. White is a good one and will really make the buttons and rhinestones standout.

Super FUN canvas art for kids, easy HOW TO create your own at home.jpgSuper FUN canvas art for kids, easy HOW TO create your own at home

Now the REAL FUN begins! After your letter is dry you can start blinging it out with all those fun rhinestones and buttons! Working in small sections at a time start gluing all that bling on! Painting it on the canvas with a paint brush works great for this. Just paint the glue on where you want to glue something down, you’ll want to use a fairly good amount of glue so everything stays in place. We use several different types of glue and Tacky Glue is hands down the best for projects like these!

Super FUN canvas art for kids, easy HOW TO create your own at home

When your letter is totally covered in buttons and rhinestones you’ll want to sprinkle it with glitter. That will fill in all the little spaces in between perfectly! We used extra fine glitter for this step.

Super FUN canvas art for kids, easy HOW TO create your own at home

Check out more craft kid posts below