DIY 4th of July wood tags

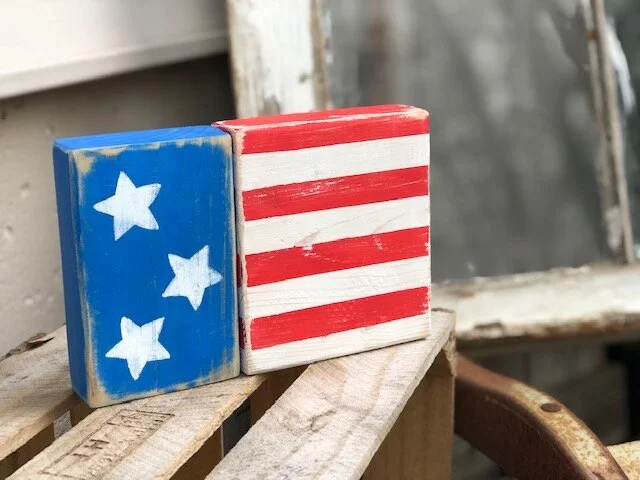
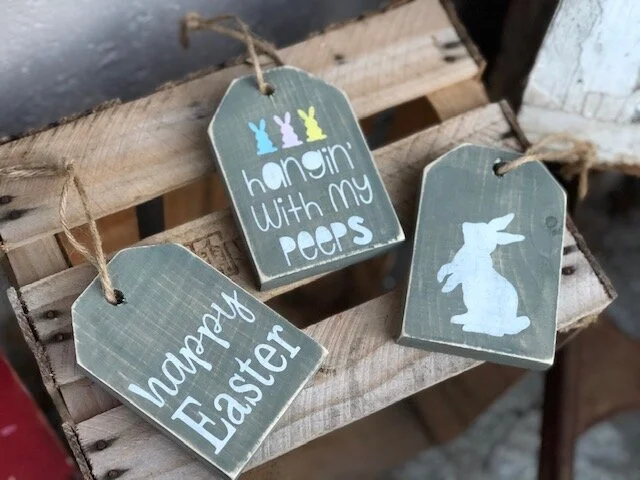
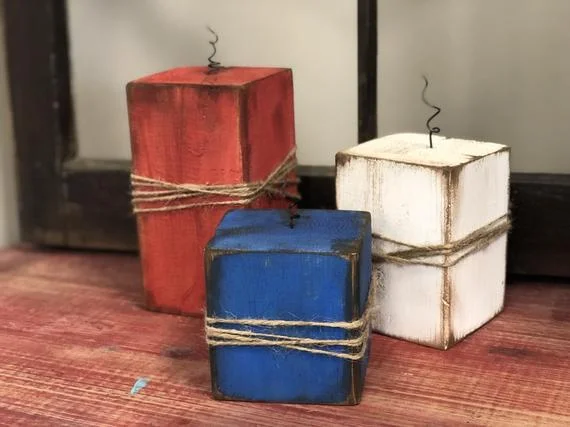
DIY wood tags for Fourth of July made from a 1x4. Tiered tray rustic farmhouse wooden tags for the 4th of July. Red white and blue patriotic farmhouse rustic DIY decorations for coffee bar.

Easy 4th of July wood tags for rustic decor

I love those little wood tags. They are oh so cute and fit perfectly on a farmhouse style tiered tray. You can literally create these wooden tags for any occasion or season AND they are SO cheap to make! Especially if you have scrap pieces of 1x4’s around.

For my 4th of July themed coffee bar I told myself to get an early start because I would totally put it off and not make all the things in time to both share with you all AND get my display up in time to enjoy it for the holiday. So I got my butt in gear, cut myself some wooden tags, put on some makeup & real clothes and went live on my Facebook page while I made these little wooden patriotic tags.

DIY wood tags for Fourth of July made from a 1x4. Tiered tray rustic farmhouse wooden tags for the 4th of July. Red white and blue patriotic farmhouse rustic DIY decorations for coffee bar.

Affiliate Disclosure. Some of the links on this website are affiliate links, which means that I may earn a small commission if you click on the link or make a purchase using the link. If you make a purchase you will not be charged anything additional.

DIY wood tags for Fourth of July made from a 1x4. Tiered tray rustic farmhouse wooden tags for the 4th of July. Red white and blue patriotic farmhouse rustic DIY decorations for coffee bar.

Here’s what you need to make Fourth of July wood tags

1.PAINT THE WOOD TAGS

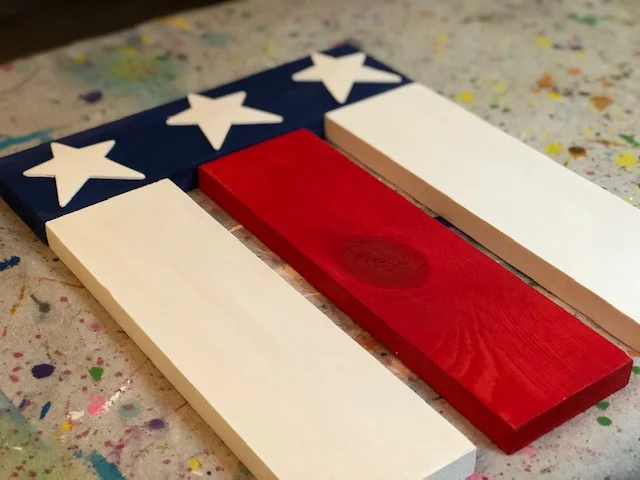
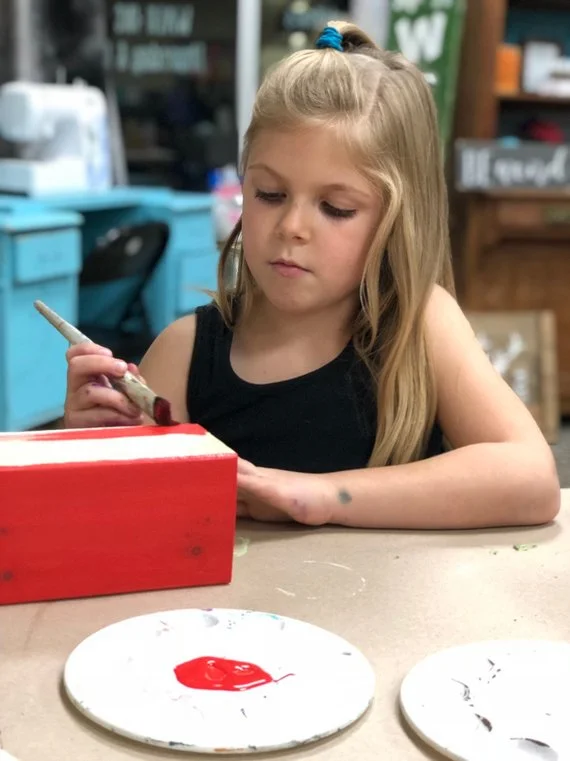
Since these are patriotic themed wood tags I went with the colors red, white, and blue.

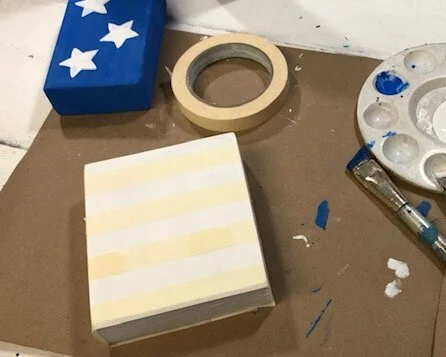
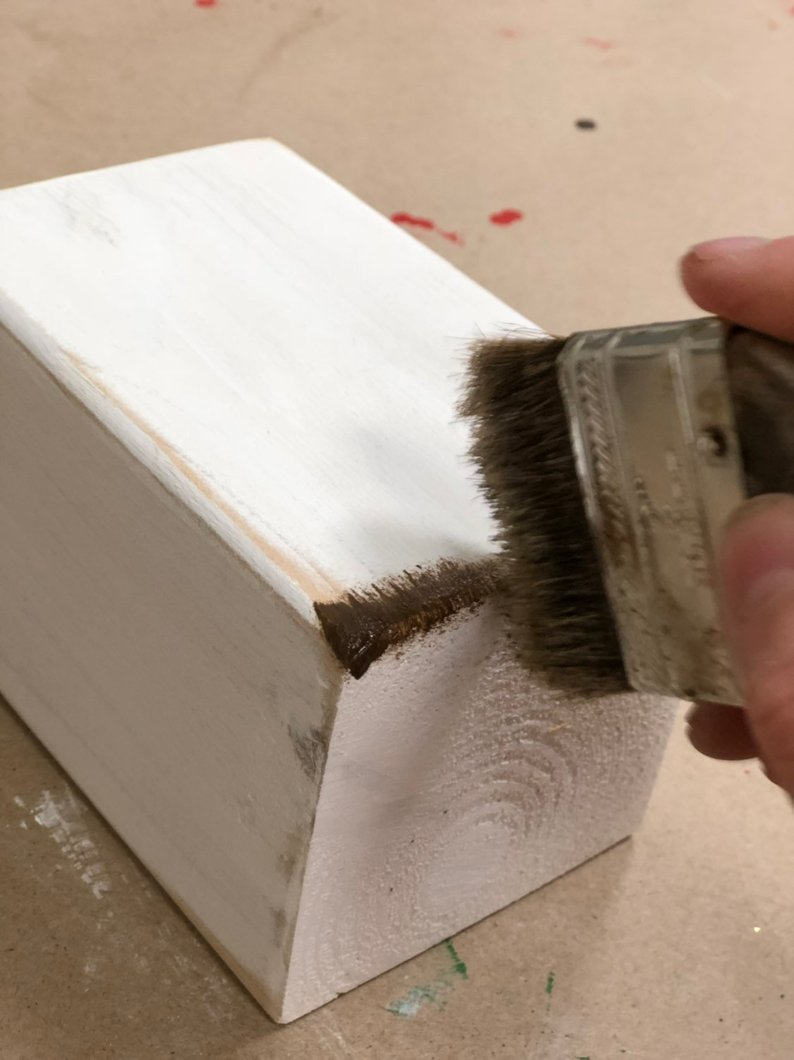
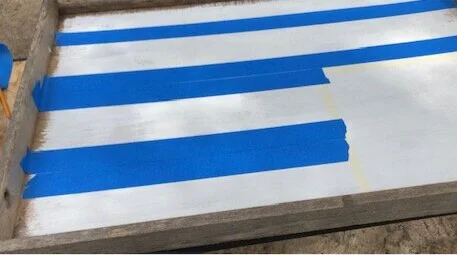
I painted two of the tags all white, when the first coat was dry I painted a second coat on them. Sorry for the grainy pic I took snips for my fb live I did to create these.

DIY wood tags for Fourth of July made from a 1x4. Tiered tray rustic farmhouse wooden tags for the 4th of July. Red white and blue patriotic farmhouse rustic DIY decorations for coffee bar.

Then I painted the third wood tag blue. I used an English blue and not a true blue so it would tie in better with my rustic farmhouse looking home décor.

DIY wood tags for Fourth of July made from a 1x4. Tiered tray rustic farmhouse wooden tags for the 4th of July. Red white and blue patriotic farmhouse rustic DIY decorations for coffee bar.

2. PAINT RED STRIPES

Unlike my chunky 2x4 wood flag where I used tape and got a cleaner look I just eyeballed the stripes on these wood tags and was happy enough lol! But if you want a little cleaner lined look to your stripes you can use masking or painters tape to make the lines a little straighter, even, and more crisp.

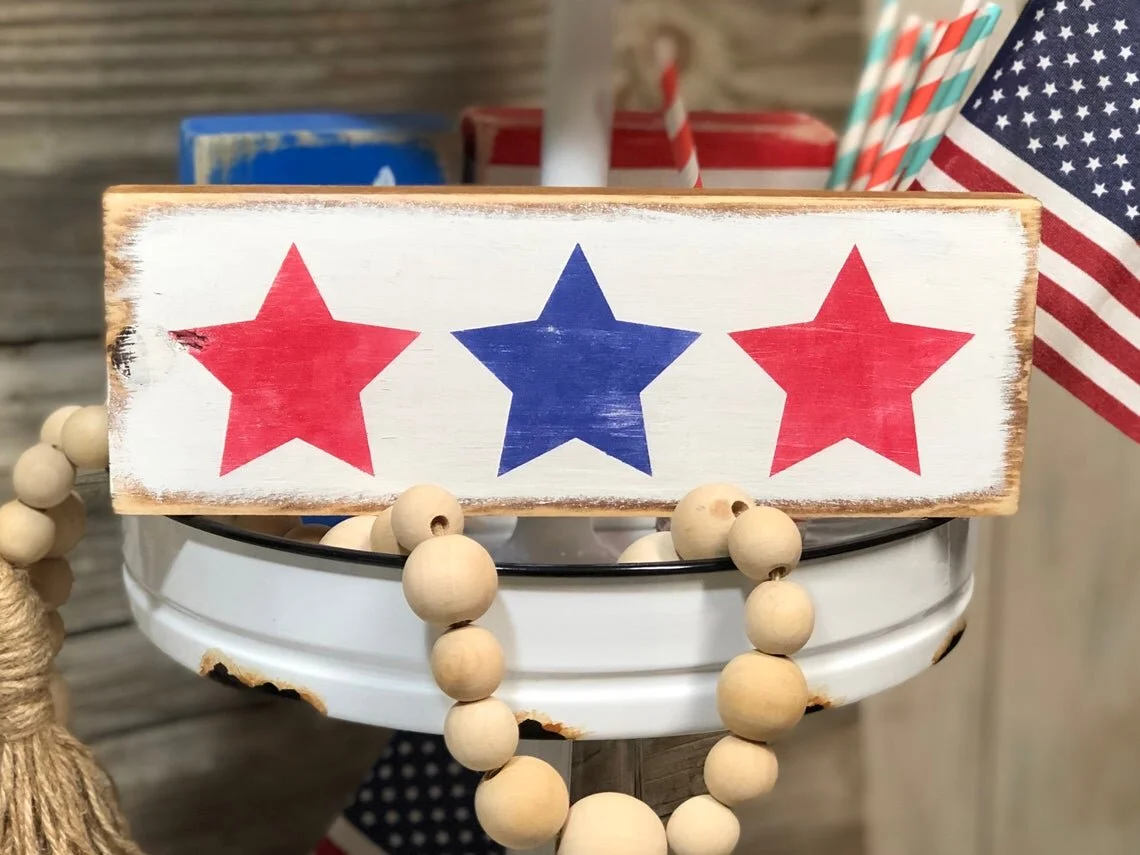
I painted 3 stripes on each wood tag. One down the center then one stripe on either side of the center stripe.
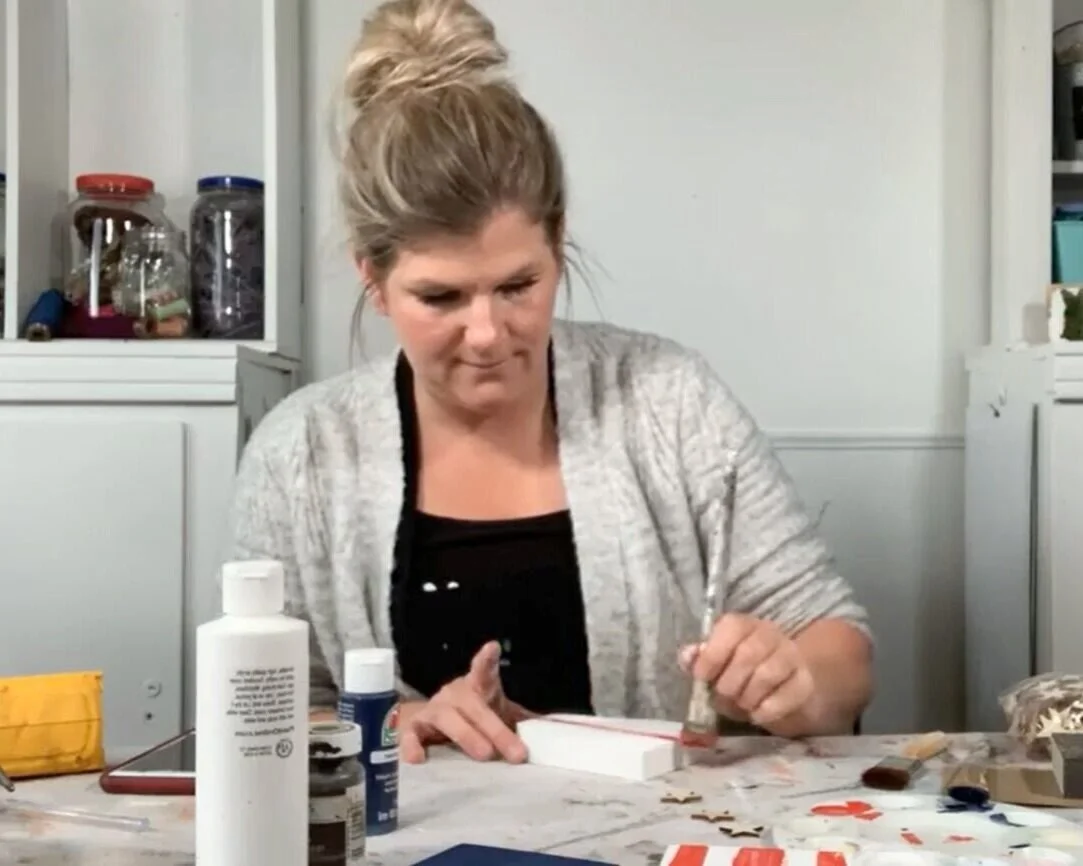
DIY wood tags for Fourth of July made from a 1x4. Tiered tray rustic farmhouse wooden tags for the 4th of July. Red white and blue patriotic farmhouse rustic DIY decorations for coffee bar.

3. ADD A STAR

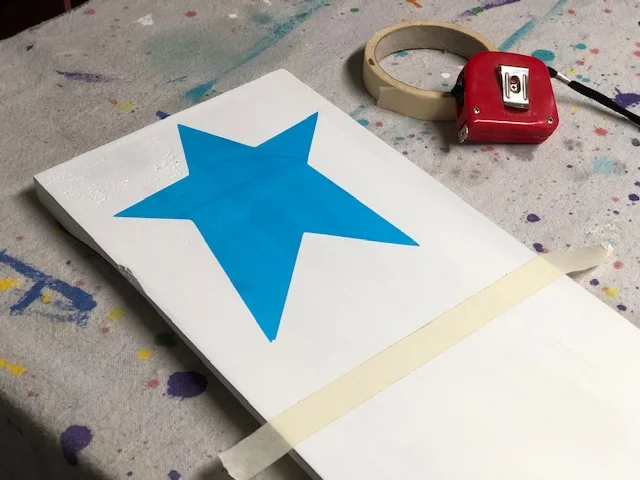
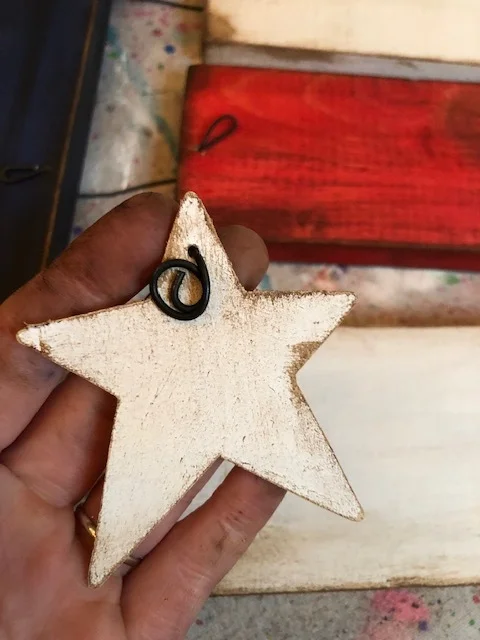
You can free hand this, use an adhesive stencil, a cardstock stencil, or trace a wood cutout of a star like I did. I had a leftover star from a Christmas ornament that I didn’t use so naturally I put it with the rest of my hoarded craft supplies. I centered it on my wood tag then traced around it with a pencil.

DIY wood tags for Fourth of July made from a 1x4. Tiered tray rustic farmhouse wooden tags for the 4th of July. Red white and blue patriotic farmhouse rustic DIY decorations for coffee bar.

I took a small paint brush and painted a thin coat of white acrylic paint. After that was dry I painted a second coat over it.

DIY wood tags for Fourth of July made from a 1x4. Tiered tray rustic farmhouse wooden tags for the 4th of July. Red white and blue patriotic farmhouse rustic DIY decorations for coffee bar.

To help speed up drying time I used my heat gun. This tool was so inexpensive and comes in handy all the time!

DIY wood tags for Fourth of July made from a 1x4. Tiered tray rustic farmhouse wooden tags for the 4th of July. Red white and blue patriotic farmhouse rustic DIY decorations for coffee bar.

4. DISTRESS THE WOOD TAGS

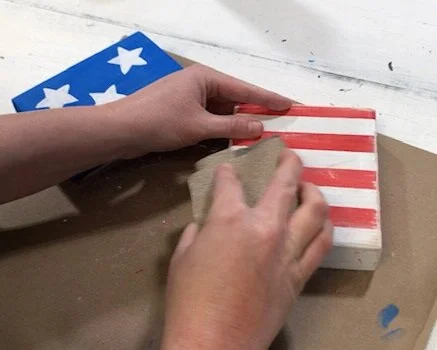
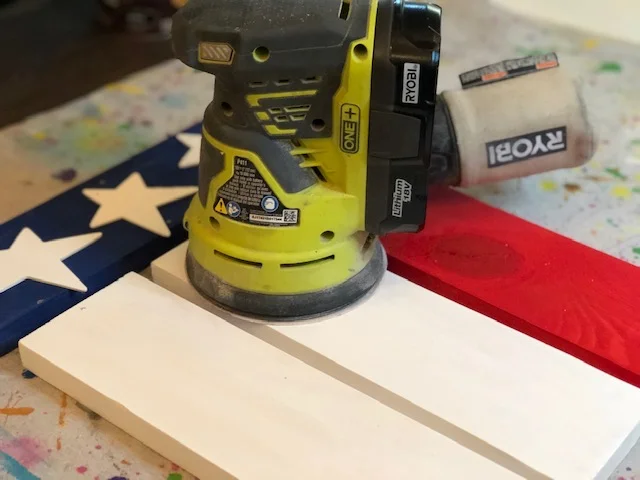
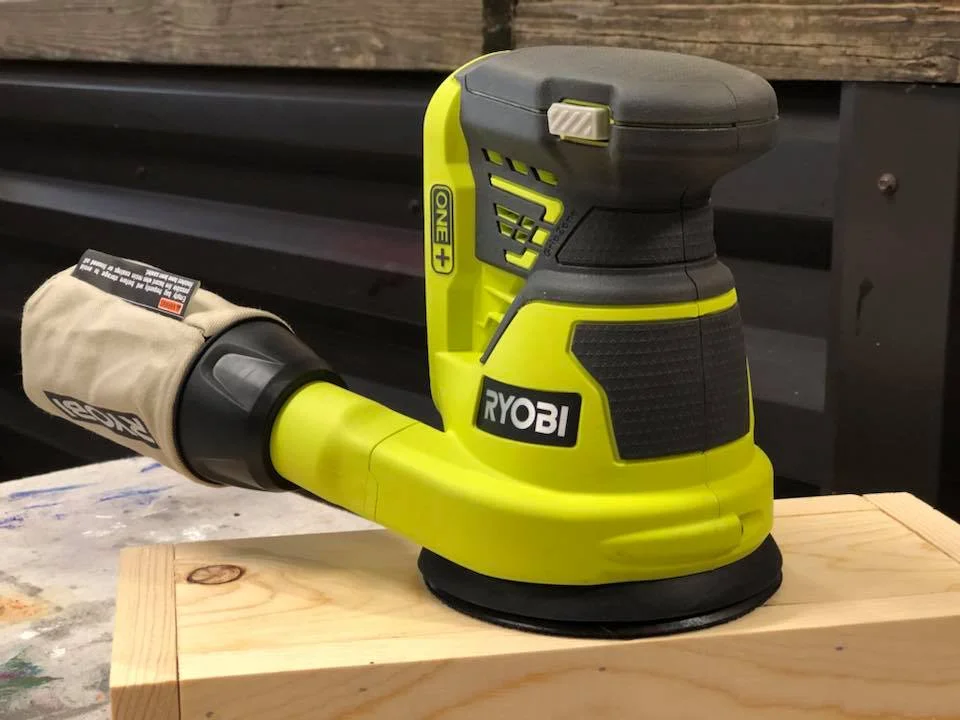
If I was not in my house I would have used my sander for this step. But since I was inside I used 150 grit sandpaper. I focused on the edges and corners and lightly went over the fronts of each wood tag.

DIY wood tags for Fourth of July made from a 1x4. Tiered tray rustic farmhouse wooden tags for the 4th of July. Red white and blue patriotic farmhouse rustic DIY decorations for coffee bar.

5. ANTIQUING WAX

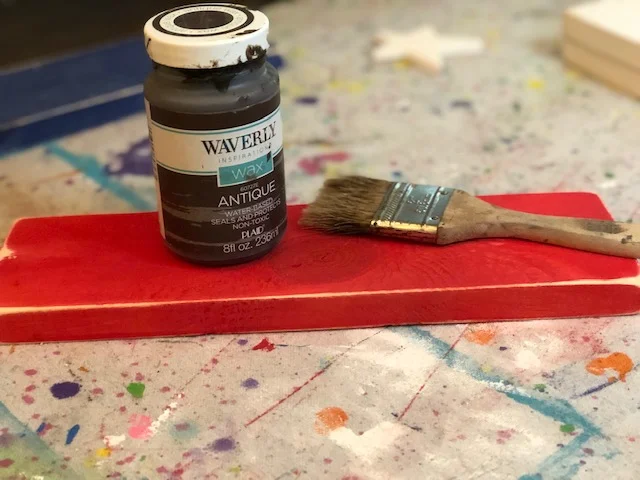
If you’ve read some of my other posts you might know that I LOVE antiquing wax for my distressed pieces. This stuff is so good and gives pieces such a primitive look.

If you want a more in-depth tutorial on how to use ANTIQUING WAX I created an entire post on how I use it on my craft projects.

DIY wood tags for Fourth of July made from a 1x4. Tiered tray rustic farmhouse wooden tags for the 4th of July. Red white and blue patriotic farmhouse rustic DIY decorations for coffee bar.

6. ADD TWINE TO YOUR WOOD TAG

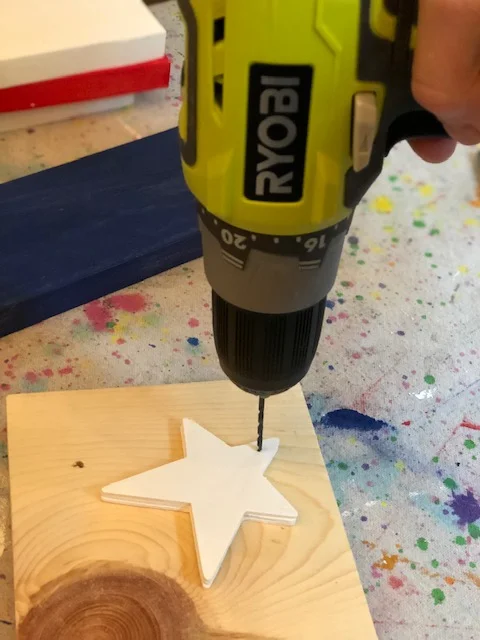
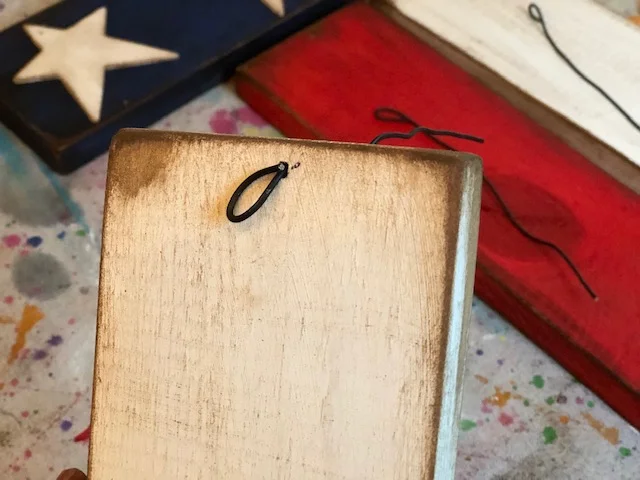
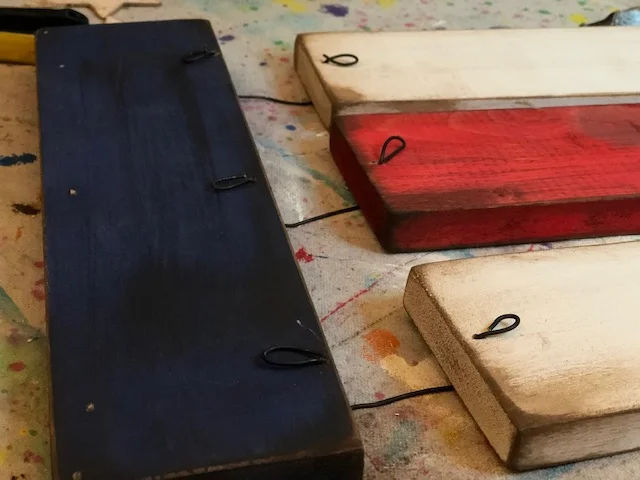
The last step is to add a piece of twine to your wood tags. I went with a thicker jute for my tags since the hole I drilled in the 1x4 tags was on the larger side.


DIY wood tags for Fourth of July made from a 1x4. Tiered tray rustic farmhouse wooden tags for the 4th of July. Red white and blue patriotic farmhouse rustic DIY decorations for coffee bar.

That’s it! These wooden tags are so easy to create for your rustic 4th of July decorations. If you have any questions leave them in the comments below.
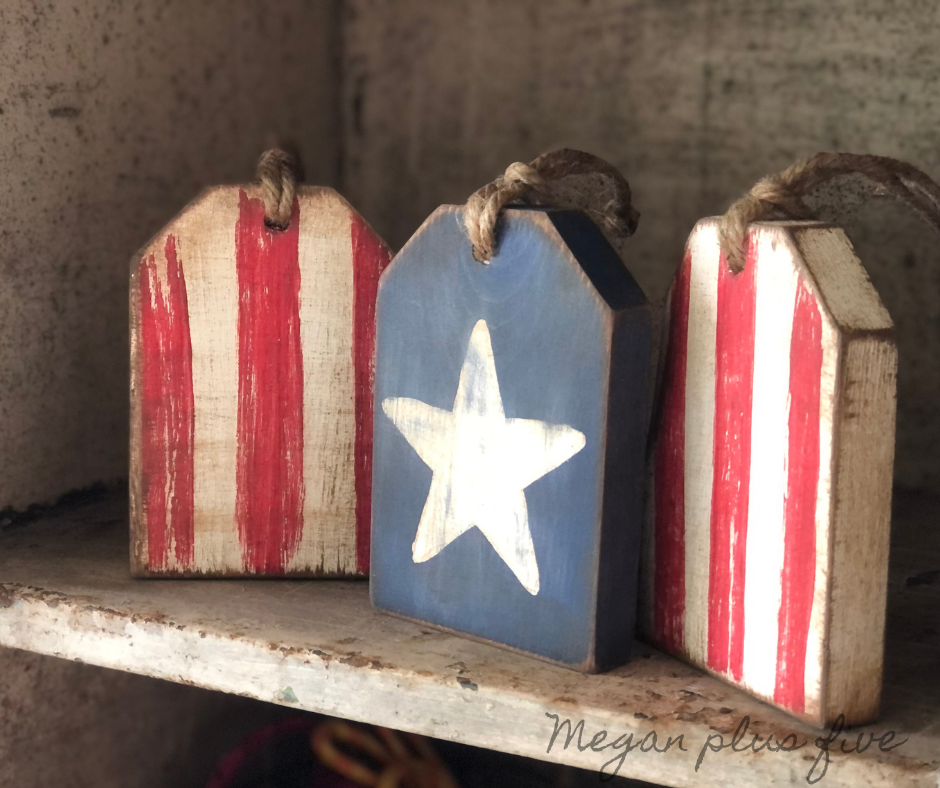
DIY wood tags for Fourth of July made from a 1x4. Tiered tray rustic farmhouse wooden tags for the 4th of July. Red white and blue patriotic farmhouse rustic DIY decorations for coffee bar.

Happy Crafting and be sure to check out more DIY craft tutorials below.

DIY Tiered Tray signs for 4th of July with Rae Dunn inspired SKINNY FONT

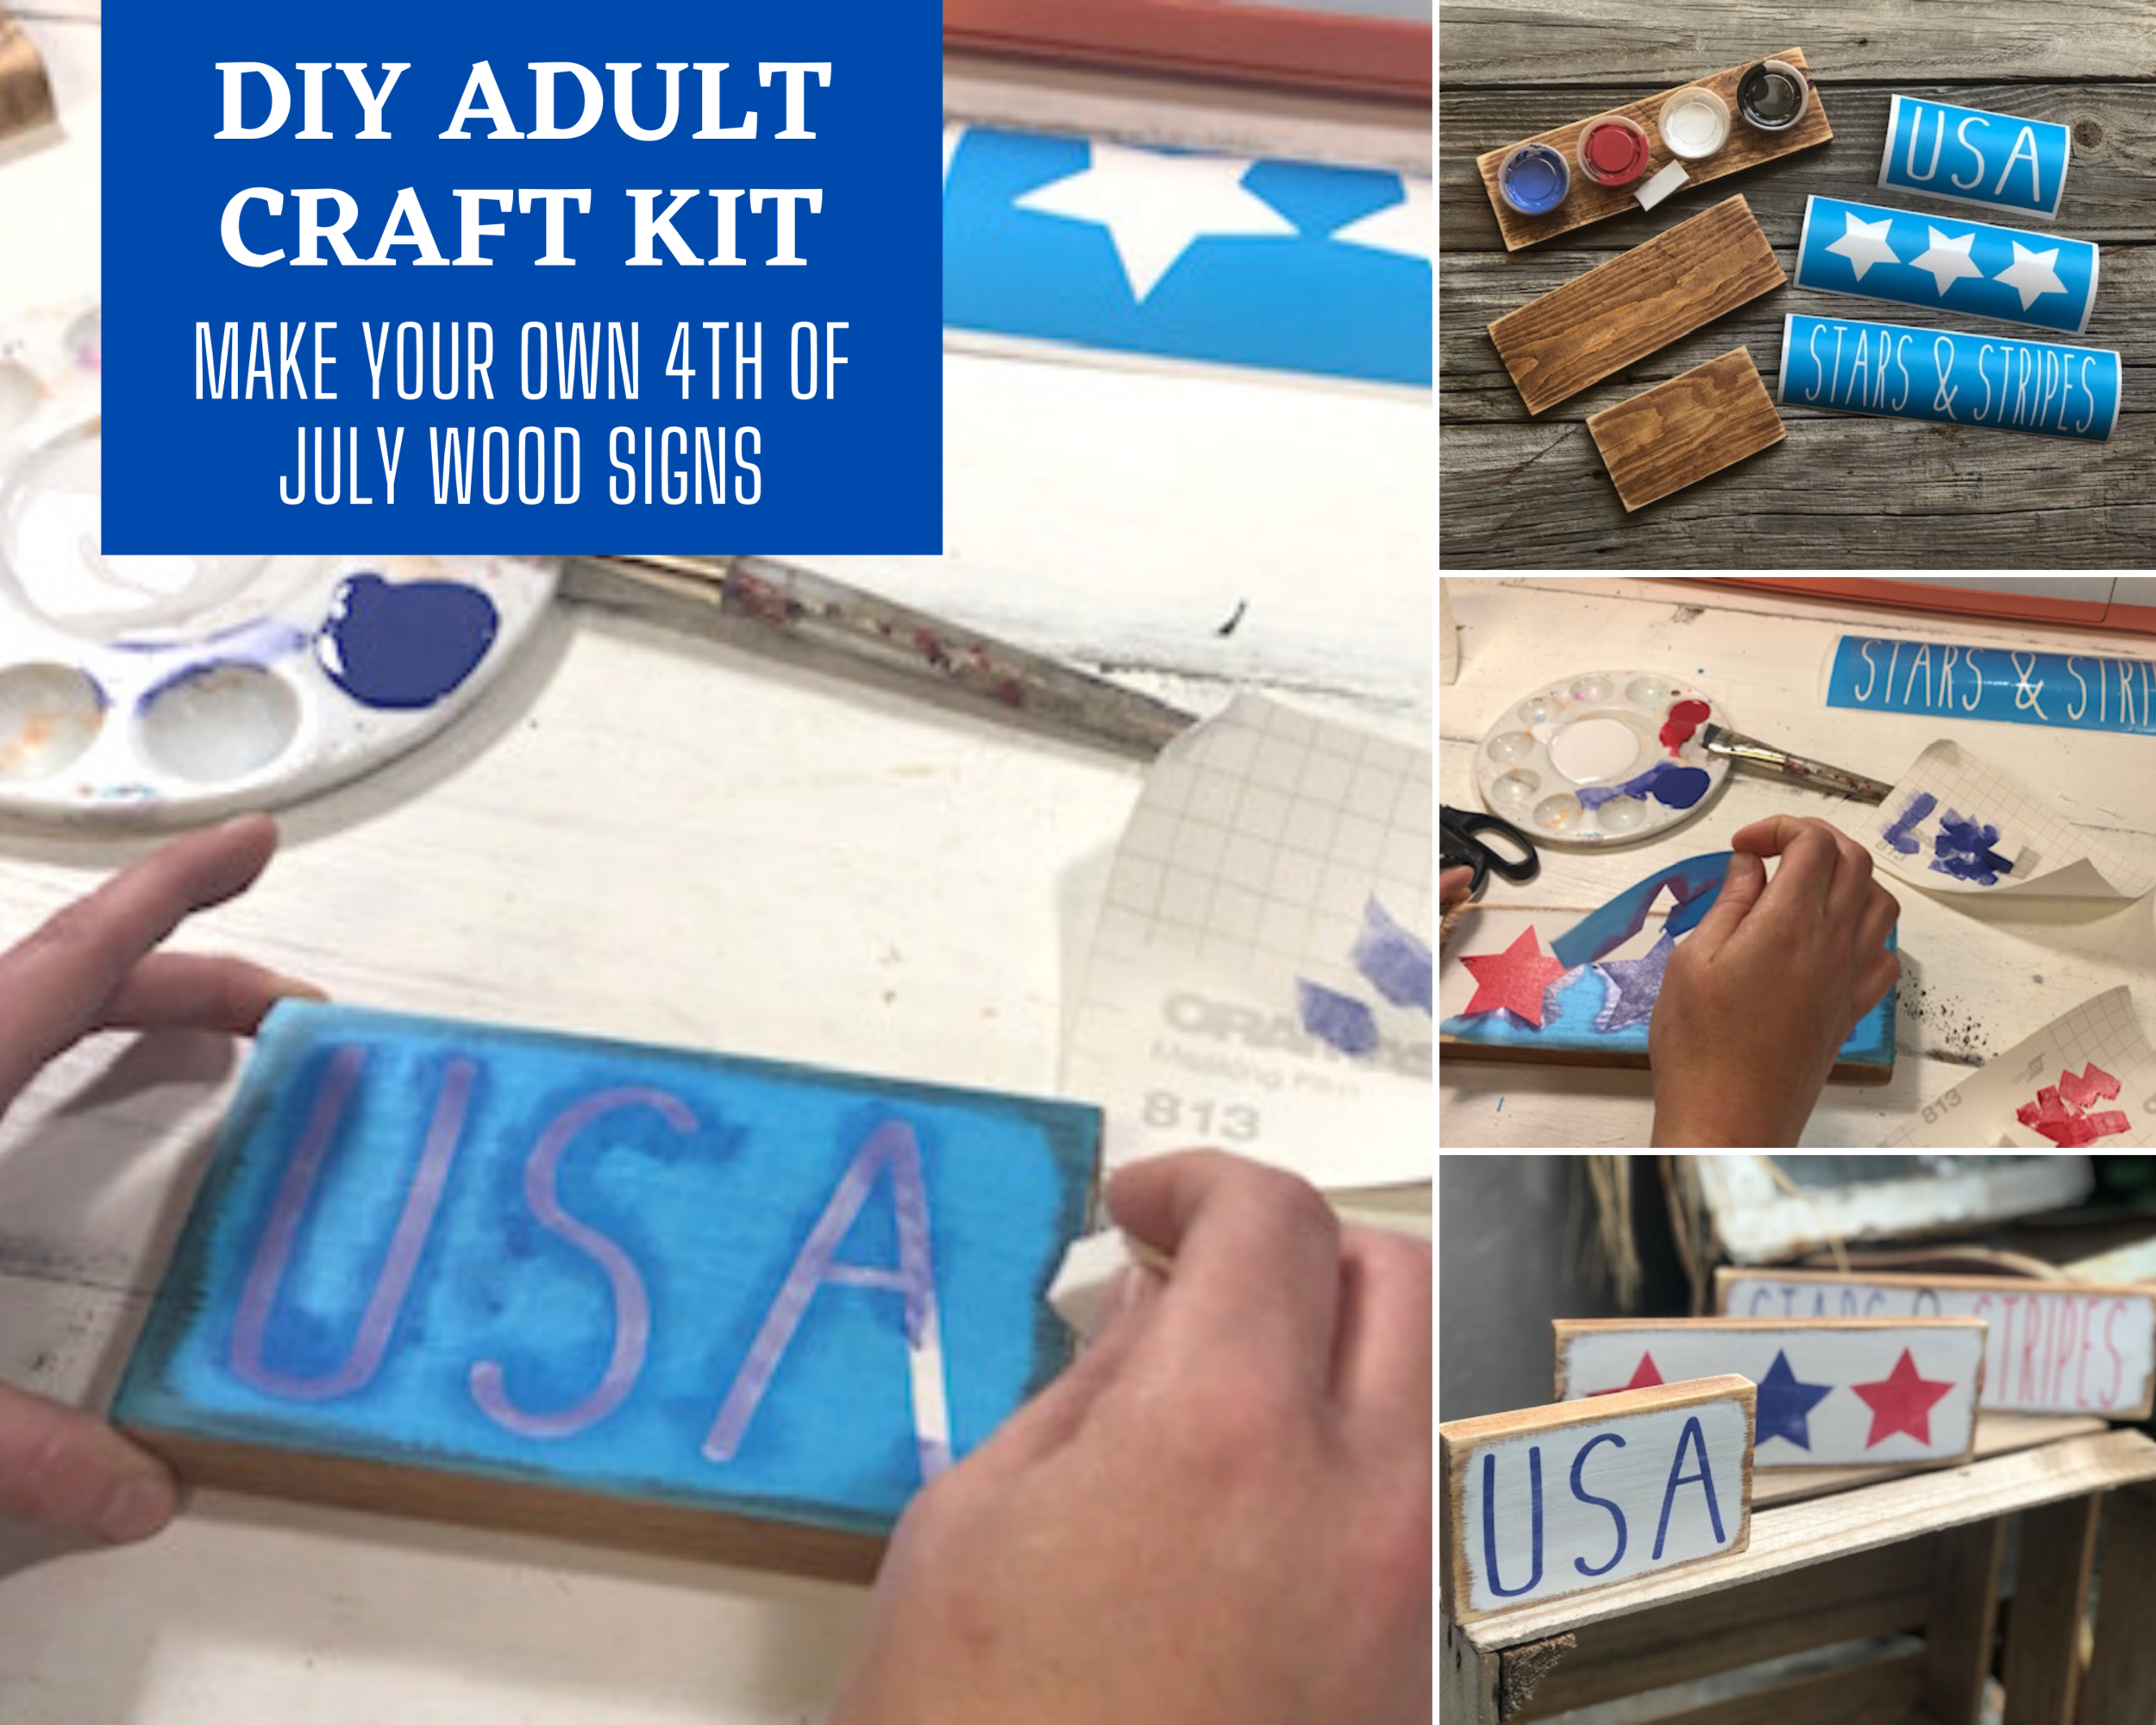
4th of July tiered tray sign, Rustic farmhouse style patriotic decor for Independence day. Make your own painted signs for the 4th of July. This DIY wood sign craft kit for adults  is perfect to make your own wooden mini signs.

DIY 4TH OF JULY TIERED TRAY WOOD SIGN

RED, WHITE, AND BLUE rustic mini signs… yes!! Tiered tray signs are all the rage right now. If you’ve been on Pinterest, Etsy, or anywhere in between then you’ve definitely seen these little farmhouse looking beauties! They are usually made using a simple design and just tie in perfectly with the whole clean rustic look that’s in right now.

4th of July tiered tray sign, Rustic farmhouse style patriotic decor for Independence day. Make your own painted signs for the 4th of July. This DIY wood sign craft kit for adults  is perfect to make your own wooden mini signs.

If you’re wanting to make your own mini wood signs it’s actually pretty easy to do. I make my tiered tray signs from 1x4’s that I cut down using my miter saw BUT even if you don’t have access to power tool you can still make your own mini wood signs! I’ve put together this DIY PATRIOTIC CRAFT KIT you can grab online in my shop. It comes with everything (except paint brushes) you need to make your own Independence Day signs at home. No need to go out and buy any fancy equipment or tools, especially if you don’t plan on making a ton of DIY craft projects.

If you are wanting to take the sign painting world by the horns be sure to read these 6 must haves for painting wood signs. I share the basic must haves to get you started on your own sign painting journey.

Affiliate Disclosure. Some of the links on this website are affiliate links, which means that I may earn a small commission if you click on the link or make a purchase using the link. If you make a purchase you will not be charged anything additional. This is just a way I can help add to our family finances to raise our four daughters. Please know I would never recommend a product or service I do not totally stand behind.

DIY 4TH OF JULY WOOD SIGNS FOR TIERED TRAYS

Here’s what you’ll need to make your own set of patriotic wooden signs

If you purchased the PATRIOTIC DIY SIGN PAINTING KIT your wood blanks will come pre-stained. You can skip to the step #3

4th of July tiered tray sign, Rustic farmhouse style patriotic decor for Independence day. Make your own painted signs for the 4th of July. This DIY wood sign craft kit for adults  is perfect to make your own wooden mini signs.
Cricut is Easy as 123

1. CUT & PREP YOUR WOOD PIECES

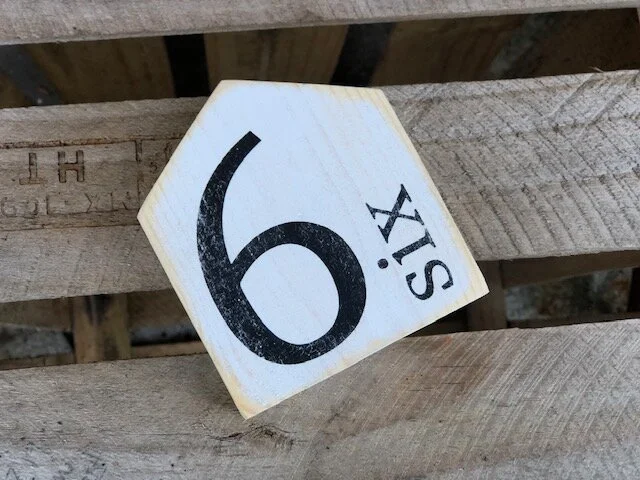
If you purchased the 4TH OF JULY DIY CRAFT KIT you can skip this step. If not you need to cut your 1x4’s to 6”, 10” and 12”. I use a miter saw to cut mine then give them a quick sanding with120 grit sand paper using my orbit sander. I stain my pieces then let dry for 24 hours. Once dry I sand around the edges to give it a distressed look. Now they are ready for paint :)!

4th of July tiered tray sign, Rustic farmhouse style patriotic decor for Independence day. Make your own painted signs for the 4th of July. This DIY wood sign craft kit for adults  is perfect to make your own wooden mini signs.

2. CUT YOUR STENCILS

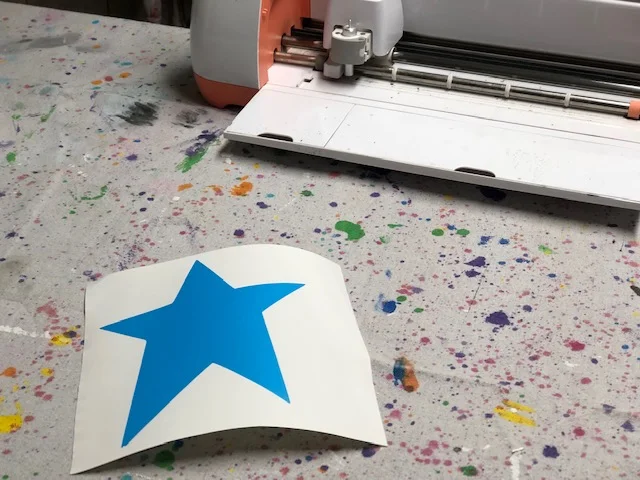
Cut out your stencils on your cutting machine, I use an older model Cricut explore and it always does a perfect job! I highly recommend using Oramask stencil film to cut your stencils out of. This material is specifically made for stenciling and performs very well. Weed your design and apply transfer tape to it so it is ready to go. Get your FREE Cricut cut files here to use for this exact 4th of July project.

4th of July tiered tray sign, Rustic farmhouse style patriotic decor for Independence day. Make your own painted signs for the 4th of July. This DIY wood sign craft kit for adults  is perfect to make your own wooden mini signs.

3. PAINT YOUR BACKGROUND COLOR

Using a dry brush apply a THIN coat of paint on the front side of your wooden bases. For a more rustic look apply the paint so that it doesn’t touch the edge of the wood base and so that it a little uneven. Let that dry then paint a second coat. Let the second coat completely dry.

4th of July tiered tray sign, Rustic farmhouse style patriotic decor for Independence day. Make your own painted signs for the 4th of July. This DIY wood sign craft kit for adults  is perfect to make your own wooden mini signs.

4. APPLY YOUR STENCIL

Using your vinyl squeegee apply your stencil to your painted wood base. Once you feel it is adhered good slowly remove the transfer tape off of your stencil. The best way to do this is to start at one corner and slowly roll the transfer tape off of your blue stencil material. PRO TIP: you never want to pull up when removing your transfer tape, this will cause your stencil to pull up as well. Use your finger to rub the exposed area of the stencil to work out any puckers or air bubbles.

4th of July tiered tray sign, Rustic farmhouse style patriotic decor for Independence day. Make your own painted signs for the 4th of July. This DIY wood sign craft kit for adults  is perfect to make your own wooden mini signs.

5. PAINT YOUR STENCIL

Cut your stencil sponge into 3-4 sections, depending on the number of different colors you plan to use. Lightly dip the end of one of your stenciling sponges into your paint of choice, dab off excess paint onto a scrap piece of cardboard (or something similar) then using an up and down dabbing motion dab it onto the exposed areas of your stencil. Your paint coverage should be super thin, you want to be able to see the background color at this point. Let dry. Once dry dab on a second thin layer. If you are happy with the coverage you can move on to step 6. If you want a little more coverage wait for the second layer to dry then dab on a third layer of pain

4th of July tiered tray sign, Rustic farmhouse style patriotic decor for Independence day. Make your own painted signs for the 4th of July. This DIY wood sign craft kit for adults  is perfect to make your own wooden mini signs.

6. REMOVE YOUR STENCIL

Using a sharp xacto knife or sewing pin peel your stencil up while your paint is still wet. Be careful not to touch the wet paint. Let your painted wood sign dry.

4th of July tiered tray sign, Rustic farmhouse style patriotic decor for Independence day. Make your own painted signs for the 4th of July. This DIY wood sign craft kit for adults  is perfect to make your own wooden mini signs.

7. DISTRESS

This step is completely optional. If you want a little more rustic look lightly go over the front of your wooden sign with a sanding sponge or piece of sandpaper. I personally like adding this touch to my signs to give it a more farmhouse look. Wipe off the dust with a lint free cloth and you are ready to display them on your tiered tray.


DIY repurpose an old drawer into an American Flag

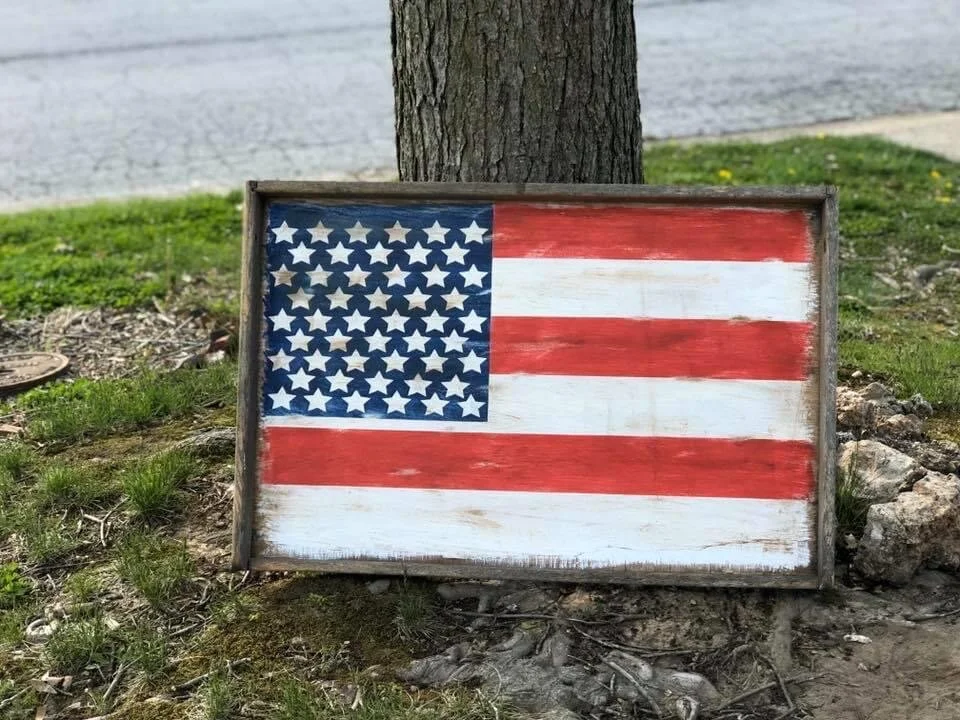
Turn an old drawer into a rustic Ameican flag. It doesn't take much to repurose a drawer that's been collecting dust. If you have some paint and a little creativity you can make your own farmhouse style old looking flag for your home decor.

HOW TO REPURPOSE AN OLD DRAWER INTO AN AMERICAN FLAG

Before you pass up on the dusty old drawer that’s sitting on the side of the road you might want to think of all the amazing things you could turn that in to. Years ago my father in law had a huge old drawer sitting under his carport just collecting dirt and debris. I loved it! Even covered in gross beat-up contact paper I could still see the it’s potential of being something beautiful He told me I could take it home and then it sat in the basement collecting even more dust for years. Finally I pulled it out from the depths of the basement over the weekend and told myself I WOULD transform this old drawer this week!

 Affiliate Disclosure. Some of the links on this website are affiliate links, which means that I may earn a small commission if you click on the link or make a purchase using the link. If you make a purchase you will not be charged anything additional.

I really wanted to paint something American on it and after going back and forth in my own head I decided a simple flag would be perfect for this old drawer. I had thought about stenciling a big US map on it or even some lettering but with everything I already have on my plate I decided I should just keep it simple. Besides I don’t have a ton of vinyl and transfer tape to spare since I’m running low and shipments are taking a little longer than normal at the moment. With a little painters tape and a bit of vinyl I was on my way to making a simple rustic American flag.

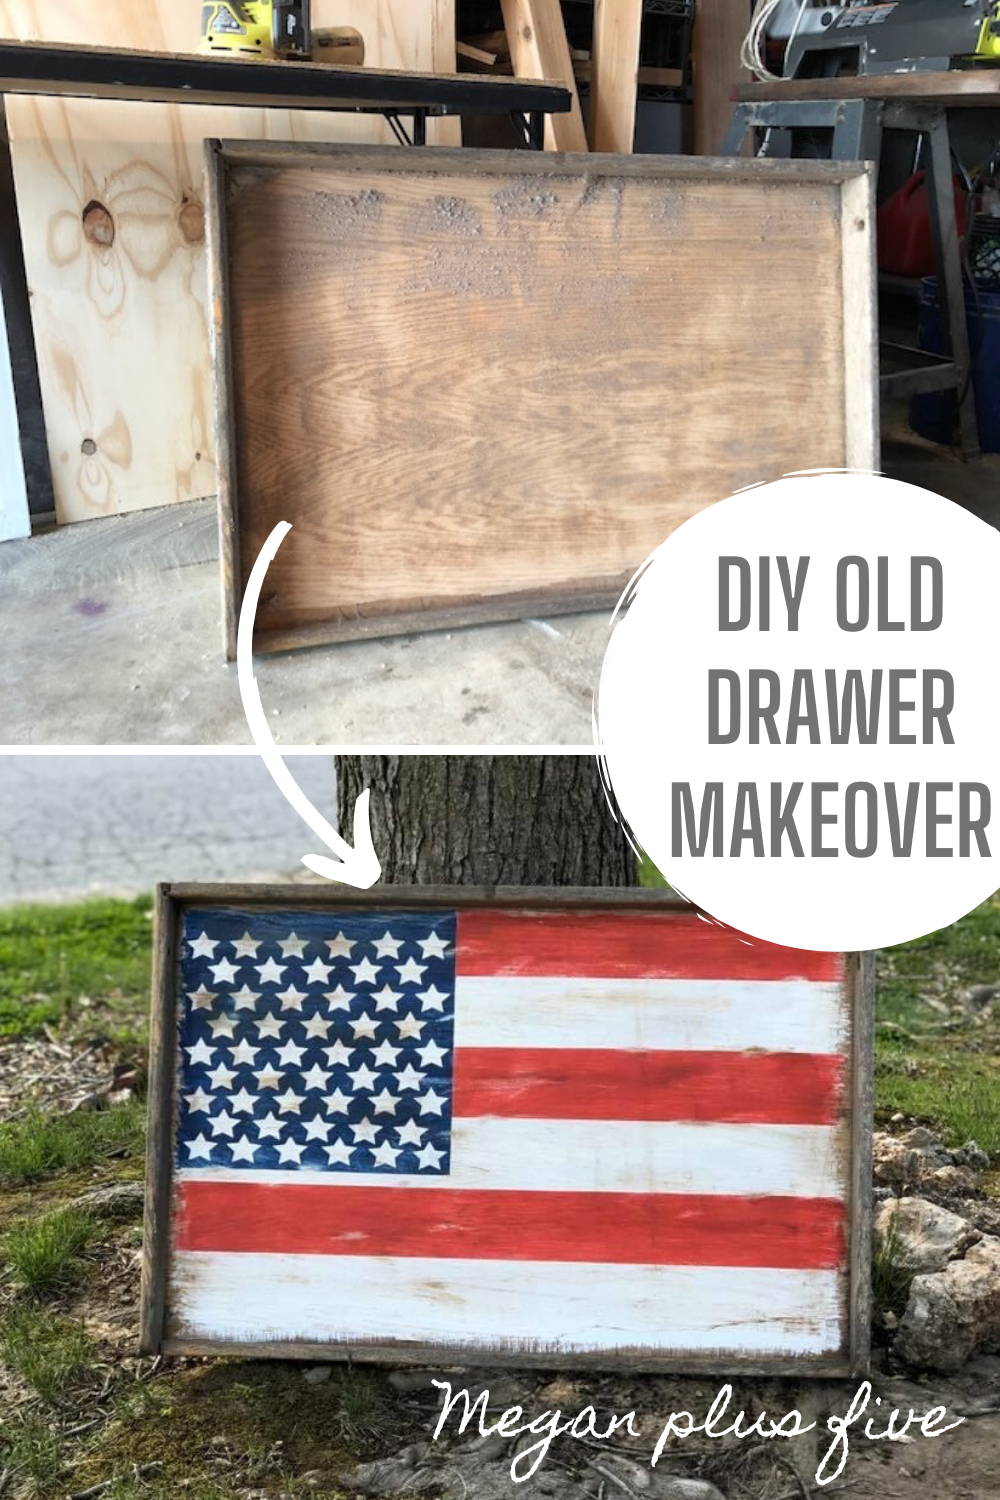
Here’s what the old drawer looked like before I gave it a full facelift.

Turn an old drawer into a rustic Ameican flag. It doesn't take much to repurose a drawer that's been collecting dust. If you have some paint and a little creativity you can make your own farmhouse style old looking flag for your home decor.

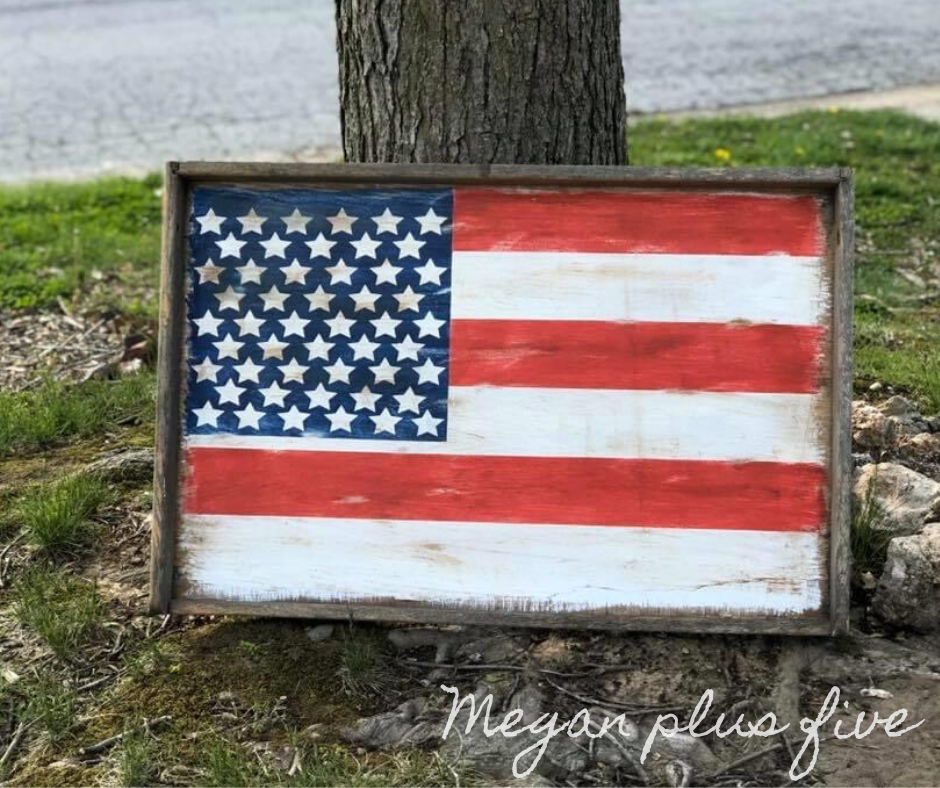
And this is what the old drawer looks like now. I definitely made a few mistakes but overall I’m loving how this rustic flag turned out.

How to repurpose an old dusty drawer into an American flag for your rustic style home decor. DIY farmhouse style 4th of July decor. Paint your own USA flag using your Cricut. Easy distressed wood flag, repuposed decoratoins.

If you are planning on doing a lot of stenciling on wood click here to read this post on how I save money on stenciling film.

How to make your own rustic flag

If you have an old drawer hanging around and collecting dust you can transform it into a rustic looking flag like I did with this one.

Here’s what you’ll need

Helpful tools

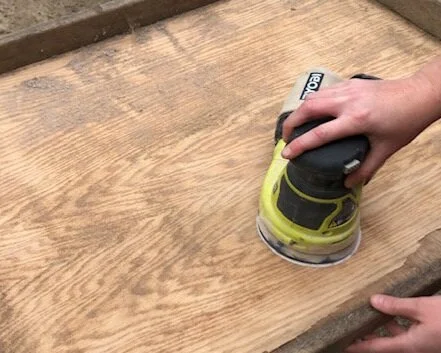
ONE-The first thing I had to do was sand it down. This drawer originally came with some gross contact paper attached to it. I had done the majority of taking all of that off when I first got the drawer. I removed the contact paper as much as I could then used the sander to help take off the rest. I started with 60 grit sandpaper on my handheld sander then worked my way up to 120 grit. the contact paper left behind some sticky residue but with a little elbow grease I was able to get all of it off. Then I used a lint free cloth and a vacuum to get off all the dust.

Turn an old drawer into a rustic Ameican flag. It doesn't take much to repurose a drawer that's been collecting dust. If you have some paint and a little creativity you can make your own farmhouse style old looking flag for your home decor.

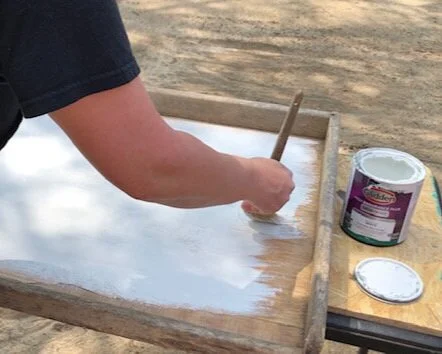
TWO- Using a dry brush I painted the inside of the drawer white. I used flat white indoor paint for this. When I brushed on the white base I made sure that all four sides didn’t get painted right up to the edge and I made the edges really uneven. I wanted it to look rough.

Turn an old drawer into a rustic Ameican flag. It doesn't take much to repurose a drawer that's been collecting dust. If you have some paint and a little creativity you can make your own farmhouse style old looking flag for your home decor.

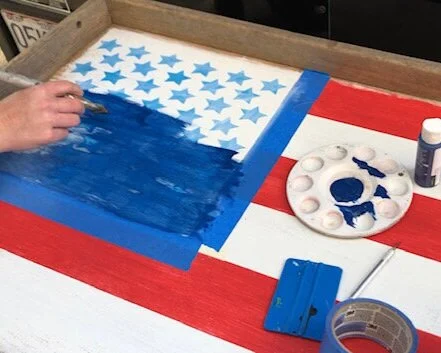
THREE- I measured out how big I wanted the blue area on my flag to be. I am not 100% happy with the size of this but it’s there to stay now lol! I taped that square off then started taping off my lines for my red and white stripes. I did this the same way I did this scrap wood 2x4 flag. I didn’t measure out my lines, mainly because I’m not a super precise person. I used the top edge of the drawer as my guide then taped off my stripes using wide painters tape. I did not make a true American flag though I only have 7 stripes total on mine.

Turn an old drawer into a rustic Ameican flag. It doesn't take much to repurose a drawer that's been collecting dust. If you have some paint and a little creativity you can make your own farmhouse style old looking flag for your home decor.

FOUR- Once I had my stripes taped off I painted the exposed stripes red. Then let them dry and painted then with a second coat of red paint. I peeled my tape up while my paint was still wet.

Turn an old drawer into a rustic Ameican flag. It doesn't take much to repurose a drawer that's been collecting dust. If you have some paint and a little creativity you can make your own farmhouse style old looking flag for your home decor.

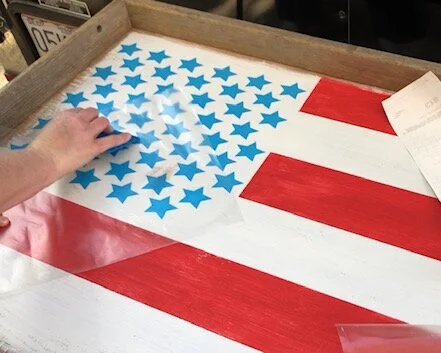
FIVE- I stenciled the 50 stars on this rustic flag but did it a little differently than a typical stencil. I did what’s called a reverse stencil on this just like I did with this 4th of July leaning porch sign . I used my Cricut and Cricut design space to cut out 50 stars. You can get my free Cricut cut file here. Since my stars were wider than 11.5” I had to cut them out on two separate pieces of stencil material. But it wasn’t bad at all to piece them together. I did have a big OOPS moment when I weeded away a star. Thank goodness for an honest husband who told me it looked good other than missing a star! I was able to paint in the missing star before I had applied the wax, praise the Lord!

Turn an old drawer into a rustic Ameican flag. It doesn't take much to repurose a drawer that's been collecting dust. If you have some paint and a little creativity you can make your own farmhouse style old looking flag for your home decor.

SIX- Using transfer tape I applied the star stencils to my flag then taped off the stripes. To cut down on paint bleed I sealed them with a thin layer of white paint. After that was dry I painted that part of my flag blue, let dry, then painted another layer of blue. While the paint was still wet I peel up the star stencils and the tape. I did have a little paint bleed but nothing too serious. This is when I added the last star that I missed :/.

Turn an old drawer into a rustic Ameican flag. It doesn't take much to repurose a drawer that's been collecting dust. If you have some paint and a little creativity you can make your own farmhouse style old looking flag for your home decor.

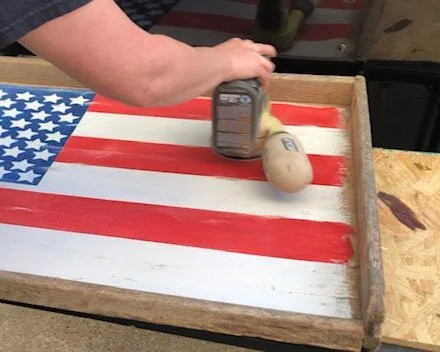
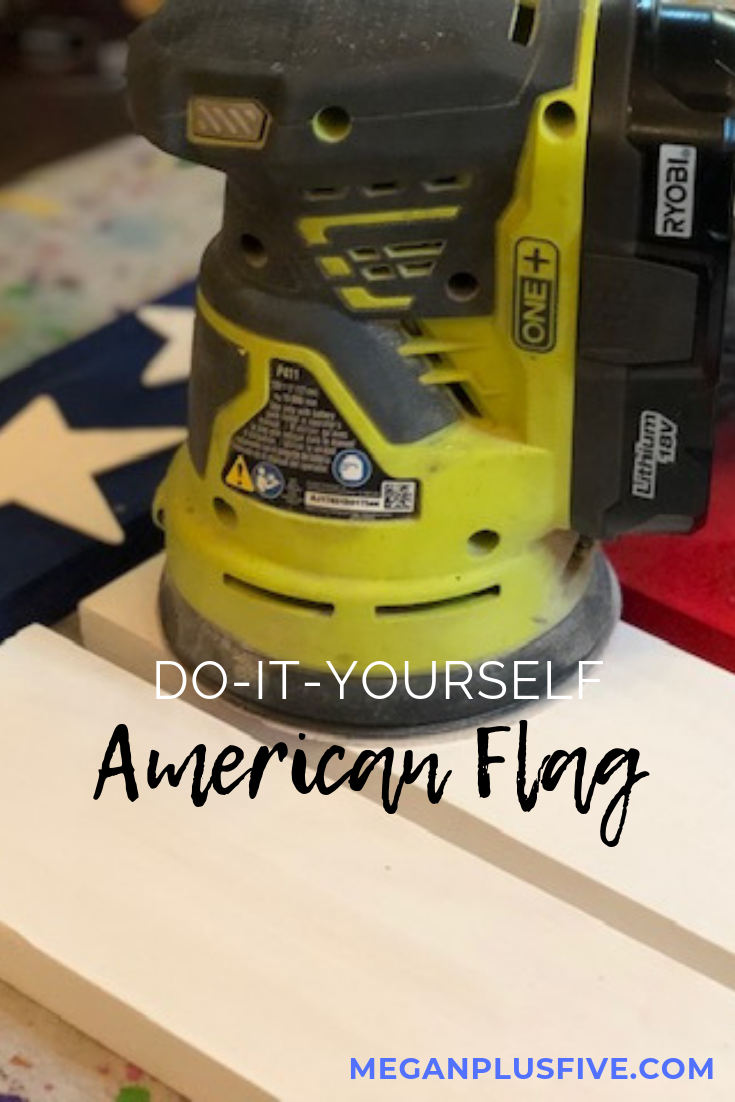
SEVEN- I used my Ryobi sander to distress my rustic drawer flag. I used 120 grit sandpaper and lightly went over the entire flag then focused on random areas here and there. After I was happy with the distressing I wiped the sawdust off with a lint free cloth.

Turn an old drawer into a rustic Ameican flag. It doesn't take much to repurose a drawer that's been collecting dust. If you have some paint and a little creativity you can make your own farmhouse style old looking flag for your home decor.

EIGHT- If you’ve read any of my other tutorials you probably know LOVE my antiquing wax. I use it for so many of my craft projects and of course used it for this one too. I used a chip brush and lightly applied the dark wax to my flag. If you’ve never used this stuff before please be aware that a little goes a LONG way. I usually dab the end of my brush into the lid then dab off on a cloth. Since I didn’t have a cloth handy for this DIY I used my apron.

Turn an old drawer into a rustic Ameican flag. It doesn't take much to repurose a drawer that's been collecting dust. If you have some paint and a little creativity you can make your own farmhouse style old looking flag for your home decor.

I can’t wait to hang this rustic flag in our living room! We plan to keep it up year round and I know every time we look it we will think of fond memories of my father in la

I hope this post inspires you to give an old drawer a makeover! If you have any questions on this DIY or any of my other tutorials please feel free to ask away:)!

Happy Crafting!

Turn an old drawer into a rustic Ameican flag. It doesn't take much to repurose a drawer that's been collecting dust. If you have some paint and a little creativity you can make your own farmhouse style old looking flag for your home decor.

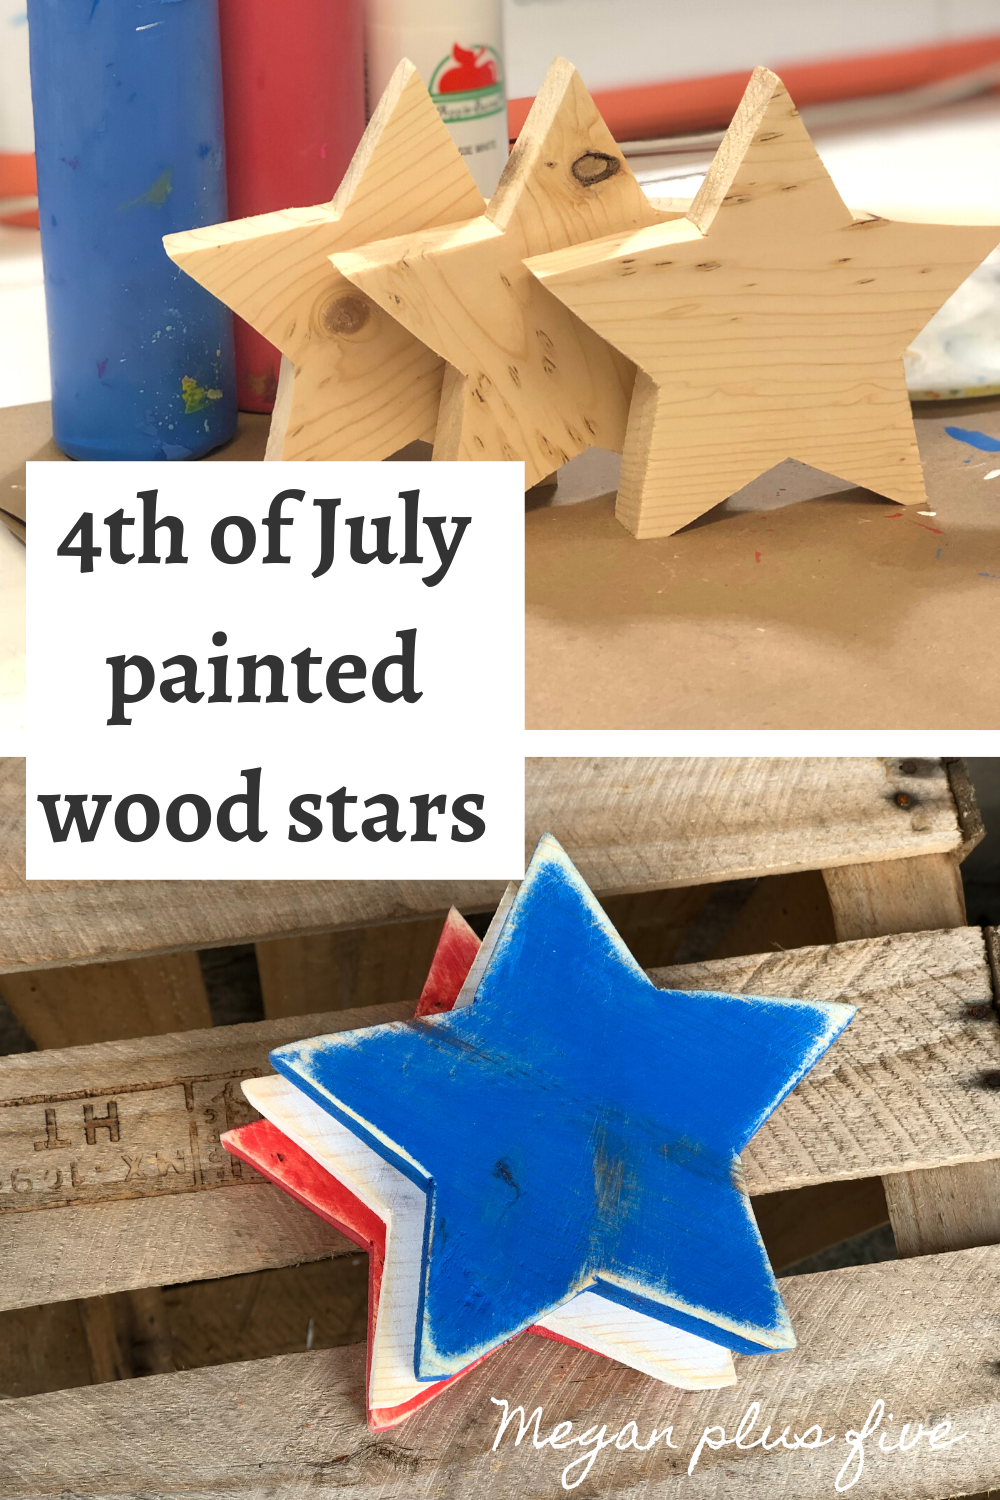
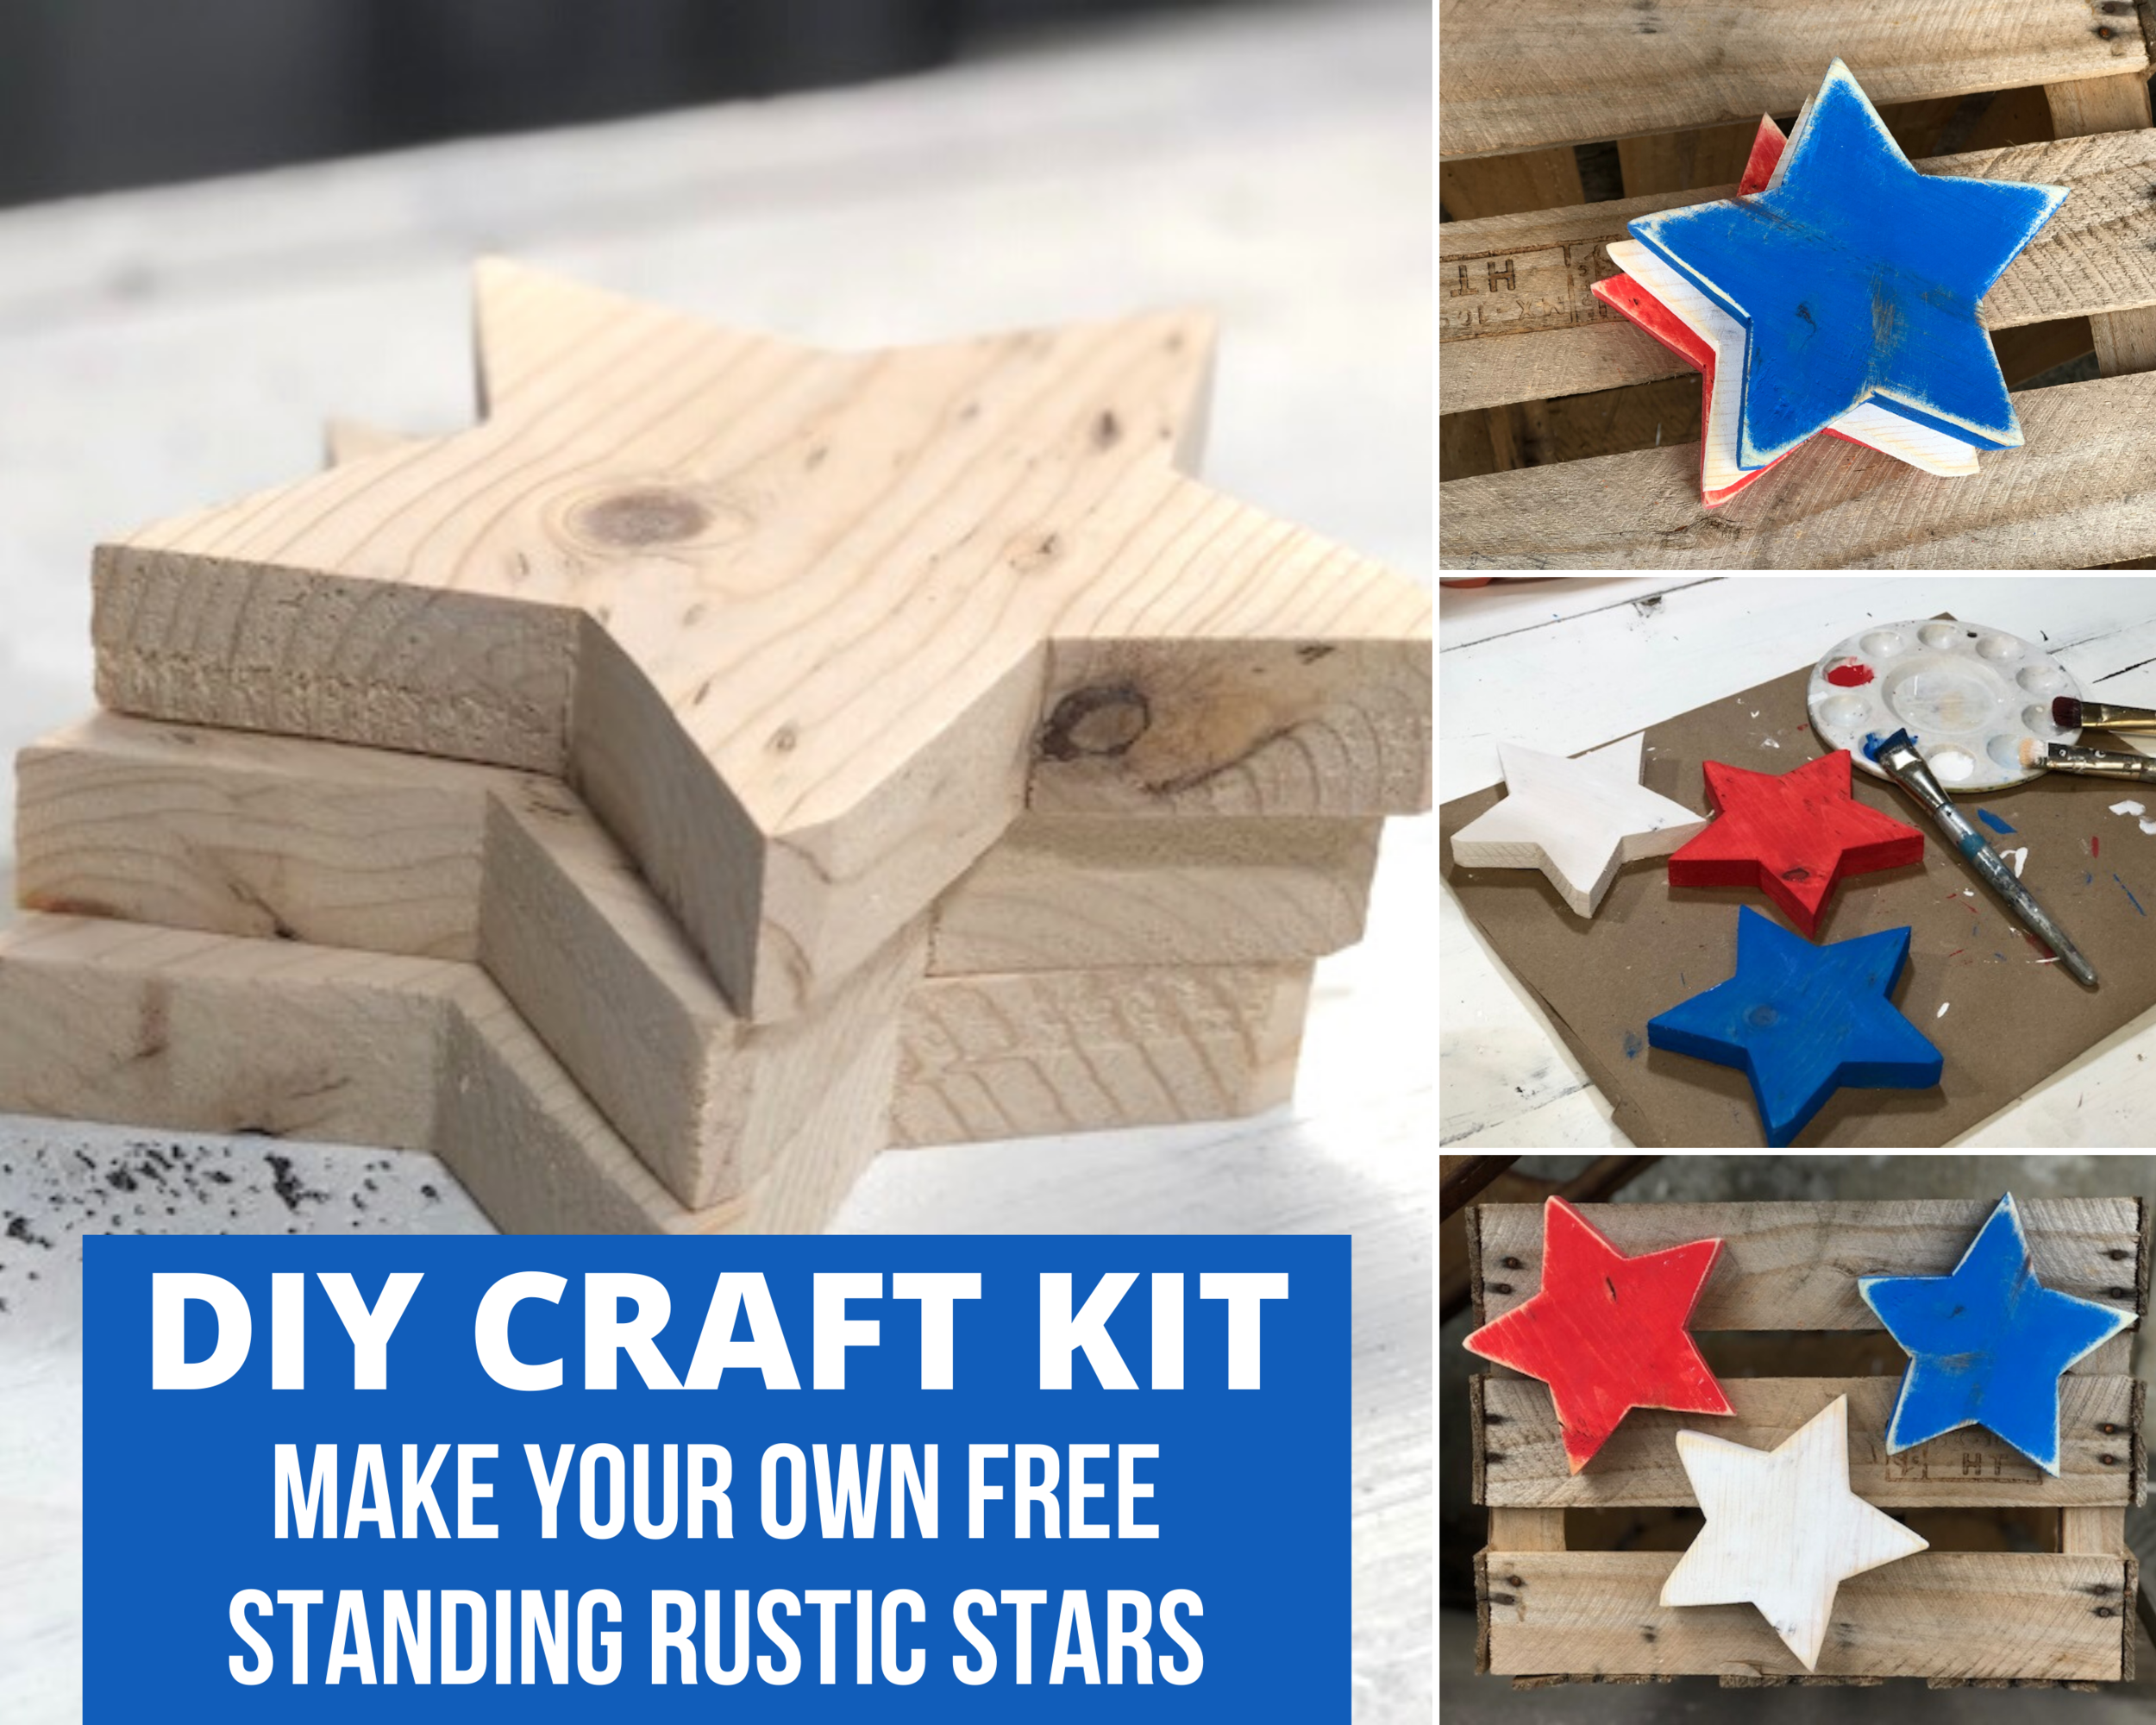
DIY 4th of July painted wood stars

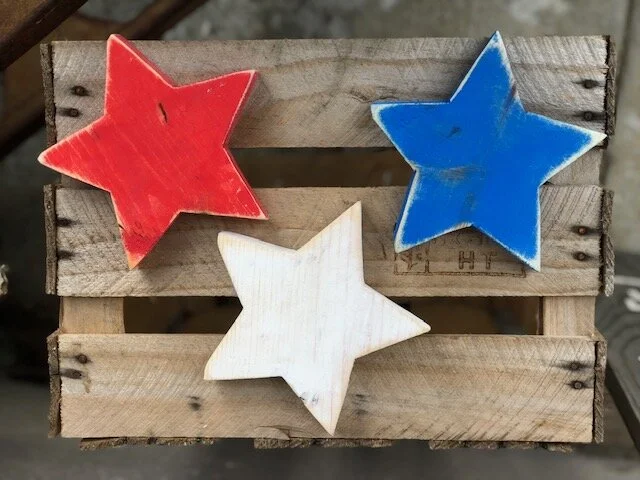
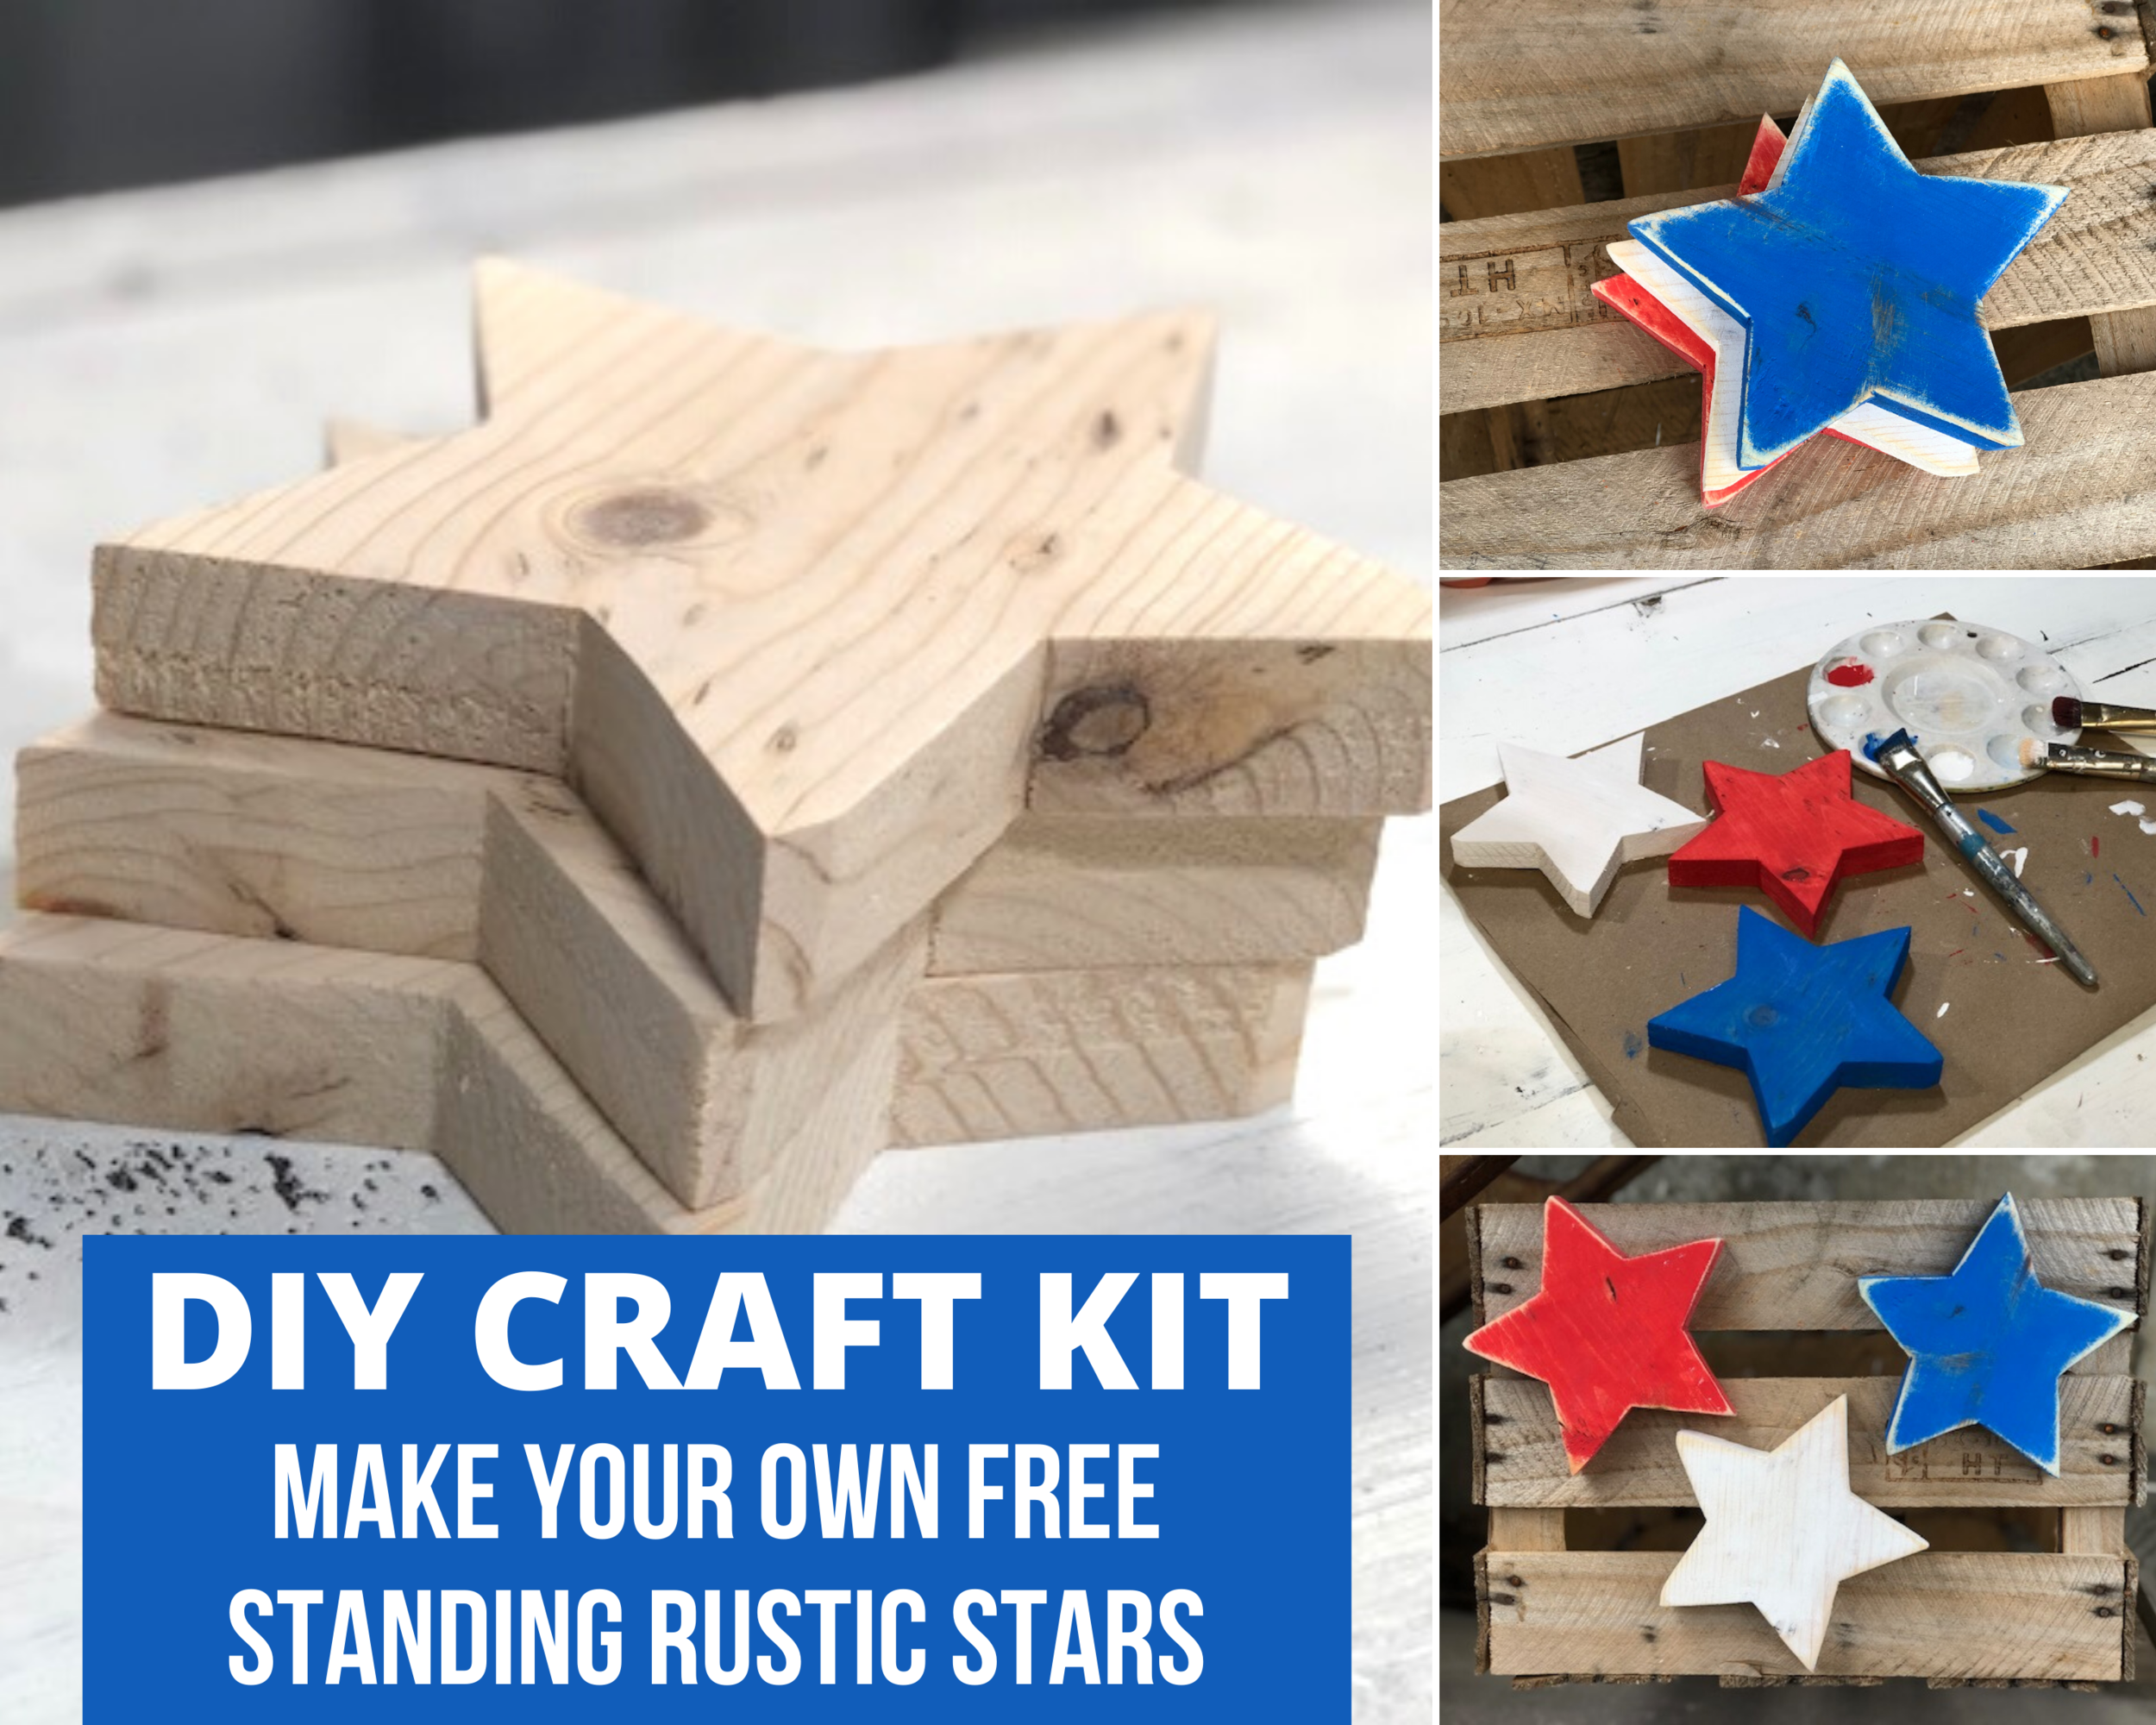
4th of July painted wood stars. How to paint and distress wooden stars for your Independence Day decor. DIY craft kit for adults. DIY farmhouse style decorations for your patriotic decor.

HOW TO PAINT FREE STANDING RUSTIC WOOD STARS FOR YOUR INDEPENDENCE DAY DECOR

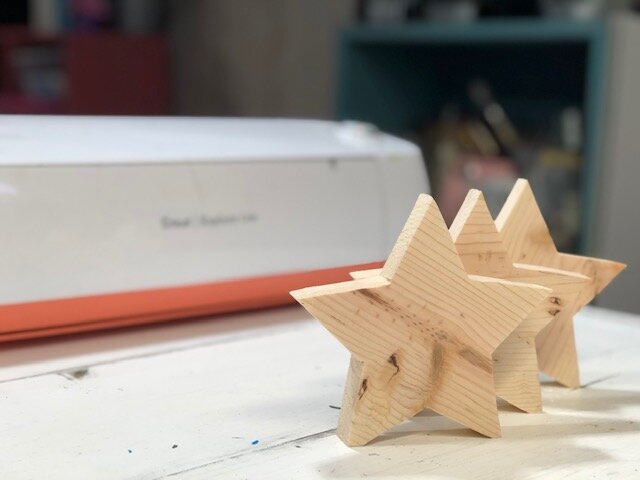
These DIY wooden stars are sure to tie in perfectly with your patriotic décor. Whether your red, white, and blue decorations are seasonal or you leave them up all year round you'll definitely want to add these adorable wood stars.

Affiliate Disclosure. Some of the links on this website are affiliate links, which means that I may earn a small commission if you click on the link or make a purchase using the link. If you make a purchase you will not be charged anything additional.

These are especially a perfect project for those scrap pieces leftover from other DIY projects. Click here to see how I cut these out using my Cricut machine and Ryobi scroll saw. If you don’t have all the tools to make this craft happen or just don’t have the time you can grab your DIY craft kit here.

Watch the how to video below or keep scrolling for the written rustic 4th of July stars tutorial

4th of July painted wood stars. How to paint and distress wooden stars for your Independence Day decor. DIY craft kit for adults. DIY farmhouse style decorations for your patriotic decor.

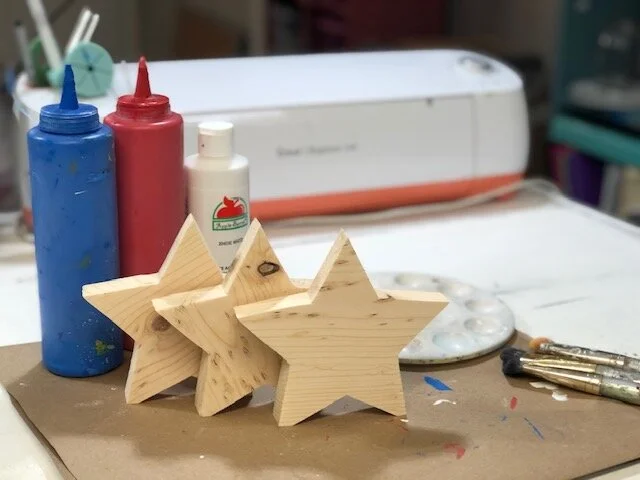
Here’s what you’ll need:

4th of July painted wood stars. How to paint and distress wooden stars for your Independence Day decor. DIY craft kit for adults. DIY farmhouse style decorations for your patriotic decor.

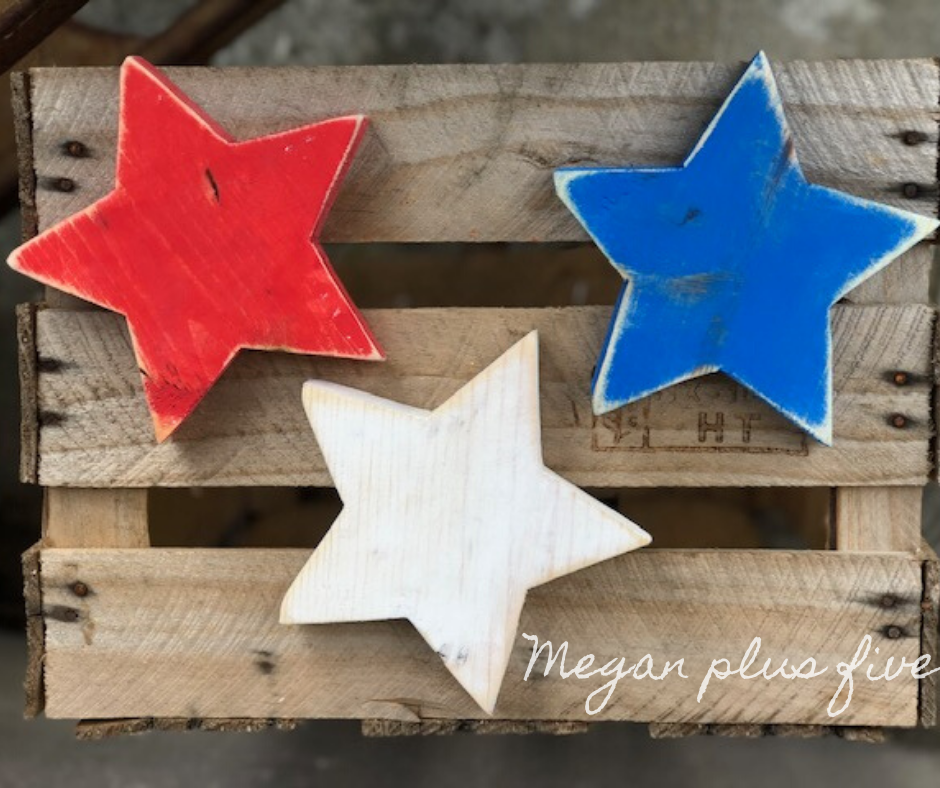
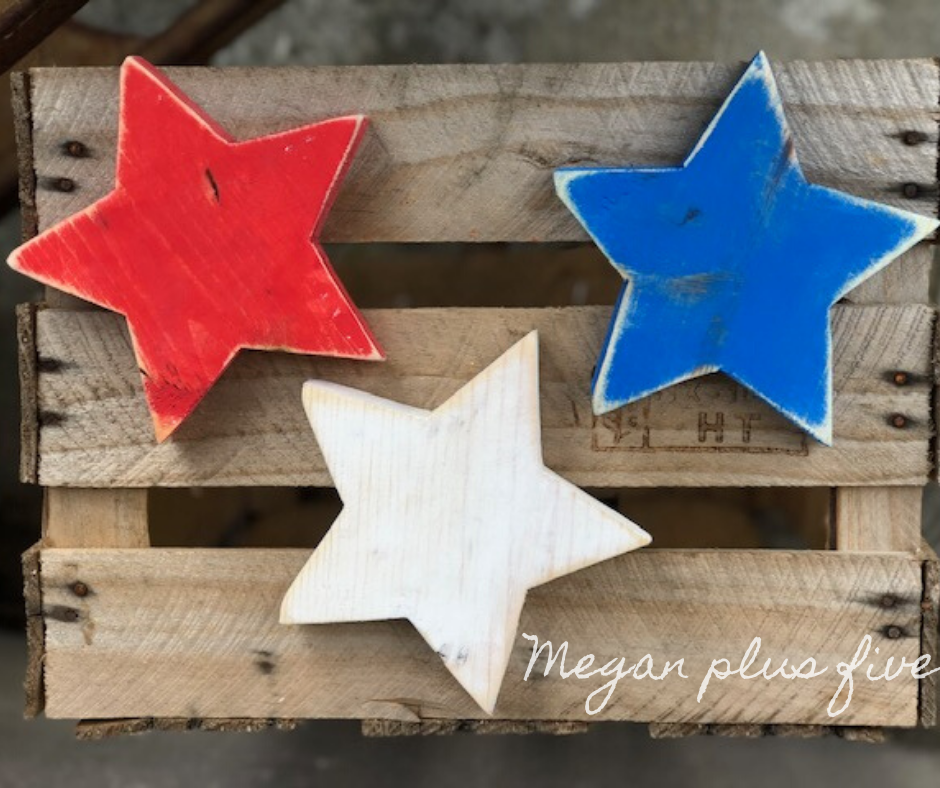
These little rustic wooden stars are SUPER EASY to paint. I am actually thinking about making a few more and staining them instead of using paint. But for now I’ll admire the red, white, and blue ones.

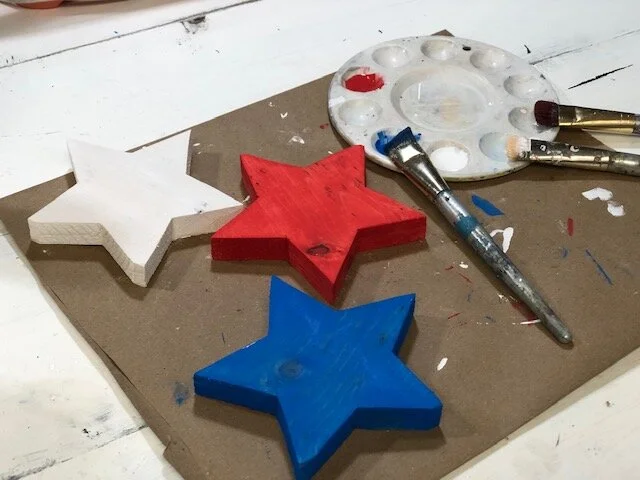
ONE- Paint a thin layer of RED, WHITE, or BLUE paint on each star. Let dry. After the first coat is dry go back and add a second layer of paint on each of the three stars. Let dry.

wood+star15.jpg4th of July painted wood stars. How to paint and distress wooden stars for your Independence Day decor. DIY craft kit for adults. DIY farmhouse style decorations for your patriotic decor.
4th of July painted wood stars. How to paint and distress wooden stars for your Independence Day decor. DIY craft kit for adults. DIY farmhouse style decorations for your patriotic decor.

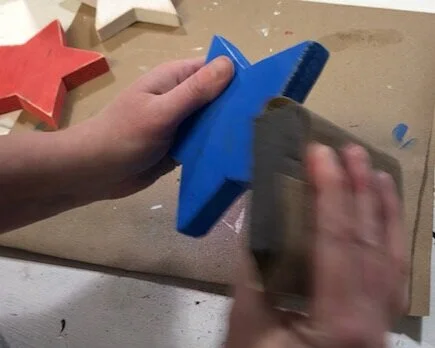
TWO- Once your stars are completely dry use your sandpaper to distress them. Focus on the edges, corners and lightly on the front/back of each wood star. I use 100-150 grit sandpaper when sanding these by hand. If I use my orbit sander I use 120 grit.

4th of July painted wood stars. How to paint and distress wooden stars for your Independence Day decor. DIY craft kit for adults. DIY farmhouse style decorations for your patriotic decor.

THREE- Use a lint free cloth to remove all the dust from sanding the wood stars. You can finish them off with a polycrylic spray or wax. I didn’t use antiquing wax on these but if you wanted to make them extra rustic try using these techniques for dark wax.

4th of July painted wood stars. How to paint and distress wooden stars for your Independence Day decor. DIY craft kit for adults. DIY farmhouse style decorations for your patriotic decor.

DIY 2x4 chunky wood flag

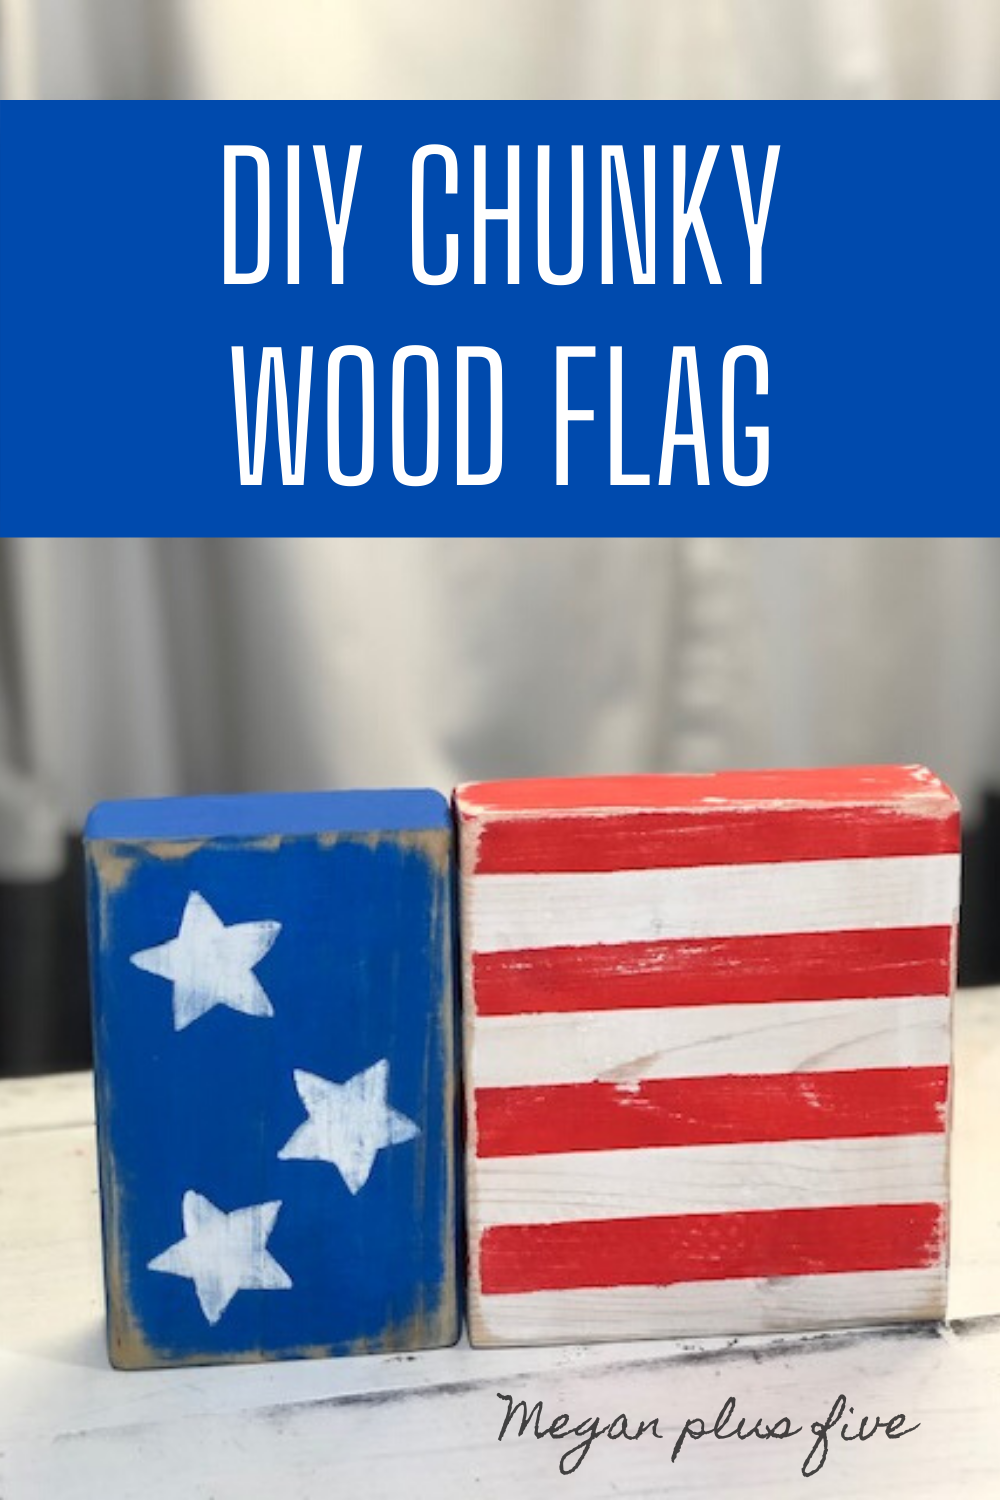
DIY CHUNKY WOOD FLAG, make your own wood flag from scrap 2x4 lumber. How to make a wood flag using 2x4 and 2x6. Easy American flag tutorial.

HOW TO MAKE A PRIMITIVE AMERICAN FLAG

I love a good scrap wood project. That was the inspiration behind this DIY chunky wood flag. I have shelves full of scrap pieces of wood in my workshop, aka my garage lol! I just can’t bring myself to toss out perfectly good pieces of future projects. I had been wanting to make one of these 2x4 flags for a while now and since we are all on lockdown I thought now would be the perfect time to make one and share the DIY with you all.

I didn’t just use a 2x4 to create this wooden flag. I also used a scrap piece of 2x6 that we have loads of leftover from a bunkbed project we made for our four daughters. And when I say we I really mean that my husband made because I pretty much just stood there and handed him things as he needed them.

If you don’t have all the tools to make this project happen grab your DIY CRAFT KIT HERE

Affiliate Disclosure. Some of the links on this website are affiliate links, which means that I may earn a small commission if you click on the link or make a purchase using the link. If you make a purchase you will not be charged anything additional.

How to make a 2x4 American flag. DIY chunky wooden flag for your primitive rustic home decor. This tutorial will show you how to paint and distress your own wood flag to tie in with your 4th of July, Independence Day, farmhouse style decorations.

Be sure to check out a few of my other 4th of July patriotic themed projects: RAG WREATH, LEANING PORCH SIGN, and this HANGING WOOD FLAG

MAKE YOUR OWN RUSTIC WOOD AMERICAN FLAG

Here’s what you’ll need

Helpful tools

How to make a 2x4 American flag. DIY chunky wooden flag for your primitive rustic home decor. This tutorial will show you how to paint and distress your own wood flag to tie in with your 4th of July, Independence Day, farmhouse style decorations.

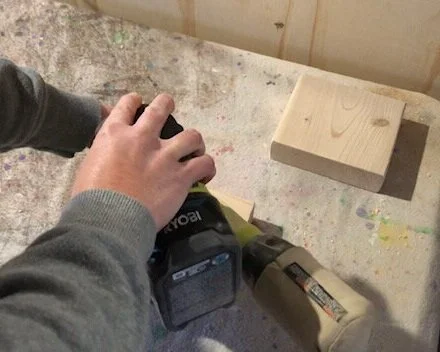
ONE- If you didn’t grab a DIY craft kit the first thing you want to do is cut your wood pieces. Use your miter saw to cut the 2x4 to 5.5” and the 2x6 to 5”. You will place the 2x6 on it’s side so that it stands 5.5” tall. Use your sander to give them a quick sanding. I use a cordless Ryobi sander and really love it! Then wipe all the sawdust off with a lint free cloth.

How to make a 2x4 American flag. DIY chunky wooden flag for your primitive rustic home decor. This tutorial will show you how to paint and distress your own wood flag to tie in with your 4th of July, Independence Day, farmhouse style decorations.

TWO- Paint the 2x4 completely blue. You will have to wait for the front to dry before you can start painting the back. Since this is a dark color one coat should be enough but you can paint a second coat if you aren’t happy with the coverage.

How to make a 2x4 American flag. DIY chunky wooden flag for your primitive rustic home decor. This tutorial will show you how to paint and distress your own wood flag to tie in with your 4th of July, Independence Day, farmhouse style decorations.

THREE- Paint the 2x6 completely white. Wait for the front to dry before you paint the back. After all sides have dried you’ll want to paint a second coat of white paint to get a good coverage. Let dry.

How to make a 2x4 American flag. DIY chunky wooden flag for your primitive rustic home decor. This tutorial will show you how to paint and distress your own wood flag to tie in with your 4th of July, Independence Day, farmhouse style decorations.

FOUR- Take your cardstock star cutout and trace around it with a pencil in three places on the front side. I staggered mine because I like that look but you can place yours wherever you’d like. Try to trace lightly so that it’s easier to paint over. Using a small paint brush paint inside the star outline. A thin layer works best so you don’t have streaking. Paint a second layer once that layer is dry.

How to make a 2x4 American flag. DIY chunky wooden flag for your primitive rustic home decor. This tutorial will show you how to paint and distress your own wood flag to tie in with your 4th of July, Independence Day, farmhouse style decorations.

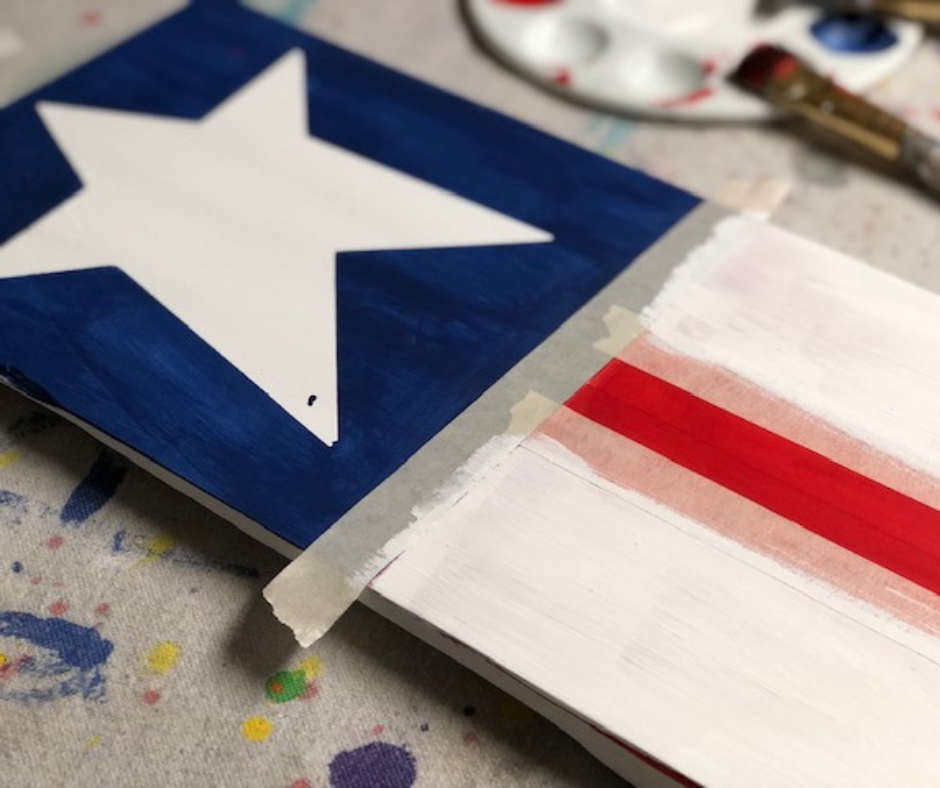
FIVE- After your white block is totally dry you can start painting on your stripes. To get even stripes you want to use masking tape. Be sure your block is standing at 5.5” tall before you start applying your tape. If you are using .75” masking tape you will want to start at the top and apply a piece of tape all the way around but apply your tape so that it hangs off the top slightly. This way you aren’t left with a super thin stripe on the bottom. This first piece of tape is called your spacer piece.

How to make a 2x4 American flag. DIY chunky wooden flag for your primitive rustic home decor. This tutorial will show you how to paint and distress your own wood flag to tie in with your 4th of July, Independence Day, farmhouse style decorations.

Then take another piece of tape and apply it directly below your spacer piece. Remove your spacer piece and then apply it directly below that second piece of tape. You will do this the whole way down your 2x6. This is what it should look like when you’re done.

How to make a 2x4 American flag. DIY chunky wooden flag for your primitive rustic home decor. This tutorial will show you how to paint and distress your own wood flag to tie in with your 4th of July, Independence Day, farmhouse style decorations.

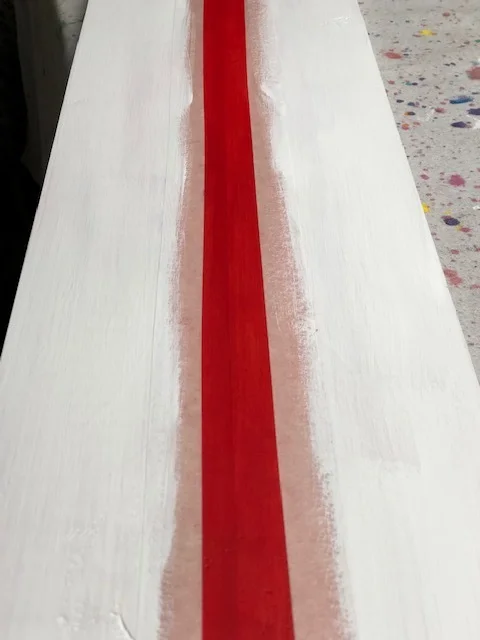
SIX- This step isn’t 100% necessary but it does help with reducing paint bleed. Take your white paint brush and paint a super thin layer of paint where the tape and the wood meet, the seam. Let dry.

How to make a 2x4 American flag. DIY chunky wooden flag for your primitive rustic home decor. This tutorial will show you how to paint and distress your own wood flag to tie in with your 4th of July, Independence Day, farmhouse style decorations.

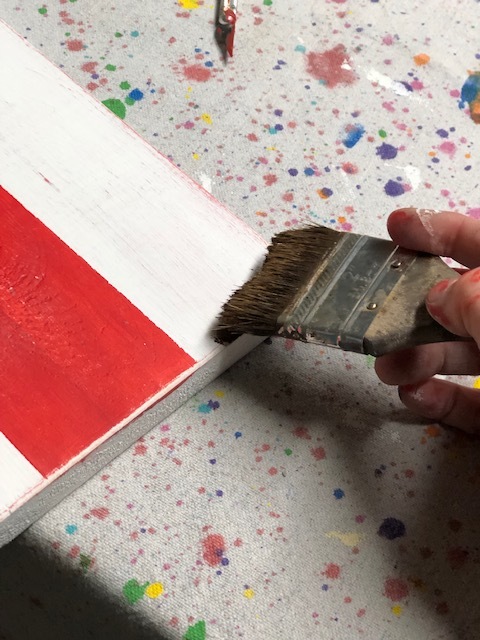
SEVEN- Where the wood is exposed paint that red. Let dry then paint a second coat. While the paint is still wet peel up all the tape. Let dry.

How to make a 2x4 American flag. DIY chunky wooden flag for your primitive rustic home decor. This tutorial will show you how to paint and distress your own wood flag to tie in with your 4th of July, Independence Day, farmhouse style decorations.

EIGHT- After your blocks are dry you’ll want to distress them. Take a piece of sandpaper, or your orbit sander, and distress both blocks. You want to focus on the edges and then lightly go over the front, back, and sides. When you’re finished distressing you want to wipe the dust off with a lint free cloth.

How to make a 2x4 American flag. DIY chunky wooden flag for your primitive rustic home decor. This tutorial will show you how to paint and distress your own wood flag to tie in with your 4th of July, Independence Day, farmhouse style decorations.

Enjoy your new American flag décor! Like with all of my DIY projects if you have any questions please feel free to ask.

How to make a 2x4 American flag. DIY chunky wooden flag for your primitive rustic home decor. This tutorial will show you how to paint and distress your own wood flag to tie in with your 4th of July, Independence Day, farmhouse style decorations.

Free standing wood stars using your Cricut

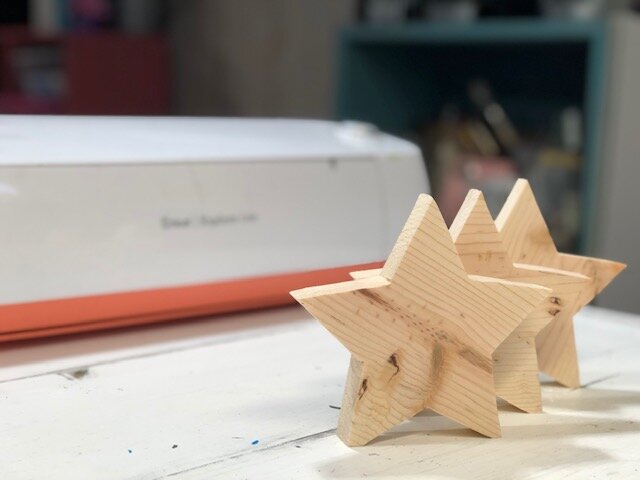
How to use your Cricut to make wood star cutouts. Learn how to make templates with your vinyl cutting machine to cut shapes and letters out of wood.

One thing I never thought I’d be doing is using my Cricut to help me cut out shapes and letters from pine boards. When I got my very first Cricut machine about a decade ago I always thought I’d just be using my new fancy cutting machine to cut paper and make decorations for my kid’s birthday parties. That’s was the case for the first few years. But now my Cricut craft horizon has been broadened and I’m using it for more than I could have dreamed!

Pairing this wonderful little machine of magic with my power tools has been a GAME CHANGER for my crafting abilities. And it can be for you too!

If you’re not totally comfortable using power tools I totally understand and know it’s a very real fear. I was in that same boat not that long ago and slowly was able to put that fear behind me. Here’s a list a power tools that I recommend all lady crafters get. I started off small, mastering the handheld sander, this thing can be SUPER intimidating, then worked my way up to being able to using all the power tools with no hesitation.

Affiliate Disclosure. Some of the links on this website are affiliate links, which means that I may earn a small commission if you click on the link or make a purchase using the link. If you make a purchase you will not be charged anything additional.

USE YOUR CRICUT TO HELP YOU CUT OUT WOOD PROJECTS

Here’s what I used:

The first thing I did was decide how big I wanted my wooden stars to be. I always have scraps of 1x6 boards so I decided 5.4” at the star’s widest would be a good size. I opened up my Cricut app on my computer and added a simple star from the shapes section.

I highlighted it and clicked on the width, since that had the biggest number, and changed it to 5.4”. I left the image locked so that it would be proportionate.

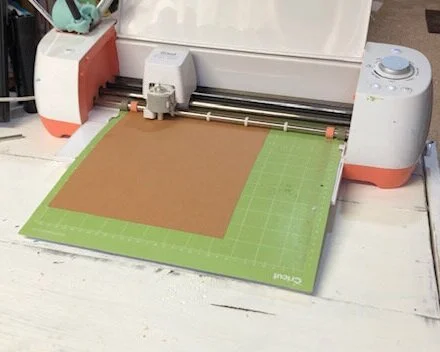
I set my image to cut. Added a piece of cardstock to my green mat and set my blade to light cardstock then hit cut. I also want to add that you can use an older machine like I’m using. I have yet to buy a Cricut Maker, even though I would LOVE to have one but my Cricut Explore is getting everything done for now.

How to use your Cricut to make wood star cutouts. Learn how to make templates with your vinyl cutting machine to cut shapes and letters out of wood.

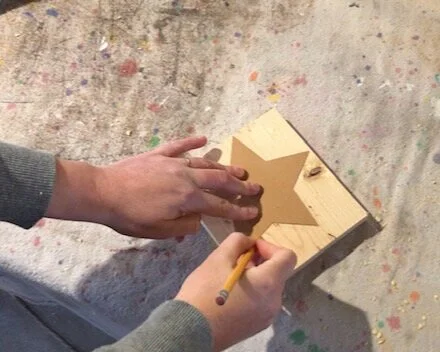
After my cardstock template was cut out I used that to help me cut out the a wood star from a piece of pine.

How to use your Cricut to make wood star cutouts. Learn how to make templates with your vinyl cutting machine to cut shapes and letters out of wood.

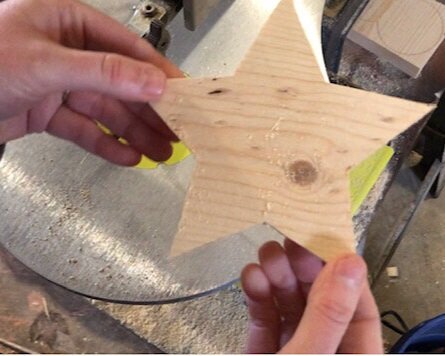
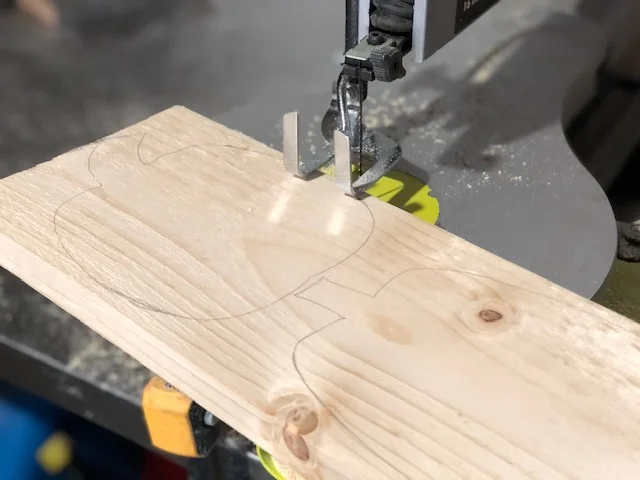
I traced around the star using a pencil then used my Ryobi scroll saw to cut the shape. If you’ve never used a scroll saw it’s a lot like using a sewing machine. Don’t go too fast or you will not get as precise of a cut.

How to use your Cricut to make wood star cutouts. Learn how to make templates with your vinyl cutting machine to cut shapes and letters out of wood.

When I’m cutting out shapes that have lots of angles I don’t do one continuous cut. I cut till I get to an angle then back out. Then make another cut from the opposite side to meet at that angle point. This is just works for me, I know everyone is different so you'll have to find your own rhythm.

How to use your Cricut to make wood star cutouts. Learn how to make templates with your vinyl cutting machine to cut shapes and letters out of wood.

I hope you can use this new information to help you explore all the possibilities of what your Cricut can do. You can take it so much further than just card making and vinyl projects.

How to use your Cricut to make wood star cutouts. Learn how to make templates with your vinyl cutting machine to cut shapes and letters out of wood.

Like with all of my tutorials if you have any questions please ask away. I am happy to try and answer :)! Click here to check out how I finished my wood star cutouts.

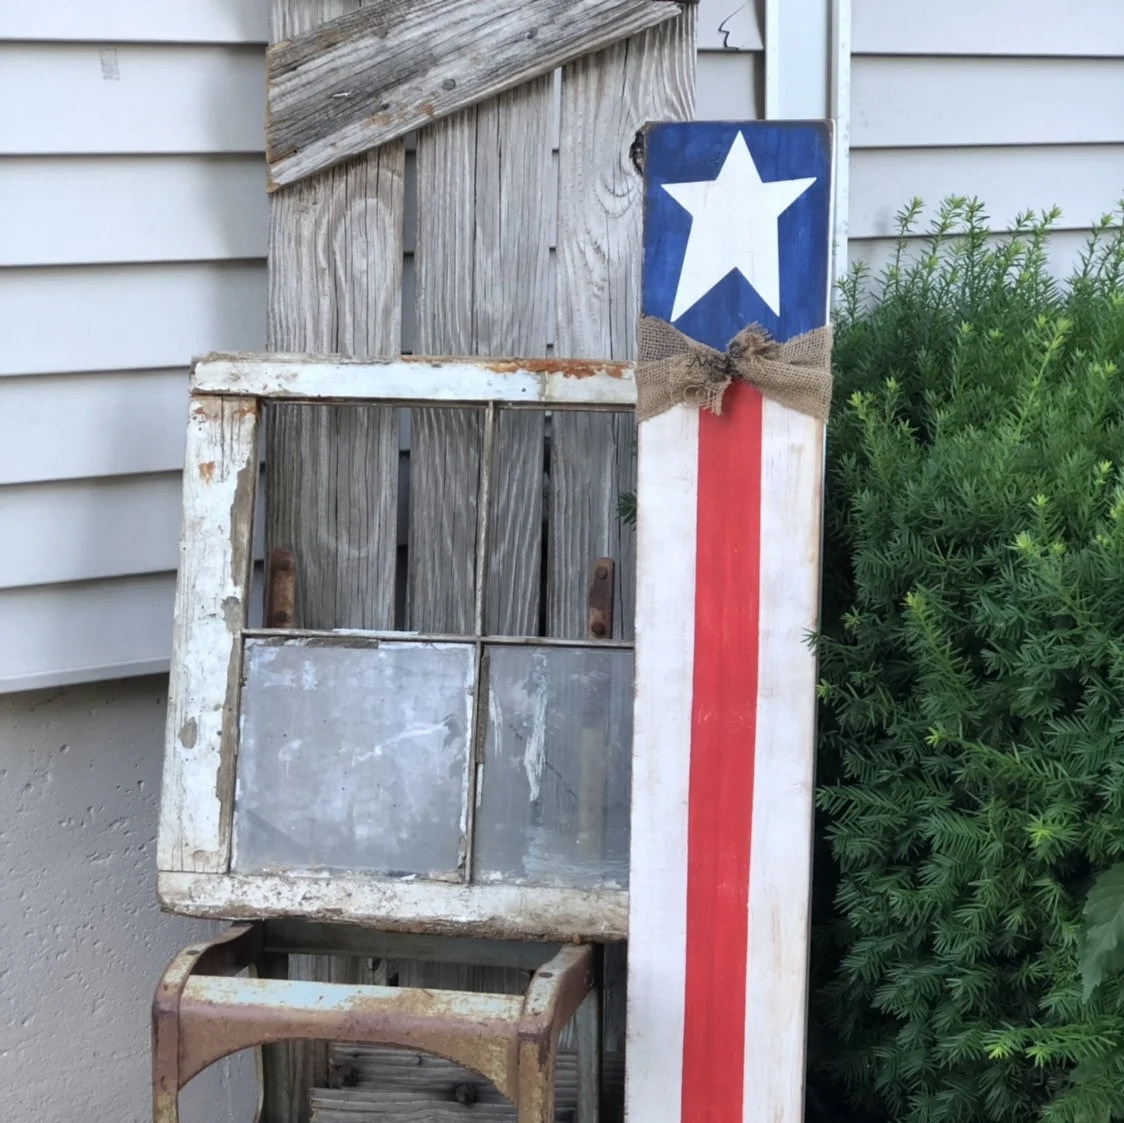
How to make an American Flag leaning porch sign

How to make an American Flag porch sign DIY tutorial

I just can’t seem to get enough of the patriotic décor these days! It started a few months ago when I made these fun fireworks from a wood 4x4 . Then I added this old classic to the blog, a hanging wood flag made from 1x4’s {you can find this handmade piece in my Etsy shop that sells like crazy this time of year}. And I had to make a tutorial of a red, white, and blue rag wreath. I tell ya, I’ve been obsessed lately with making these tutorials! And I have another one ;)!!!

Affiliate Disclosure. Some of the links on this website are affiliate links, which means that I may earn a small commission if you click on the link or make a purchase using the link. If you make a purchase you will not be charged anything additional.

I had everything I needed on hand to make this but I’ve included the links where you can get some of these supplies. Yes, those are affiliate links but not to worry, you will not be charged anything extra if you make a purchase through them. They are just a way for this stay at home momma to help with the daily bills of raising our four little girls :)!

I promise this sign is SUPERRRRR easy!

Here’s what you’ll need

Handy tools


First you need to cut your board and give it a quick sanding with 120 grit sandpaper. I personally LOVE working with Ryobi Power Tools. For years I used my husband much more industrial strength tools {he works commercial construction so his tools need to be crazy powerful} till I found these little gems and I have no plans of ever letting these guys go!

Then you need to paint your ENTIRE board white. Do one very thin coat, once dry add a second coat.

How to make an American flag leaning porch sign, DIY tutorial

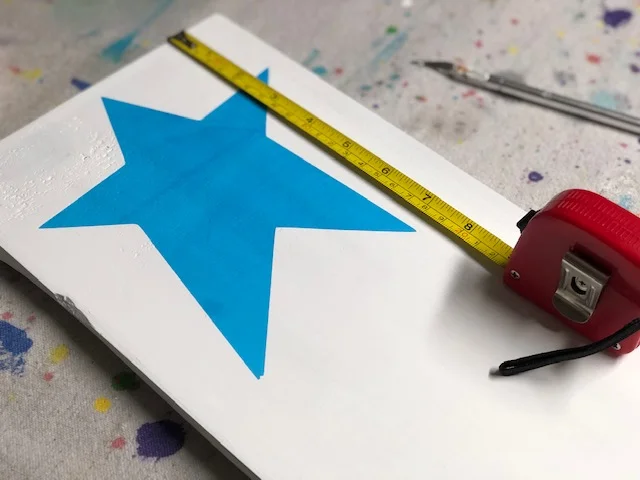
If you’re using a stencil cut it out while your board dries. I use my Cricut but you can use any vinyl cutting machine. The star I cut out was approx. 6” wide. If you don’t have access to one you can free hand your star. If going this route I recommend using a pencil when you do the outline.

American flag18.jpg

Apply your star stencil to your board. Then decide where you want your blue line to stop below it. Measure that distance and make a mark on each side. I made mine approx. 9” from the top.

How to make an American flag leaning porch sign, DIY tutorial

Now run a piece of tape from side to side where you made those marks. This will help to keep your line crisp.

How to make an American flag leaning porch sign, DIY tutorial

Paint the entire top area blue. I used a royal blue but any blue shade that you like will be perfect. I painted two coats of blue, allowing it to dry completely between coats.

How to make an American flag leaning porch sign, DIY tutorial

Remove the star and the tape.

How to make an American flag leaning porch sign, DIY tutorial

I at first planned to paint two stripes of white and two stripes of red going down my board…big mistake. It was not as cute so I had to repaint it. I had to paint the bottom part red, because it is far easier to cover white with red than to cover red with white.

Using the same measuring technique as above but going vertically instead of horizontally, tape off the bottom so you have three equal stripes. If I wouldn’t have messed my stripes up from the beginning I would have taped them off the opposite from pictured below and painted inside the tape lines red. Instead I had to make more work for myself. I hope that makes sense. Just like with the blue, paint two coats and let dry between coats.

How to make an American flag leaning porch sign, DIY tutorial

Then peel off the tape. Go in with a small paint brush and fix any mistakes if necessary.

How to make an American flag leaning porch sign, DIY tutorial

Using your sander, sand around the edges, corners, and give the front a super quick once over. Then you’re ready to apply your wax. Check out my DIY mini wood pumpkin tutorial for a more in-depth how to on applying antiquing wax.

How to make an American flag leaning porch sign, DIY tutorial

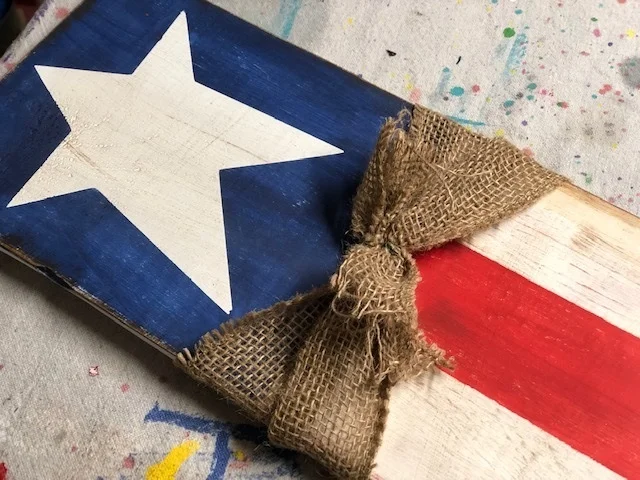
Add a piece of burlap. I tied mine off with a piece of floral wire but you can tie yours in a bow or a knot.

How to make an American flag leaning porch sign, DIY tutorial

I added a couple pieces of baling wire just to give it a little extra cuteness!

How to make an American Flag leaning porch sign, DIY tutorial

If you love this piece but don’t have the time to make it and NEED it in your life ;) you can purchase one personally made by me here ————> AMERICAN FLAG LEANING PORCH SIGN


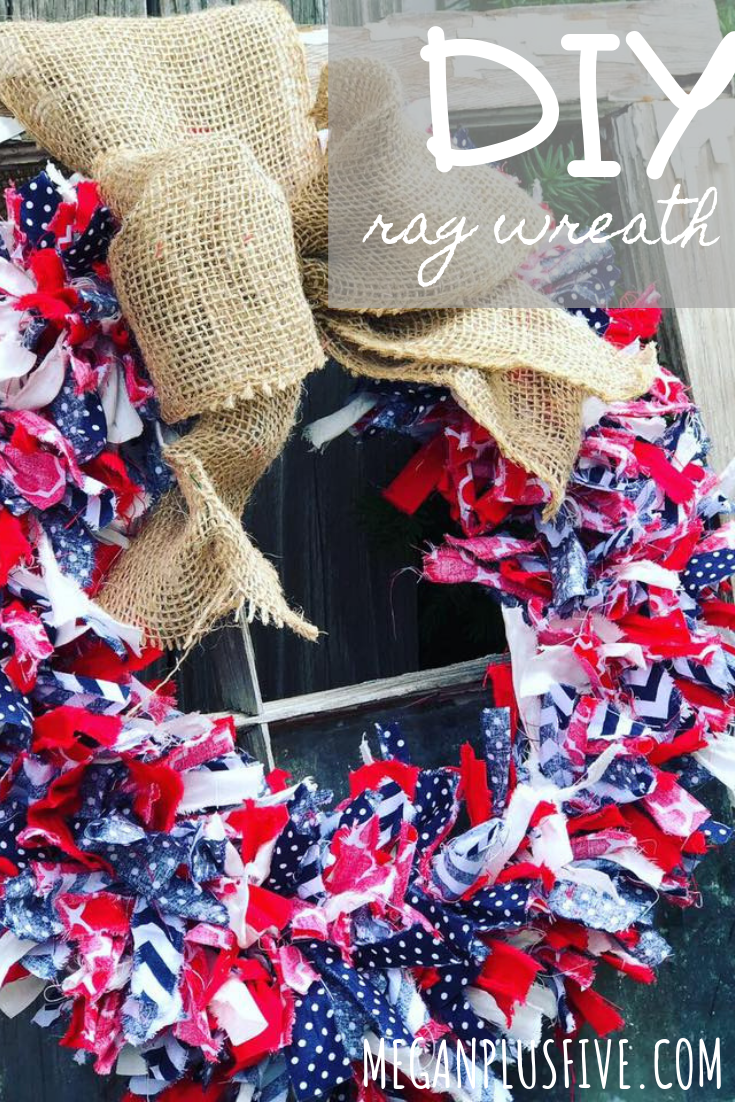
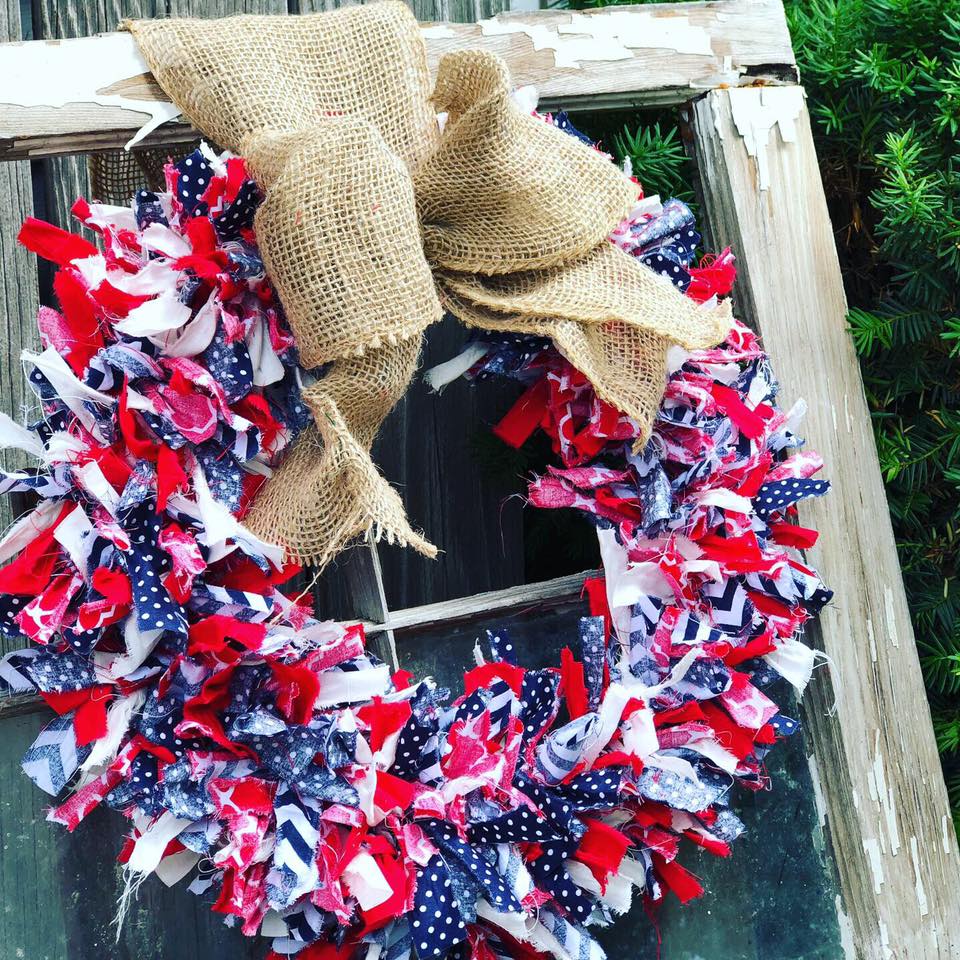
DIY 4th of July rag wreath

DIY 4th of Julyl Rag Wreath, easy how to make your own

I love the shabby chic look for many reasons but mainly because that look is totally imperfect just like me. I’m a busy momma to four little girls so there’s no room in our beautiful chaos for absolute perfection.

Affiliate Disclosure. Some of the links on this website are affiliate links, which means that I may earn a small commission if you click on the link or make a purchase using the link. If you make a purchase you will not be charged anything additional.

I needed a new wreath for our front door for the 4th of July. I have been truly slacking in the red, white, and blue décor the last few years and really needed a spruce up. But I didn’t have the time to make anything big and wonderful and it’s not in our budget to make a ton of new decorations. So I decided on a RAG WREATH for our front door and I’m so glad I did! If you like this tutorial check out the DIY spring rag wreath I made.

save on Pinterest for later

DIY Fourth of July rag wreath

Here’s what you’ll need

  • 5 fat quarters of fabric, I found these at my local Walmart and even better I got a few of them in the clearance aisle!

  • wire wreath form, I found mine at Dollar Tree

  • scissors

If you love the big burlap bow go here ———-> to my HOW TO MAKE A BURLAP BOW tutorial.

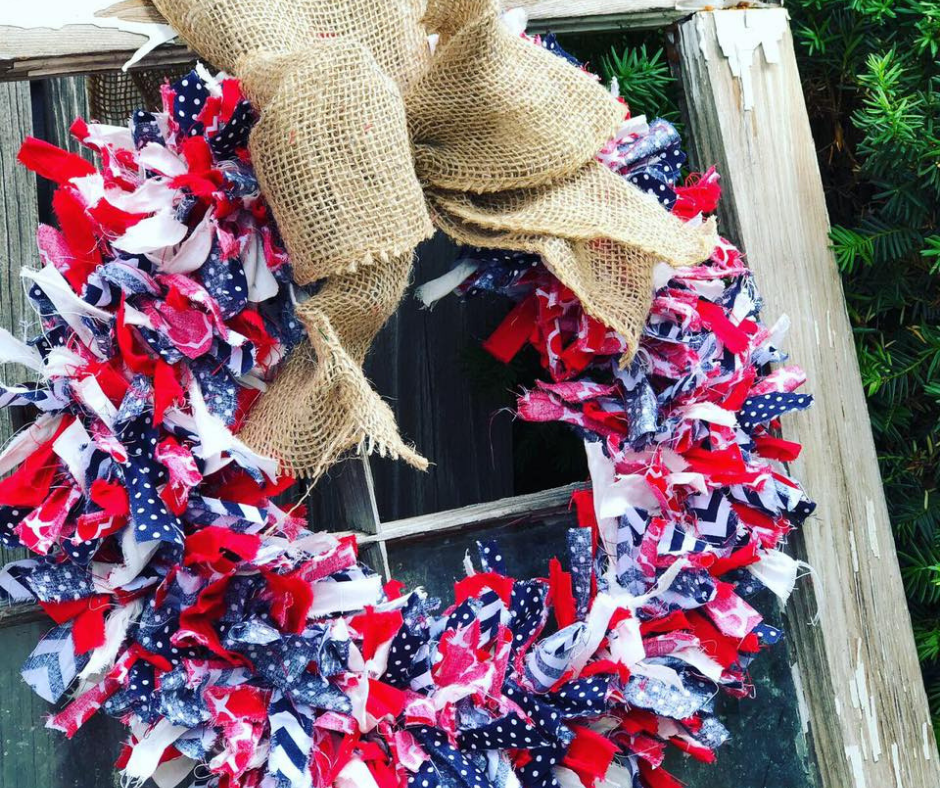
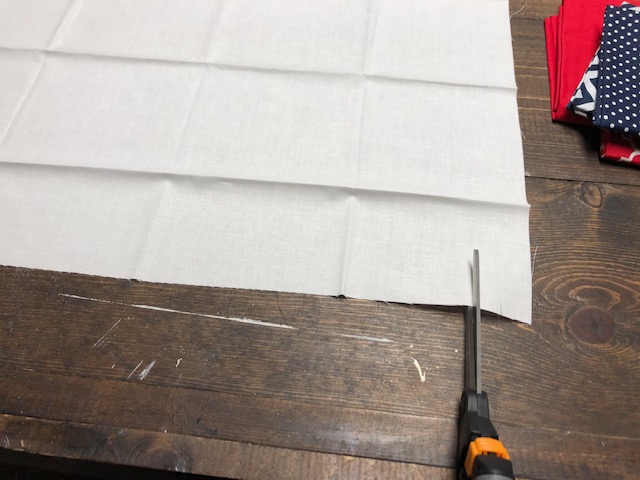
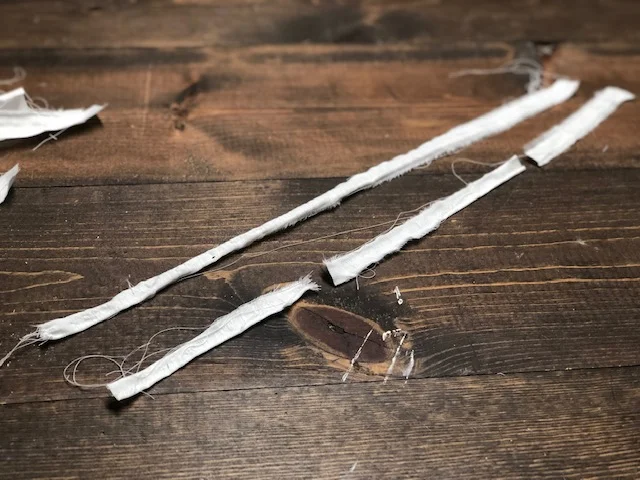
Working with one fat quarter at a time, unfold and don’t worry about the creases. You won’t be able to see these. Going along the bottom make a small cut every .75”-1”. If you want your tie pieces to be larger make your cuts farther apart.

DIY 4th of July rag wreath

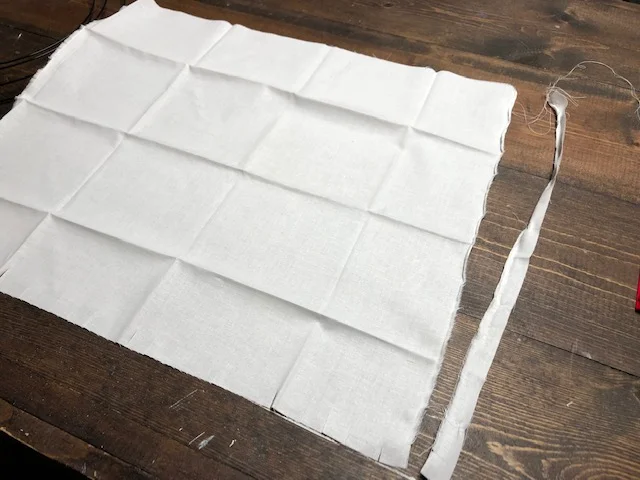
Now rip each of those cuts all the way to the other end using your hands, not your scissors. This will give your fabric a frayed looked.

DIY 4th of July rag wreath

After you have all your small cuts ripped cut each strip into 3rds like the picture below. Because I am a far cry from a perfectionist none of mine were the same size. If you like things a little more perfect than this you can measure these out.

Repeat these steps for ALL the fabric quarters.

DIY Fourth of July rag wreath

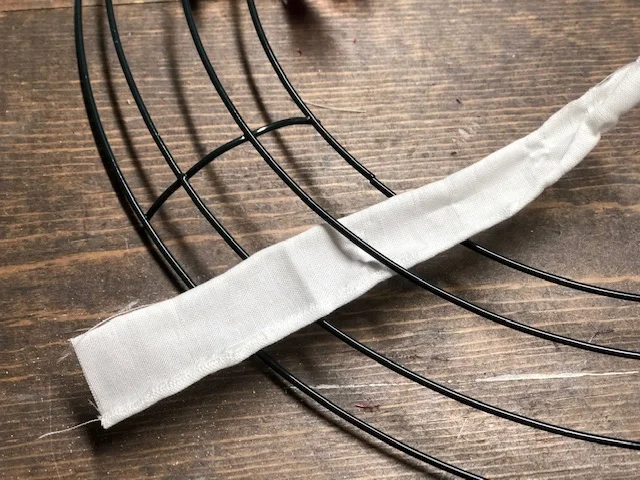
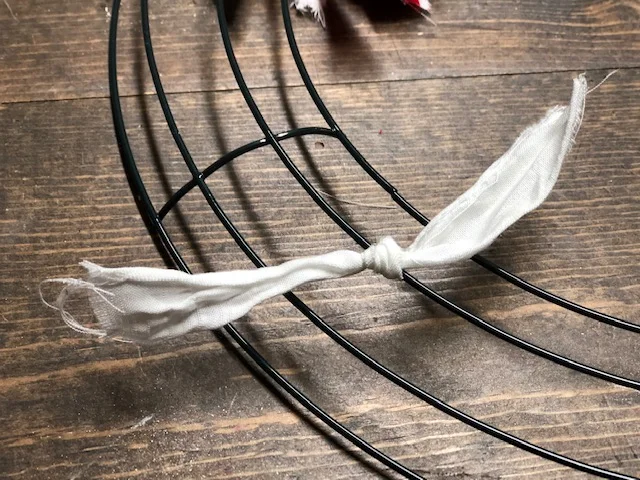
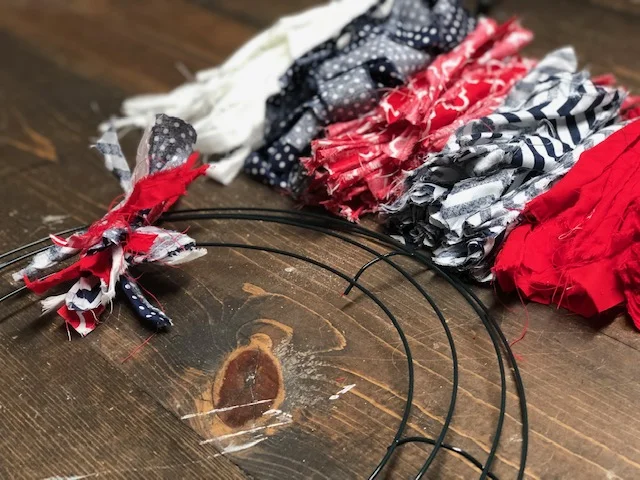
After you have all your pieces ripped and cut into thirds start tying them to your wire wreath form. To make sure I had enough fabric to cover the entire wire form I moved to the next section before it was full and did that for all the sections. Then I went around and filled in the blank spaces.

DIY 4th of July rag wreath

Be sure you are staggering out your fabric prints. You don’t want too many of the same print in one spot.

DIY 4th of July rag wreath

You can leave it plain and simple or tie a bow to it like the burlap bow I tied to this one.

DIY 4th of July rag wreath

What do you think? Super adorable and SUPER easy to DIY at home!


Check out these other 4th of July DIY crafts.

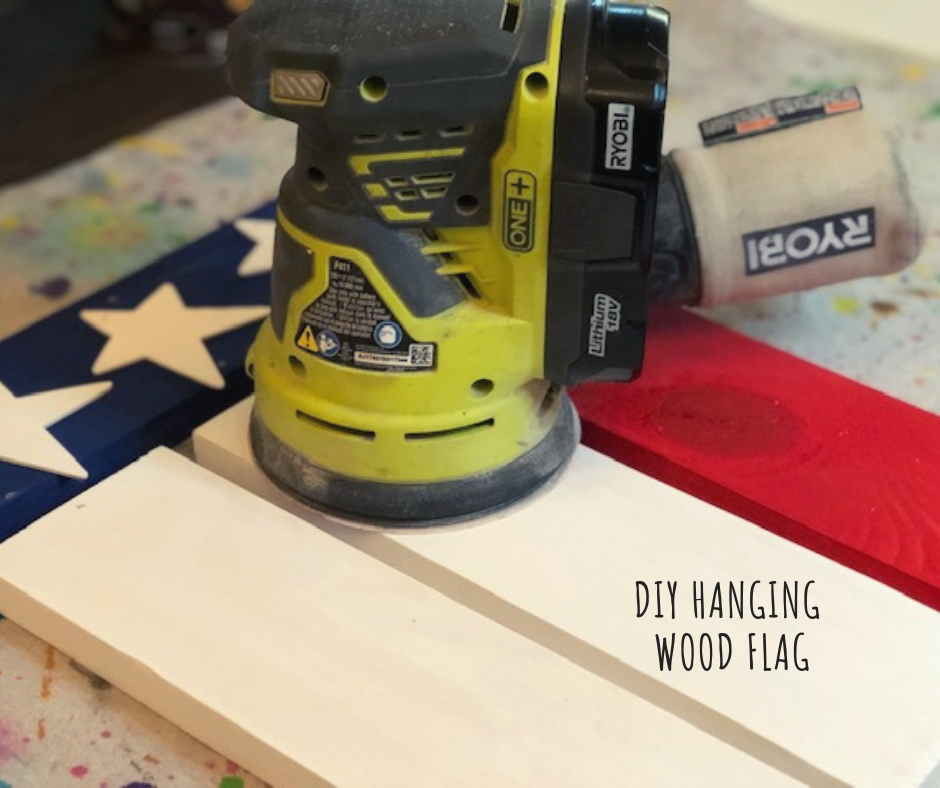
DIY hanging wood flag

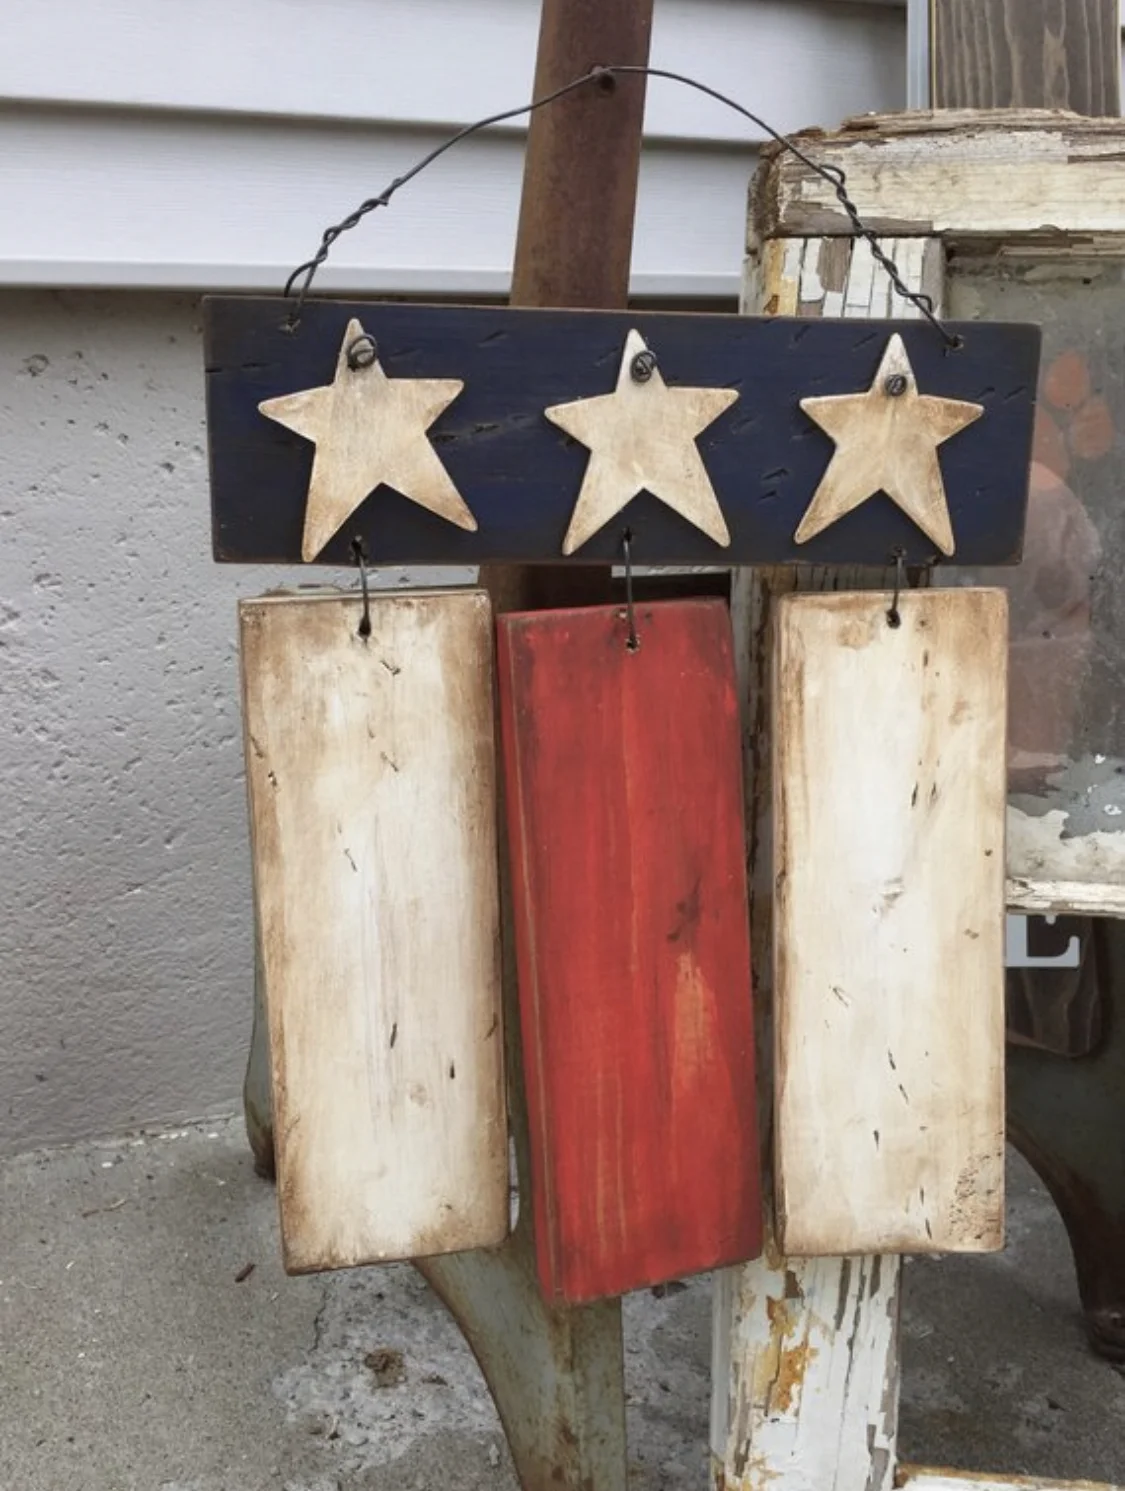
Do it yourself rustic American Flag, how to make a hanging American flag

I love patriotic décor. Not only because I truly love being an American but because it never goes out of season! You can leave it up year round and it looks perfectly beautiful and not at all out of place, unlike the wooden Santa I had hanging out in the living room five months after Christmas. Yes, that’s a true story! My grandma painted this amazing 5 ft tall Santa ages ago and I somehow overlooked him for months in our living room.

So unlike Mr. Claus, patriotic décor would not stick out like a sore thumb long after Independence Day has passed.

If you don’t have time to make your own be sure to stop by my Etsy shop and purchase your own handmade wood American Flag made by yours truly ;)

Affiliate Disclosure. Some of the links on this website are affiliate links, which means that I may earn a small commission if you click on the link or make a purchase using the link. If you make a purchase you will not be charged anything additional.

Ok, on to the tutorial.

Here’s what you’ll need

SUPPLIES

DIY hanging wood flag, how to make your own primitive American flag

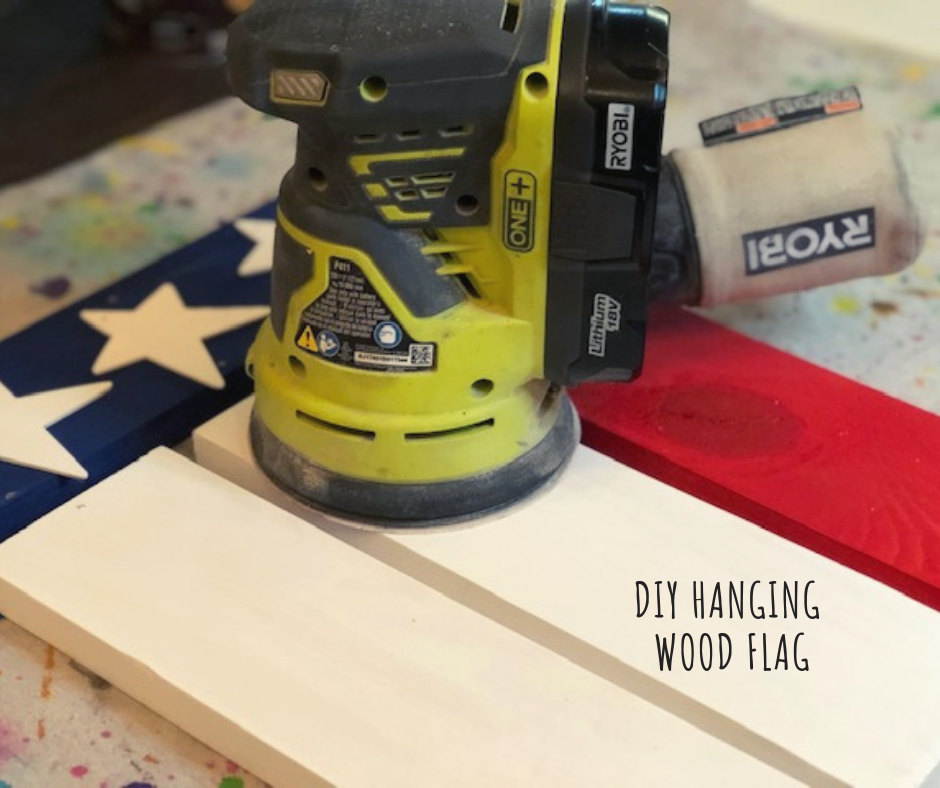
After you cut down your 1x4 into the correct sizes you need to give them a quick sanding. I use my Ryobi handheld cordless sander for this but you can use just sandpaper or a sanding block, although it will take a lot more work and more time. I purchased my sander fairy cheap at my local hardware store, one of the best $50 I’ve ever spent! After you have all the 1x4 pieces sanded give them a quick wipe down to get all the saw dust off.

Next you need to paint all the wood pieces and the stars. I only did two coats on each piece. To get the look that I did on mine you will need to paint all three stars WHITE, 2 of the 1x4x12’s WHITE , 1 of the 1x4x12 RED, and the 1x4x13 BLUE. Let them dry COMPLETELY between coats.

DIY hanging wood flag, make your own American flag at easy with this tutorial

After everything is totally dry you need to mark your pieces where you will drill your holes. I am not a perfectionist so I just eyeball it. It’s rustic so it doesn’t have to be perfect anyway ;) I do this with a pen but if you’re worried about messing up you can use a pencil.

DIY hanging wood flag, how to make an American flag at home for your porch

Not counting the stars, your pieces should have a total of 11 markings, 3 on the top of the blue piece where you will attach the stars, 3 on the bottom of the blue piece where you will attach the hanging white and red pieces, 1 on the top right of the blue piece and 1 on the top left of the blue piece where you will attach the baler wire to hang for displaying, 1 in the top middle of each white piece, 1 in the top middle of the red piece. I don’t typically mark the stars because it’s not necessary, the hole goes in the top of the star.

DIY hanging wood flag, how to make your own American wood flag to hang on your front door

Now it’s time to drill. Your drill bit will vary depending on how thick your baler wire is. I always use a drill bit that is just a size above the wire size, that way the wire has room to move so that it’s not super tight. Be sure when you are drilling the holes in the stars you don’t get too close to the top. If you get too close you will crack the tip of the star and you won’t be able to use it. PRO TIP: place a flat discarded piece of wood under what you’re drilling into so you don’t drill into the table underneath.

DIY hangin wood flag, how to make your own at home

Now it’s time to distress. Using your Ryobi sander sand around the edges. Here’s a good example on how I do this in my Dr. Seuss keepsake craft. There are some good close ups on sanding just the edges and rounding the corners of the wood to give it a perfect rustic look.

DIY hanging wood flag, how to make your own American flag to display on your front porch

I only sand the 1x4 pieces. The stars are so small and fragile that yo don’t need to sand those, using the wax on them in the next step will work just fine.

Apply wax around all the edges, corners, and give them a light coat down the center of each piece. Check out my DIY rustic wooden pumpkins post on a more detailed way to do this using your chip brush. I love pretty much any brand of antiquing wax, they all work great! PRO TIP: cut the bristles down on your chip brush. You get a better outcome when the bristles are shorter and stiffer.

DIY hanging wood flag, how to make your own American flag porch decor

You’re almost done! The next steps are just assembling your pieces together. You’ll need your baler wire and wire cutters for this.

DIY hanging wood flag, how to make your own patriotic porch decor

You’ll need 3 wire pieces cut to approx. 6”-7”. Cut your pieces short if you want less space from the blue piece to the hanging pieces, and longer if you want more space from the blue piece to the hanging pieces. Now make a loop with your plies on ONE end of each piece like pictured below.
DIY hanging wood flag, how to make your own American flag porch decor

These loops will go on the BACK of each piece.
DIY hanging wood flag for the front door

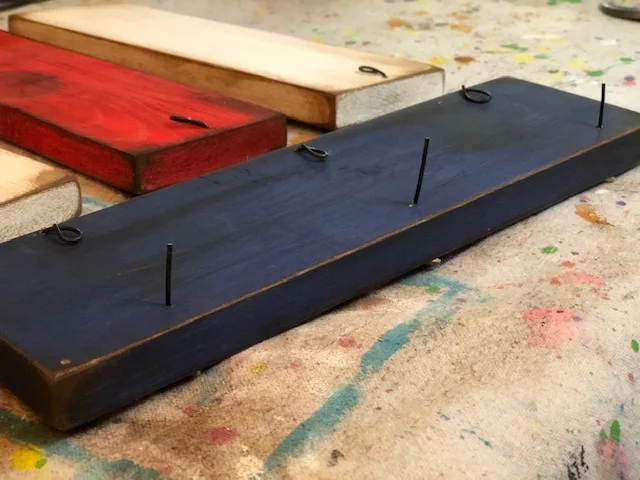
Then connect it to the blue piece and loop the end just like you did before. This is what the BACK of your flag should look like before you attach your stars.
DIY front door hanging wood American flag

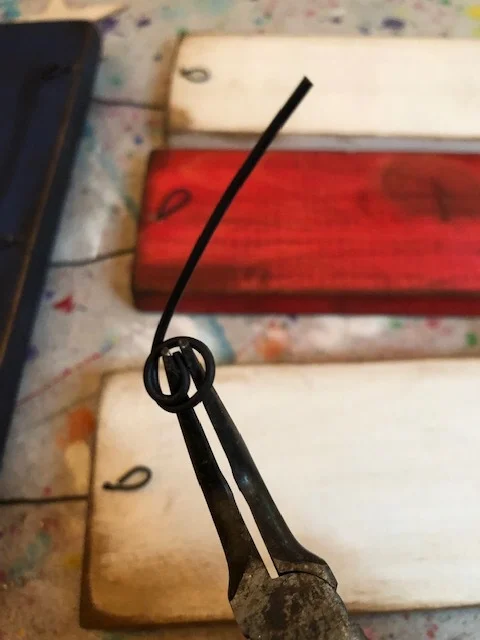
The star wire is slightly different. You’ll need a 3” piece for each star. One end you need to wrap a few times around your needle nose pliers. This doesn’t have to be perfect, mine never are. Leave the other end open.

DIY front door hanging American flag

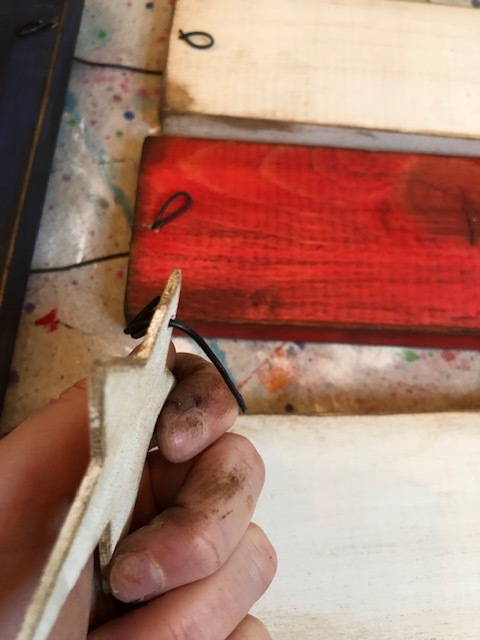
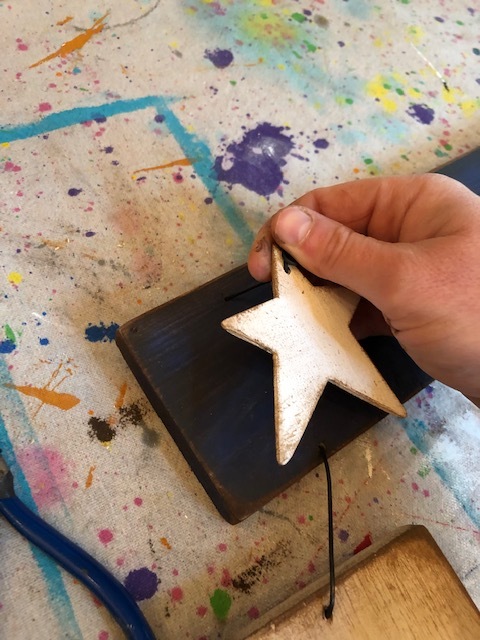
Then feed the straight end of the wire through the front of your star then through the front of the boar where you drilled a star hole.

DIY hanging wood flag for your front porch
DIY hanging wood flag

After you put your star wires through their holes on the blue wood you want to do the same thing and loop them on the back like you did with the other wires. Pictured below is BEFORE they are looped.

DIY hanging wood flag for your front porch

Add a piece of wire to hang at the top corner holes and you’re done! I know it seems like a lot of steps but it’s SUPER easy! I’d love to see pictures of your handmade patriotic decor, especially if you make this piece:)!!

IMG_4189.jpeg

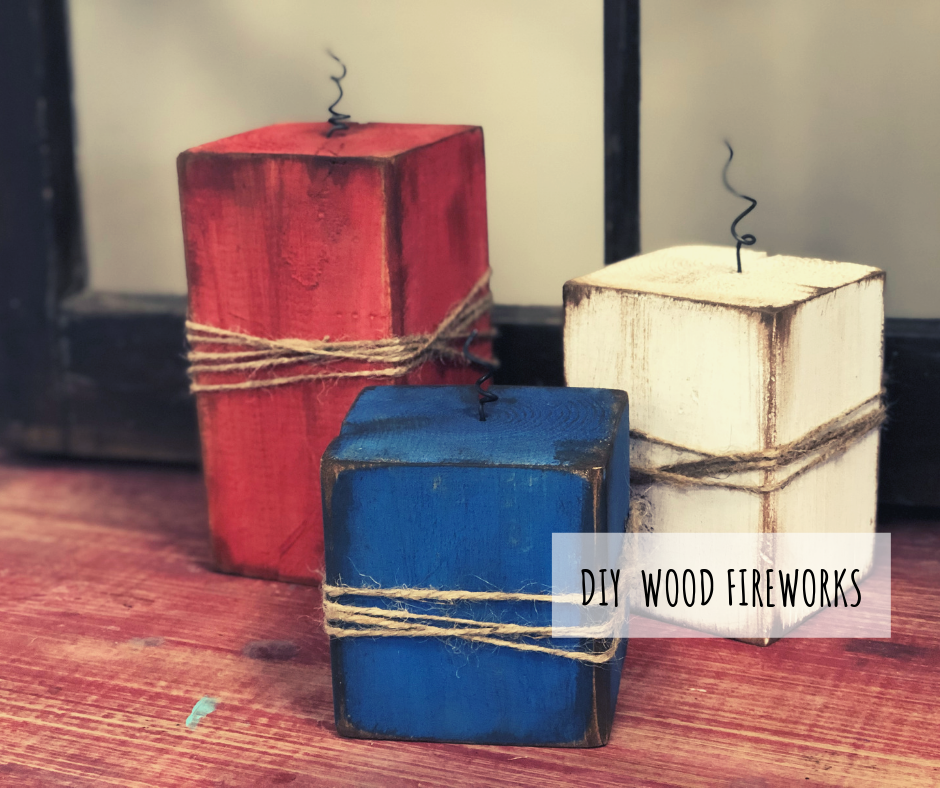
DIY 4X4 Wood Firecrackers

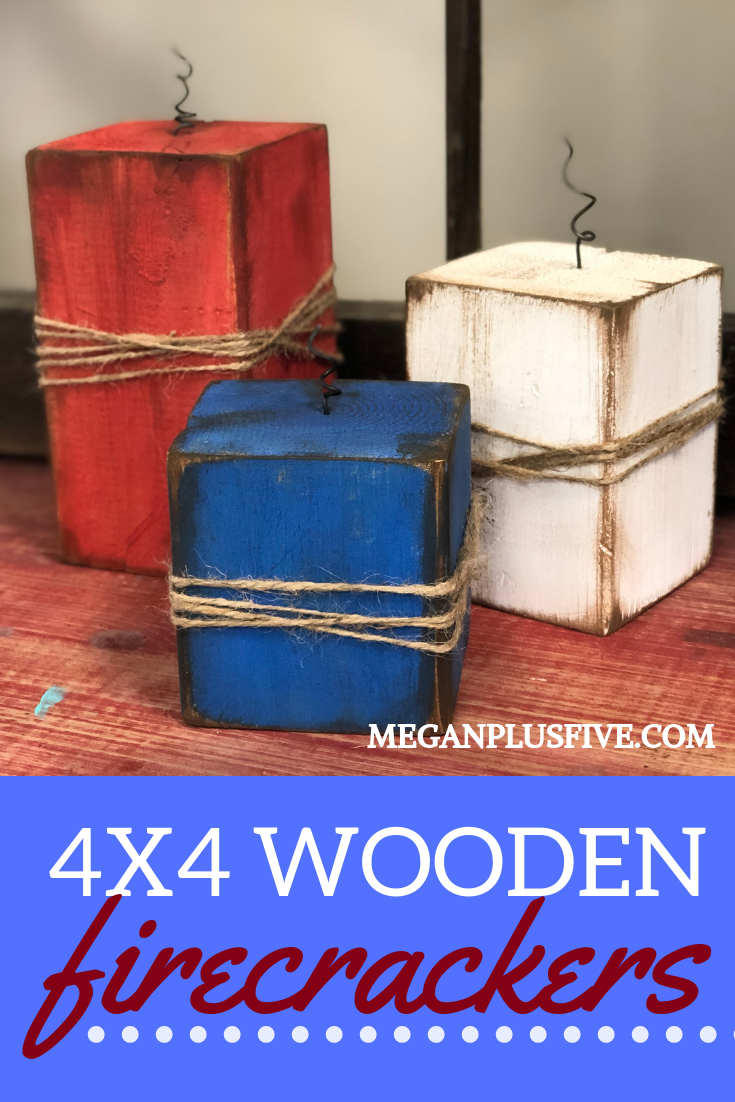
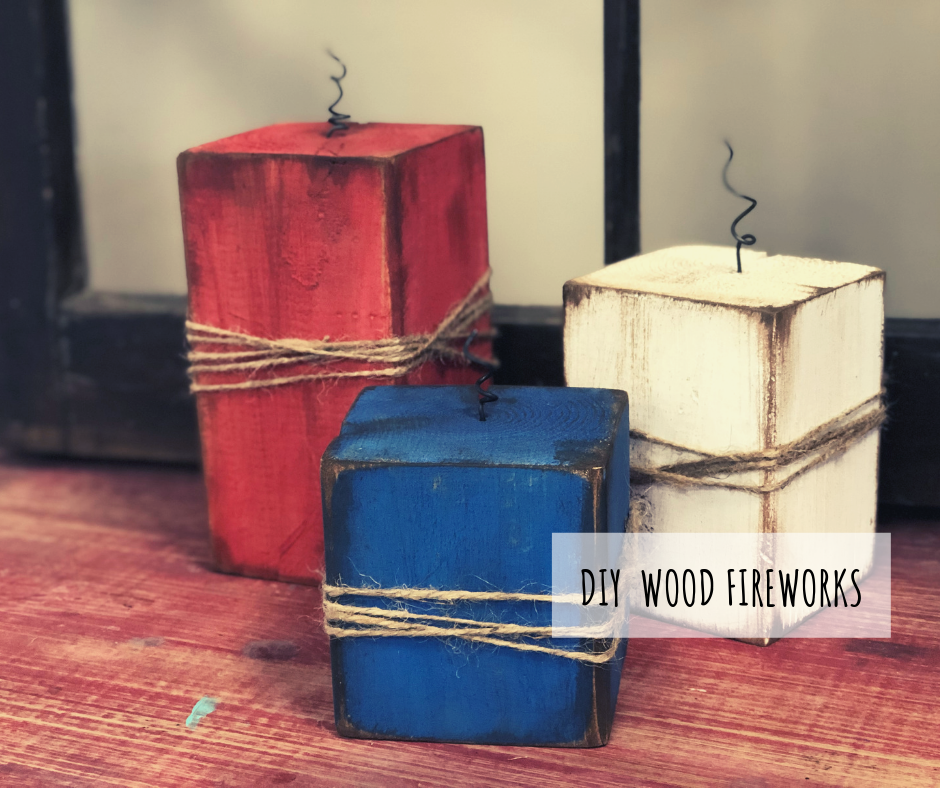
DIY 4x4 Wood Firecrackers, easy Fourth of July Craft to make at home

Affiliate Disclosure. Some of the links on this website are affiliate links, which means that I may earn a small commission if you click on the link or make a purchase using the link. If you make a purchase you will not be charged anything additional.

I am a sucker for a quick and easy simple crafts! These kind of projects give you an instant satisfactions because you don’t need to wait days for them to cure and you can even get the kiddos involved in the creative process because honestly there’s not a whole lot they can mess up with these little guys.

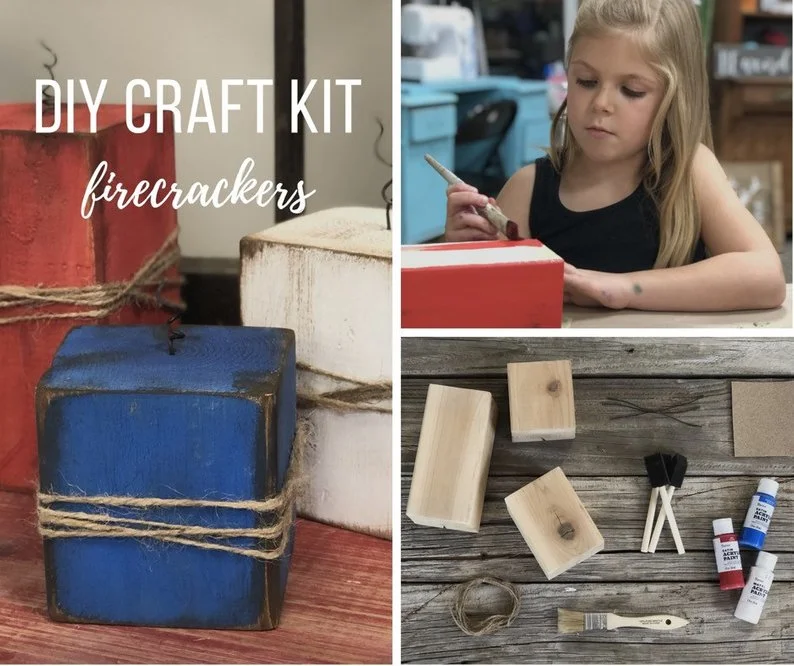
This project does require the use of some power tools but if you don’t have them handy you can purchase an easy craft kit from our studio. We do all the cutting, pre-sanding, drilling, and include all the materials PLUS printed of instructions on how to make them at home so you don’t have to come back to this page while your hands are covered in paint.

Here’s what you’ll need if you’re making yours totally from scratch…

DIY Wood Fireworks.png

If you prefer to order online I’ve attached Amazon links to most of the supplies above. You can purchase most of the supplies at your local Walmart and home improvement stores.

First you need to cut your 4x4 down to 4, 5.5, and 7 inch lengths. Some home improvement stores will do this for you but usually their blades are very dull and will splinter your wood badly. For this project the splinters would add a ton of character but I wouldn’t depend on this being an option for most of your other DIY projects.

DIY 4X4 Wood firecrackers

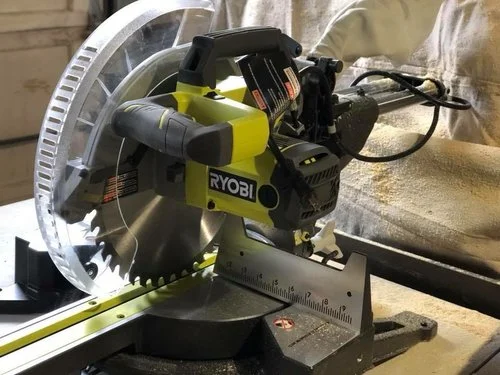
My husband got me my own saw last year and I am LOVING it! Granted it was more money than I wanted to spend but it has been one of the best investments we’ve made in our business. Ryobi makes a really great line of tools, especially if you’re just using them to make projects for your home or running your own creative craft business like I do. This particular saw is great because it is a slider. It can cut anything from 1/2” pieces all the way up to 12” wide {and probably a little wider but I only cut up to 12”}.

After your pieces are cut you need to give them a quick sanding. Again, I use my trusty Ryobi tools for the job. I typically use 120 grit sandpaper for most of my projects. This is a good in the middle grit. If you want to get crazy you can sand with all the way thru the different grits but I don’t usually do this…I’m a busy momma of four 120 works perfect, lol!

DIY 4X4 wood firecrackers

After you have your pieces sanded be sure to wipe off all the saw dust. You don’t want this on the wood when you start painting.

Depending on the size wire you get will depend on the size drill bit you’ll need. Drill a hole in just the top of each piece of wood. I drilled mine about 1/2” deep.

DIY 4x4 Wood Firecracker

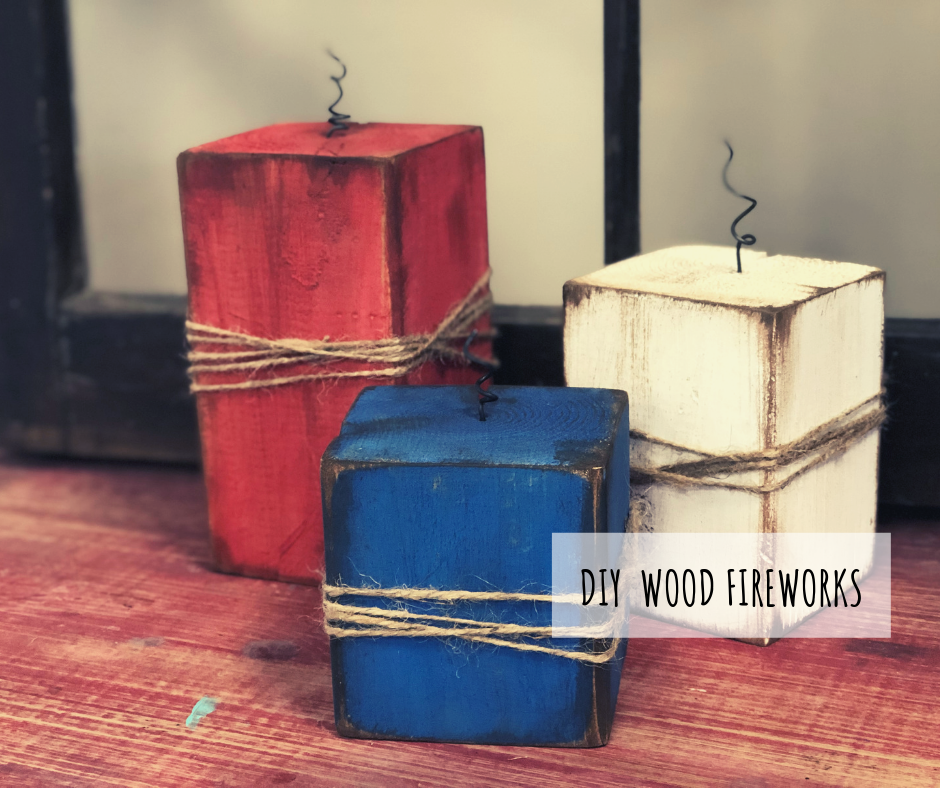
Paint each of your blocks a different color. You’ll need one red, one white, one blue. I did two coats on mine. This is a good time to get the kiddos involved. They really can’t mess these little guys up. Be sure to let the paint dry COMPLETELY between coats. If you don’t your paint will likely pull away from the wood as you apply it on top of wet paint.

After both coats are dried you want to give your blocks a light sanding. Focus on the edges and the corners.

DIY 4x4 wood firecrackers

Using your chipbrush apply a light layer of the antiquing wax to the areas you sanded. You can do this as heavy or as light as you like. Remember a little bit goes a long way and you can always add more if you want to.

Now add a little hot glue to the end of the wire and quickly stick it down in the hole you drilled. Once they are dry and in place you can twist them if you’d like.

Wrap the middle of each wood block in twine and you’re done! Super easy!

DIY 4x4 Wood Firecracker craft

I hope you found this craft as fun as I did! Enjoy your Fourth of July!


How to make painted wood signs, all the tips and tricks the pro's won't tell you