DIY 4th of July wood tags

DIY wood tags for Fourth of July made from a 1x4. Tiered tray rustic farmhouse wooden tags for the 4th of July. Red white and blue patriotic farmhouse rustic DIY decorations for coffee bar.

Easy 4th of July wood tags for rustic decor

I love those little wood tags. They are oh so cute and fit perfectly on a farmhouse style tiered tray. You can literally create these wooden tags for any occasion or season AND they are SO cheap to make! Especially if you have scrap pieces of 1x4’s around.

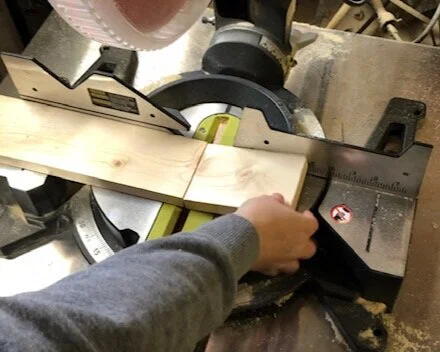
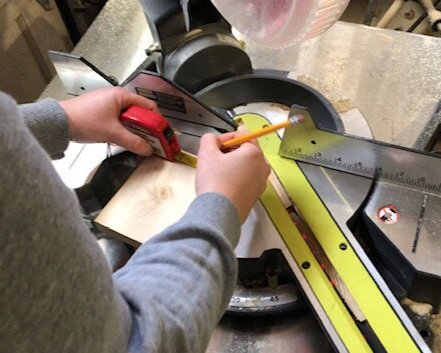
For my 4th of July themed coffee bar I told myself to get an early start because I would totally put it off and not make all the things in time to both share with you all AND get my display up in time to enjoy it for the holiday. So I got my butt in gear, cut myself some wooden tags, put on some makeup & real clothes and went live on my Facebook page while I made these little wooden patriotic tags.

DIY wood tags for Fourth of July made from a 1x4. Tiered tray rustic farmhouse wooden tags for the 4th of July. Red white and blue patriotic farmhouse rustic DIY decorations for coffee bar.

Affiliate Disclosure. Some of the links on this website are affiliate links, which means that I may earn a small commission if you click on the link or make a purchase using the link. If you make a purchase you will not be charged anything additional.

DIY wood tags for Fourth of July made from a 1x4. Tiered tray rustic farmhouse wooden tags for the 4th of July. Red white and blue patriotic farmhouse rustic DIY decorations for coffee bar.

Here’s what you need to make Fourth of July wood tags

1.PAINT THE WOOD TAGS

Since these are patriotic themed wood tags I went with the colors red, white, and blue.

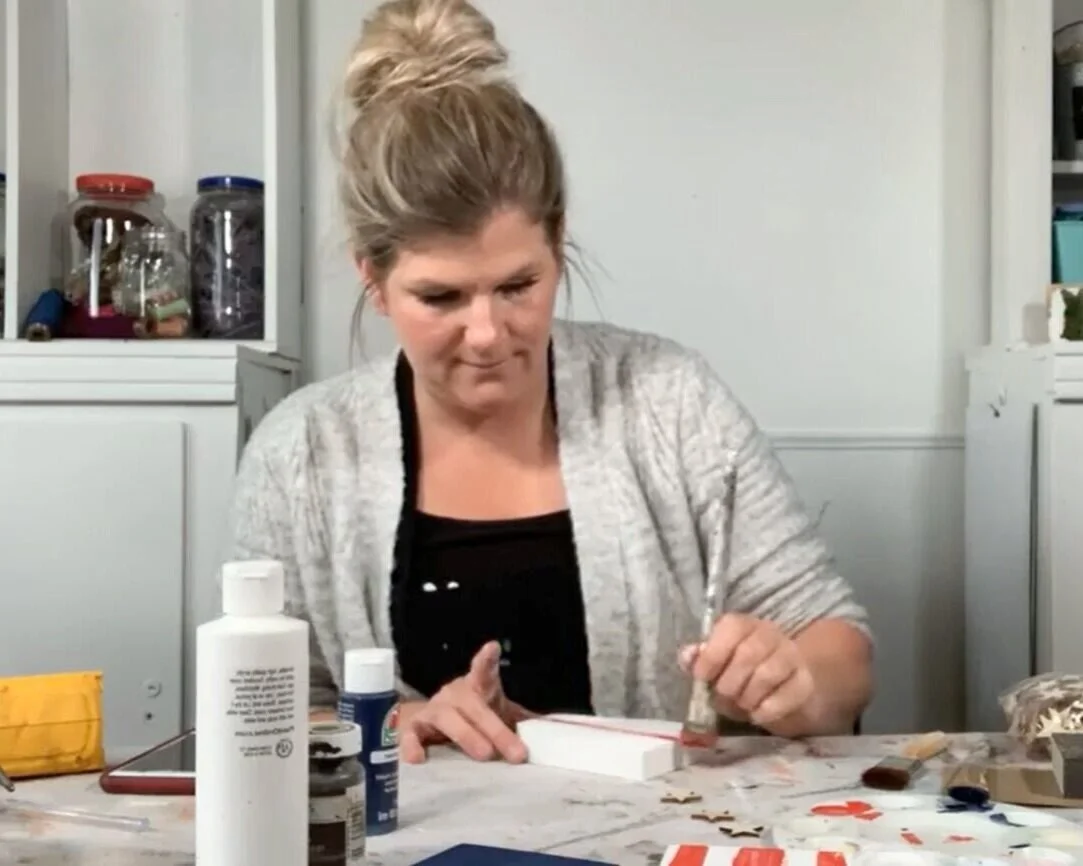
I painted two of the tags all white, when the first coat was dry I painted a second coat on them. Sorry for the grainy pic I took snips for my fb live I did to create these.

DIY wood tags for Fourth of July made from a 1x4. Tiered tray rustic farmhouse wooden tags for the 4th of July. Red white and blue patriotic farmhouse rustic DIY decorations for coffee bar.

Then I painted the third wood tag blue. I used an English blue and not a true blue so it would tie in better with my rustic farmhouse looking home décor.

DIY wood tags for Fourth of July made from a 1x4. Tiered tray rustic farmhouse wooden tags for the 4th of July. Red white and blue patriotic farmhouse rustic DIY decorations for coffee bar.

2. PAINT RED STRIPES

Unlike my chunky 2x4 wood flag where I used tape and got a cleaner look I just eyeballed the stripes on these wood tags and was happy enough lol! But if you want a little cleaner lined look to your stripes you can use masking or painters tape to make the lines a little straighter, even, and more crisp.

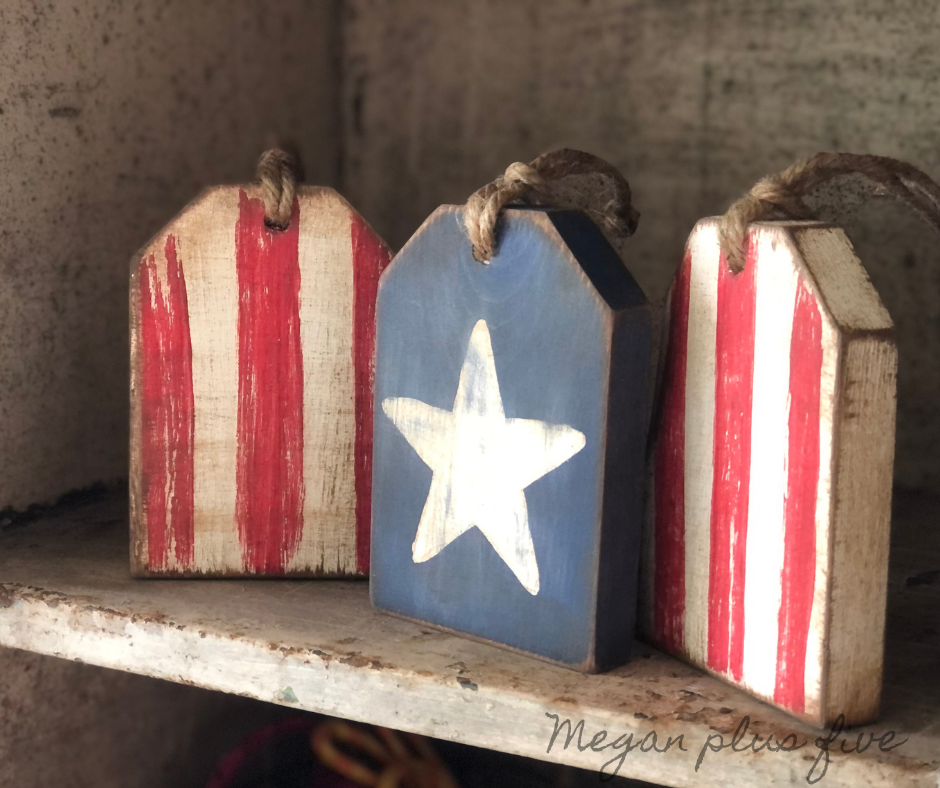
I painted 3 stripes on each wood tag. One down the center then one stripe on either side of the center stripe.
DIY wood tags for Fourth of July made from a 1x4. Tiered tray rustic farmhouse wooden tags for the 4th of July. Red white and blue patriotic farmhouse rustic DIY decorations for coffee bar.

3. ADD A STAR

You can free hand this, use an adhesive stencil, a cardstock stencil, or trace a wood cutout of a star like I did. I had a leftover star from a Christmas ornament that I didn’t use so naturally I put it with the rest of my hoarded craft supplies. I centered it on my wood tag then traced around it with a pencil.

DIY wood tags for Fourth of July made from a 1x4. Tiered tray rustic farmhouse wooden tags for the 4th of July. Red white and blue patriotic farmhouse rustic DIY decorations for coffee bar.

I took a small paint brush and painted a thin coat of white acrylic paint. After that was dry I painted a second coat over it.

DIY wood tags for Fourth of July made from a 1x4. Tiered tray rustic farmhouse wooden tags for the 4th of July. Red white and blue patriotic farmhouse rustic DIY decorations for coffee bar.

To help speed up drying time I used my heat gun. This tool was so inexpensive and comes in handy all the time!

DIY wood tags for Fourth of July made from a 1x4. Tiered tray rustic farmhouse wooden tags for the 4th of July. Red white and blue patriotic farmhouse rustic DIY decorations for coffee bar.

4. DISTRESS THE WOOD TAGS

If I was not in my house I would have used my sander for this step. But since I was inside I used 150 grit sandpaper. I focused on the edges and corners and lightly went over the fronts of each wood tag.

DIY wood tags for Fourth of July made from a 1x4. Tiered tray rustic farmhouse wooden tags for the 4th of July. Red white and blue patriotic farmhouse rustic DIY decorations for coffee bar.

5. ANTIQUING WAX

If you’ve read some of my other posts you might know that I LOVE antiquing wax for my distressed pieces. This stuff is so good and gives pieces such a primitive look.

If you want a more in-depth tutorial on how to use ANTIQUING WAX I created an entire post on how I use it on my craft projects.

DIY wood tags for Fourth of July made from a 1x4. Tiered tray rustic farmhouse wooden tags for the 4th of July. Red white and blue patriotic farmhouse rustic DIY decorations for coffee bar.

6. ADD TWINE TO YOUR WOOD TAG

The last step is to add a piece of twine to your wood tags. I went with a thicker jute for my tags since the hole I drilled in the 1x4 tags was on the larger side.


DIY wood tags for Fourth of July made from a 1x4. Tiered tray rustic farmhouse wooden tags for the 4th of July. Red white and blue patriotic farmhouse rustic DIY decorations for coffee bar.

That’s it! These wooden tags are so easy to create for your rustic 4th of July decorations. If you have any questions leave them in the comments below.
DIY wood tags for Fourth of July made from a 1x4. Tiered tray rustic farmhouse wooden tags for the 4th of July. Red white and blue patriotic farmhouse rustic DIY decorations for coffee bar.

Happy Crafting and be sure to check out more DIY craft tutorials below.

DIY easy wood tag ornament with cute wooden beads DAY 7

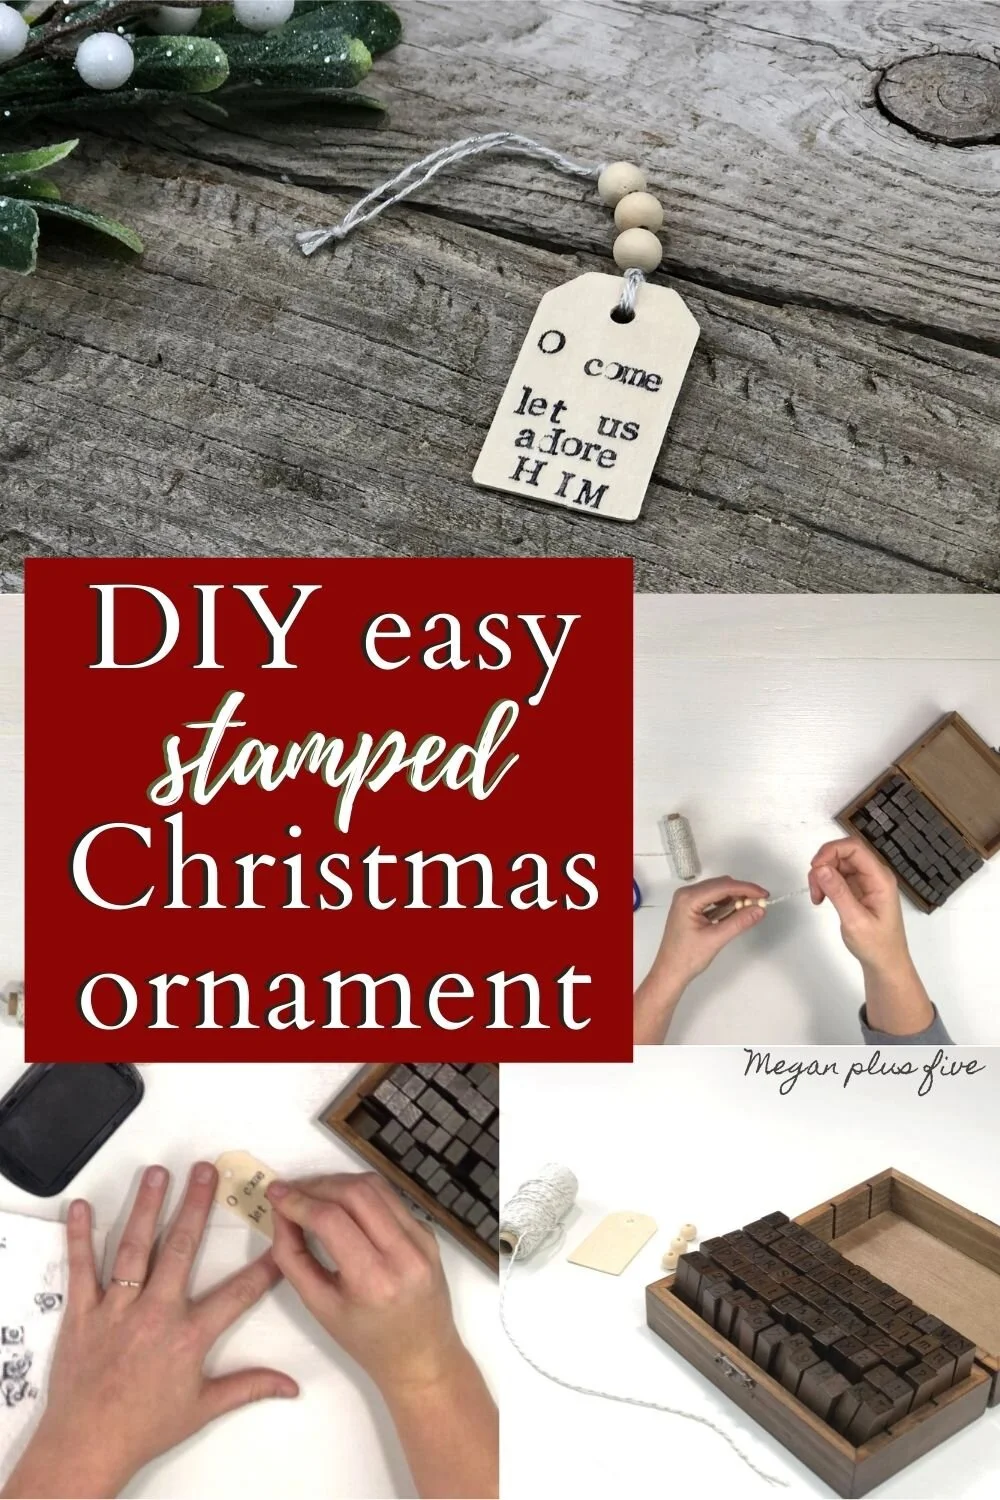
How to make a wood tag Christmas ornament. DIY Christmas ornament with wood beads. How to stamp on wood. O come let us adore Him Christmas DIY.

Super easy wood tag Christmas ornament DIY

Christmas will be here before we know it! Last year I started a 30 days of DIY Christmas ornaments challenge for myself and I got so crazy busy with orders from my shop that I couldn’t squeeze very many in. I completely underestimated how busy I would be last year.

This year I have toned my shop down a lot. I am in a place where I am no longer making finished home décor items {thank goodness because while I LOVE creating it does take more time to make finished pieces than it does to create files and craft kits} and I am solely focusing on SVG’s, DIY craft kits, and writing craft tutorials for you to enjoy.

Affiliate Disclosure. Some of the links on this website are affiliate links, which means that I may earn a small commission if you click on the link or make a purchase using the link. If you make a purchase you will not be charged anything additional. This is just a way I can help add to our family finances to raise our four daughters. Please know I would never recommend a product or service I do not totally stand behind

How to make a wood tag Christmas ornament. DIY Christmas ornament with wood beads. How to stamp on wood. O come let us adore Him Christmas DIY.

I’m just going to pick up where I left off last year with my 30 days of DIY Christmas ornaments.


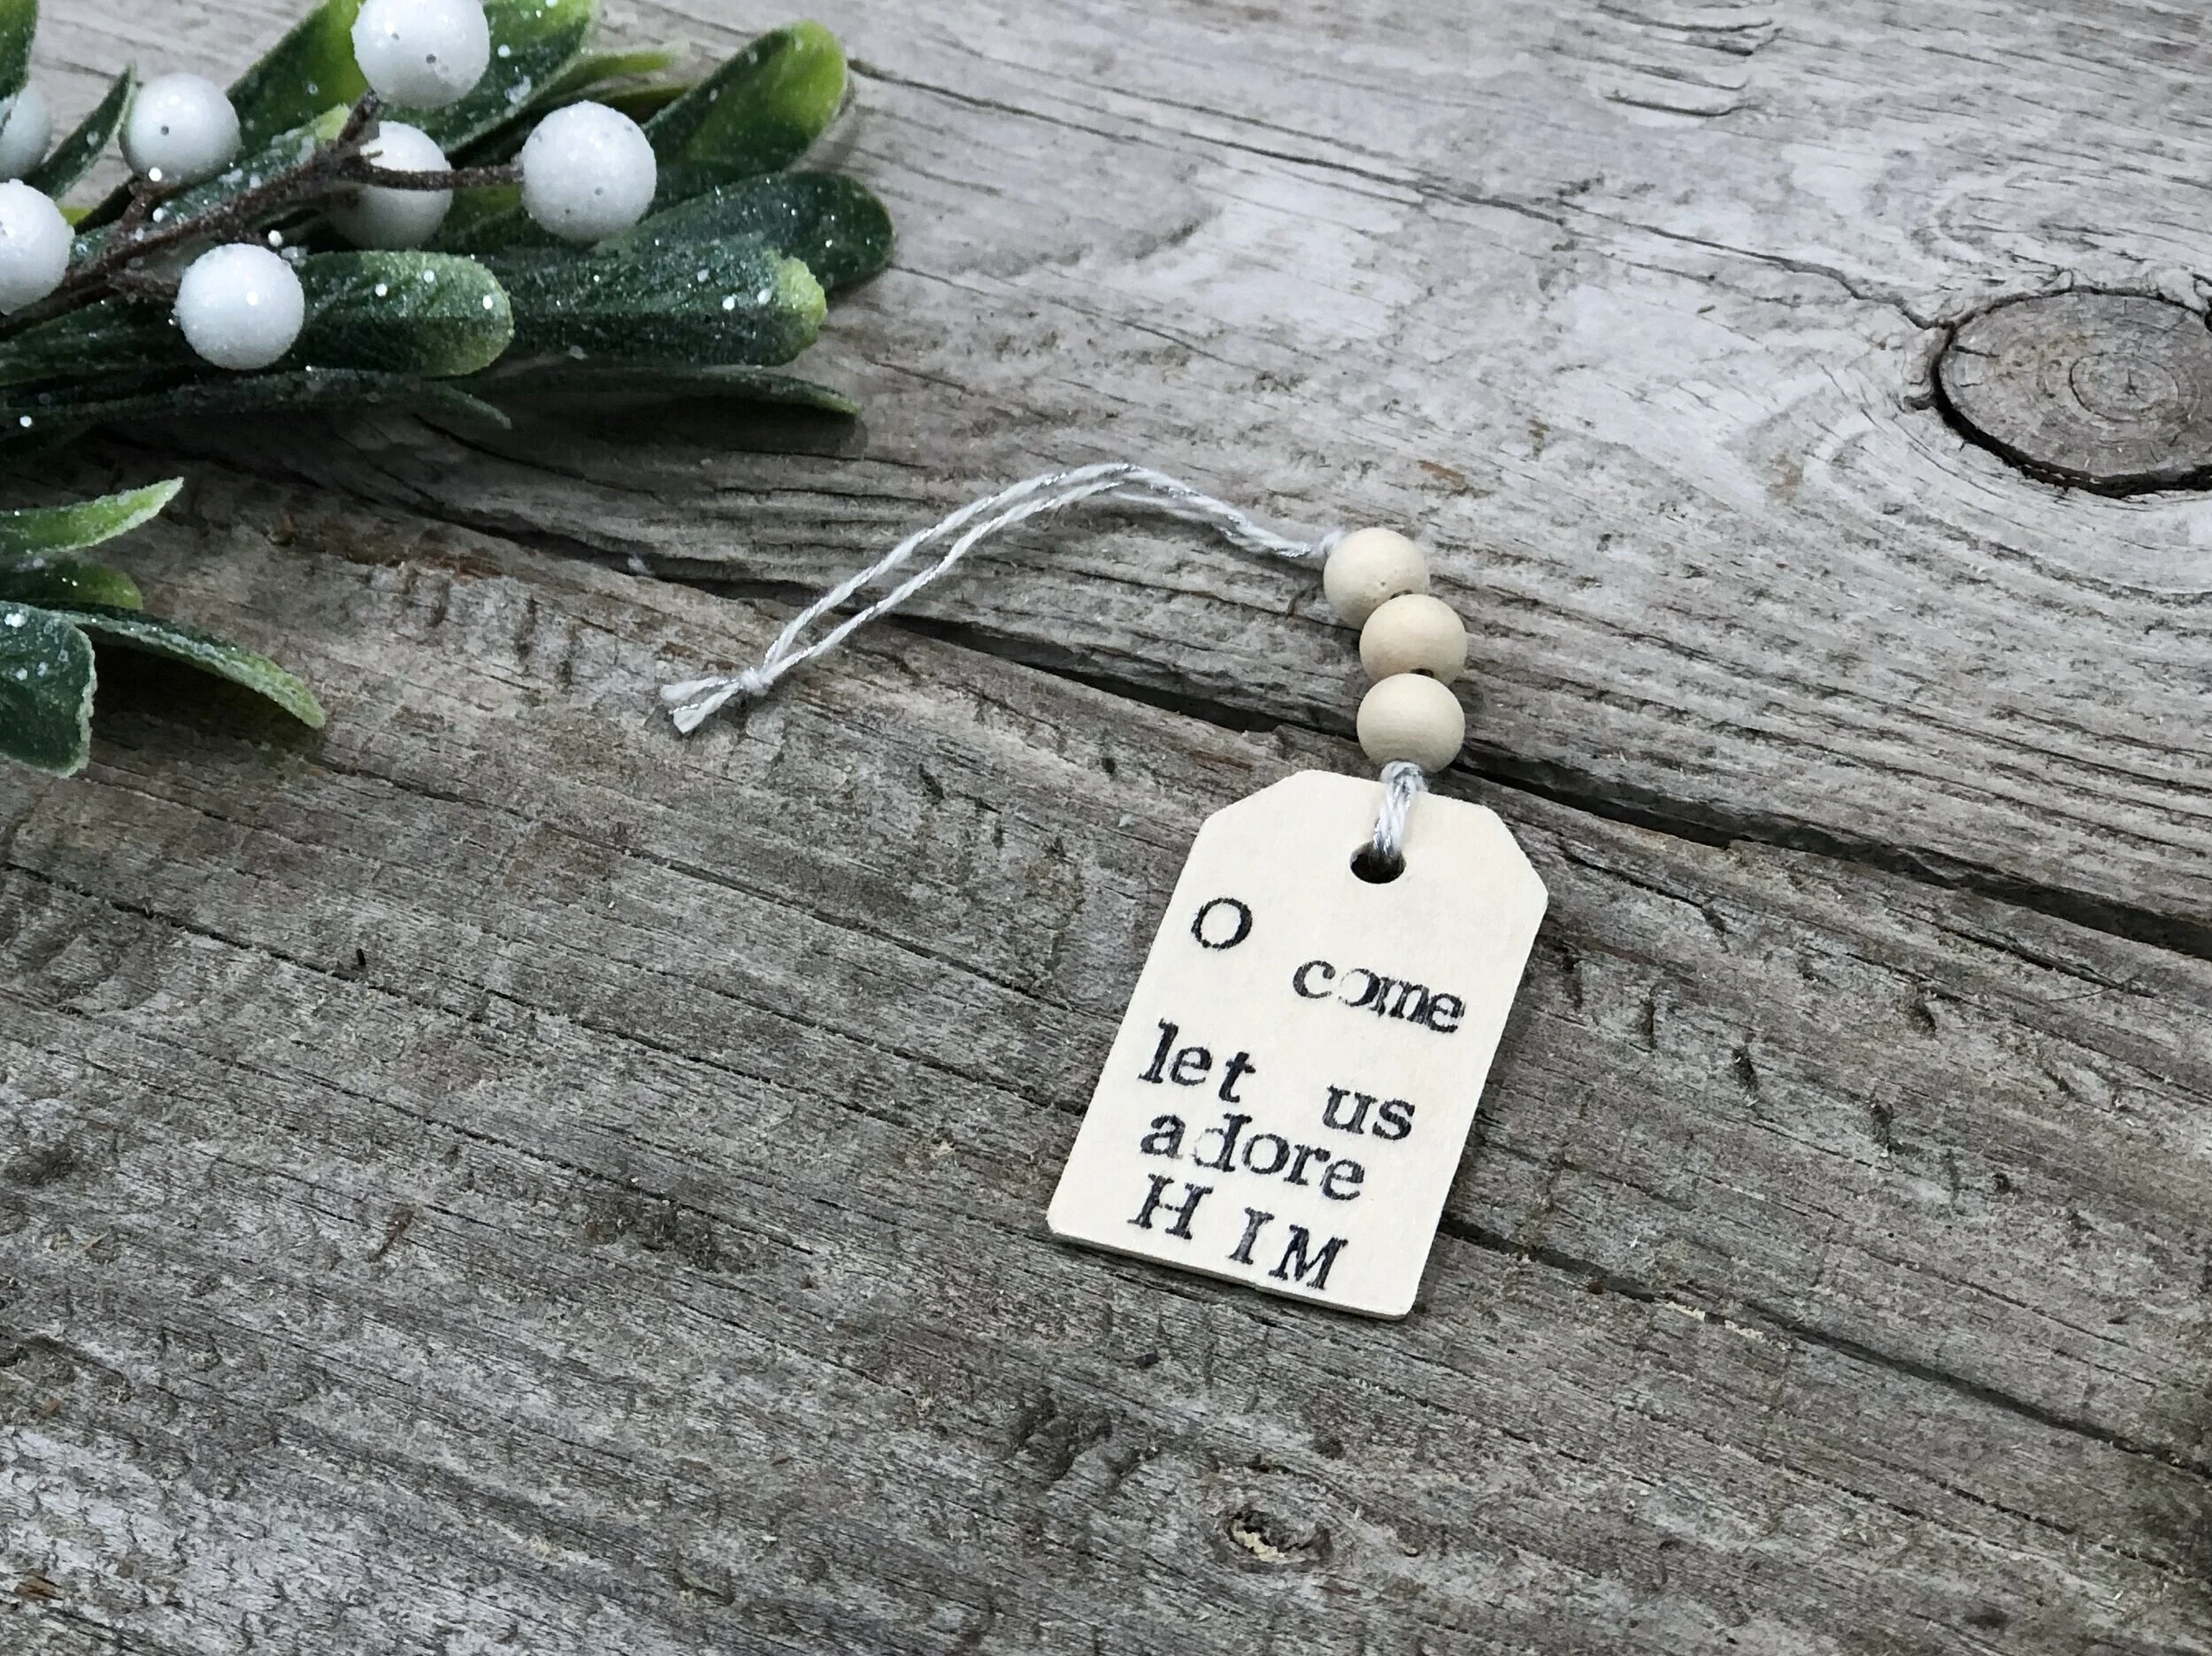
DAY 7 of my 30 days of DIY Christmas ornaments I made a simple stamped wood tag with wood bead accents to hang it from.

These little wooden beads are SUPER POPULAR right now. And for good reason because they are so versatile. I have used them for photo accents, bead garland, Christmas ornaments, keychains, the list goes on.

Today I used them on this ornament and it was super easy to make. It took just minutes to make AND there was virtually NO MESS to clean up after.

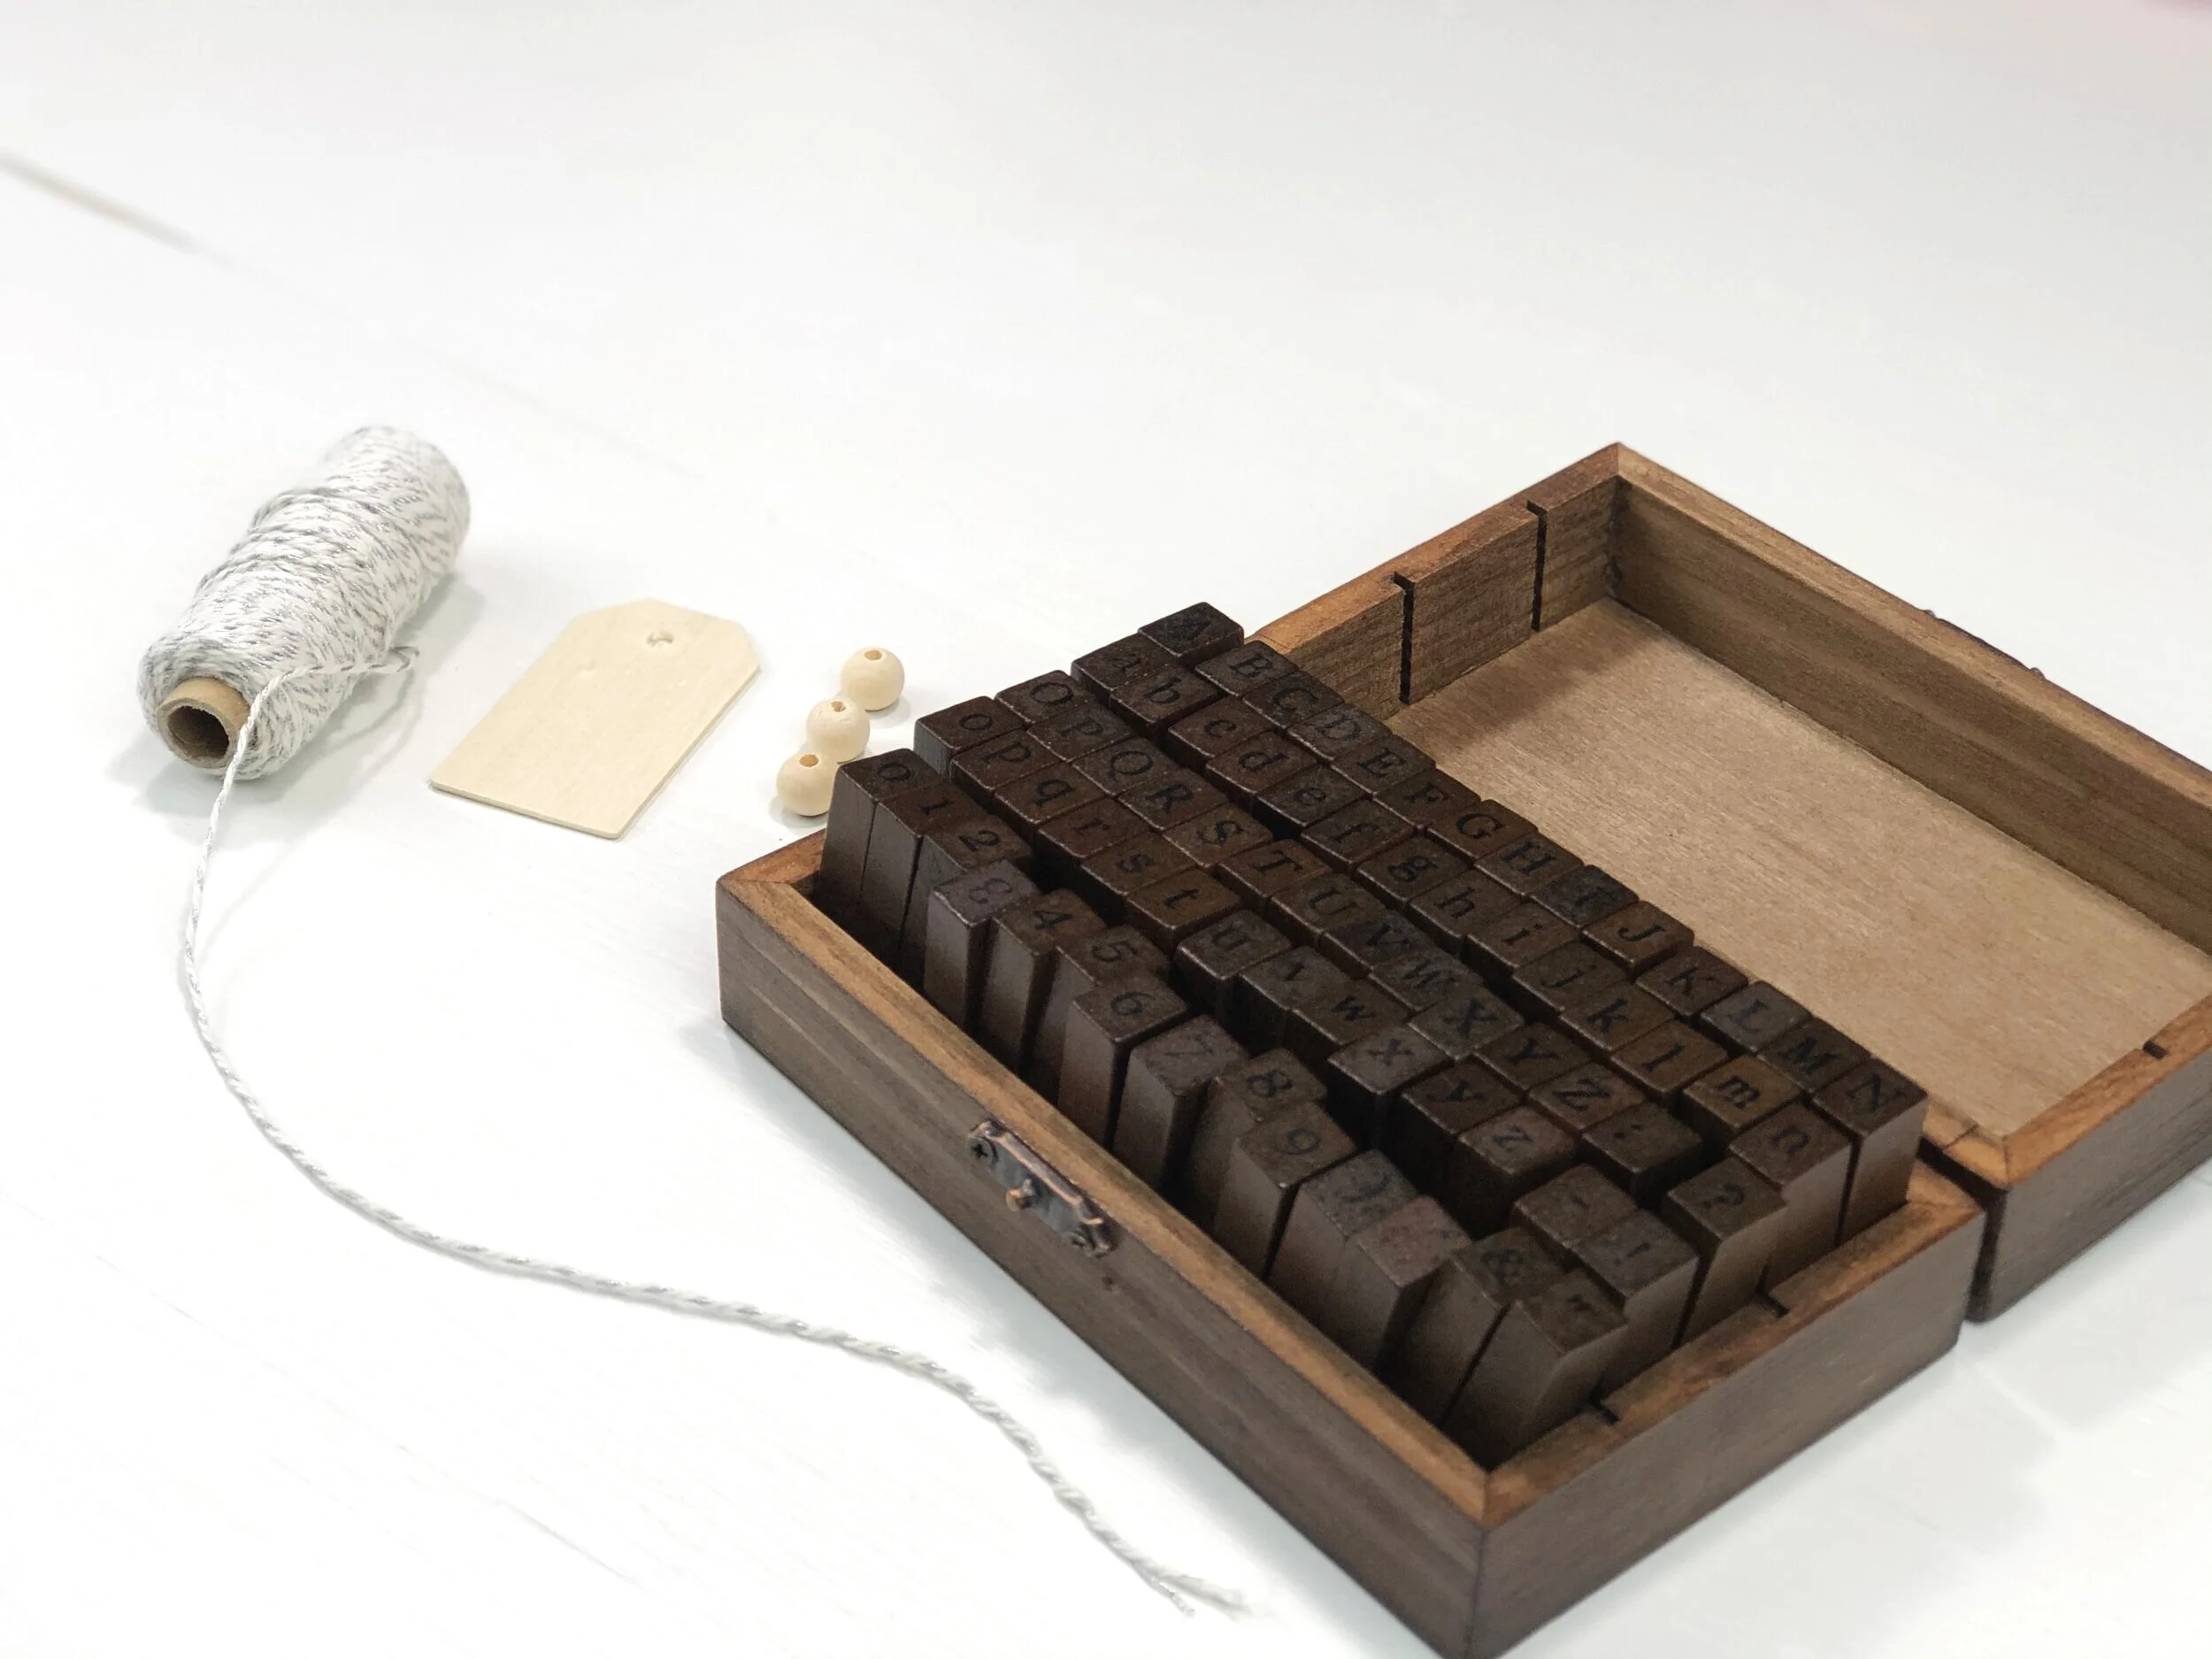
Here’s what you’ll need to make a stamped wood tag Christmas ornament

How to make a wood tag Christmas ornament. DIY Christmas ornament with wood beads. How to stamp on wood. O come let us adore Him Christmas DIY.

1.STAMP

The first thing I did was think of a saying. I wanted this one to say “O come let us adore Him”. It’s short and sweet and the reason for the season. Mine is FAR from perfect but that’s what makes handmade so special anyway.

How to make a wood tag Christmas ornament. DIY Christmas ornament with wood beads. How to stamp on wood. O come let us adore Him Christmas DIY.

I had a paper towel on hand so I could stamp off the excess. I lightly tapped the stamp onto the black stamp pad. You do not want a heavy hand for this. Then again lightly pressed it onto my wooden tag. Very lightly. If you press too hard you’ll get markings from the edges of the stamp. You may want to practice this a few times on your paper towel before trying it on the wooden tag.

Then I let that dry.

2. ADD BAKERS TWINE

Next I added my bakers twine. I used one that was white and had a bit of silver in it. I just eyeballed a length I wanted. Folded it in half and fed the looped end through the hole in my wood tag. Then I pulled the loose ends through the loop to secure it onto the tag.

How to make a wood tag Christmas ornament. DIY Christmas ornament with wood beads. How to stamp on wood. O come let us adore Him Christmas DIY.

3. ADD BEADS

The beads I used were fairly small and it was difficult to feed the twine through the small holes. I added a piece of masking tape to the open ends of the twine to make it easier.

How to make a wood tag Christmas ornament. DIY Christmas ornament with wood beads. How to stamp on wood. O come let us adore Him Christmas DIY.

I fed three small beads onto the twine then tied a knot at the top of the beads so they stayed in place.

How to make a wood tag Christmas ornament. DIY Christmas ornament with wood beads. How to stamp on wood. O come let us adore Him Christmas DIY.

4. KNOT THE TWINE

I removed the tape and tied the two ends of the bakers twine together so I could hang it on the Christmas Tree.

How to make a wood tag Christmas ornament. DIY Christmas ornament with wood beads. How to stamp on wood. O come let us adore Him Christmas DIY.

That’s it. No painting, no glue gun, no fuss really. Super simple Christmas ornament you can even make with the kiddos.

How to make a wood tag Christmas ornament. DIY Christmas ornament with wood beads. How to stamp on wood. O come let us adore Him Christmas DIY.

I hope you enjoyed this Christmas ornament tutorial. Check out more of my Christmas and winter themed DIY crafts


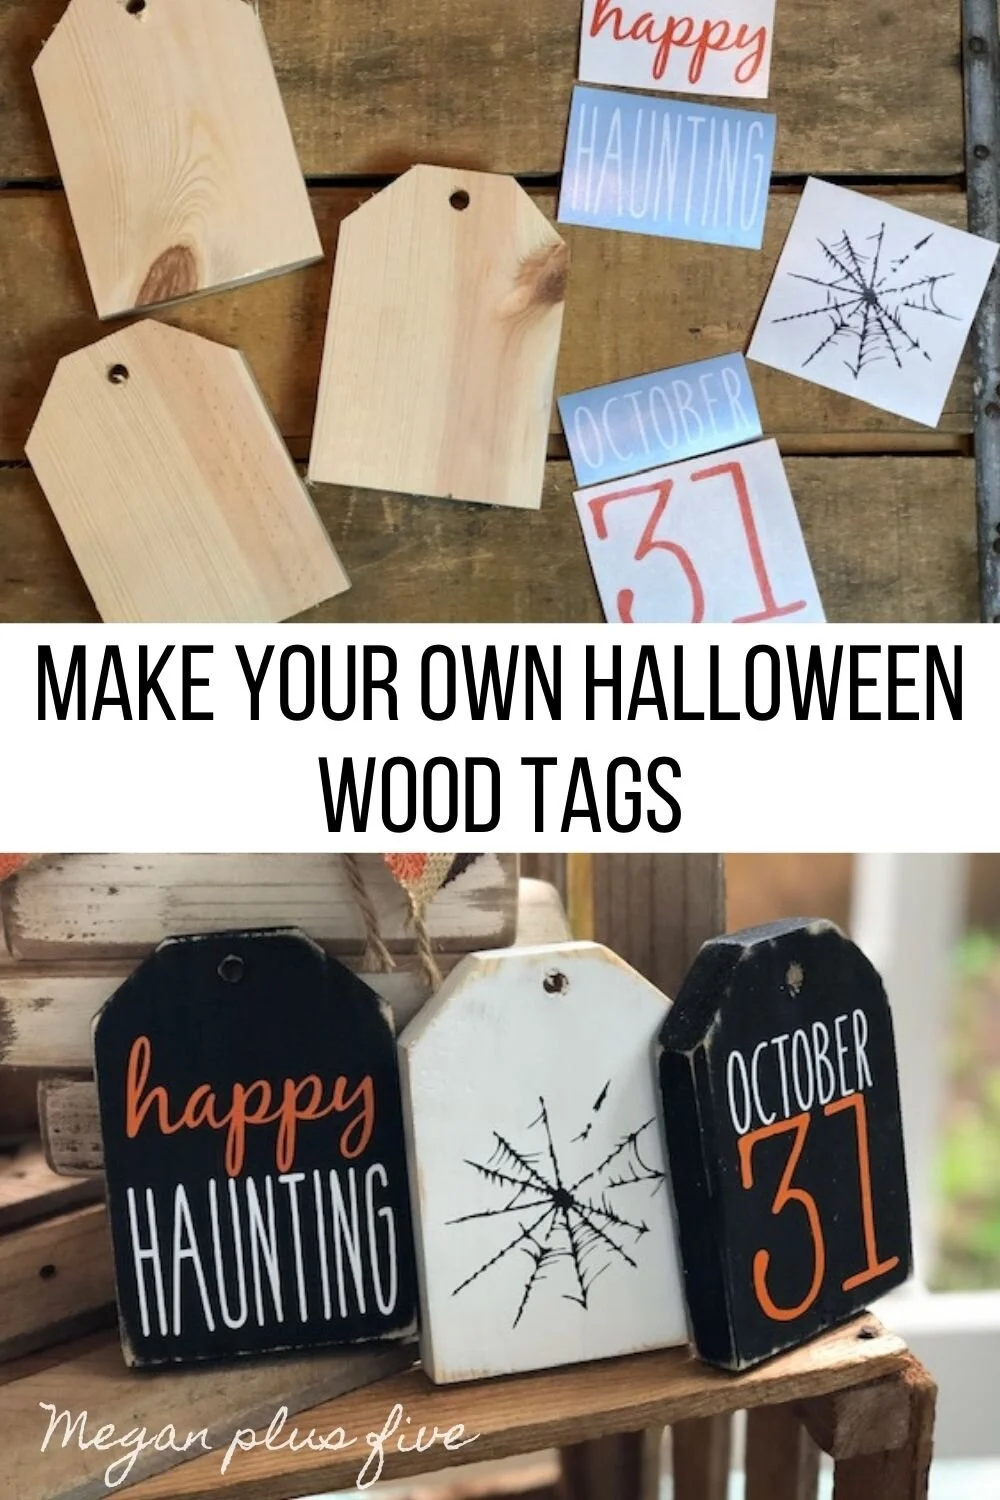
Halloween wood tags, how to DIY your own set of cute spooky mini tags

DIY Halloween wood tags, how to make your own rustic mini wood tags for your tiered tray decor. DIY craft kit for adults

DIY WOOD TAGS FOR HALLOWEEN

I just love these adorable rustic wood tags! Since they are so small they make such perfect little accents to your décor. Especially these Halloween wood tags. I made these adorable little guys and placed them in my Halloween porch décor. Oh my goodness they look so cute with all the orange, black, and rustic-ey decorations!

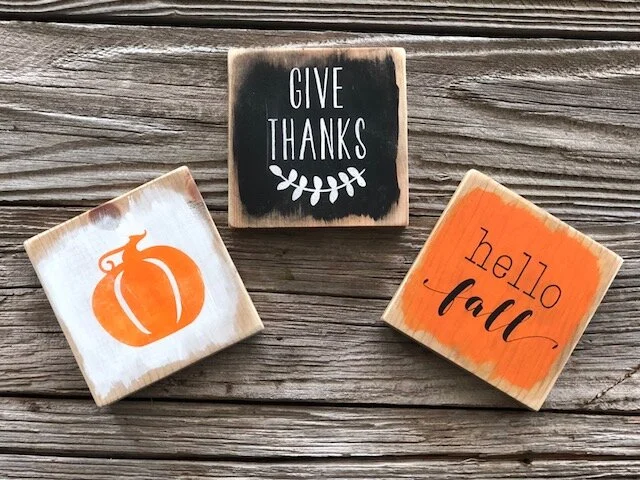
If you love this tutorial be sure to check out these mini wooden fall signs

If you don’t have all the tools/materials to make these little wooden tags from scratch you can grab a DIY CRAFT KIT HERE.

Affiliate Disclosure. Some of the links on this website are affiliate links, which means that I may earn a small commission if you click on the link or make a purchase using the link. If you make a purchase you will not be charged anything additional.

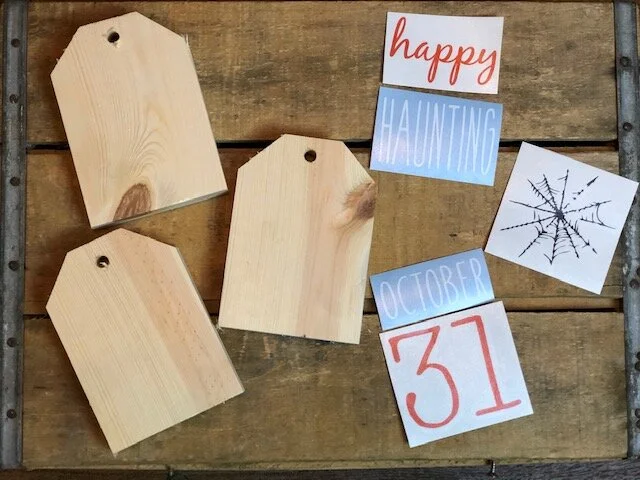
This DIY HALLOWEEN CRAFT KIT COMES WITH

  • 3 precut and lightly sanded 5” wood tags

  • professional outdoor grade vinyl cut outs

    • HAPPY HAUNTING

    • spider web image

    • OCTOBER 31

  • detailed picture instructions

  • ****paint and brushes are NOT included

DIY Halloween wood tags, how to make your own rustic mini wood tags for your tiered tray decor. DIY craft kit for adults

If you don’t need a DIY CRAFT KIT here’s what you’ll need

DIY HALLOWEEN WOODEN TAGS. CRAFT KIT FOR ADULTS FOR FALL. HOW TO MAKE YOUR OWN MINI WOOD TAGS FROM 1X4

Want to know how I make my wood tags? Click here to read my post on DIY MINI WOOD TAGS, it also includes a video tutorial.

After you have your wood pieces cut out, sanded and your vinyl decals cut, weeded, and transfer tape applied you can start on the steps below.

If you want to learn how to cut out your own wood tags read this post. If you are new to Cricut, or the world of fancy cutting machines in general, check out my post on the 10 must have accessories and supplies to get for a Cricut newbie

1. PAINT

Paint 2 of your wood tags black, one coat will be fine for this, and 1 of your wood tags white, this will need 2-3 coats. Let dry. Letting your wood tags dry completely is a MUST. If your paint is still wet when you move on to the next step your vinyl will not stick to it.

DIY Halloween wood tags, how to make your own rustic mini wood tags for your tiered tray decor. DIY craft kit for adults

2. DISTRESS

Using a piece of sandpaper distress the edges. You’ll want to focus on the edges and any area that you think would have a natural wear to it.

DIY Halloween wood tags, how to make your own rustic mini wood tags for your tiered tray decor. DIY craft kit for adults

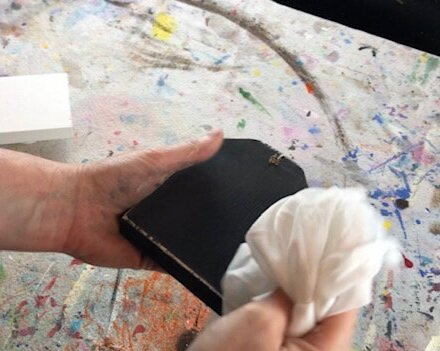
Then wipe with a lint free cloth.

DIY Halloween wood tags, how to make your own rustic mini wood tags for your tiered tray decor. DIY craft kit for adults

3. APPLY DECALS

Be extra sure that your paint is completely dry before you start this step. Vinyl does not stick to wet paint.

Using your vinyl squeegee, a plastic rewards card will also work for this step, rub the front of your Halloween themed vinyl decal.

DIY Halloween wood tags, how to make your own rustic mini wood tags for your tiered tray decor. DIY craft kit for adults

Flip it over and do the same thing on the backside.

DIY Halloween wood tags, how to make your own rustic mini wood tags for your tiered tray decor. DIY craft kit for adults

Then peel the paper backing away from the clear transfer tape, your design should stay attached to the clear transfer tape.

DIY Halloween wood tags, how to make your own rustic mini wood tags for your tiered tray decor. DIY craft kit for adults

Flip your vinyl decal sticky side down onto your wood tag. Don’t push it onto the wood tag until you are happy with the placement, then press it down. Use your vinyl squeegee for this step. Then remove the clear transfer tape.

DIY Halloween wood tags, how to make your own rustic mini wood tags for your tiered tray decor. DIY craft kit for adults

Start on one corner then slowly peel your way to the opposite corner. If your decal comes off with the transfer tape just press it back down and slowly roll the transfer tape away from the decal again. Be sure you take your time during this process, especially if you are new to the decal game.

DIY Halloween wood tags, how to make your own rustic mini wood tags for your tiered tray decor. DIY craft kit for adults

BLACK TAG: HAPPY HAUNTING decal

BLACK TAG: OCTOBER 31 decal

WHITE TAG: SPIDER WEB IMAGE decal

DIY Halloween wood tags, how to make your own rustic mini wood tags for your tiered tray decor. DIY craft kit for adults

4. TWINE

Add some twine to make them even more adorable! Feed the twine through the hole in the top middle of the tag. Then tie the two twine ends together.

You’re all done! I hope you enjoyed this DIY craft tutorial. If you have any questions please ask in the comments below.

DIY Halloween wood tags, how to make your own rustic mini wood tags for your tiered tray decor. DIY craft kit for adults

Happy Crafting!

Classic farmhouse tiered tray signs

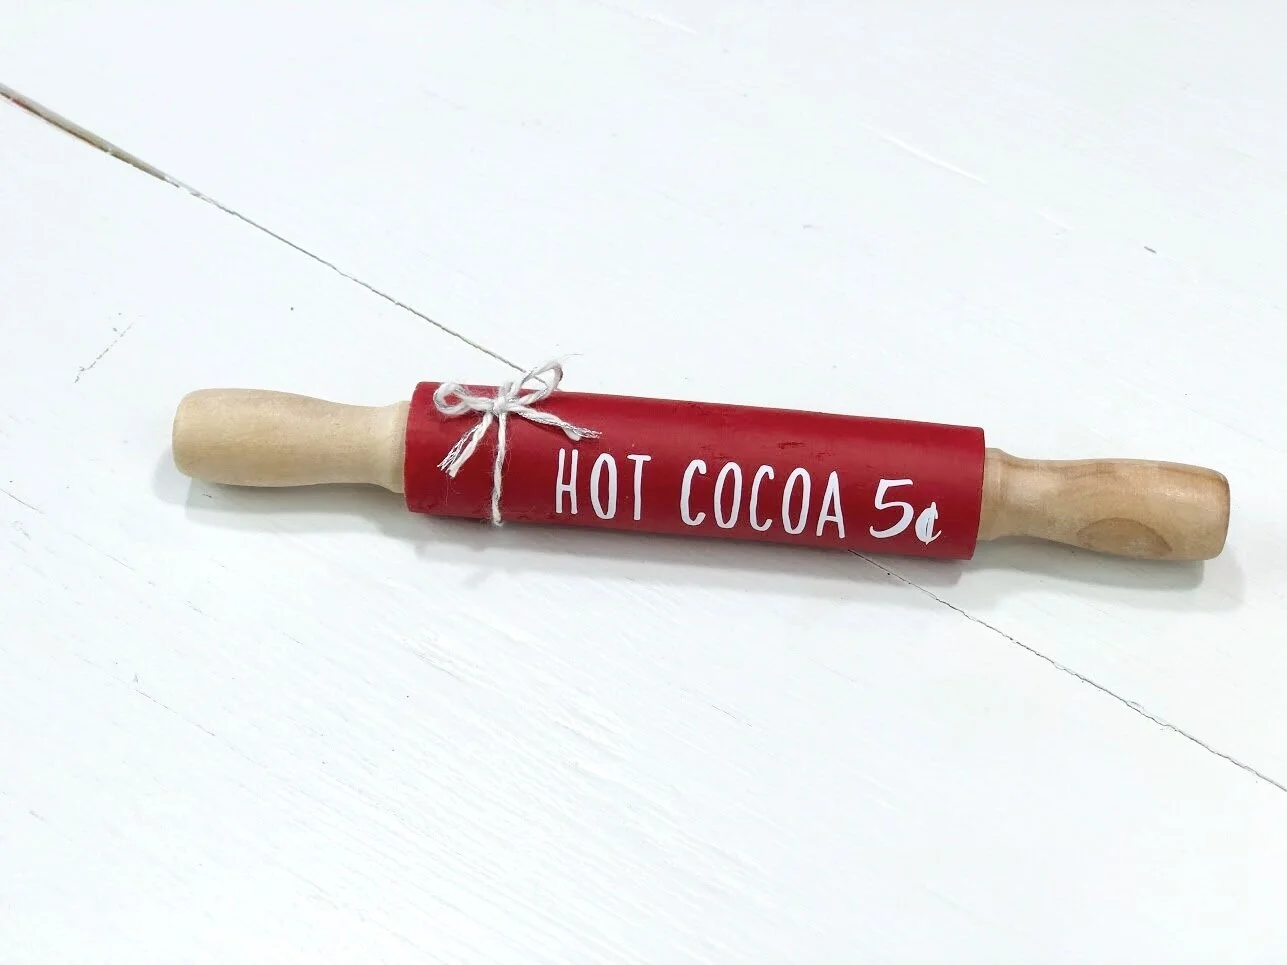
Tiered tray signs for rustic home decor. Classic style mini wood signs in white and black. Sign bundle comes with home sweet home, farm animal trio of chicken pig and cow on a rustic wood tag, mini rolling pin our nest, and farm fresh.

Tiered tray sign bundle for your CLASSIC looking farmhouse decor

I am loving this tiered tray decor that’s all the rage right now. There are so many different seasons, holidays, and themes you can do. Or you can keep it super classy and simple with the classic black and white farmhouse colors. There is so much you can do with these simple color scheme. You can keep it black and white or add a couple rustic pieces that will give it a pop of color here and there. I love how versatile it is!

Affiliate Disclosure. Some of the links on this website are affiliate links, which means that I may earn a small commission if you click on the link or make a purchase using the link. If you make a purchase you will not be charged anything additional.

If you LOVE this crafty post be sure to check out how I made a mini house family number sign. Instead of using vinyl like I did on these rustic farmhouse mini signs I painted it instead.

Tiered tray signs for rustic home decor. Classic style mini wood signs in white and black. Sign bundle comes with home sweet home, farm animal trio of chicken pig and cow on a rustic wood tag, mini rolling pin our nest, and farm fresh.

If you’re in to the rustic farmhouse style how can you not love a mini wooden tag that has farm animals on it?! This one is probably my favorite of all the bundled pieces. I absolutely LOVE chickens! Well of course cows and pigs too but chickens are really my favorite farm animal! Every time I see one, whether that be a real life chicken or a picture of one, I smile! They are just too cute!

TIERED TRAY RUSTIC SIGNS

For this tiered tray bundle I incorporated different sizes and shapes to these farmhouse pieces mix it up a bit. I typically create identical bases for my handmade sign pieces, like these hilarious rustic looking cactus signs. Another example are these Easter mini wood tags. They come in a set of 3 but they are all the same sized wood base. While they are super cute I am really loving the mix and match look of the different sized and styled bases of these classic farmhouse tiered tray signs.

Here are the sign bases I used:

Since they are all different sizes and shapes they truly work perfectly for the tiered tray signs.

Tiered tray signs for rustic home decor. Classic style mini wood signs in white and black. Sign bundle comes with home sweet home, farm animal trio of chicken pig and cow on a rustic wood tag, mini rolling pin our nest, and farm fresh.

Unlike most of my signs I actually chose to use vinyl on them instead of painting the entire design. I have been one BUSY momma this year so I’ve been adding more simple designs and styles to my shop line up. I guess I always thought using vinyl was “cheating” in the sign making game but I have no regrets using the vinyl on these designs. They are quick to make, priced at a more affordable price point, and I can get them out to my customers even faster because it takes SO much LESS time to create.

While stenciling designs will always be my preferred method for making signs I do love how these vinyled signs turned out. So much that I have plans to add even more in my shop!

You can grab the FARM FRESH design in my FREE RESOURCE LIBRARY.

Want your own set but don’t want to make them? You can purchase your handmade signs from my shop, click here —-> CLASSIC FARMHOUSE STYLE TIERED TRAY SIGNS

Tiered tray signs for rustic home decor. Classic style mini wood signs in white and black. Sign bundle comes with home sweet home, farm animal trio of chicken pig and cow on a rustic wood tag, mini rolling pin our nest, and farm fresh.

If you are a DIY-er and want to make your own rustic farmhouse style tiered tray signs here’s what I recommend you use.

New to Cricut? Check out these 10 must haves to get you started on your crafty journey

I don’t have a full on tutorial on how I made these signs they were really pretty simple to make since there wasn’t any stenciling involved. Stenciling is a WAY more involved process. But this process is super easy.

Here’s how I made my rustic tiered tray signs

  1. Paint each wood base white. Let dry. Paint a second coat. Let dry.

  2. Once dry distress the edges. Wipe with a dry lint free cloth.

  3. Cut out your designs using your Cricut, or other cutting machine.

  4. Weed your designs using your xacto knife.

  5. Apply your transfer tape and remove paper backing from your designs.

  6. Place your designs on your wood bases. Rub with your vinyl squeegee and remove your transfer tape.

  7. Add any twine accents.

  8. Place on your tiered tray and enjoy!

It’s really that simple! No messing with paint bleed. No fuss with drying time between stenciling paint coats. No stress about paint peel up. I really enjoyed how quick and easy these DIY mini wood signs were!

I hope you enjoyed this crafty tutorial. If you have any questions please feel free to ask in the comments section below.

Happy Crafting!

See how I make my mini wood tags. Don’t have the power tools to create the tags from scratch? Grab the unfinished wood tags here.

DIY mini Easter wooden tags

DIY mini wood tags for Easter. How to use your Cricut to make wood signs for Easter. Make your own farmhouse tray mini signs for spring.

MAKE YOUR OWN RUSTIC WOOD TAGS FOR EASTER

DIY mini wood tags for Easter. How to use your Cricut to make wood signs for Easter. Make your own farmhouse tray mini signs for spring.

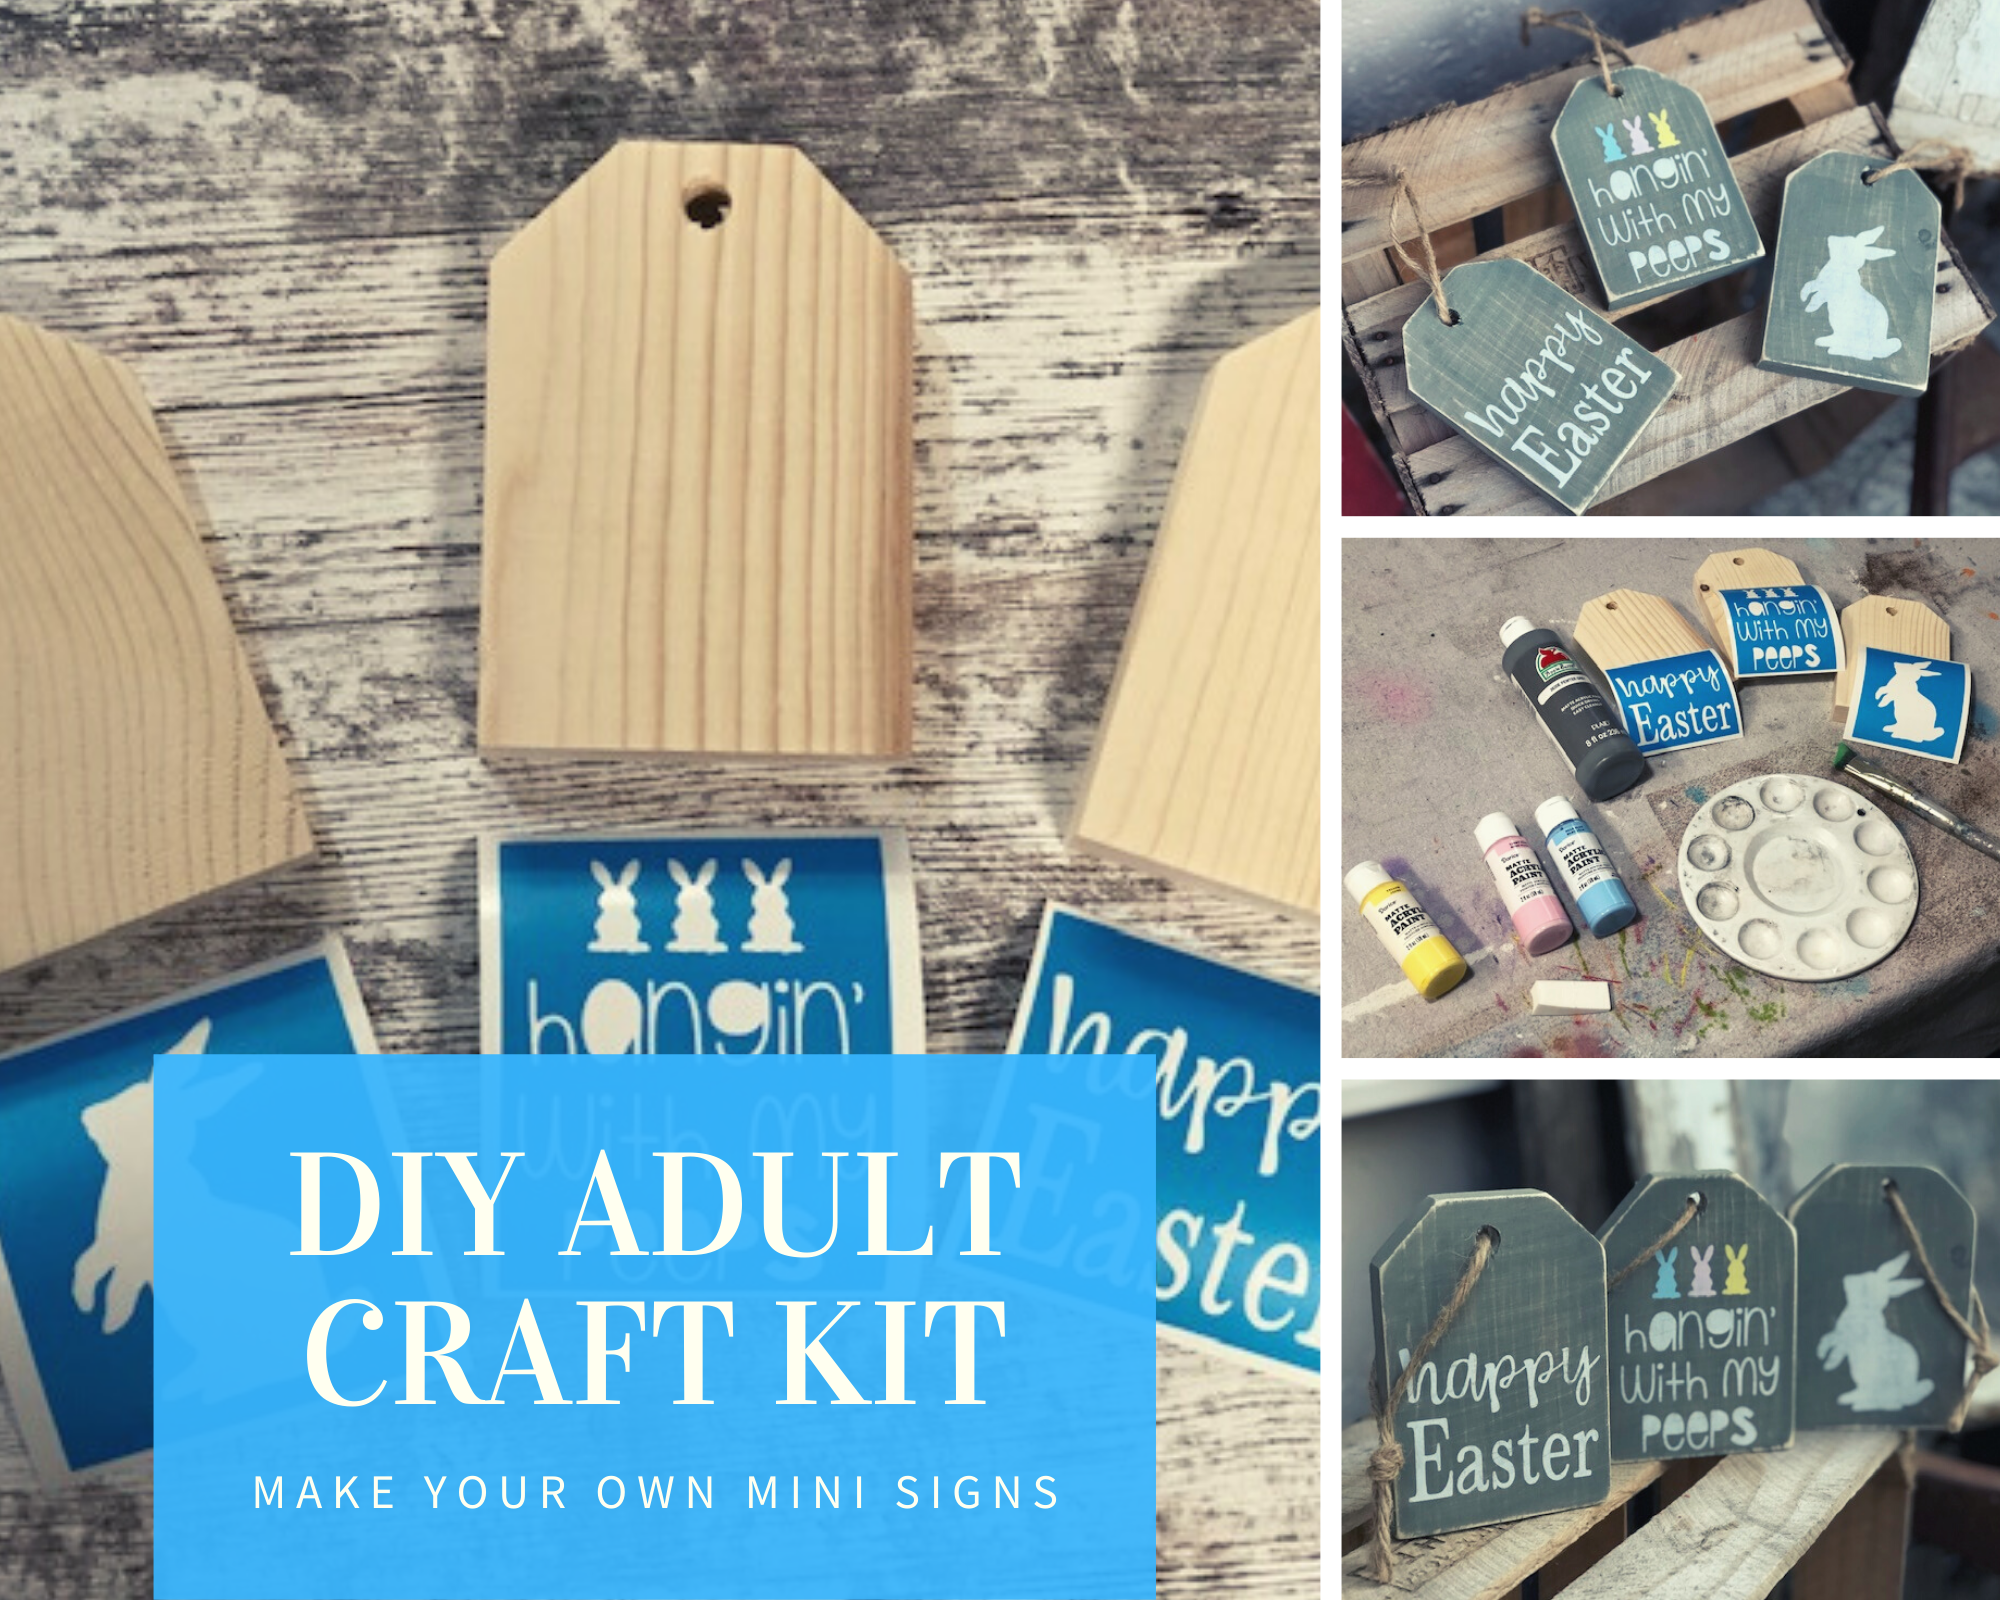
I can’t believe how popular these little wood tags for Easter are! I keep selling out of this spring DIY craft kit almost daily. Since the entire country is basically on lockdown this kit is giving people a much needed creative outlet. I am SO happy to be able to provide this joy to so many around our nation, especially at a time like this.

Affiliate Disclosure. Some of the links on this website are affiliate links, which means that I may earn a small commission if you click on the link or make a purchase using the link. If you make a purchase you will not be charged anything additional.

In this crafty tutorial I’m going to show you how to stencil these wood tags for Easter. If you’re wanting a tutorial on how to cut wood tags you’ll want to go here. I share the measurements, angles, and even the drill bit size to make the twine hole in the middle.

DIY RUSTIC WOOD TAGS FOR EASTER

Here’s what you’ll need


Other helpful tools I used

If you love these rustic wood spring tags be sure to check out this super easy Dollar Tree moss bunny craft.

Cutting your wood pieces

  1. First you want to cut out your wood tags. I used my Ryobi miter saw to do this. Cut a 1x4 in to 3 5” long pieces. On the top of each 5” piece measure in 1” and make a mark. Set your miter saw to 45 degrees, line it up with your 1” mark and cut. Flip your tag over and do the same to the other side. 

  2. Now drill a hole in the middle of the top of each piece. This is for your twine holder to go through.

  3. After you have that done give each piece a quick sanding. You don’t have to get crazy with this, it’s not a fine piece of furniture. I use 120 grit sandpaper for this and that’s it. Just enough to take off that shine it has when you get it from the lumberyard.

    WATCH THE VIDEO OF HOW I MADE THESE USING MY MITER SAW

Stencils

You can use any cutting machine to create your Easter themed stencils. I use my Cricut Explore to make all of mine. If you have and are using a Cricut you can get the HANGIN’ WITH MY PEEPS image to use here. You can use my FREE SVG’s for the bunny image & happy Easter cutting files here. I use Oramask stenciling film to make my stencils. While it is a little more expensive than other materials I have found it works the absolute best for stenciling.

Painting (the fun part!)

First a thin layer of gray paint on each wood tag. Be sure it is a thin layer, you will still be able to see the wood grain through the paint. After the first thin layer is dry you can paint a second thin layer. You don’t want more than two layers of base paint on your wooden tags, or any painted wood sign. Too much paint will cause issues when stenciling with base paint peel up, which can be impossible to fix sometimes and honestly it just plain sucks to have to go back and fix.

DIY mini wood tags for Easter. How to use your Cricut to make wood signs for Easter. Make your own farmhouse tray mini signs for spring. Fun rustic Easter and spring craft for adults.

2. After your base paint is completely dry you can apply your stencils to all three wood blanks. Apply your transfer tape to your stencils (if you bought my DIY CRAFT KIT this step has already been done for you). Peel the paper backing from your stencil/transfer tape. Go slow.  Place your stencils sticky side down on the front of your painted wood tag. The front is just whichever side you prefer best ;). Using your vinyl squeegee, if you don’t have one you can use a plastic store rewards card, and rub the stencil to that it adheres to the wood. Slowly peel the transfer tape away from the wood leaving your stencil attached to the wood. I find that it works best when I roll the transfer tape away, check out this DIY PAINTED WOOD SIGN TUTORIAL for  a closer look at how to do this.
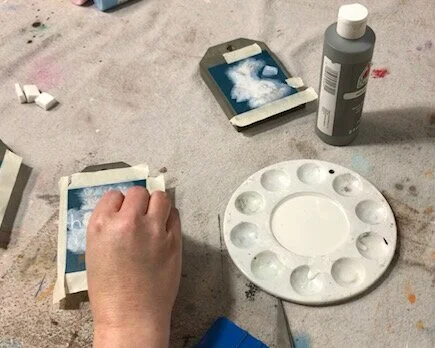
3. Use masking tape to tape off the edges of your stencil so you don’t get paint on areas of the wood tags that you don’t want paint on.

DIY mini wood tags for Easter. How to use your Cricut to make wood signs for Easter. Make your own farmhouse tray mini signs for spring. Fun rustic Easter and spring craft for adults.

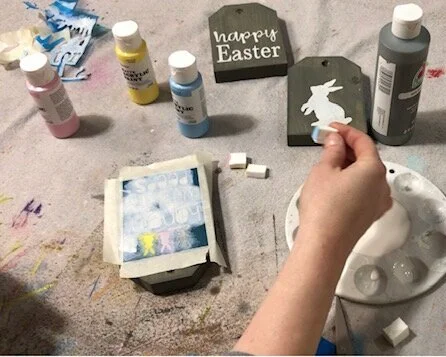
4. Using one end of one of the sponges dip it in the white paint. You need very little paint, the more paint you use the more paint bleed you will likely have. Dab your sponge onto the exposed areas of your stencil. The coverage should be VERY faint. Let that dry and repeat up to three times. You don’t want to apply more than three coats as this could cause issues with paint peel up where you just stenciled. If you want the cute little bunnies to be different colors paint them white first then finish them with two layers of your preferred paint color. I painted mine in pink, blue, and yellow. Giving them a white base first will allow the colors to really pop if you are painting on a dark base.

DIY mini wood tags for Easter. How to use your Cricut to make wood signs for Easter. Make your own farmhouse tray mini signs for spring. Fun rustic Easter and spring craft for adults.

5. Peel up your stencils and tape. Using an xacto knife helps to remove the middle piece of the stencils.

DIY mini wood tags for Easter. How to use your Cricut to make wood signs for Easter. Make your own farmhouse tray mini signs for spring. Fun rustic Easter and spring craft for adults.

Distressing

After your paint completely dries from stenciling you can start distressing your wood Easter tags. I LOVE this technique because it’s super easy and quick. Using sand paper or your sander give a quick sanding to the edges, corners, and lightly on the front of each wooden tag. Wipe off and dust.

DIY mini wood tags for Easter. How to use your Cricut to make wood signs for Easter. Make your own farmhouse tray mini signs for spring. Fun rustic Easter and spring craft for adults.

Adding twine

Probably the easiest step is adding the twine. Decide how long you would like your twine hangers to be. I think I measured mine at 12” or so. You’ll need 3 pieces, one for each wood tag. Feed one piece of twine through the hole in one of the wood tags then tie it in a knot.

DIY mini wood tags for Easter. How to use your Cricut to make wood signs for Easter. Make your own farmhouse tray mini signs for spring. Fun rustic Easter and spring craft for adults.

You’re ready to display your Easter wood tags in your home. I know it may seem like a lot of steps written out but really these are super easy and quick to DIY once you get going on them.

DIY mini wood tags for Easter. How to use your Cricut to make wood signs for Easter. Make your own farmhouse tray mini signs for spring. Fun rustic Easter and spring craft for adults.

Like with all of my DIY tutorials if you have any questions please reach out. Leave a comment below or send me a message on one of my social media pages. You can find my links at the top.

Happy Crafting!

DIY easy wood tags using your miter saw

1x4 craft projects to make at home. How to make mini wood tags for tiered trays for that perfect farmhouse style. Easy wooden tags using your miter saw,

How to make farmhouse style wood tags using your miter saw

These little tags are SOOOOOO easy to make! If you can operate a miter saw then you can make these wood tags. They tie in perfectly with farmhouse décor and make adorable accent pieces to those tiered trays that are all over Pinterest. And you can make your own for a fraction of the cost! Even cheaper if you are using scrap wood like I like to do when I make little projects for my home.

Affiliate Disclosure. Some of the links on this website are affiliate links, which means that I may earn a small commission if you click on the link or make a purchase using the link. If you make a purchase you will not be charged anything additional.

This tutorial is quick. Like less than 2 minutes kind of quick if you watch the video tutorial over on my YouTube channel. Check it out below or keep scrolling for the written tutorial.

After you’re done reading this DIY go see what I did with these wood tags for St. Patrick’s Day

Here’s what you need to make your own rustic wood tags

Can you tell I LOVE my Ryobi tools?! Seriously though, if you are having trouble deciding what kind of tools you need as a craft you need to read this post about POWER TOOLS FOR CRAFTERS. In it I cover the basics of what you need and explain a little about them.

Easy wood tags for your country chic decor

ONE-

The first thing you need to do is measure out your 1x4 and cut it at 5”. I just used my miter saw side ruler for this. I made mine in a set of 3 but you can make as many as you’d like.

1x4 craft projects to make at home. How to make mini wood tags for tiered trays for that perfect farmhouse style. Easy wooden tags using your miter saw,

TWO-

Swivel your miter saw so that it is set at 45 degrees. Be sure it locks in place, I extra lock mine in place using the manual lock on my saw.

1x4 craft projects to make at home. How to make mini wood tags for tiered trays for that perfect farmhouse style. Easy wooden tags using your miter saw,

THREE-

On the top right hand side of each tag measure in 1” and put a little mark. So that you don’t have to mess with moving your angle to cut on the other side flip your piece of wood over and make a mark 1” on the other side.

1x4 craft projects to make at home. How to make mini wood tags for tiered trays for that perfect farmhouse style. Easy wooden tags using your miter saw,

FOUR-

Line your laser up with that 1” dot you made and cut. If you don’t have a laser on your saw you can line your blade up while it’s not in motion. Side note…I’ve really glad I splurged for this fancier saw to make projects like this even easier. I almost didn’t get it just to save a few dollars but some things are worth every penny, just like this saw ;)!!

1x4 craft projects to make at home. How to make mini wood tags for tiered trays for that perfect farmhouse style. Easy wooden tags using your miter saw,

FIVE-

Flip your wood tag over and do the same thing to the other corner. Isn’t that so much easier than moving the degree of the blade?!

1x4 craft projects to make at home. How to make mini wood tags for tiered trays for that perfect farmhouse style. Easy wooden tags using your miter saw,

SIX-

To make a hole in the top for a piece of twine to go through you just need to drill a hole large enough for the size twine you’re using. I used a 5/8” drill bit to drill mine. I measured in 1.75” from one side, not where I cut the corner off because that would not give an accurate middle mark. Tip- place a scrap piece of wood under the wood that you’re drilling to save the surface underneath from getting damaged.

1x4 craft projects to make at home. How to make mini wood tags for tiered trays for that perfect farmhouse style. Easy wooden tags using your miter saw,

SEVEN-

Last, finish them off by giving them a quick sanding. I don’t ever get too crazy with this step on my projects. I typically just use 120 grit sandpaper all over and call it a day.

1x4 craft projects to make at home. How to make mini wood tags for tiered trays for that perfect farmhouse style. Easy wooden tags using your miter saw,

That’s it! SUPER EASY miter saw craft. As with all of my posts if you have any question please feel free to reach out and ask away.

1x4 craft projects to make at home. How to make mini wood tags for tiered trays for that perfect farmhouse style. Easy wooden tags using your miter saw,