DIY farmhouse Dollar Tree bookstack + FREE SVG

DIY farmhouse book stack using real book and vinyl decals from your Cricut cutting machine. Make your own simple rustic book stack easy & simple from Dollar Tree books.

DIY FARMHOUSE BOOK STACK

Farmhouse book stacks are such an easy craft to DIY especially if you are just starting out in the crafting world. This is one of those craft projects you can do in less than 30 minutes start to finish. You don’t even have to wait for paint to dry. Don’t get me wrong I LOVE painting but it is so nice to do projects once in a while that have almost that instant satisfaction like this one does.

There are many different variations of ways to making these book stacks too. I chose to make the most simple stack out there but you can also paint them, you can make them out of wood instead of using real books, you can stamp them, or like in this craft tutorial you can use vinyl decals. No matter what rustic farmhouse book stack you choose to make it is sure to turn out gorgeous!

If you love this farmhouse craft be sure to check out these tiered tray mini farmhouse signs.

Affiliate Disclosure. Some of the links on this website are affiliate links, which means that I may earn a small commission if you click on the link or make a purchase using the link. If you make a purchase you will not be charged anything additional.


IMG_0190.jpgDIY farmhouse book stack using real book and vinyl decals from your Cricut cutting machine. Make your own simple rustic book stack easy & simple from Dollar Tree books.

how to make your own book stack using Dollar Tree books & your Cricut cutting machine

DIY farmhouse book stack using real book and vinyl decals from your Cricut cutting machine. Make your own simple rustic book stack easy & simple from Dollar Tree books.

Here’s what you need

1. CUT OUT DECALS

You can get the SVG I used to make my book stack in my free resource library. In Cricut Design Space I adjusted the height of the words so that they would fit on the spine of the books. Also want to note that I left my words on lock mode so that the width adjusted with the height if that makes sense. My book spines measured around .75” with the covers on so I made my decals .69”. That size seemed to be perfect for my book stack.

DIY farmhouse book stack using real book and vinyl decals from your Cricut cutting machine. Make your own simple rustic book stack easy & simple from Dollar Tree books.

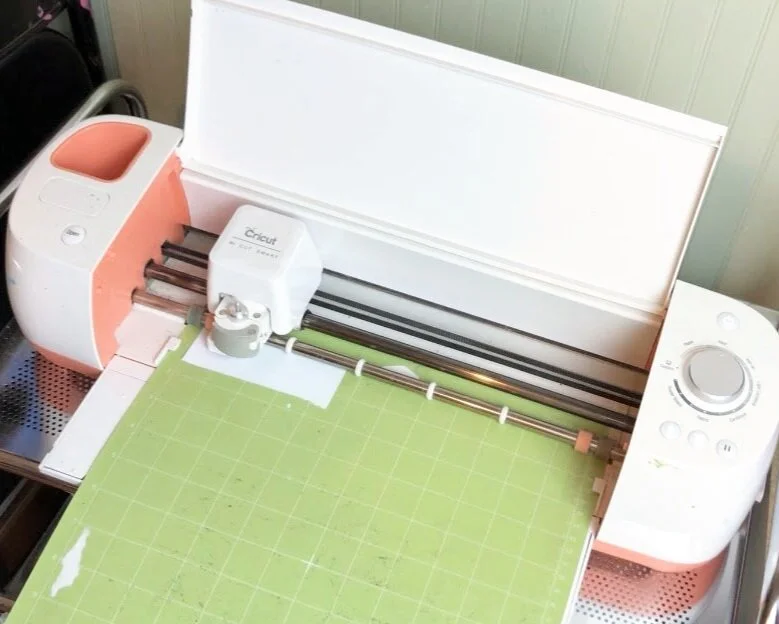
I cut my words out on black matte finish vinyl using my Cricut cutting machine and green cutting mat. Then I weeded my design using an exacto knife.

2. REMOVE THE OUTER COVER & PAGES

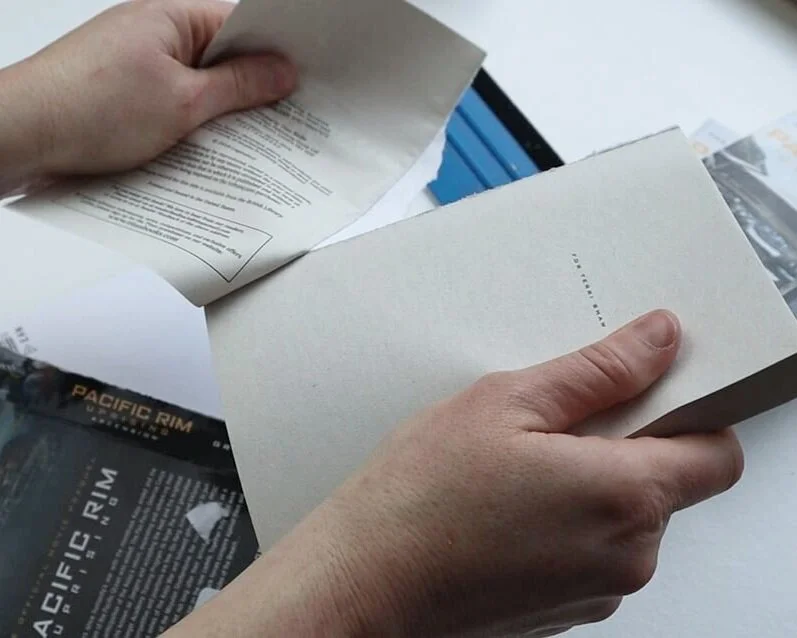
This is super easy! to get that rustic look of your books you just need to remove the cover, the shiny spine of the book, and the first few pages. They will rip right off. Something I also did was rip out a few extra pages so that I can use them to make some Easter bunny garland out of them. You want to do this with all three books.
DIY farmhouse book stack using real book and vinyl decals from your Cricut cutting machine. Make your own simple rustic book stack easy & simple from Dollar Tree books.

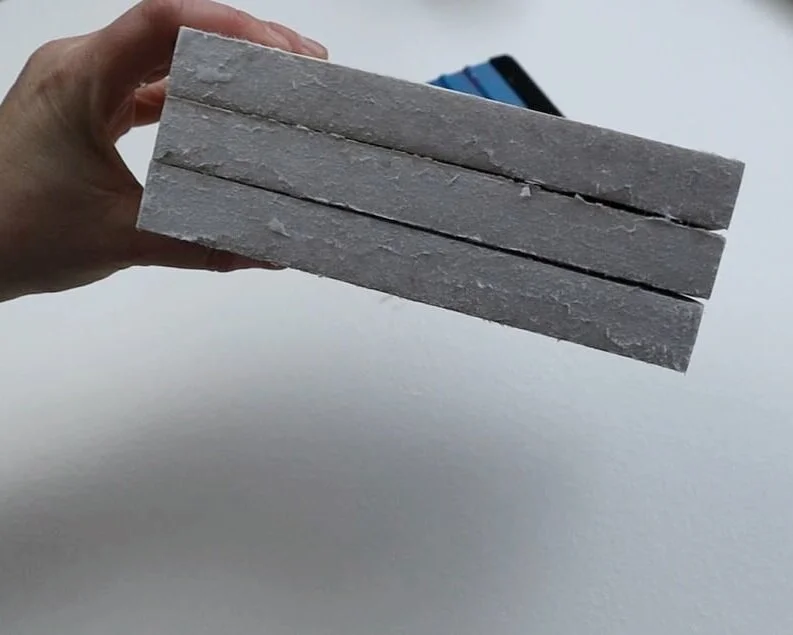
This is what my stack looked like after I removed the covers. There is still paper and it’s not completely smooth but that was the look I was going for. I could have kept peeling or taken a sanding sponge to it but I like this look.
DIY farmhouse book stack using real book and vinyl decals from your Cricut cutting machine. Make your own simple rustic book stack easy & simple from Dollar Tree books.

3. APPLY THE DECALS

When you get to this step be sure you take your time. This word decal has super skinny lines so it’s easy to mess up especially if you’re moving too quickly. I actually messed mine up a little and lost the dot to my “i”. I ended up having to recut just the dot but if I was more focused I wouldn’t have lost that tiny guy. A little behind the scenes while I was making this book stack…I had 5 kids, 15 baby chicks, 4 baby ducks, 2 dogs, and a cat all in my craft room while making these lol! We most definitely have that beautiful chaos going on 24/7 in our home. We had just picked up our new feathered babies the day before so their temporary home while they grow is in bins with heat lamps over them on my craft table.

DIY farmhouse book stack using real book and vinyl decals from your Cricut cutting machine. Make your own simple rustic book stack easy & simple from Dollar Tree books.

I used my favorite clear transfer tape to transfer the decals on the spines of my books. I didn’t measure or get super exact with this. I just eyeballed it and that worked great. I used my trusty blue vinyl squeegee to help press my decals down so that they were good and adhered to the sides of the books.

DIY farmhouse book stack using real book and vinyl decals from your Cricut cutting machine. Make your own simple rustic book stack easy & simple from Dollar Tree books.

Then I slowly removed the transfer tape. Be sure to go super slow on this step.

DIY farmhouse book stack using real book and vinyl decals from your Cricut cutting machine. Make your own simple rustic book stack easy & simple from Dollar Tree books.

4. TWINE

Stack your farmhouse books in order then take some twine and wrap it around your books. I chose to tie a bow on the spine side but you can also do this on the top. I did glue some lambs ear and flowers to the top of mine but I didn’t like it at all. So I removed those. They came off pretty easy because I glued them to the twine and not the page itself.
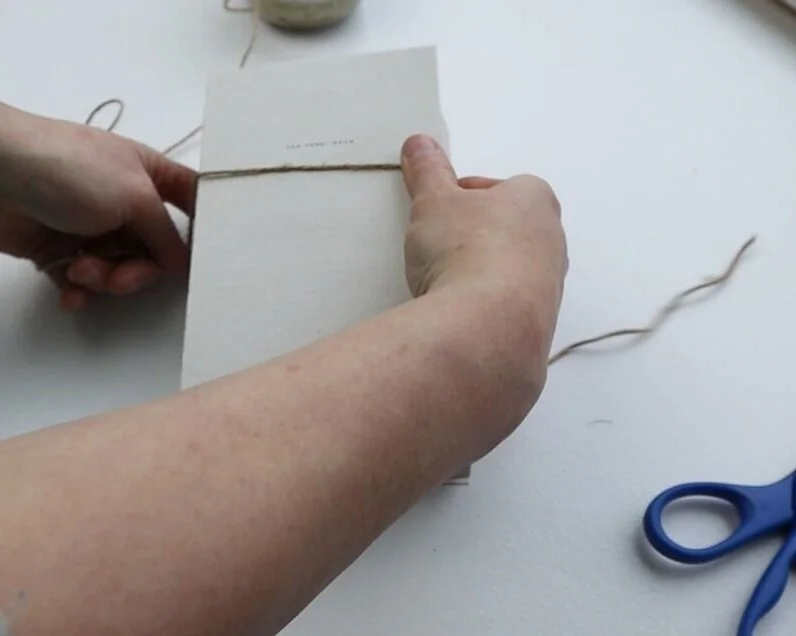
DIY farmhouse book stack using real book and vinyl decals from your Cricut cutting machine. Make your own simple rustic book stack easy & simple from Dollar Tree books.

Look at that before and after. So pretty!!!
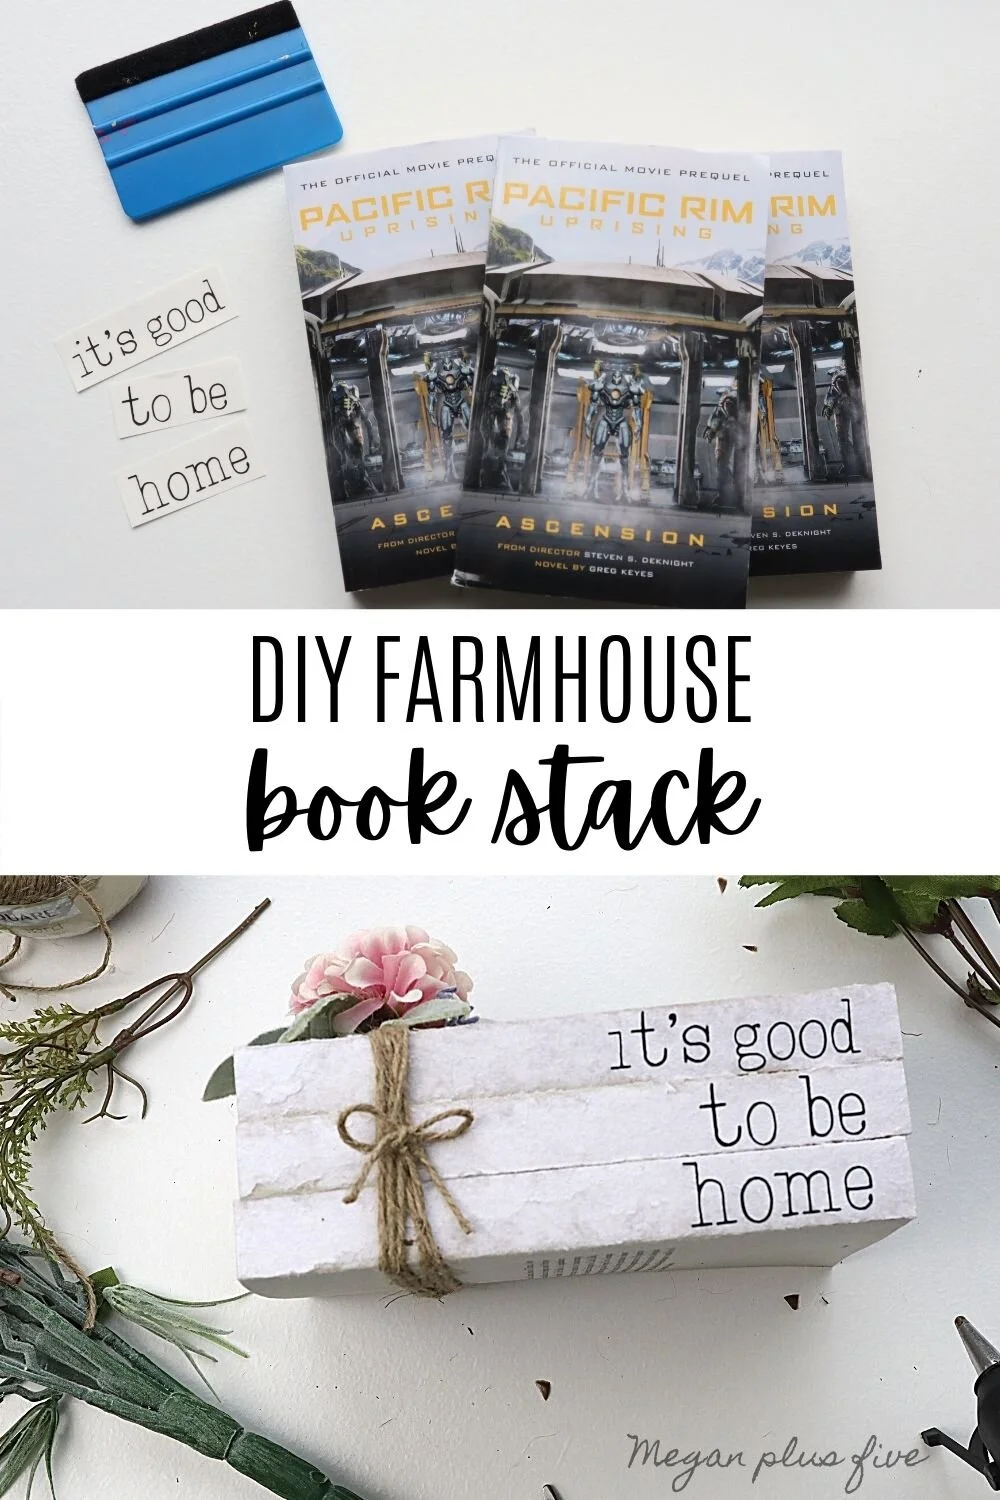
DIY farmhouse book stack using real book and vinyl decals from your Cricut cutting machine. Make your own simple rustic book stack easy & simple from Dollar Tree books.

That’s it! Such and EASY rustic home décor DIY project! I hope you enjoyed this crafty tutorial. If you have any questions about this craft or any other projects on my blog comment below or message me in the about section.

Check out more DIY crafts below

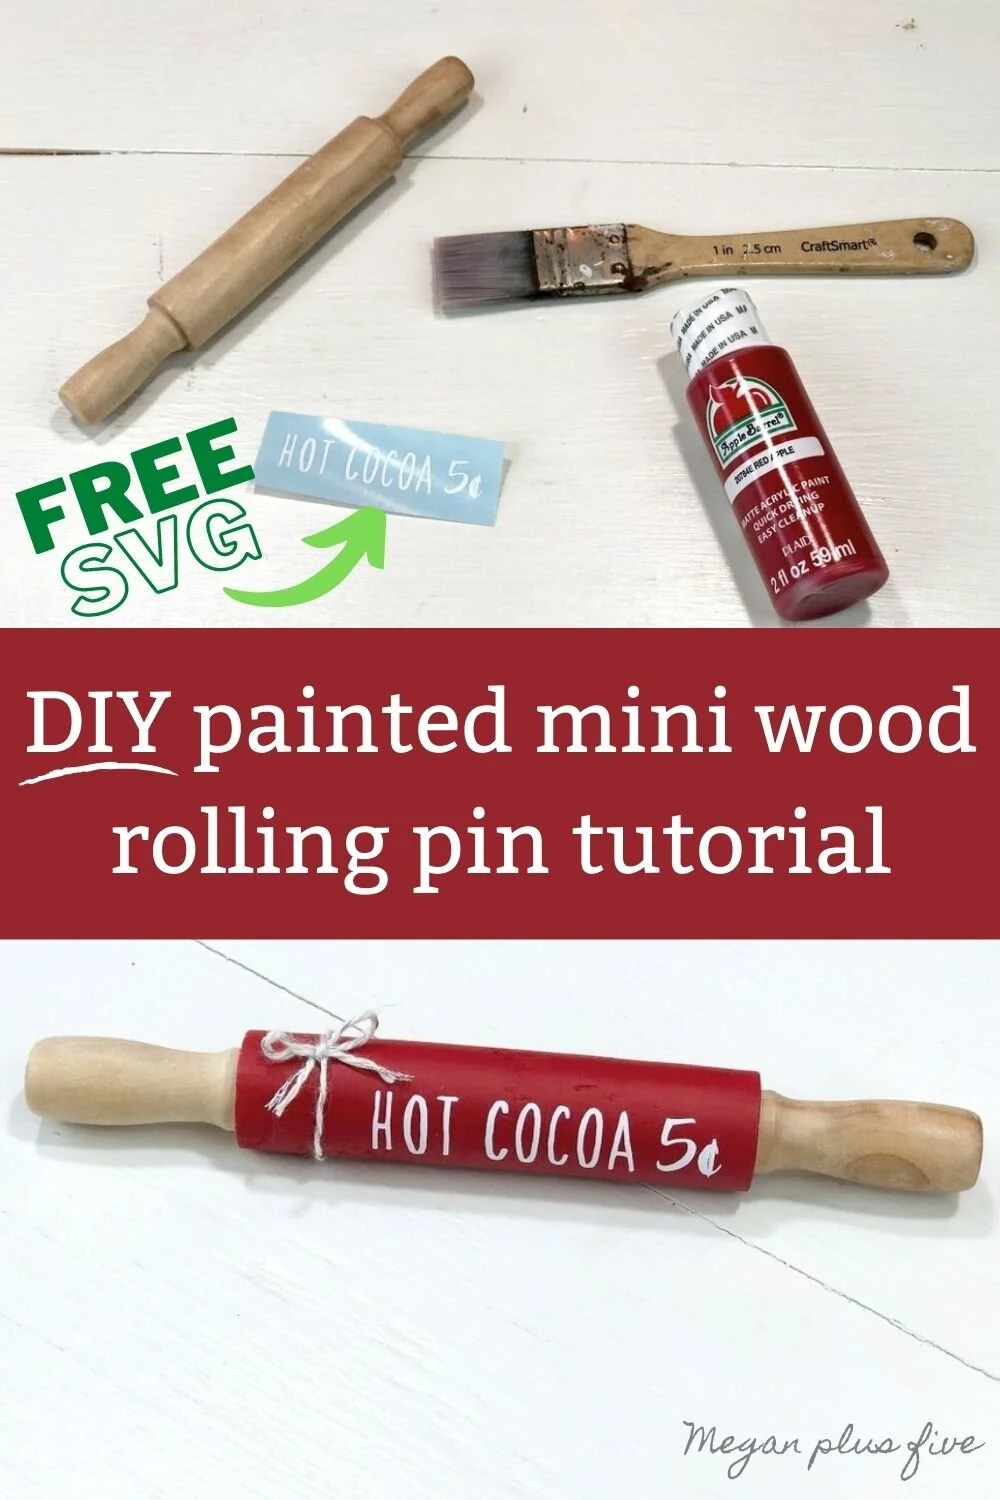
Hot cocoa mini wood rolling pin DIY

DIY mini wood rolling pin for tiered tray decorations for winter. How to make a hot cocoa themed coffee bar mini rolling pin accent plus free SVG. Make a painted wooden rolling pin for your rustic farmhouse home decor.

Do you have a coffee bar? I hope you said yes because coffee bars are SO fun to decorate! I picked up an old vanity from a garage sale a few years back that I have turned into our coffee bar and oh my goodness it is so cute and fits perfectly in the space we have.

This Christmas season I chose to do a HOT COCOA & COFFEE theme for the old coffee bar. I was inspired by this SVG I created, Baby it’s cold outside warm up here…hot cocoa & coffee. And from there I pinned all the cute hot cocoa themed projects I could find on Pinterest.

Affiliate Disclosure. Some of the links on this website are affiliate links, which means that I may earn a small commission if you click on the link or make a purchase using the link. If you make a purchase you will not be charged anything additional.

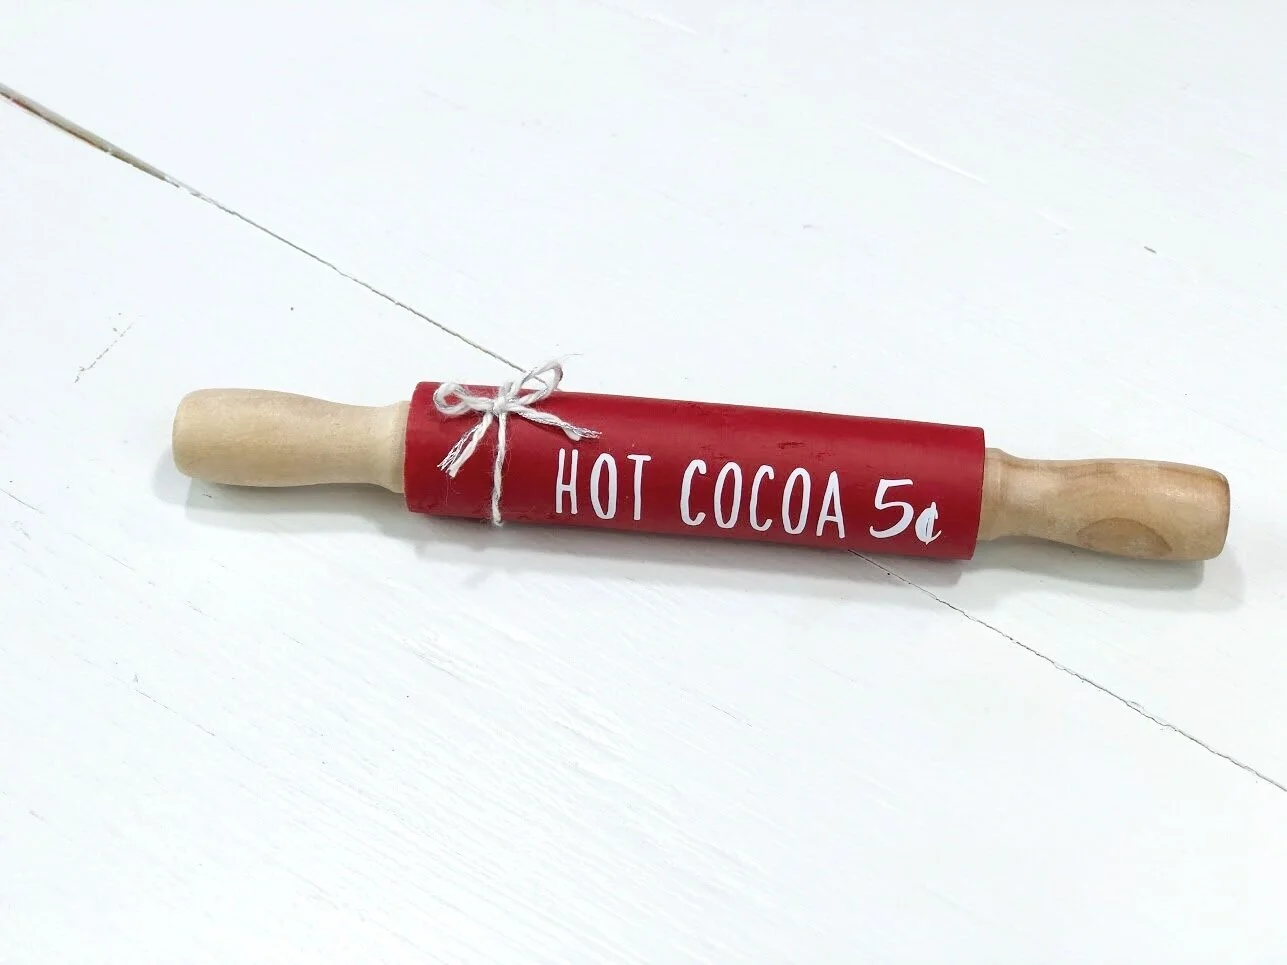
DIY mini rolling pin for coffee bar. How to make a hot cocoa mini wood rolling pin for tiered trays. Easy tutorial for wood rolling pin for your Christmas and hot cocoa coffee bar.

This little rolling pin is one of the DIY’s I made for the coffee bar. Seriously, how cute are these wooden rolling pins that seem to be everywhere for every occasion?! I love them!

DIY mini wood rolling pin for tiered tray decorations for winter. How to make a hot cocoa themed coffee bar mini rolling pin accent plus free SVG. Make a painted wooden rolling pin for your rustic farmhouse home decor.

1. CUT OUT THE HOT COCOA DECAL

I used my older model Cricut Explore for this and let me tell ya that machine has been pumping out projects for me for YEARS! I upgraded to this little guy when my youngest daughter was a baby. Before I had used the super old model that was around when dinosaurs roamed the earth. I’m joking but really, the older model machines were SOOOOO hard to work with compared to the newer machines.

DIY mini wood rolling pin for tiered tray decorations for winter. How to make a hot cocoa themed coffee bar mini rolling pin accent plus free SVG. Make a painted wooden rolling pin for your rustic farmhouse home decor.

If you are needing a cart to hold your Cricut machine I highly recommend the one in this pic. I know it’s hard to see but it’s a wonderful cart on wheels that will hold 2 machines and has 4 drawers for storage, CLICK HERE.

Grab the SVG file for FREE in my free resource library CLICK HERE. While you’re there take a look at all the other fun things you can make with my free to use files.

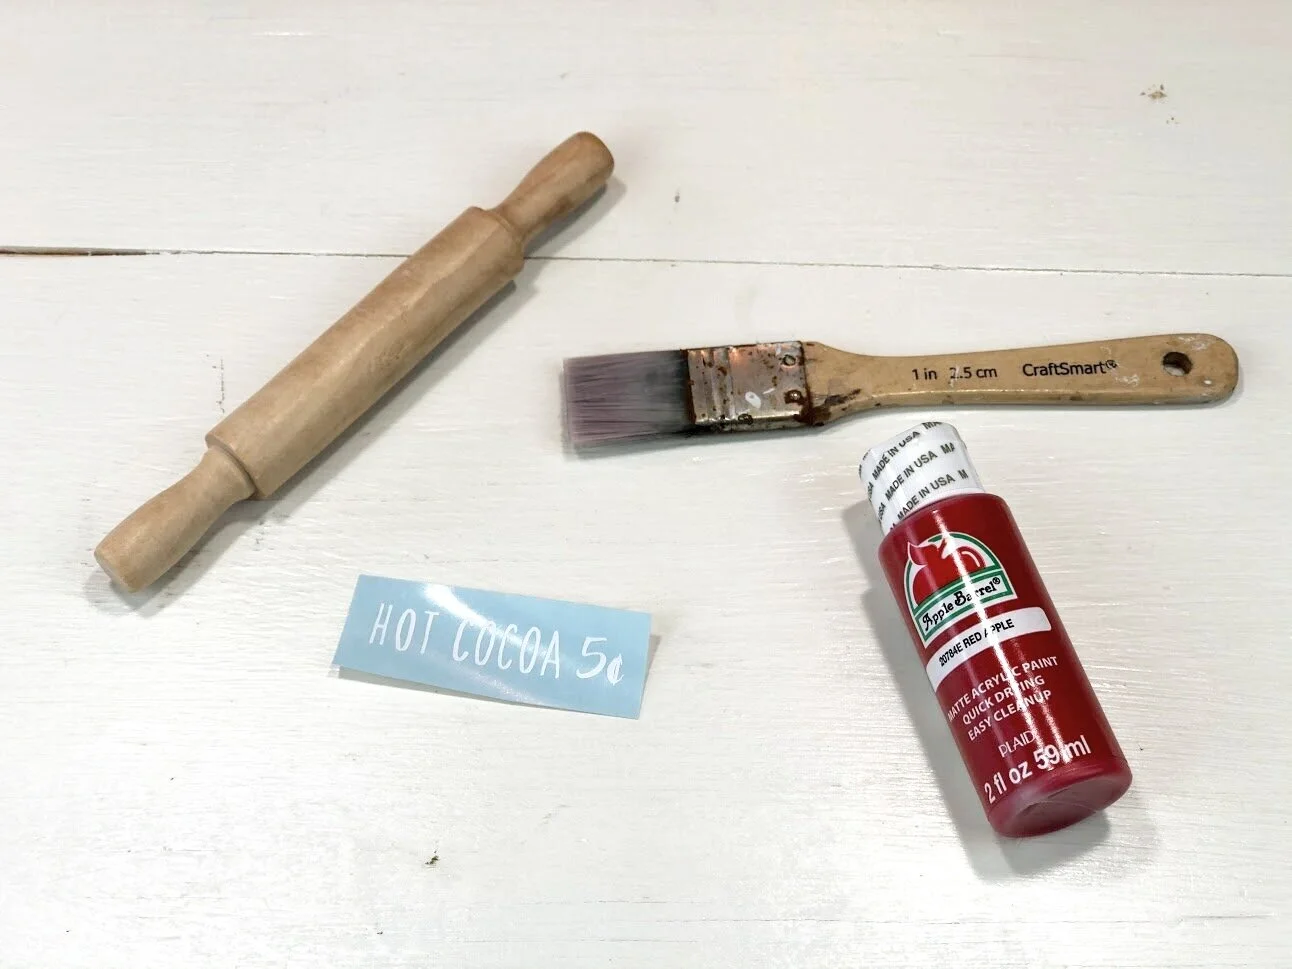
I used a scrap piece of Oracal 651 matte finish white vinyl because that’s what I had on hand.

Once it was done cutting I weeded out the background and all the little middles using a sewing pin.

DIY mini wood rolling pin for tiered tray decorations for winter. How to make a hot cocoa themed coffee bar mini rolling pin accent plus free SVG. Make a painted wooden rolling pin for your rustic farmhouse home decor.

2. PAINT THE ROLLING PIN

I used a red paint I picked up at Walmart but if you prefer to order from Amazon I put a link above for a paint I like to use from there.

DIY mini wood rolling pin for tiered tray decorations for winter. How to make a hot cocoa themed coffee bar mini rolling pin accent plus free SVG. Make a painted wooden rolling pin for your rustic farmhouse home decor.

I only painted the rolling part of the rolling pin. I left the edges and the handles natural. I applied one thin coat of red paint.

DIY mini wood rolling pin for tiered tray decorations for winter. How to make a hot cocoa themed coffee bar mini rolling pin accent plus free SVG. Make a painted wooden rolling pin for your rustic farmhouse home decor.

Then I let it dry. I got a little creative when propping this up. I used the paint bottle and a tin of lotion to prop this little guy up and it worked great.

DIY mini wood rolling pin for tiered tray decorations for winter. How to make a hot cocoa themed coffee bar mini rolling pin accent plus free SVG. Make a painted wooden rolling pin for your rustic farmhouse home decor.

Once the first coat was dry I applied a second coat.

DIY mini wood rolling pin for tiered tray decorations for winter. How to make a hot cocoa themed coffee bar mini rolling pin accent plus free SVG. Make a painted wooden rolling pin for your rustic farmhouse home decor.

BTW this paint brush may look like a hot mess but I LOVE this style of a thin flat paint brush! I left a link to a similar one you can also get on Amazon that will work just like it.

Let the wood rolling pin dry completely before moving on to the next step. Always remember that vinyl will not stick to wet paint, like at all.

3. APPLY THE VINYL DECAL

I used this clear transfer tape to help apply my decal to my rolling pin. Be careful when applying these decals because they are so small, it’s very easy to move too fast and mess the decal up.

DIY mini wood rolling pin for tiered tray decorations for winter. How to make a hot cocoa themed coffee bar mini rolling pin accent plus free SVG. Make a painted wooden rolling pin for your rustic farmhouse home decor.

I carefully positioned my decal on the right side of my rolling pin and pressed it down with my hand.

DIY mini wood rolling pin for tiered tray decorations for winter. How to make a hot cocoa themed coffee bar mini rolling pin accent plus free SVG. Make a painted wooden rolling pin for your rustic farmhouse home decor.

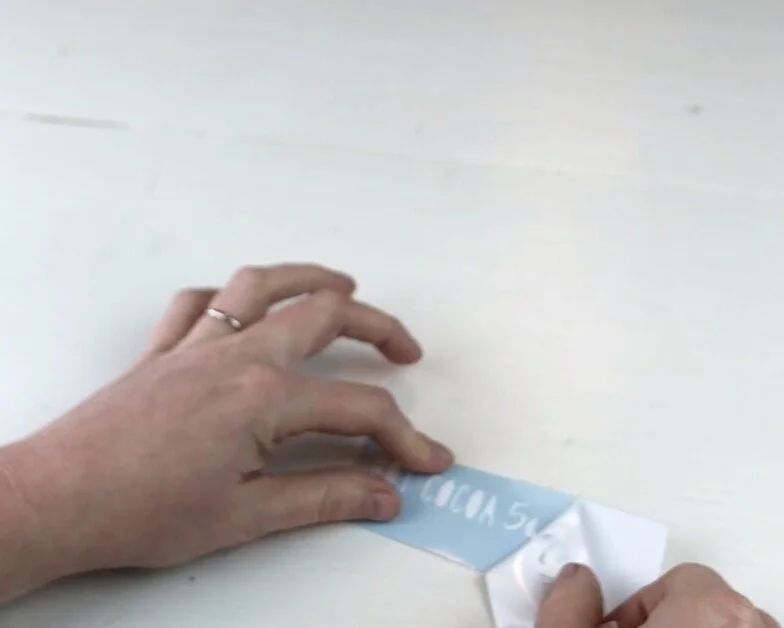
Once my decal was in place I used a vinyl squeegee to help press it down a little more then slowly peeled the transfer tape off of the rolling pin leaving the decal on the rolling pin. I’ve found it’s much easier if you roll the transfer tape off and away from the decal.

DIY mini wood rolling pin for tiered tray decorations for winter. How to make a hot cocoa themed coffee bar mini rolling pin accent plus free SVG. Make a painted wooden rolling pin for your rustic farmhouse home decor.

4. ADD BAKERS TWINE

I added a cute little accent bow using bakers twine. I just tied it to the side of the rolling pin that was blank, the left side, and tied it in a bow.

DIY mini wood rolling pin for tiered tray decorations for winter. How to make a hot cocoa themed coffee bar mini rolling pin accent plus free SVG. Make a painted wooden rolling pin for your rustic farmhouse home decor.

This particular bakers twine was giving me a fit so I used my sewing pin to help me get it straightened out and that seemed to work great.

DIY mini wood rolling pin for tiered tray decorations for winter. How to make a hot cocoa themed coffee bar mini rolling pin accent plus free SVG. Make a painted wooden rolling pin for your rustic farmhouse home decor.

That’s it! Super easy craft to make for your tiered tray decor for winter. This craft took me just under an hour, mainly waiting on paint to dry. I think I might even make a couple more to pair with this one. So cute!

DIY mini wood rolling pin for tiered tray decorations for winter. How to make a hot cocoa themed coffee bar mini rolling pin accent plus free SVG. Make a painted wooden rolling pin for your rustic farmhouse home decor.

I can’t wait to finish the rest of my hot cocoa & coffee winter themed coffee bar.

I hope you enjoyed this crafty tutorial. If you have any questions please ask away in the comments below.

Happy crafting!

Check out more DIY crafts using my CRICUT cutting machine

BOHO style floating shelf makeover

DIY boho shelf decals using your Cricut. How to makeover outdated floating cub shelves for a boho inspired bedroom. Feather, arrow, and geometric shapes for bohemian style home decor.

My four daughters and I were shopping around Big Lots a couple months back and found these floating cube shelves on clearance. Even though the colors were all wrong for the older girl’s BOHO themed room we snagged the shelves up anyway.

I knew it would just take a few coats of white paint and vinyl to doctor these guys up.

Affiliate Disclosure. Some of the links on this website are affiliate links, which means that I may earn a small commission if you click on the link or make a purchase using the link. If you make a purchase you will not be charged anything additional.

If you’re new to the fancy cutting machine world be sure to check out my post on the 10 must have supplies & accessories to get you started on your Cricut (or any other cutting machine) journey.

Here’s what I used to makeover these floating cube shelves

DIY boho shelf decals using your Cricut. How to makeover outdated floating cub shelves for a boho inspired bedroom. Feather, arrow, and geometric shapes for bohemian style home decor.

Here’s what the shelves looked like when I brought them home from the store. You can see on the packaging they had been black, red, and light blue. These colors don’t really scream boho lol!

DIY boho shelf decals using your Cricut. How to makeover outdated floating cub shelves for a boho inspired bedroom. Feather, arrow, and geometric shapes for bohemian style home decor.

1. PAINT

The first thing I did was paint over the old shelf colors. These colors were just too dark for my girl’s boho themed bedroom. It took several coats of paint to fully cover these shelves AND honestly one of the shelves could have used another coat of paint yet but I was tired of painting lol.

DIY boho shelf decals using your Cricut. How to makeover outdated floating cub shelves for a boho inspired bedroom. Feather, arrow, and geometric shapes for bohemian style home decor.

Be sure you let the paint dry completely between coats.

2. DESIGN

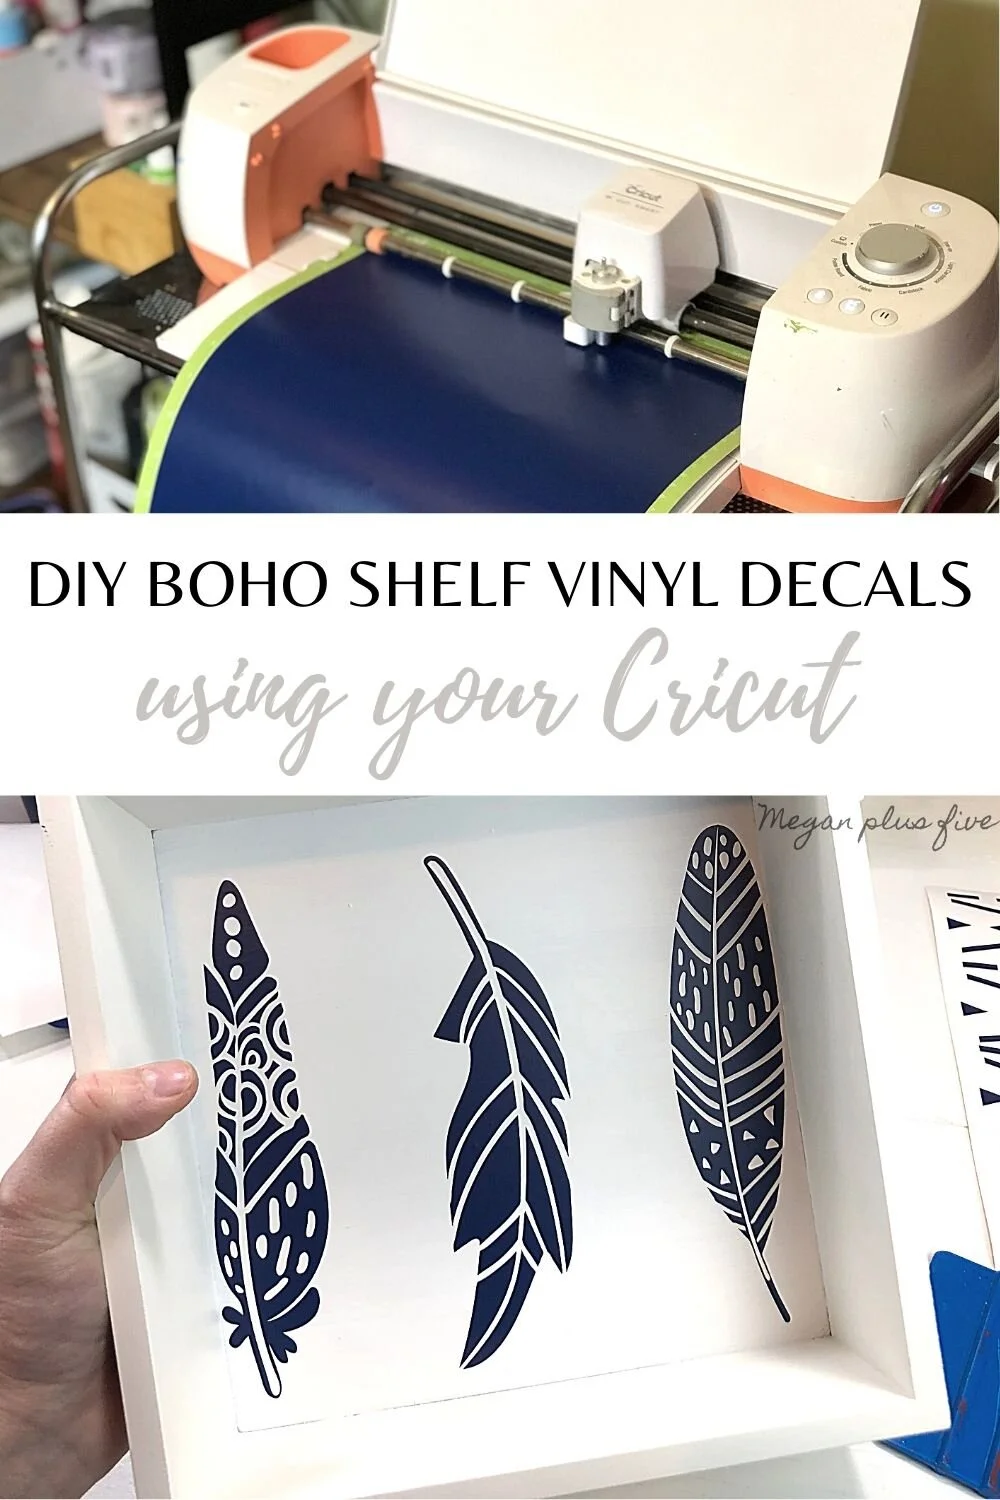
I chose to use some images in Cricut Design Space. I searched ‘BOHO’ in the image section and it popped up with several boho themed images to use. My girls liked the feathers and arrows the best so they chose a few different variations and I resized and welded them together.

DIY boho shelf decals using your Cricut. How to makeover outdated floating cub shelves for a boho inspired bedroom. Feather, arrow, and geometric shapes for bohemian style home decor.

For the pattern I searched ‘GEOMETRIC PATTERN’. A ton of options pulled up and the girls liked this diamond, dashed line, X one the best.

DIY boho shelf decals using your Cricut. How to makeover outdated floating cub shelves for a boho inspired bedroom. Feather, arrow, and geometric shapes for bohemian style home decor.

Before I went on to the next step I measured out my shelves and sized my decals down so they would fit the different ones I was going to place them on.

3. CUT OUT THE DESIGN

DIY boho shelf decals using your Cricut. How to makeover outdated floating cub shelves for a boho inspired bedroom. Feather, arrow, and geometric shapes for bohemian style home decor.

I’m going to be completely honest, I used a new to me vinyl for this project. I bought a brand called STARCRAFT and I’m not totally sure on it yet. It’s just a little different than what I’m used to but who knows I may love it after using it for a few different projects. I also used it for the vinyl decals on these cheerleader gift bags.

I used a dark blue matte color for these boho shelf decals.

4. WEED THE DECALS

I weeded out my decals with an xacto knife. I will usually always use either an xacto knife or a sewing pin for this. Since these are decals and not stencils for painted signs, you want to be sure you remove all of the background, not the image itself.

DIY boho shelf decals using your Cricut. How to makeover outdated floating cub shelves for a boho inspired bedroom. Feather, arrow, and geometric shapes for bohemian style home decor.

5. APPLY THE DECALS

After my decals were weeded I applied clear transfer tape to them and used my vinyl squeegee to push out any air bubbles.

DIY boho shelf decals using your Cricut. How to makeover outdated floating cub shelves for a boho inspired bedroom. Feather, arrow, and geometric shapes for bohemian style home decor.

I found it was MUCH EASIER to cut down my transfer tape so it was the same size as my decal. Trying to put on the decals with excess transfer tape was a nightmare.

DIY boho shelf decals using your Cricut. How to makeover outdated floating cub shelves for a boho inspired bedroom. Feather, arrow, and geometric shapes for bohemian style home decor.

I took my time during this step to be sure my design was exactly where I wanted it by hovering over the shelf with my vinyl decal. Once I was happy with the placement I pressed it down with my fingers then used my vinyl squeegee to push out any air bubbles.

6. REMOVE THE TRANSFER TAPE

I also took my time during this step too. If you go too fast you can easily rip your vinyl. I started at one corner and slowly rolled my transfer tape off of my design. I think this is the easiest way to remove transfer tape from any vinyl or stencil design.

DIY boho shelf decals using your Cricut. How to makeover outdated floating cub shelves for a boho inspired bedroom. Feather, arrow, and geometric shapes for bohemian style home decor.

That’s it. They are ready to hang in my girl’s boho themed bedroom. I was so excited with how these turned out even though it took me WAY too long to get them finished. But that’s how us creative people are lol! We start a project and have to put it down for a few days (or a month lol!) until we can come back to it.

DIY boho shelf decals using your Cricut. How to makeover outdated floating cub shelves for a boho inspired bedroom. Feather, arrow, and geometric shapes for bohemian style home decor.

I really love this one with the arrows. They are all so different and so beautiful!

DIY boho shelf decals using your Cricut. How to makeover outdated floating cub shelves for a boho inspired bedroom. Feather, arrow, and geometric shapes for bohemian style home decor.

I think the girls did a great job picking out 3 different boho looking feathers. I love the patterns they have.

DIY boho shelf decals using your Cricut. How to makeover outdated floating cub shelves for a boho inspired bedroom. Feather, arrow, and geometric shapes for bohemian style home decor.

This one wasn’t my absolute favorite but I think it looks great to help break up the feathers and the arrows. I convinced them to put the geometric shapes on the middle sized shelf so that it would help break up the images even more and they agreed :)!

DIY boho shelf decals using your Cricut. How to makeover outdated floating cub shelves for a boho inspired bedroom. Feather, arrow, and geometric shapes for bohemian style home decor.

I hope you enjoyed this crafty tutorial and it inspires you to give something a makeover you may have seen at the store or that you have around the house. Let me know if you have any questions in the comments below.

HAPPY CRAFTING!

Check out more DIY Cricut projects

Classic farmhouse tiered tray signs

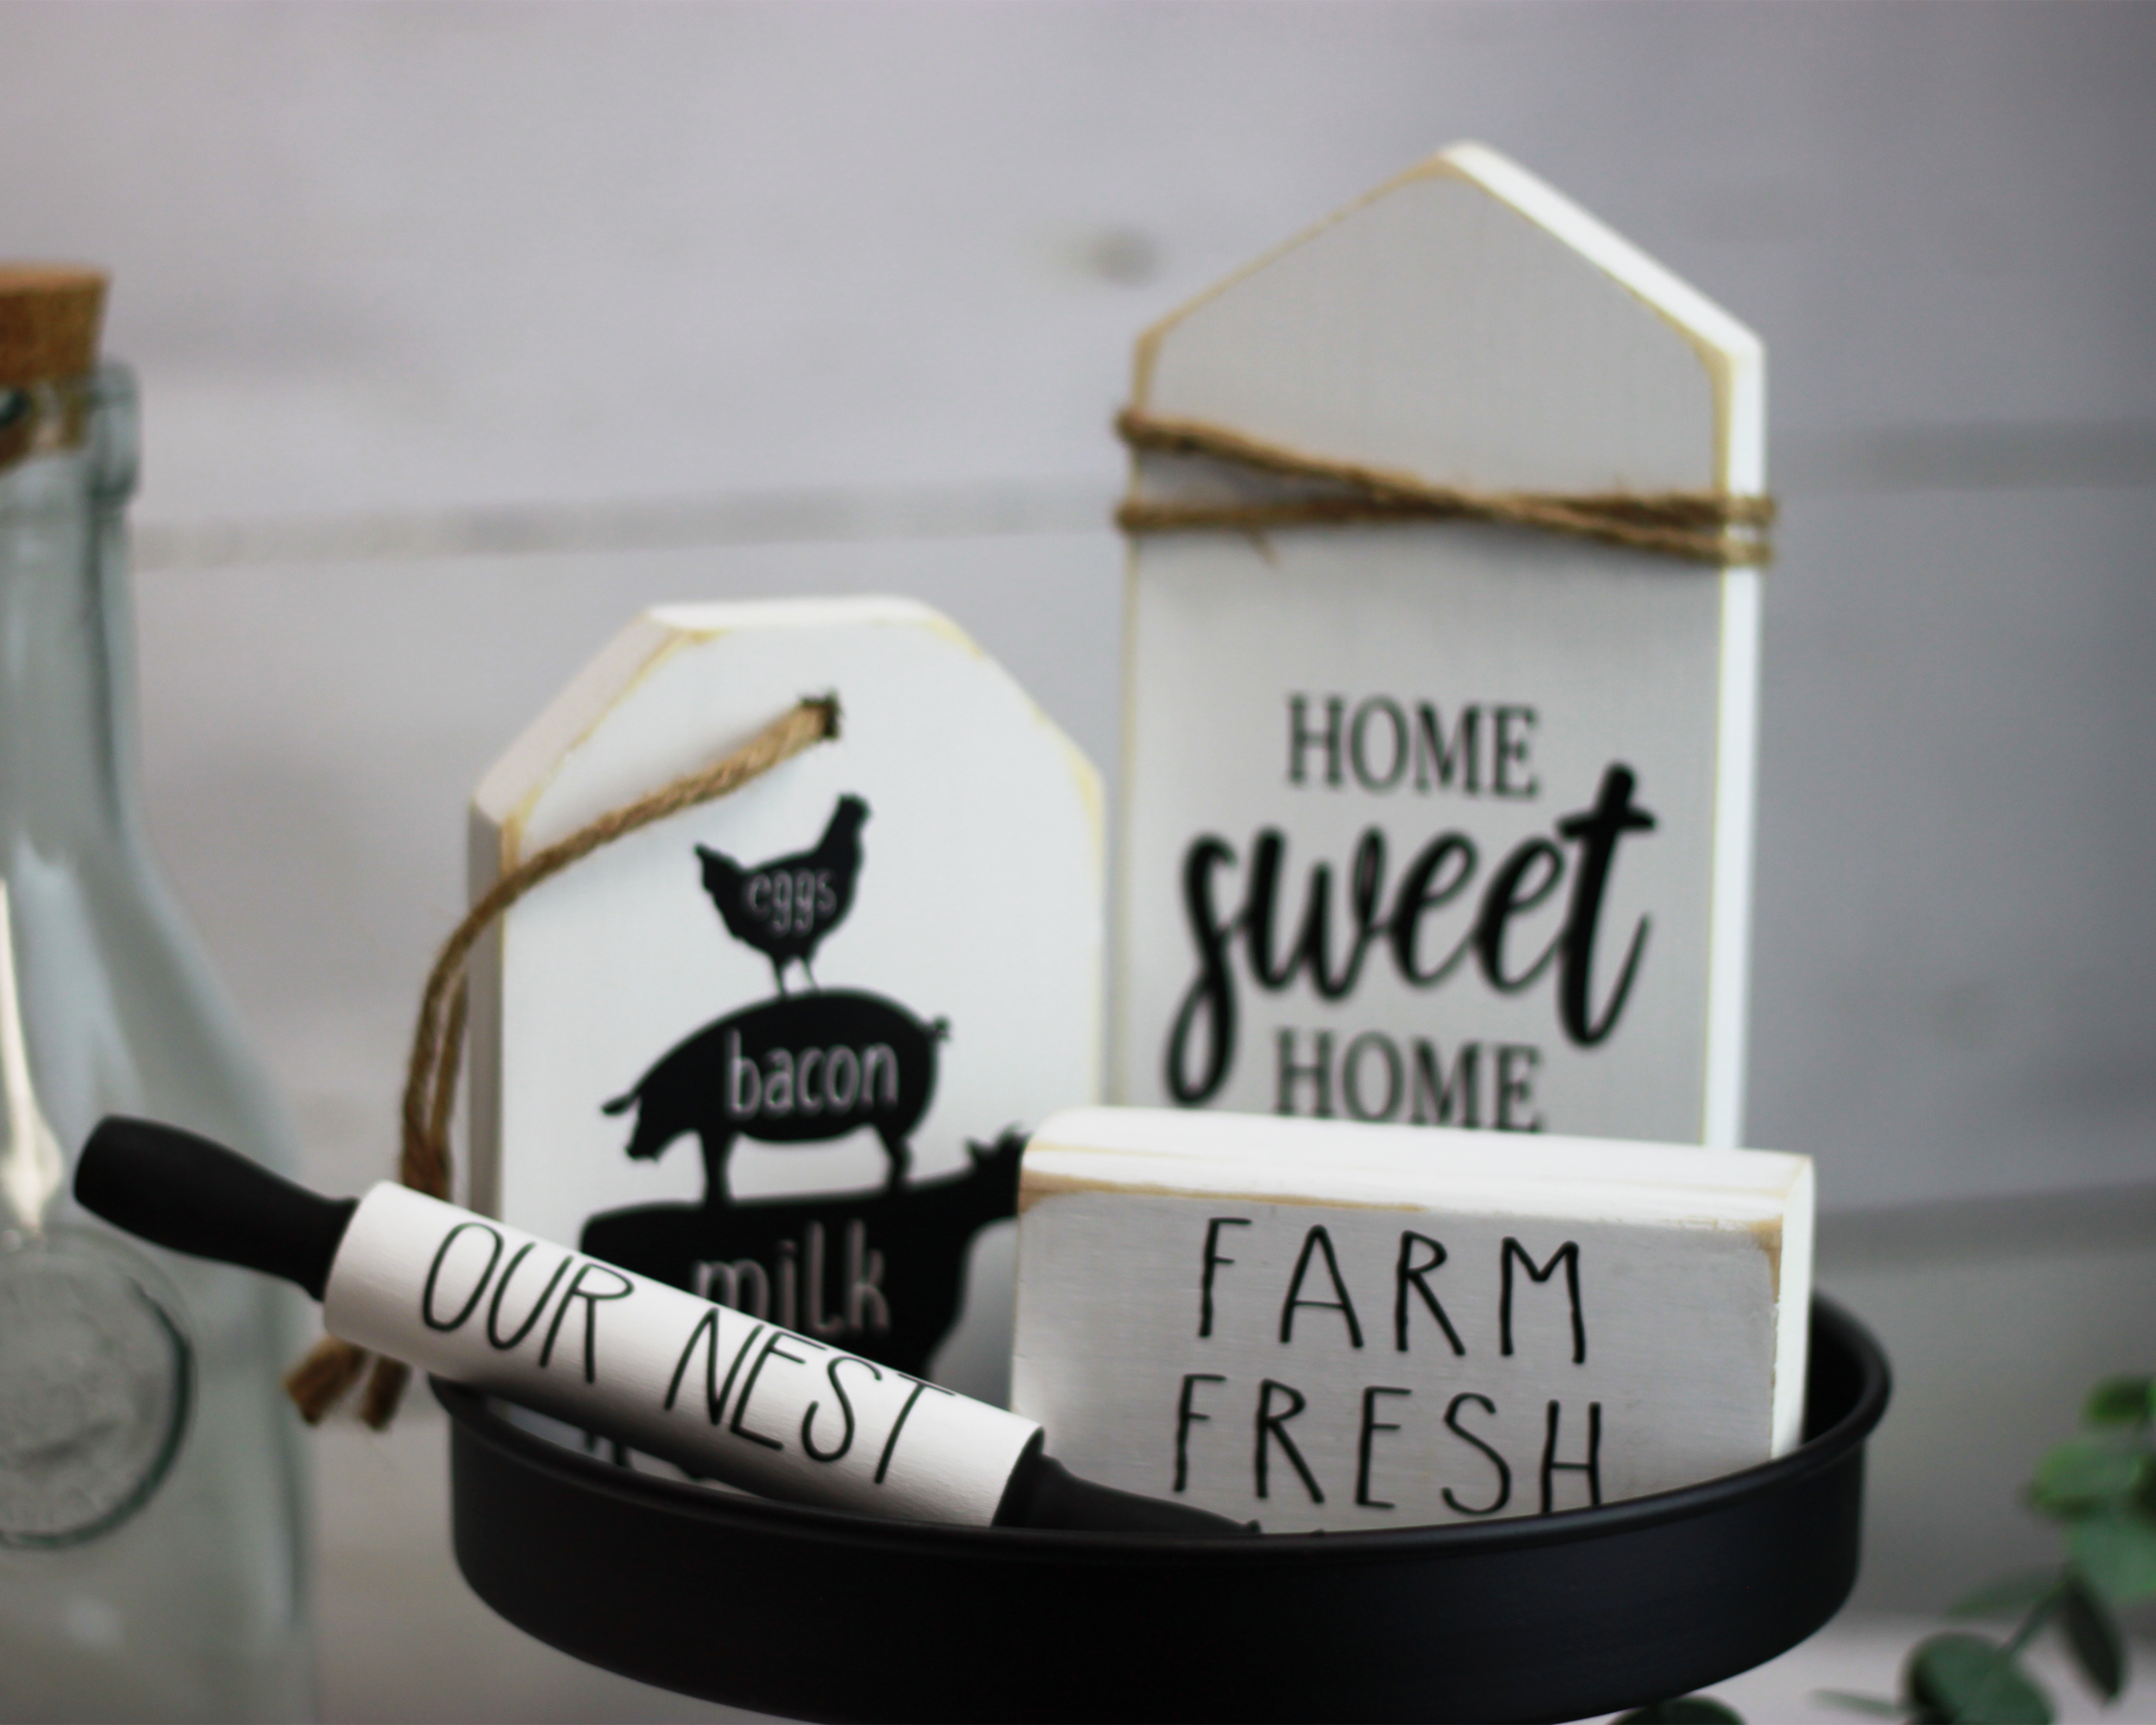
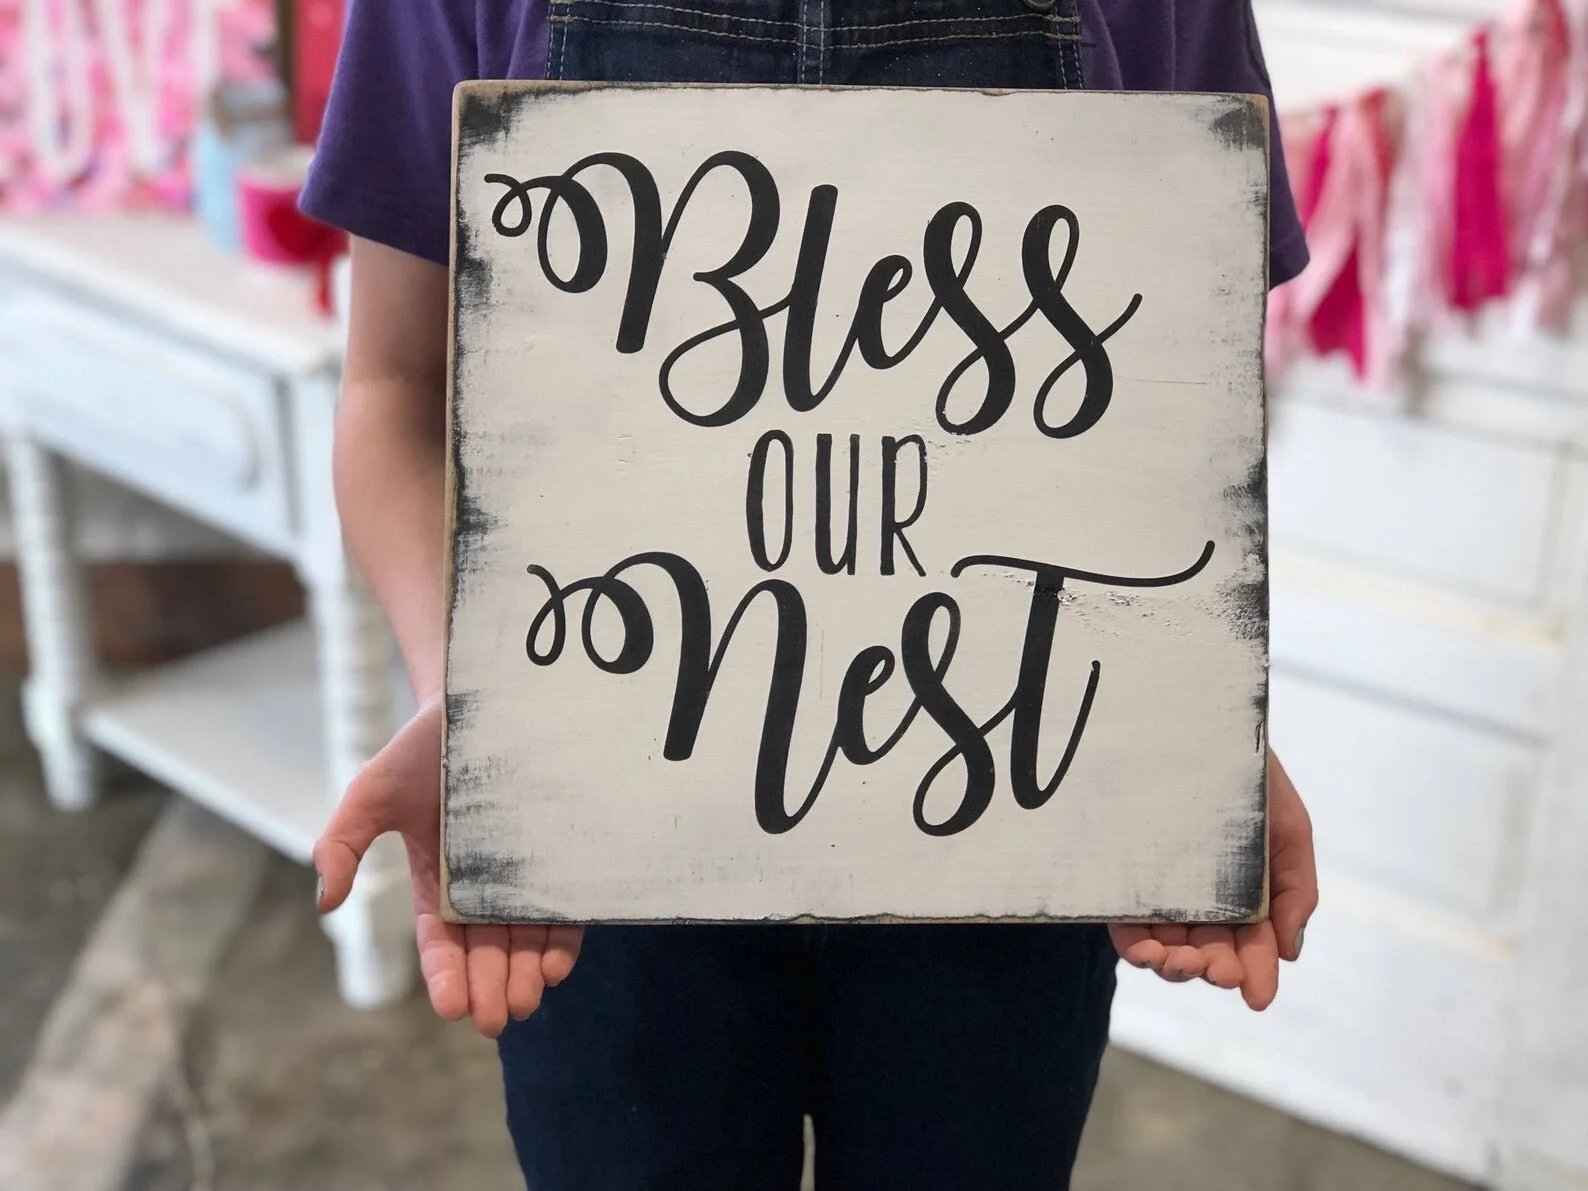
Tiered tray signs for rustic home decor. Classic style mini wood signs in white and black. Sign bundle comes with home sweet home, farm animal trio of chicken pig and cow on a rustic wood tag, mini rolling pin our nest, and farm fresh.

Tiered tray sign bundle for your CLASSIC looking farmhouse decor

I am loving this tiered tray decor that’s all the rage right now. There are so many different seasons, holidays, and themes you can do. Or you can keep it super classy and simple with the classic black and white farmhouse colors. There is so much you can do with these simple color scheme. You can keep it black and white or add a couple rustic pieces that will give it a pop of color here and there. I love how versatile it is!

Affiliate Disclosure. Some of the links on this website are affiliate links, which means that I may earn a small commission if you click on the link or make a purchase using the link. If you make a purchase you will not be charged anything additional.

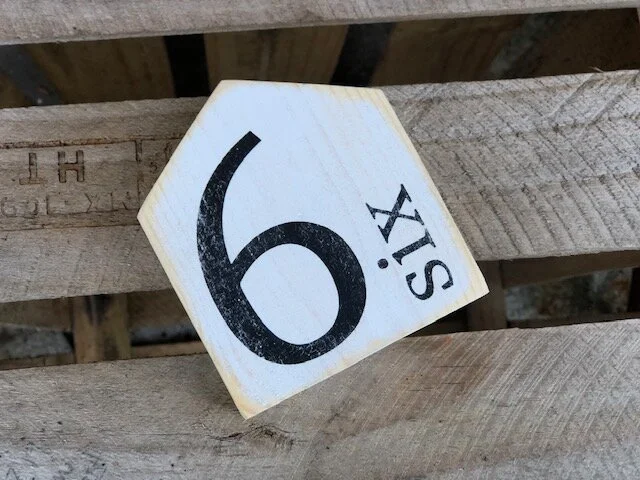
If you LOVE this crafty post be sure to check out how I made a mini house family number sign. Instead of using vinyl like I did on these rustic farmhouse mini signs I painted it instead.

Tiered tray signs for rustic home decor. Classic style mini wood signs in white and black. Sign bundle comes with home sweet home, farm animal trio of chicken pig and cow on a rustic wood tag, mini rolling pin our nest, and farm fresh.

If you’re in to the rustic farmhouse style how can you not love a mini wooden tag that has farm animals on it?! This one is probably my favorite of all the bundled pieces. I absolutely LOVE chickens! Well of course cows and pigs too but chickens are really my favorite farm animal! Every time I see one, whether that be a real life chicken or a picture of one, I smile! They are just too cute!

TIERED TRAY RUSTIC SIGNS

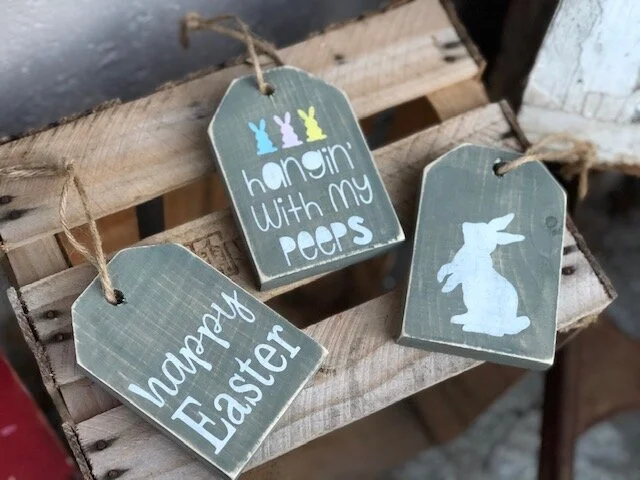
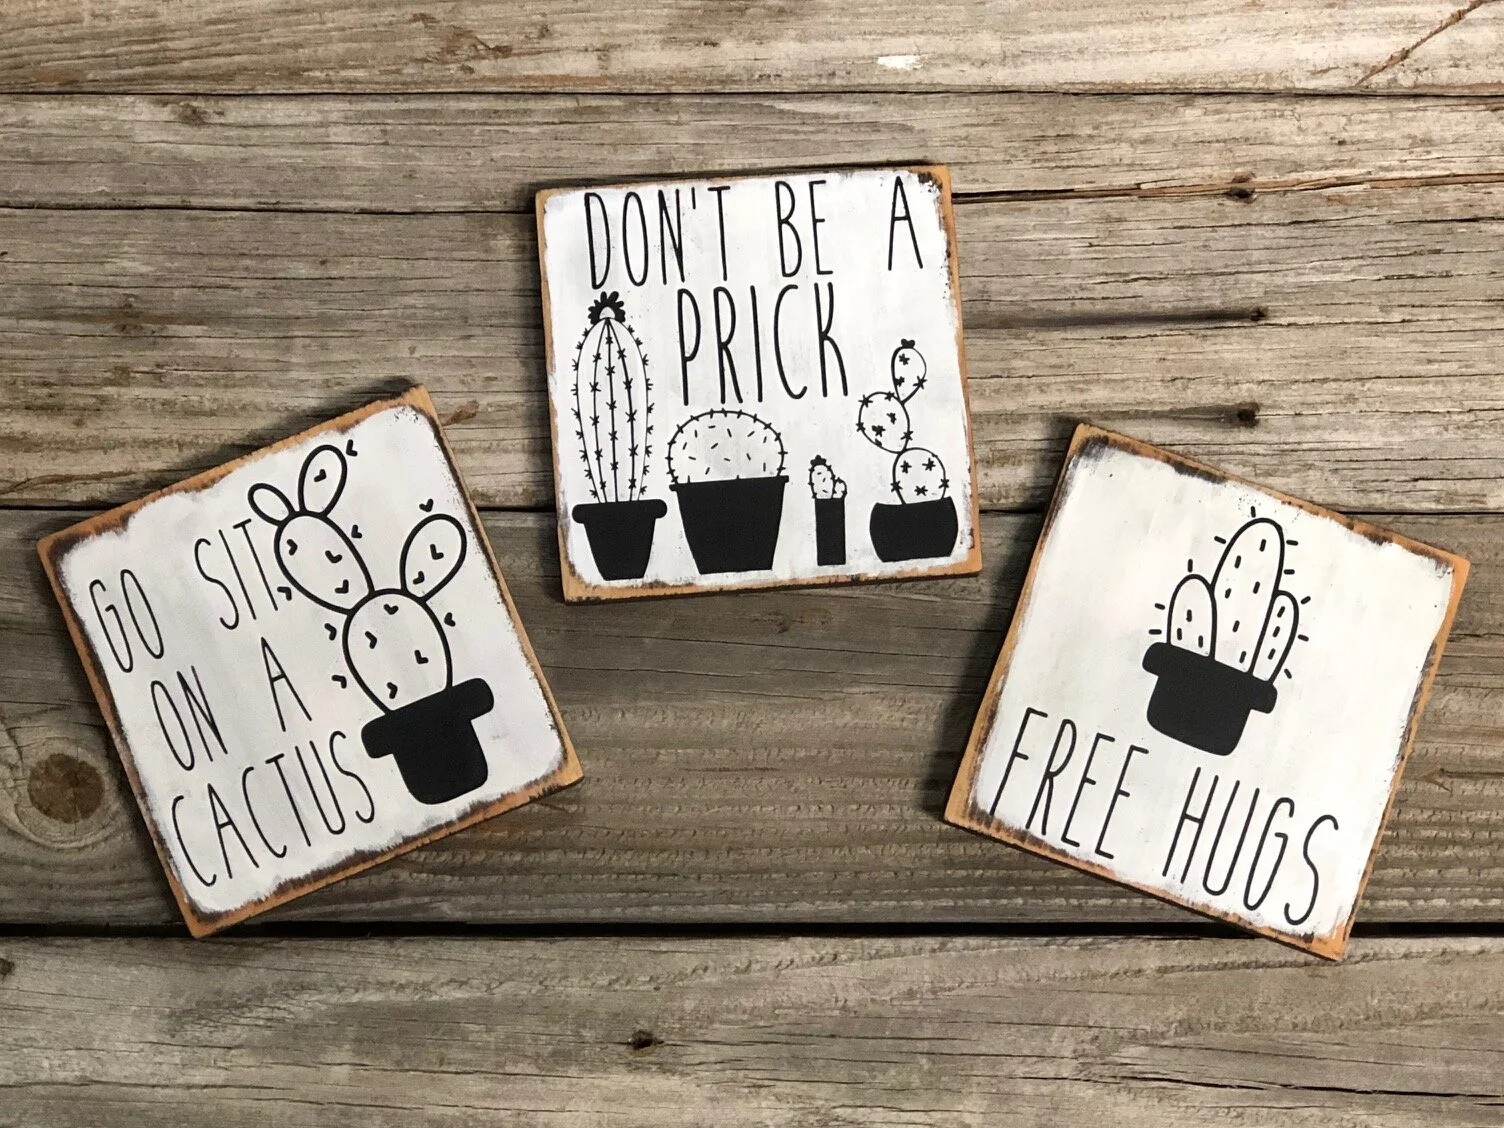
For this tiered tray bundle I incorporated different sizes and shapes to these farmhouse pieces mix it up a bit. I typically create identical bases for my handmade sign pieces, like these hilarious rustic looking cactus signs. Another example are these Easter mini wood tags. They come in a set of 3 but they are all the same sized wood base. While they are super cute I am really loving the mix and match look of the different sized and styled bases of these classic farmhouse tiered tray signs.

Here are the sign bases I used:

Since they are all different sizes and shapes they truly work perfectly for the tiered tray signs.

Tiered tray signs for rustic home decor. Classic style mini wood signs in white and black. Sign bundle comes with home sweet home, farm animal trio of chicken pig and cow on a rustic wood tag, mini rolling pin our nest, and farm fresh.

Unlike most of my signs I actually chose to use vinyl on them instead of painting the entire design. I have been one BUSY momma this year so I’ve been adding more simple designs and styles to my shop line up. I guess I always thought using vinyl was “cheating” in the sign making game but I have no regrets using the vinyl on these designs. They are quick to make, priced at a more affordable price point, and I can get them out to my customers even faster because it takes SO much LESS time to create.

While stenciling designs will always be my preferred method for making signs I do love how these vinyled signs turned out. So much that I have plans to add even more in my shop!

You can grab the FARM FRESH design in my FREE RESOURCE LIBRARY.

Want your own set but don’t want to make them? You can purchase your handmade signs from my shop, click here —-> CLASSIC FARMHOUSE STYLE TIERED TRAY SIGNS

Tiered tray signs for rustic home decor. Classic style mini wood signs in white and black. Sign bundle comes with home sweet home, farm animal trio of chicken pig and cow on a rustic wood tag, mini rolling pin our nest, and farm fresh.

If you are a DIY-er and want to make your own rustic farmhouse style tiered tray signs here’s what I recommend you use.

New to Cricut? Check out these 10 must haves to get you started on your crafty journey

I don’t have a full on tutorial on how I made these signs they were really pretty simple to make since there wasn’t any stenciling involved. Stenciling is a WAY more involved process. But this process is super easy.

Here’s how I made my rustic tiered tray signs

  1. Paint each wood base white. Let dry. Paint a second coat. Let dry.

  2. Once dry distress the edges. Wipe with a dry lint free cloth.

  3. Cut out your designs using your Cricut, or other cutting machine.

  4. Weed your designs using your xacto knife.

  5. Apply your transfer tape and remove paper backing from your designs.

  6. Place your designs on your wood bases. Rub with your vinyl squeegee and remove your transfer tape.

  7. Add any twine accents.

  8. Place on your tiered tray and enjoy!

It’s really that simple! No messing with paint bleed. No fuss with drying time between stenciling paint coats. No stress about paint peel up. I really enjoyed how quick and easy these DIY mini wood signs were!

I hope you enjoyed this crafty tutorial. If you have any questions please feel free to ask in the comments section below.

Happy Crafting!

See how I make my mini wood tags. Don’t have the power tools to create the tags from scratch? Grab the unfinished wood tags here.

Reusable oil spray bottles + FREE SVG file

DIY labeled reusable oil spray bottles. How to make your own pam spray bottles for vegetable and olive oil for the kitchen. Plus a FREE svg file to download. Great small project to use for Cricut. Labeling kitchen with vinyl.

The days of buying cooking oil spray bottles are over. I don’t know about you but I really dislike buying Pam at the grocery store, actually it’s never name brand because I’m super frugal and have a big family to feed lol! Buying that spray always feels like such a fat waste of money and in our house cooking oil spray doesn’t last very long anyway so we are always running out at the worst time. Yes, using a paper towel with oil on it will get the job done but sometimes it would just be one less thing to stress about when you go to pull it out of the cabinet only to find one of the oldest of the four daughters put it back in there with barely a squirt left in it.

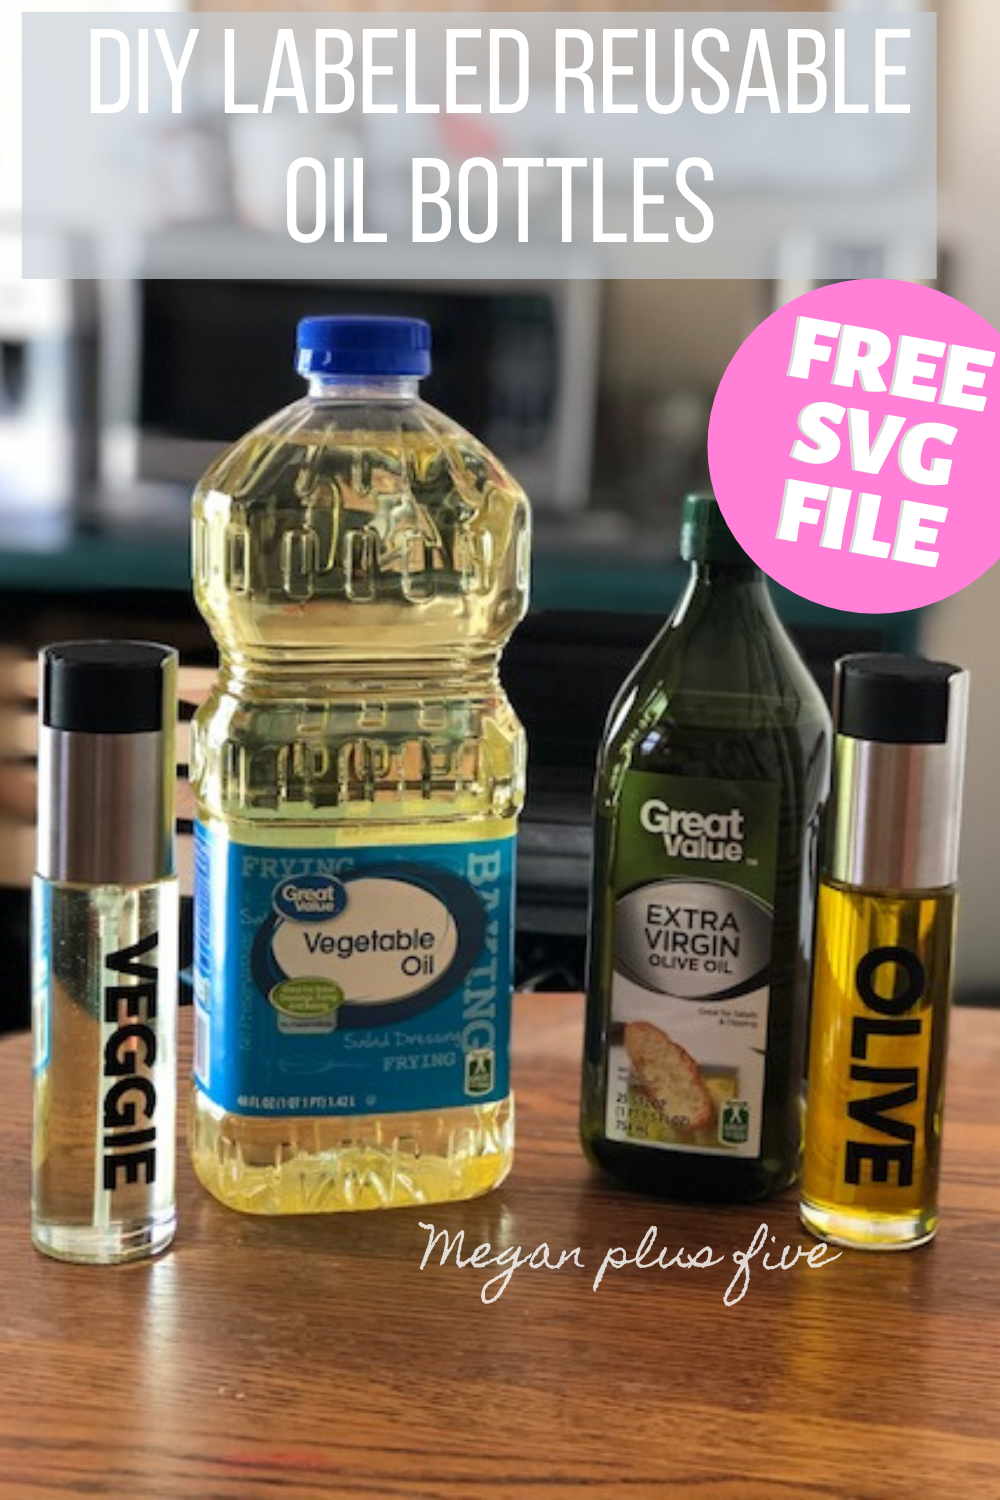
So I got on Amazon and found some heavy duty looking spray bottles that looked perfect to hold our veggie and olive oils.

Even though you can totally tell which one is which I thought it would still be a good idea to label them. I figured it would at least save me from having the same conversation a couple times a week as to what one is olive oil and what one is vegetable oil.

I really like the skinny type fonts but since the labels are going on oil bottles I thought a thicker font would work much better. If a little oil gets under the vinyl decals of a thin font they will come off super easy. If you want to use the same SVG I used you can get it here in my FREE RESOURCE LIBRARY.

Reusable oil spray bottle for the kitchen. Vegetable and olive oil mister bottles to refill. Never buy pam spray again instead buy glass bottles and make your own reusable spray bottles for kitchen oils. Plus svg vinyl decals.

Watch my video on my YouTube channel or keep scrolling for the written/photo tutorial

DIY labeled reusable oil spray bottles. How to make your own pam spray bottles for vegetable and olive oil for the kitchen. Plus a FREE svg file to download. Great small project to use for Cricut. Labeling kitchen with vinyl.

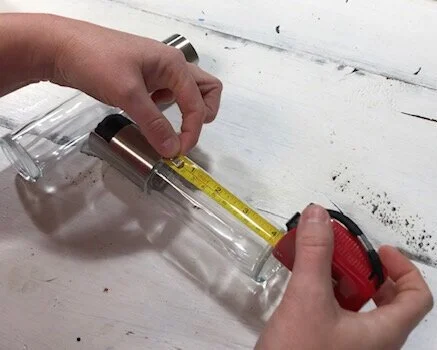
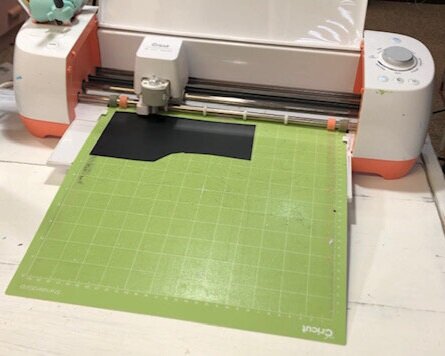
1. Cut out your vinyl decal. I used my Cricut Explore set on the vinyl cut setting and the green cutting mat. I used Oracal 651, permanent outdoor grade vinyl, in black matte finish. I measured out the length of the spray bottles I was applying it to and made it a little shorter in length. I keep most all of my scraps of vinyl in a plastic tote just for projects like this. You never know when you’ll need a small piece of vinyl lol!

DIY labeled reusable oil spray bottles. How to make your own pam spray bottles for vegetable and olive oil for the kitchen. Plus a FREE svg file to download. Great small project to use for Cricut. Labeling kitchen with vinyl.

2. I like using an xacto knife to weed my vinyl projects. You can use a fancy vinyl picker like this one but I think these are a little more difficult to hold than a simple xacto knife. Be sure when you weed your design you are weeding out the background, not the letter themselves.

DIY labeled reusable oil spray bottles. How to make your own pam spray bottles for vegetable and olive oil for the kitchen. Plus a FREE svg file to download. Great small project to use for Cricut. Labeling kitchen with vinyl.

3. I completely forgot to wash the bottles before applying the decals but I was sure to wash them before I added the oil to them ;). You want to wipe down the area of the bottle you are applying the decal to with isopropyl alcohol. This will remove any dirt or oil and allow for the best adhesion of the vinyl.

DIY labeled reusable oil spray bottles. How to make your own pam spray bottles for vegetable and olive oil for the kitchen. Plus a FREE svg file to download. Great small project to use for Cricut. Labeling kitchen with vinyl.

4. Apply transfer tape to the front of your decal. Use your vinyl squeegee to remove any air bubbles then peel the paper backing off of your vinyl decal.

DIY labeled reusable oil spray bottles. How to make your own pam spray bottles for vegetable and olive oil for the kitchen. Plus a FREE svg file to download. Great small project to use for Cricut. Labeling kitchen with vinyl.
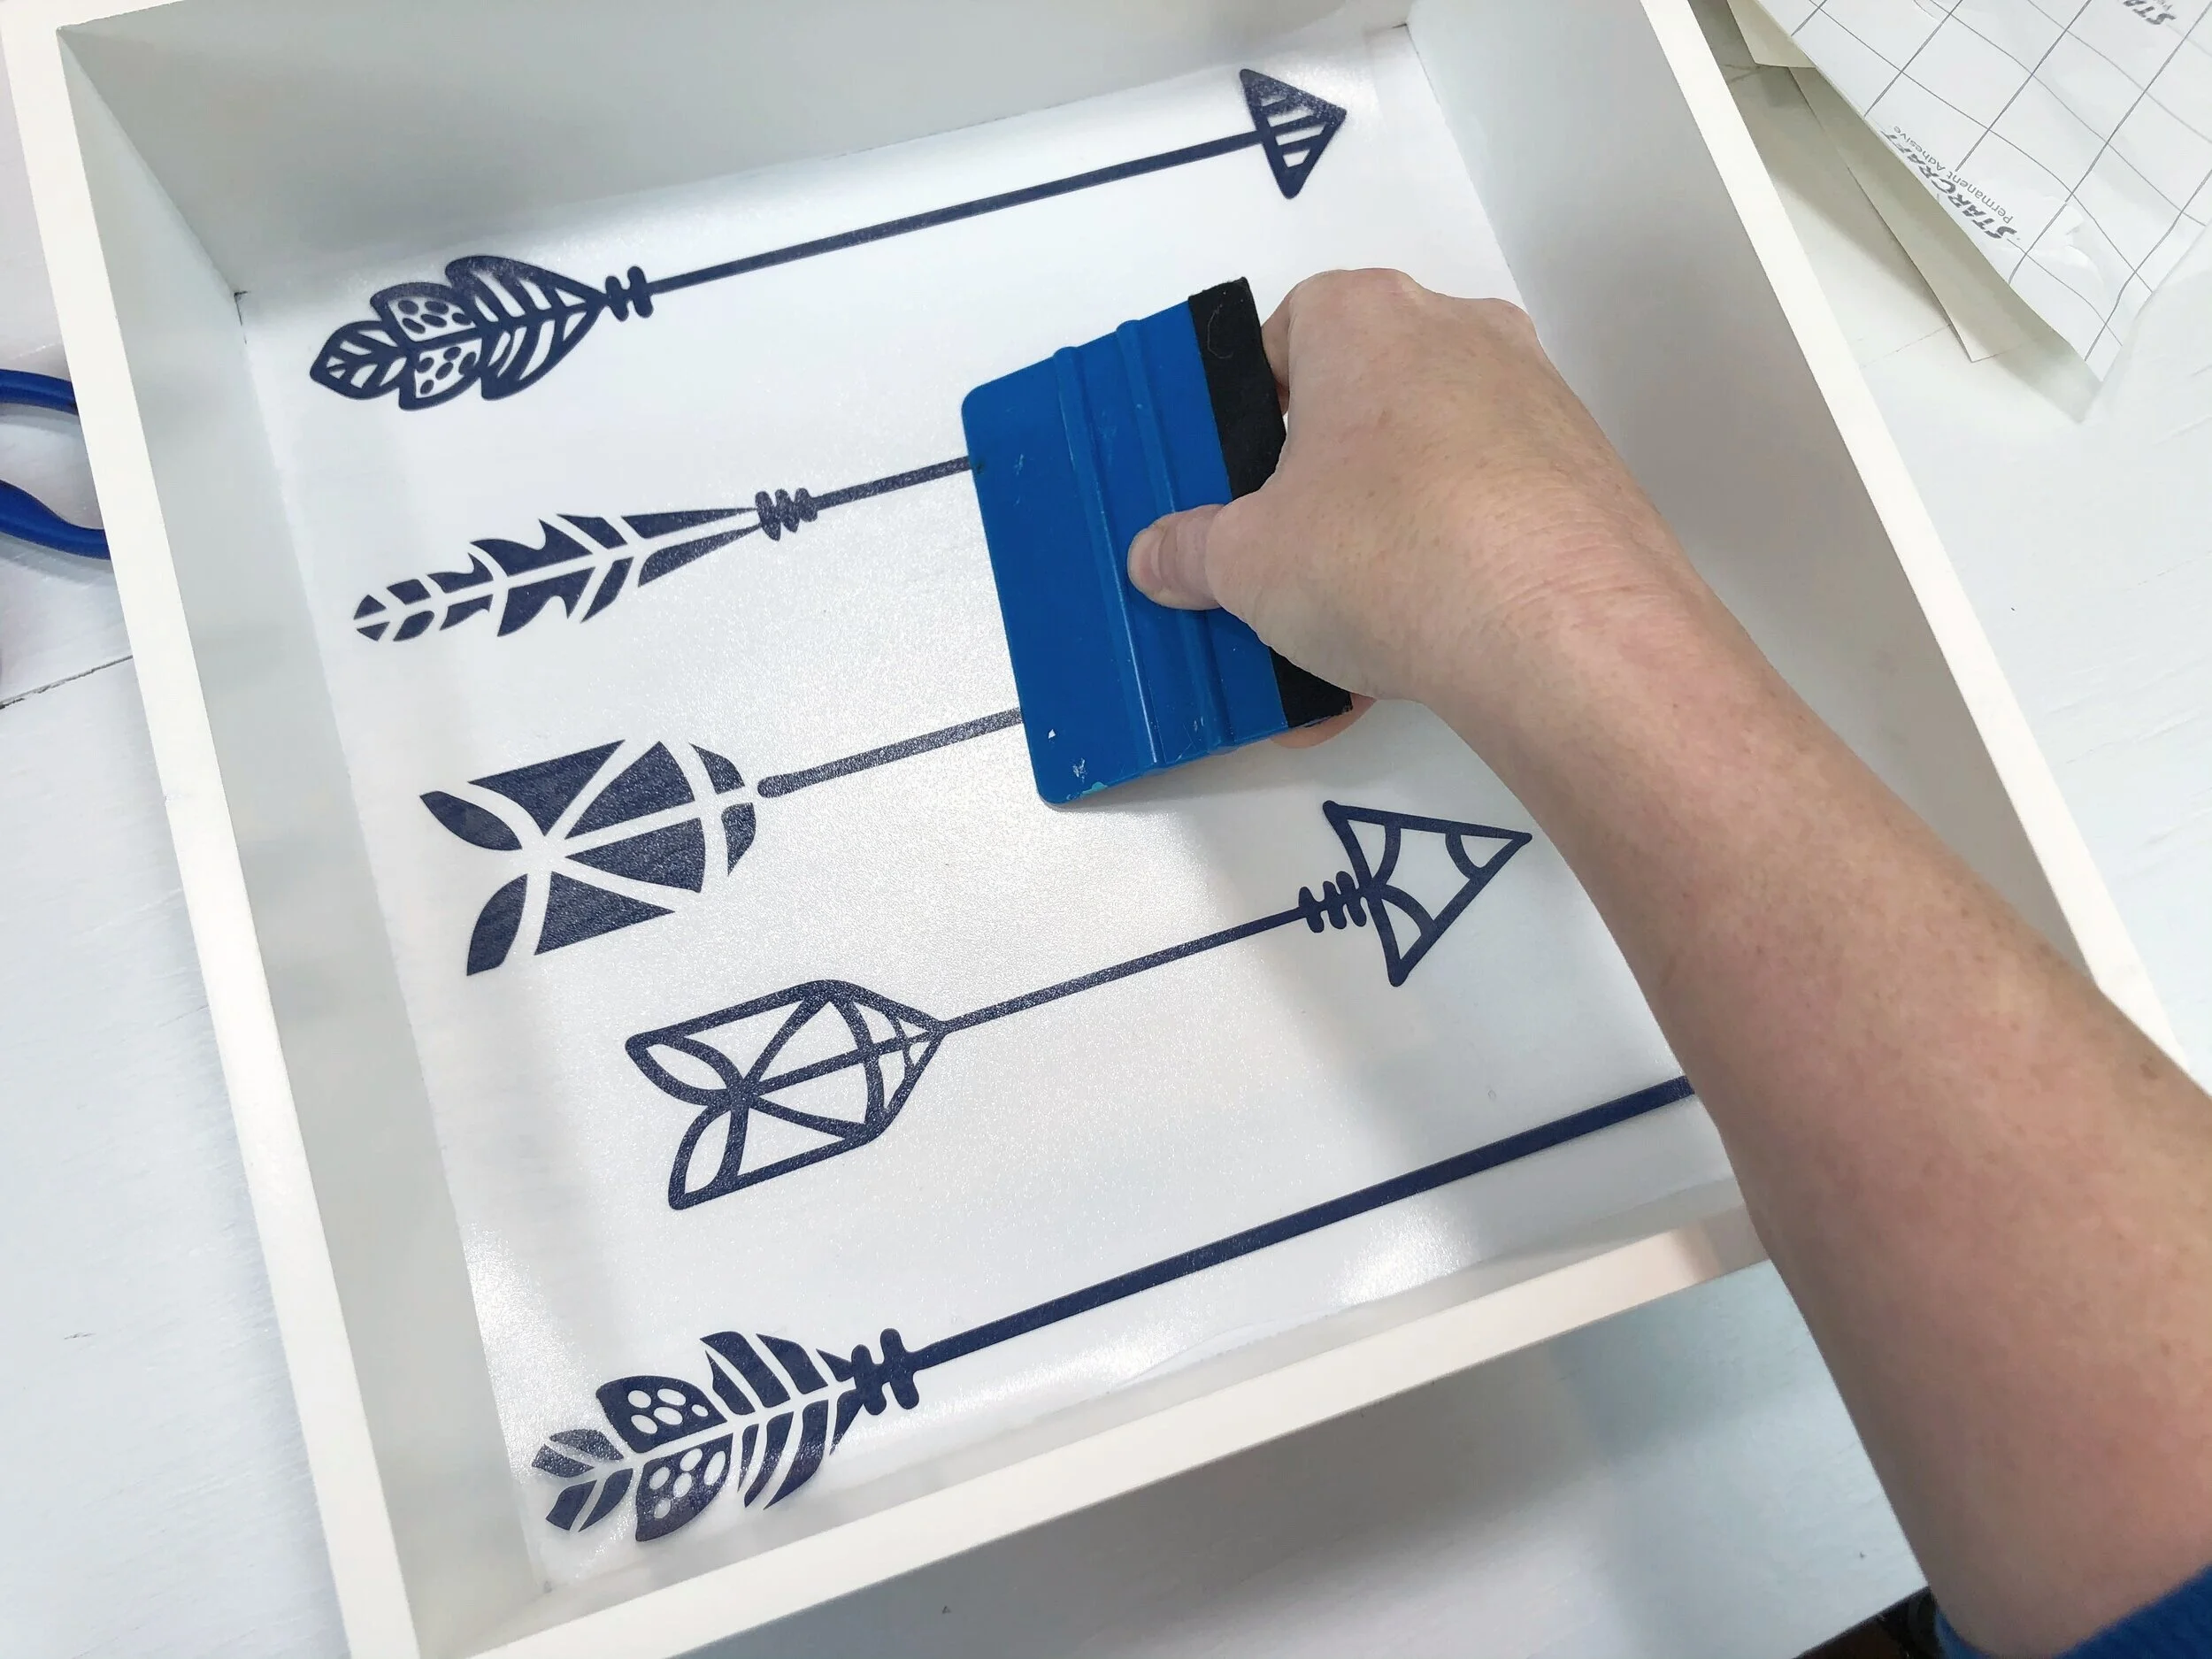
5. Place your vinyl decal where you would like it to go on your glass spray bottle. I like to hover it over where I’m thinking about placing it first. Once you place vinyl down, especially small decals like these, it’s really difficult to get them to come up without ruining them.

DIY labeled reusable oil spray bottles. How to make your own pam spray bottles for vegetable and olive oil for the kitchen. Plus a FREE svg file to download. Great small project to use for Cricut. Labeling kitchen with vinyl.

6. When you have your decal where you want it to go place it down gently starting from the middle and work your way out. This will help to keep the air bubbles to a minimum. Use your vinyl squeegee to remove any air bubbles you see then peel the transfer tape off of your vinyl decal.

DIY labeled reusable oil spray bottles. How to make your own pam spray bottles for vegetable and olive oil for the kitchen. Plus a FREE svg file to download. Great small project to use for Cricut. Labeling kitchen with vinyl.

7. Fill your bottles with oil and enjoy!

DIY labeled reusable oil spray bottles. How to make your own pam spray bottles for vegetable and olive oil for the kitchen. Plus a FREE svg file to download. Great small project to use for Cricut. Labeling kitchen with vinyl.

I know we are going to get A LOT of use out of these reusable oil spray bottles!

If you have any questions please ask away:)!

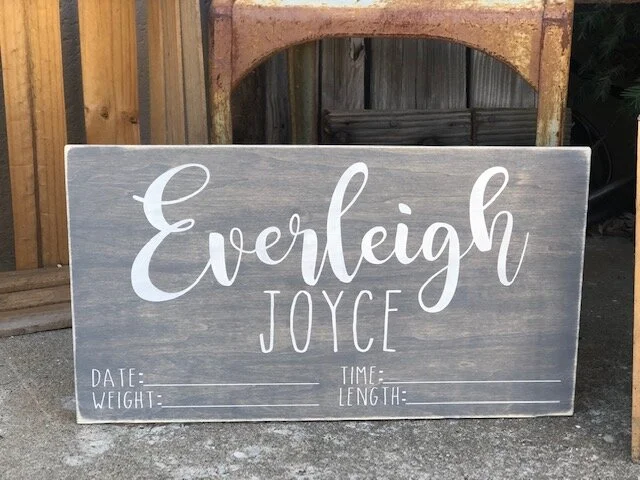
DIY painted baby name and stats sign

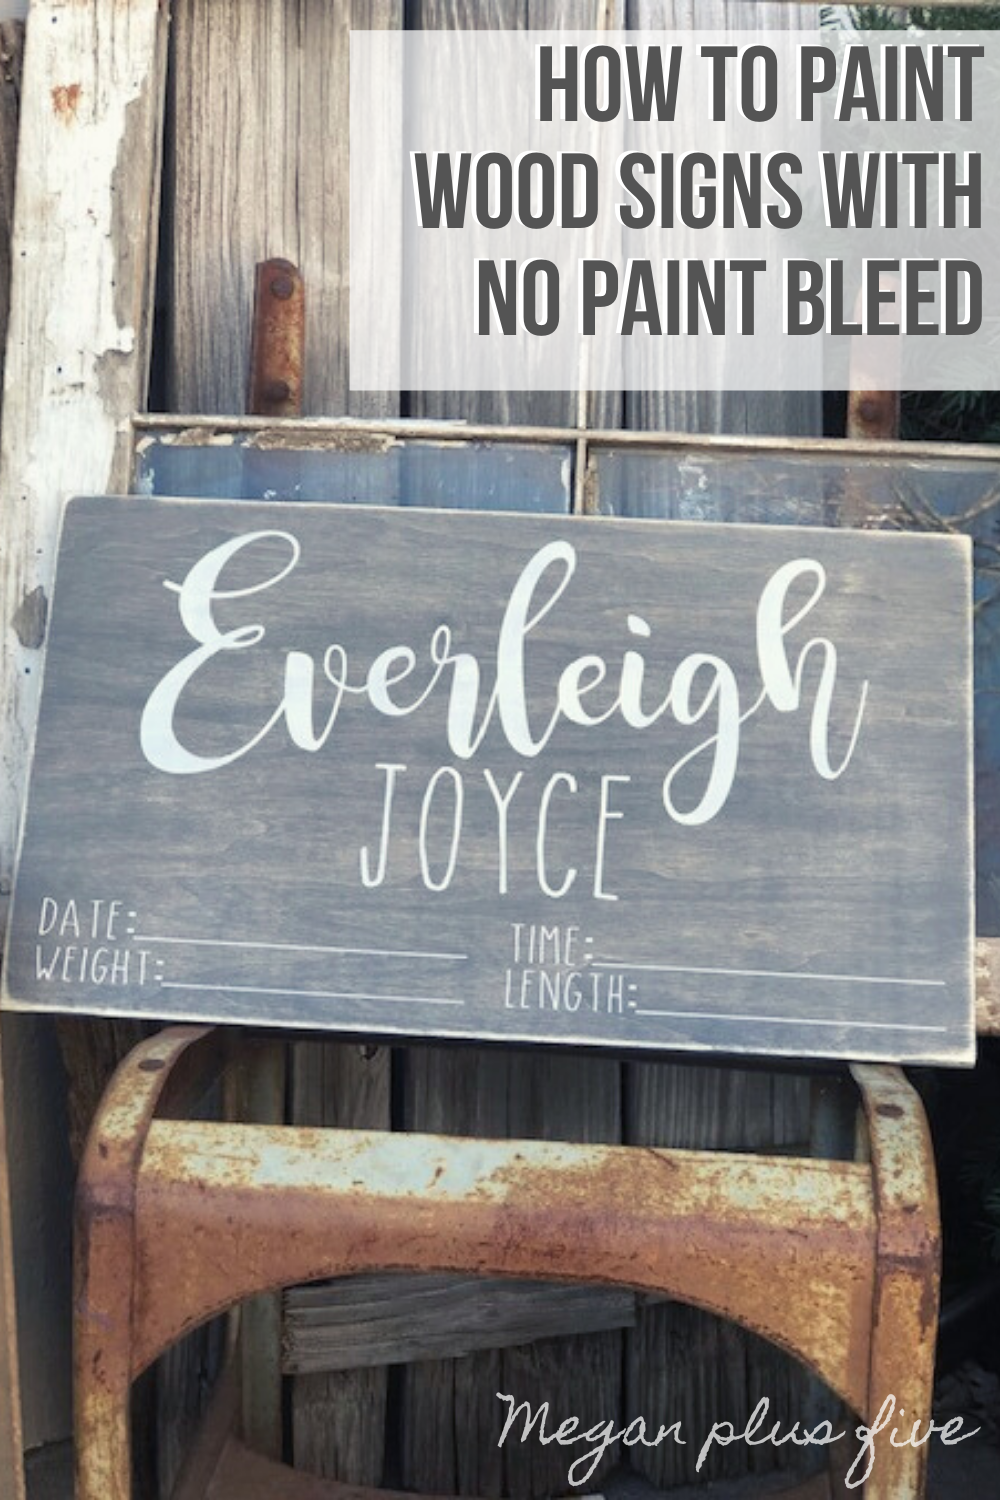
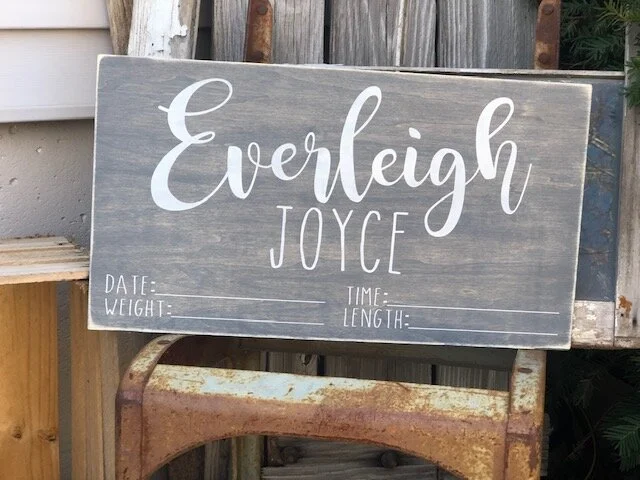
How to stencil a wood sign with NO paint bleed. Using mod podge to paint wooden signs is a good way to get perfectly crisp lines. Make your own personalized baby gift sign using your cricut. DIY baby stats sign.

DIY painted baby name sign with newborn stats

A couple weeks ago a sweet friend of mine from grade school messaged and asked me to help in creating a wreath she’s having made for her very first baby! Of course I said YES! I am just so happy for her as she’s waited a very long time to become a mom and was so honored she asked me to be apart of something she will be hanging in her precious daughter’s room. She sent me all the details she wanted for the sign part of the wreath and I recreated something similar personalized just for her little one.

Affiliate Disclosure. Some of the links on this website are affiliate links, which means that I may earn a small commission if you click on the link or make a purchase using the link. If you make a purchase you will not be charged anything additional. This is just a way I can help add to our family finances to raise our four daughters. Please know I would never recommend a product or service I do not totally stand behind.

I created my template in CRICUT DESIGN SPACE and of course used my Cricut to cut it out. By the way, I have an older style Cricut and still create AMAZING projects with it, although I’d love a Maker just to have one I don’t need one to make all the wonderful things I share on my crafty blog. I often see others get discouraged because they can’t afford the newest machine out there but you can find GREAT deals on older style machines and they do just as much as the newer models :)! If you’re just getting started using your Cricut read this list of 10 things you need to get you started on your Cricut crafting journey.

If you want a more in-depth teaching on SIGN PAINTING you need to get on my list for my DIY SIGN PAINTERS E-COURSE. Click here to get on the list so you’re first to know when it opens back up.

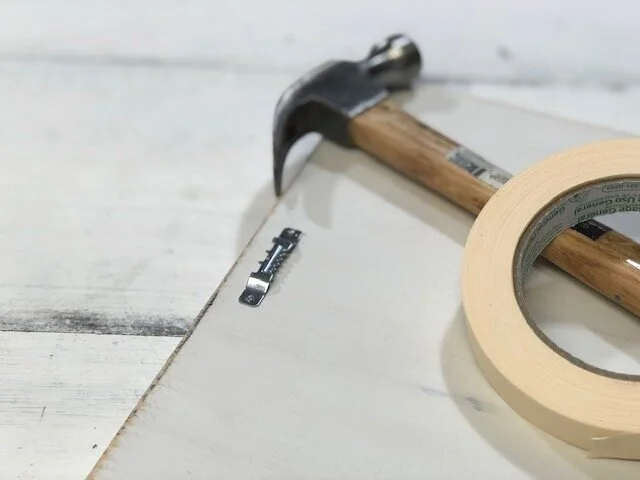
When you’re all finished up reading this tutorial and need help attaching hanging hardware be sure to read this post on how to easily and quickly attach a sawtooth hanger to wood signs

How to paint wood signs with no paint bleed

Here’s what you’ll need

Helpful tools

How to stencil wood signs without paint bleed. Make your own painted wood signs for baby. Personalized baby shower gift with baby's name and stats on it.

For this tutorial I’m focusing on the painting techniques of making a personalized baby sign. CLICK HERE for my tutorial on how to stain wood.

ONE- Start with a pre-stained wood base. See my video on how to stain wood click here. Be sure you are allowing your stained base to dry for at least 24 hours prior to stenciling on it. Stencils will not adhere to a base that isn’t fully dry.

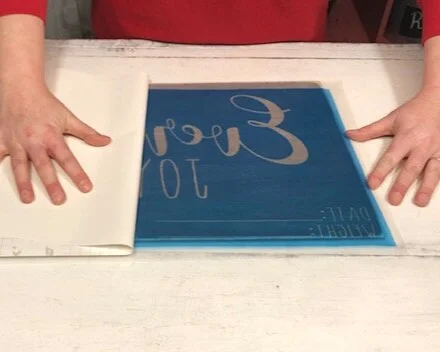
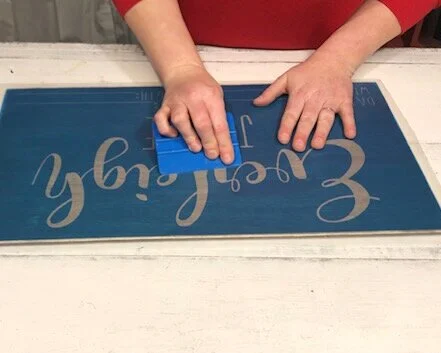
TWO- Apply your stencil. To do this you need transfer tape. Transfer tape allows us to take a stencil and apply it in one whole piece without a headache, we LOVE whoever invented this product! Place your transfer tape sticky side down onto your stencil. Gently push out any air bubbles on the front with your hands, then flip it ver and use your vinyl squeegee and rub the back of it. Slowly remove the paper backing leaving the stencil (blue part) and the clear transfer tape still intact.

How to stencil a wood sign with NO paint bleed. Using mod podge to paint wooden signs is a good way to get perfectly crisp lines. Make your own personalized baby gift sign using your cricut. DIY baby stats sign.

THREE- Flip your stencil over and position it on your wood base. Once you are happy with the placement working from the middle of the stencil out press it down with your hands. Then use your vinyl squeegee and do the same thing.

How to stencil a wood sign with NO paint bleed. Using mod podge to paint wooden signs is a good way to get perfectly crisp lines. Make your own personalized baby gift sign using your cricut. DIY baby stats sign.

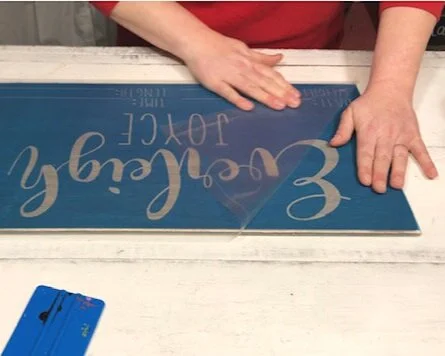
FOUR- After you’ve pressed down your stencil you can remove your transfer tape. I’ve found the easiest way to do this is to roll your transfer tape off of your stencil. Start from one corner and slowly roll is off. You can reuse your transfer tape over and over again. I like to place my used transfer tape back on the roll I cut it off of and use it for the next project.

How to stencil a wood sign with NO paint bleed. Using mod podge to paint wooden signs is a good way to get perfectly crisp lines. Make your own personalized baby gift sign using your cricut. DIY baby stats sign.

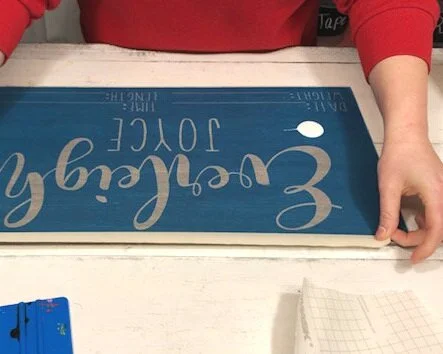
FIVE- If you have any gaps/air bubbles use an xacto knife to remove those. Use an xacto knife to make a small slit in the stencil film where the gap/air bubble is. This will make the stencil film lay flat.

How to stencil a wood sign with NO paint bleed. Using mod podge to paint wooden signs is a good way to get perfectly crisp lines. Make your own personalized baby gift sign using your cricut. DIY baby stats sign.

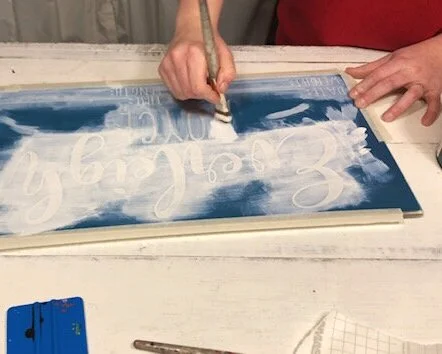
SIX- Tape off any area that you don’t want to get paint on, like the sides of your stencil. It is a lot easier to take the time to tape this off than it is to try to clean off paint where you don’t want it.

How to stencil a wood sign with NO paint bleed. Using mod podge to paint wooden signs is a good way to get perfectly crisp lines. Make your own personalized baby gift sign using your cricut. DIY baby stats sign.

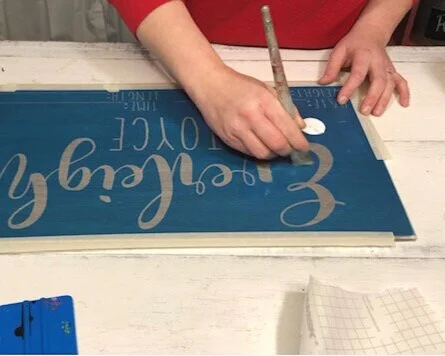
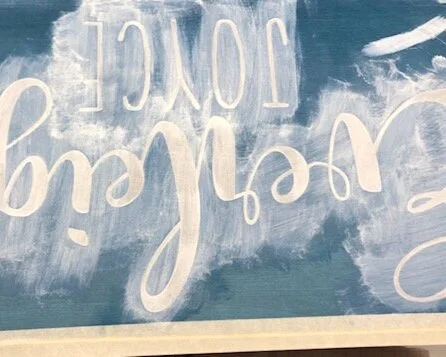
SEVEN- Using MATTE FINISH MOD PODGE seal your stencil. You do this by taking a DRY paint brush, dipping it into a little bit of the mod podge, and brushing it in all directions on the exposed areas of your stencil. Be sure you are painting on a VERY THIN LAYER of mod podge. This step is KEY to the no paint bleed painted sign. The mod podge is filling in all of those tiny air bubbles that you can’t see. Let this dry, usually this takes just a couple of minutes.

How to stencil a wood sign with NO paint bleed. Using mod podge to paint wooden signs is a good way to get perfectly crisp lines. Make your own personalized baby gift sign using your cricut. DIY baby stats sign.

EIGHT- I highly recommend using either flat or eggshell finish for your paint. Gloss paint tends to pull up when you remove the stencil. Using a different DRY paint brush paint on your first THIN layer of paint. You want to see the base color/wood grain through the paint.

How to stencil a wood sign with NO paint bleed. Using mod podge to paint wooden signs is a good way to get perfectly crisp lines. Make your own personalized baby gift sign using your cricut. DIY baby stats sign.

NINE- After your first layer is completely dry you can paint on a second thin layer of paint. The first layer should dry VERY fast.

How to stencil a wood sign with NO paint bleed. Using mod podge to paint wooden signs is a good way to get perfectly crisp lines. Make your own personalized baby gift sign using your cricut. DIY baby stats sign.

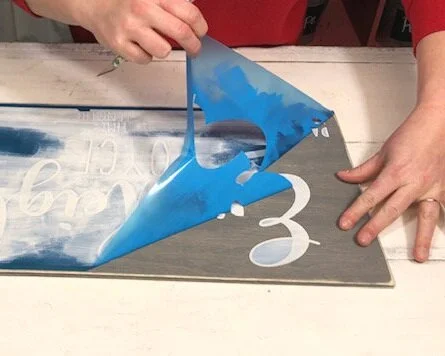
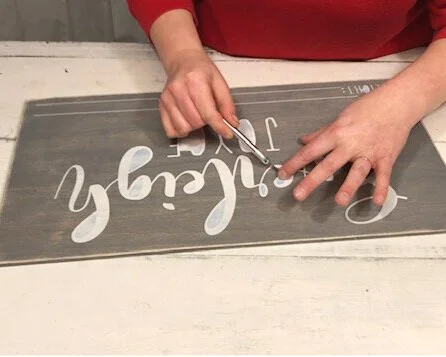
TEN- After you’re done painting on the second layer of paint on your stencil you can immediately pull up your stencil. I prefer to do this step while the paint is still wet. Use an xacto knife to remove all the small stencil pieces.

How to stencil a wood sign with NO paint bleed. Using mod podge to paint wooden signs is a good way to get perfectly crisp lines. Make your own personalized baby gift sign using your cricut. DIY baby stats sign.

Let your sign dry then you’re ready to use it. I hope that you found this DIY SIGN PAINTING TUTORIAL helpful. If you did I’d LOVE to hear your feedback:)!! If you have any questions please feel free to ask.

How to stencil a wood sign with NO paint bleed. Using mod podge to paint wooden signs is a good way to get perfectly crisp lines. Make your own personalized baby gift sign using your cricut. DIY baby stats sign.

EASY witch's brew coffee mug decal using your CRICUT

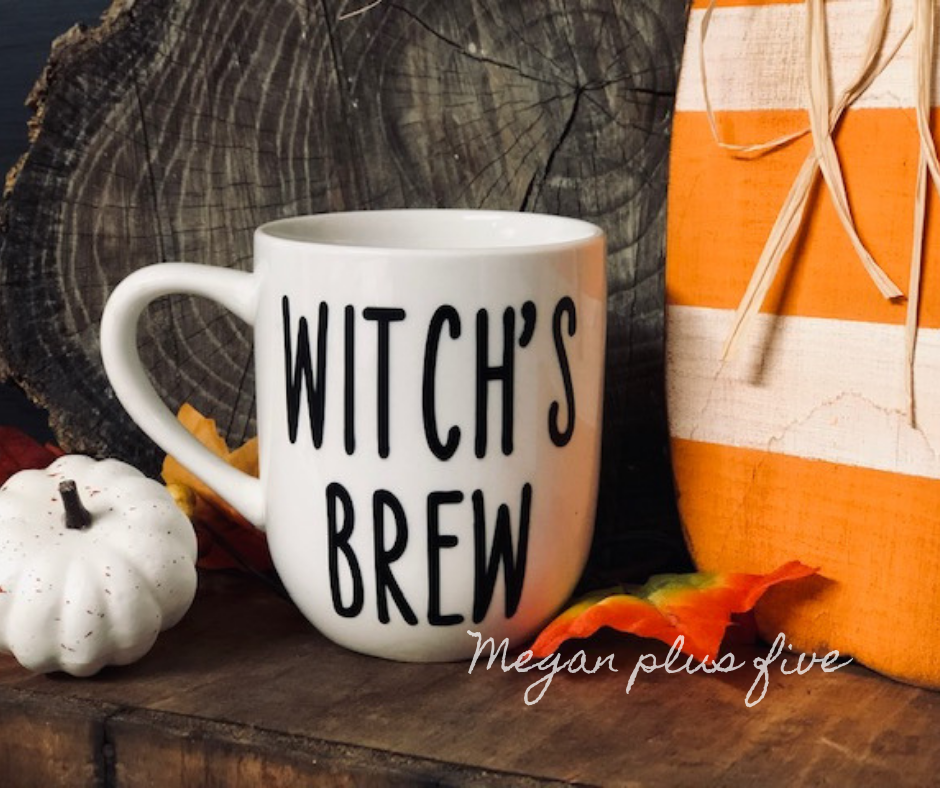
DIY witch's brew decal using your cricut. Adding vinyl decals to your everyday decor is an easy way to decorate for the holidays without a spending alot on new decorations.

DIY - how to apply a Halloween vinyl decal to a white coffee mug using your CRICUT

I just love how a simple decal and totally change the look of something. Truthfully I NEVER use this coffee mug. Why? Because it’s all white and not at all fun to drink out of. Sounds ridiculous, I know, but it’s honest. So when I go for my morning cup of room temp coffee {because I am not a big fan of warm/hot coffee} I always pass by this guy and reach for a cheery option.

I wanted to do a tutorial on how to apply vinyl to coffee mugs and knew this coffee mug would be the perfect sacrifice for the job! And I am totally going to start drinking out of this one now that it got a little Halloween decal makeover!

Affiliate Disclosure. Some of the links on this website are affiliate links, which means that I may earn a small commission if you click on the link or make a purchase using the link. If you make a purchase you will not be charged anything additional.

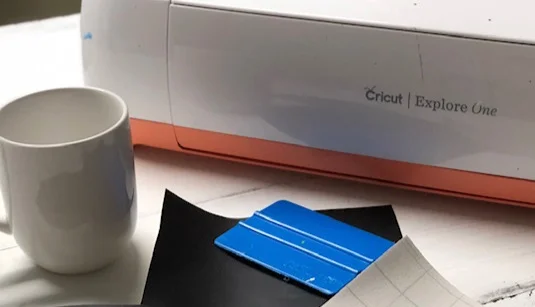
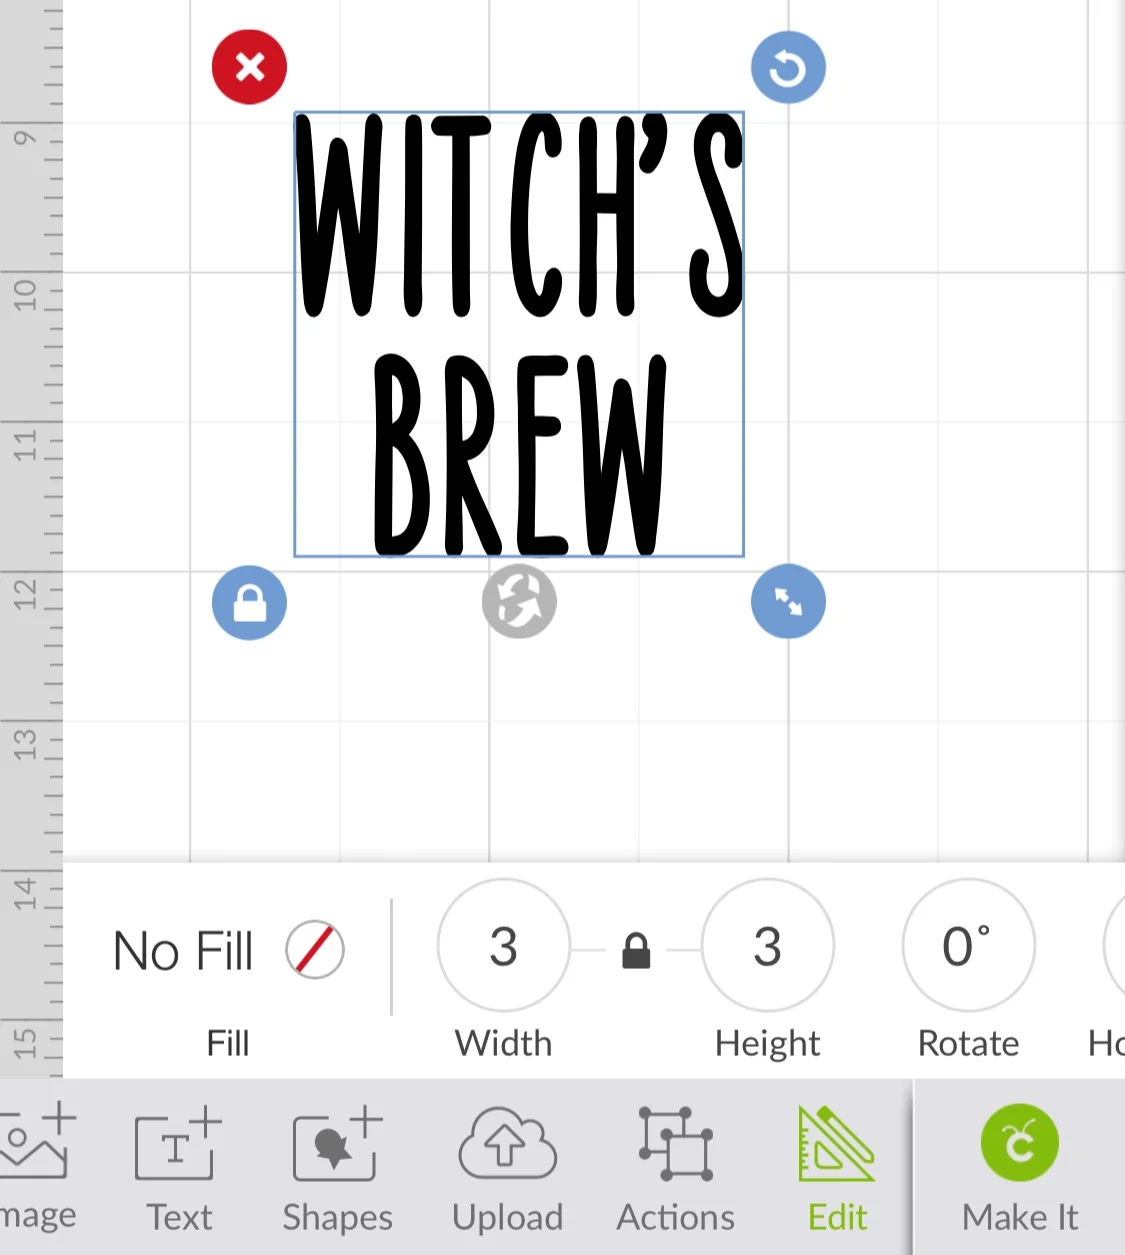
I chose a super simple font and saying, because I wanted to keep it easy for my first tutorial on applying a vinyl decal to a coffee mug. If you have Cricut Design Space you can use the font for free on there, but if not you can find a million different fonts on a number of font downloading websites. The font on Design Space is FOUR SEASONS HOME DECOR

PSSST if you need to make your own striped wood pumpkin that’s peeking on the side of this pic go here ——> DIY WOOD PUMPKIN

How to apply a Halloween vinyl decal to a coffee mug

Here’s what you’ll need

Easy Halloween themed coffee mug vinyl decal using Cricut Design Space. How to make and apply your own custom decals using your Cricut and Oracal vinyl.

First make your design. I used FOUR SEASONS HOME DECOR font in CRICUT DESIGN SPACE. I made my decal 3”x3” so it would take up a good portion of the area I was applying it to. Before you send it to the mat be sure your design is SAVED and either WELDED or ATTACHED. This way your design cuts out like you see it on the screen instead of the letters jumbled around.

TIP: I usually always save my font name into the title so I can remember what I used

Easy Halloween themed coffee mug vinyl decal using Cricut Design Space. How to make and apply your own custom decals using your Cricut and Oracal vinyl.

I used a Oracal 631 vinyl in BLACK and in a MATTE FINISH. This grade of vinyl is for temporary or indoor use. I can not go in the dishwasher and I would not recommend using this grade of vinyl if you’re wanting it to last longer than one season. I plan to remove this after Halloween and apply a Christmas or wintery decal. If you do want a more resistant vinyl use ORACAL 651, that is outdoor grade and is what is recommended for a long lasting decal.

Easy Halloween themed coffee mug vinyl decal using Cricut Design Space. How to make and apply your own custom decals using your Cricut and Oracal vinyl.

Weed your design. I use an Xacto knife for this but you can use whatever weeding tool you are most comfortable with, even a sewing pin will get the job done.

Easy Halloween themed coffee mug vinyl decal using Cricut Design Space. How to make and apply your own custom decals using your Cricut and Oracal vinyl.

Before you can apply your decal you need to be sure that your mug is free and clean of any oil or residue. Use a lint free cloth and rubbing alcohol to clean the area you are applying the vinyl decal to. Do not use a cotton ball for this as it will totally leave behind fibers that will get stuck under your design and they will stick out and you will be able to see them ;)!

Easy Halloween themed coffee mug vinyl decal using Cricut Design Space. How to make and apply your own custom decals using your Cricut and Oracal vinyl.

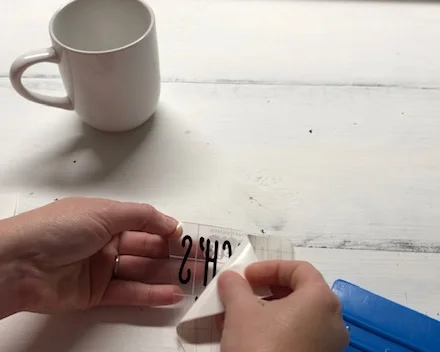
Apply your transfer tape to the front of your decal. Rub the front and back with your vinyl squeegee {if you don’t have one you can use a rewards card from the store} then slowly peel the paper backing away from your decal, leaving your decal attached to your transfer tape. The purpose of transfer tape is to easily transfer your design from the paper back it comes on to the base you are applying it to.

Easy Halloween themed coffee mug vinyl decal using Cricut Design Space. How to make and apply your own custom decals using your Cricut and Oracal vinyl.

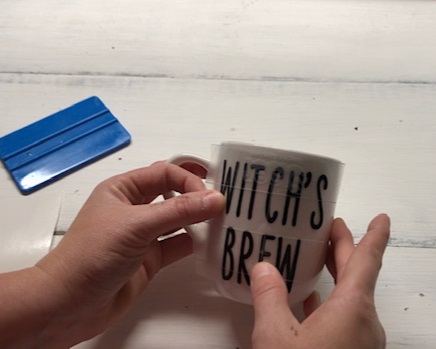
Hover your decal over your mug to decide where exactly you want it. If you need to apply tape to use as a guide that is ok. Do not press your decal down until you are positive that is where you want it. Then press down the middle and work your way out. Applying decals to curved surfaces isn’t always easy so go slow and give yourself grace if it is a crooked disaster the first time. It’s ok if you transfer tape doesn’t lay flat on your mug, you’ll see mine do this in the video, but the important thing is that the design does.
witch%27s+brew10.jpgEasy Halloween themed coffee mug vinyl decal using Cricut Design Space. How to make and apply your own custom decals using your Cricut and Oracal vinyl.
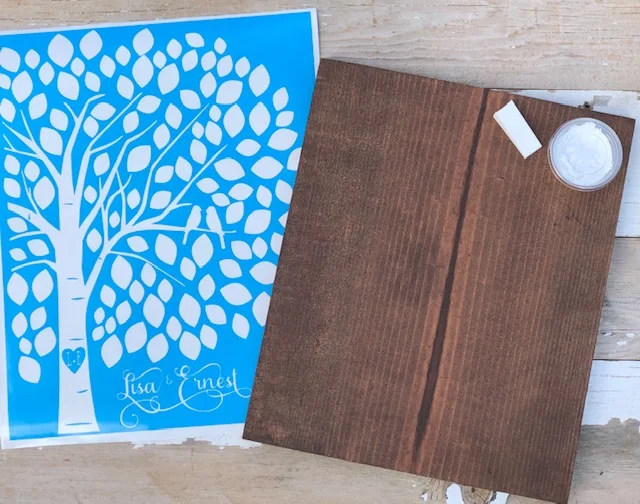
Starting in one corner slowly peel/roll the transfer tape away from the mug leaving the vinyl decal attached to the mug. If your letters want to come up with the transfer tape just push them back down with your finger and keep rolling the tape away. After you completely remove the transfer tape take your finger and rub along each letter to make sure that they are adhered and there aren’t any air bubbles.

Easy Halloween themed coffee mug vinyl decal using Cricut Design Space. How to make and apply your own custom decals using your Cricut and Oracal vinyl.
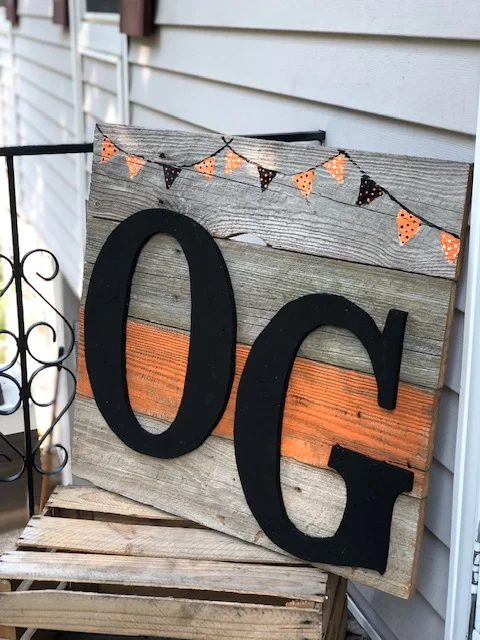
I know I will be loving this mug now. And the saying is pretty fitting for my grouchy days lol!

I hope you enjoyed this tutorial and it helps you create your own DIY vinyl decal. If you have any questions please ask away:)! I am honored to help you on your crafty journey.

Easy Halloween themed coffee mug vinyl decal using Cricut Design Space. How to make and apply your own custom decals using your Cricut and Oracal vinyl.

Check out the full video tutorial below. I would LOVE if you subscribed to my YouTube channel. It’s how I am able to reach even more people who want to learn more about the crafty world.

For more fall themed projects click the button below