DIY scrap wood picture holder - no fuss quick and easy to make

DIY scrap wood picture holder using reclaimed barn wood. How to make an easy picture frame using items from the Dollar Tree. Hanging picture holder easy craft project.

Needing a quick & easy picture holder using reclaimed wood? This DIY craft might be what you are looking for.

Impact-Site-Verification: 99a15790-1f3a-44b3-ba5a-bb281f07e613

This scrap wood picture holder was insanely easy to make. While I love painting there was no painting, no drying times, no staining, literally no fuss! I had it up and holding pictures within minutes.

I’ve been redecorating our master bedroom on a shoe string budget. From the paint to the décor my goal is to spend less than $100 to redo our bedroom. This DIY craft most definitely fits into the budget since I only had to pay for the photo prints (they were a whopping .09 a piece).

I can’t wait to get our room all finished up and show you guys how it turns out but for now I will show you the DIY picture holder I made to go along with the rest of my frugal décor in our room.

Affiliate Disclosure. Some of the links on this website are affiliate links, which means that I may earn a small commission if you click on the link or make a purchase using the link. If you make a purchase you will not be charged anything additional.

—-> Check out more scrap wood projects, click here <—-

Here’s what you need to make your own DIY RECLAIMED WOOD PICTURE FRAME HOLDER

  • a piece of reclaimed wood

  • clips like these (I got mine from the Dollar Tree in the office supplies section)

  • hammer

  • hanging hardware of choice

Click here to learn how to attach a sawtooth hanger. It’s super simple especially if you have a piece of painter’s tape.

1.GATHER MATERIALS

I didn’t have any sawtooth hangers so I used some fancy picture hanging hardware and it required a drill.

DIY scrap wood picture holder using reclaimed barn wood. How to make an easy picture frame using items from the Dollar Tree. Hanging picture holder easy craft project.

2. LAY OUT YOUR PHOTOS

To be sure I had the spacing right I laid my 4x6 photos out on my reclaimed wood. I just eyeballed this but if you want yours to be perfect and exact you can use your tape measure to perfect your spacing.

3. HAMMER IN THE CLIPS

The clips I used already had nails attached to them. They were a little difficult to hammer in to the wood though. I am fairly certain, since the clips I used were in the office department of the store, that they were made to push into a cork board and not wood. But hey, it worked!

DIY scrap wood picture holder using reclaimed barn wood. How to make an easy picture frame using items from the Dollar Tree. Hanging picture holder easy craft project.

4. ATTACH HANGING HARDWARE

If you need a visual on how to attach a sawtooth hanger check out this post. I used my Ryobi drill to screw in my hardware but a drill isn’t completely necessary, a screwdriver will work too it’s just not as quick and easy.

DIY scrap wood picture holder using reclaimed barn wood. How to make an easy picture frame using items from the Dollar Tree. Hanging picture holder easy craft project.

5. ADD YOUR PICTURES & HANG ON THE WALL

This reclaimed wood photo holder is going in our master bedroom so I tried to choose photos that were good ones of both my husband and myself.

DIY scrap wood picture holder using reclaimed barn wood. How to make an easy picture frame using items from the Dollar Tree. Hanging picture holder easy craft project.

I hope you found this tutorial both simple and motivating to use up some scrap pieces of wood that you may have lying around. Let me know if you have any questions in the comments below.

Check out more posts below. Happy Crafting!

Rusty old metal cabinet / locker turned mudroom shoe storage

Rusty locker / metal cabinet repurposed for a mudroom sunporch. Turn an antique chipped paint locker into a shoe holder for your mudroom. Frugal rustic farmhouse furniture for your storage needs.

$20 vintage locker repurposed for the sunporch / mudroom

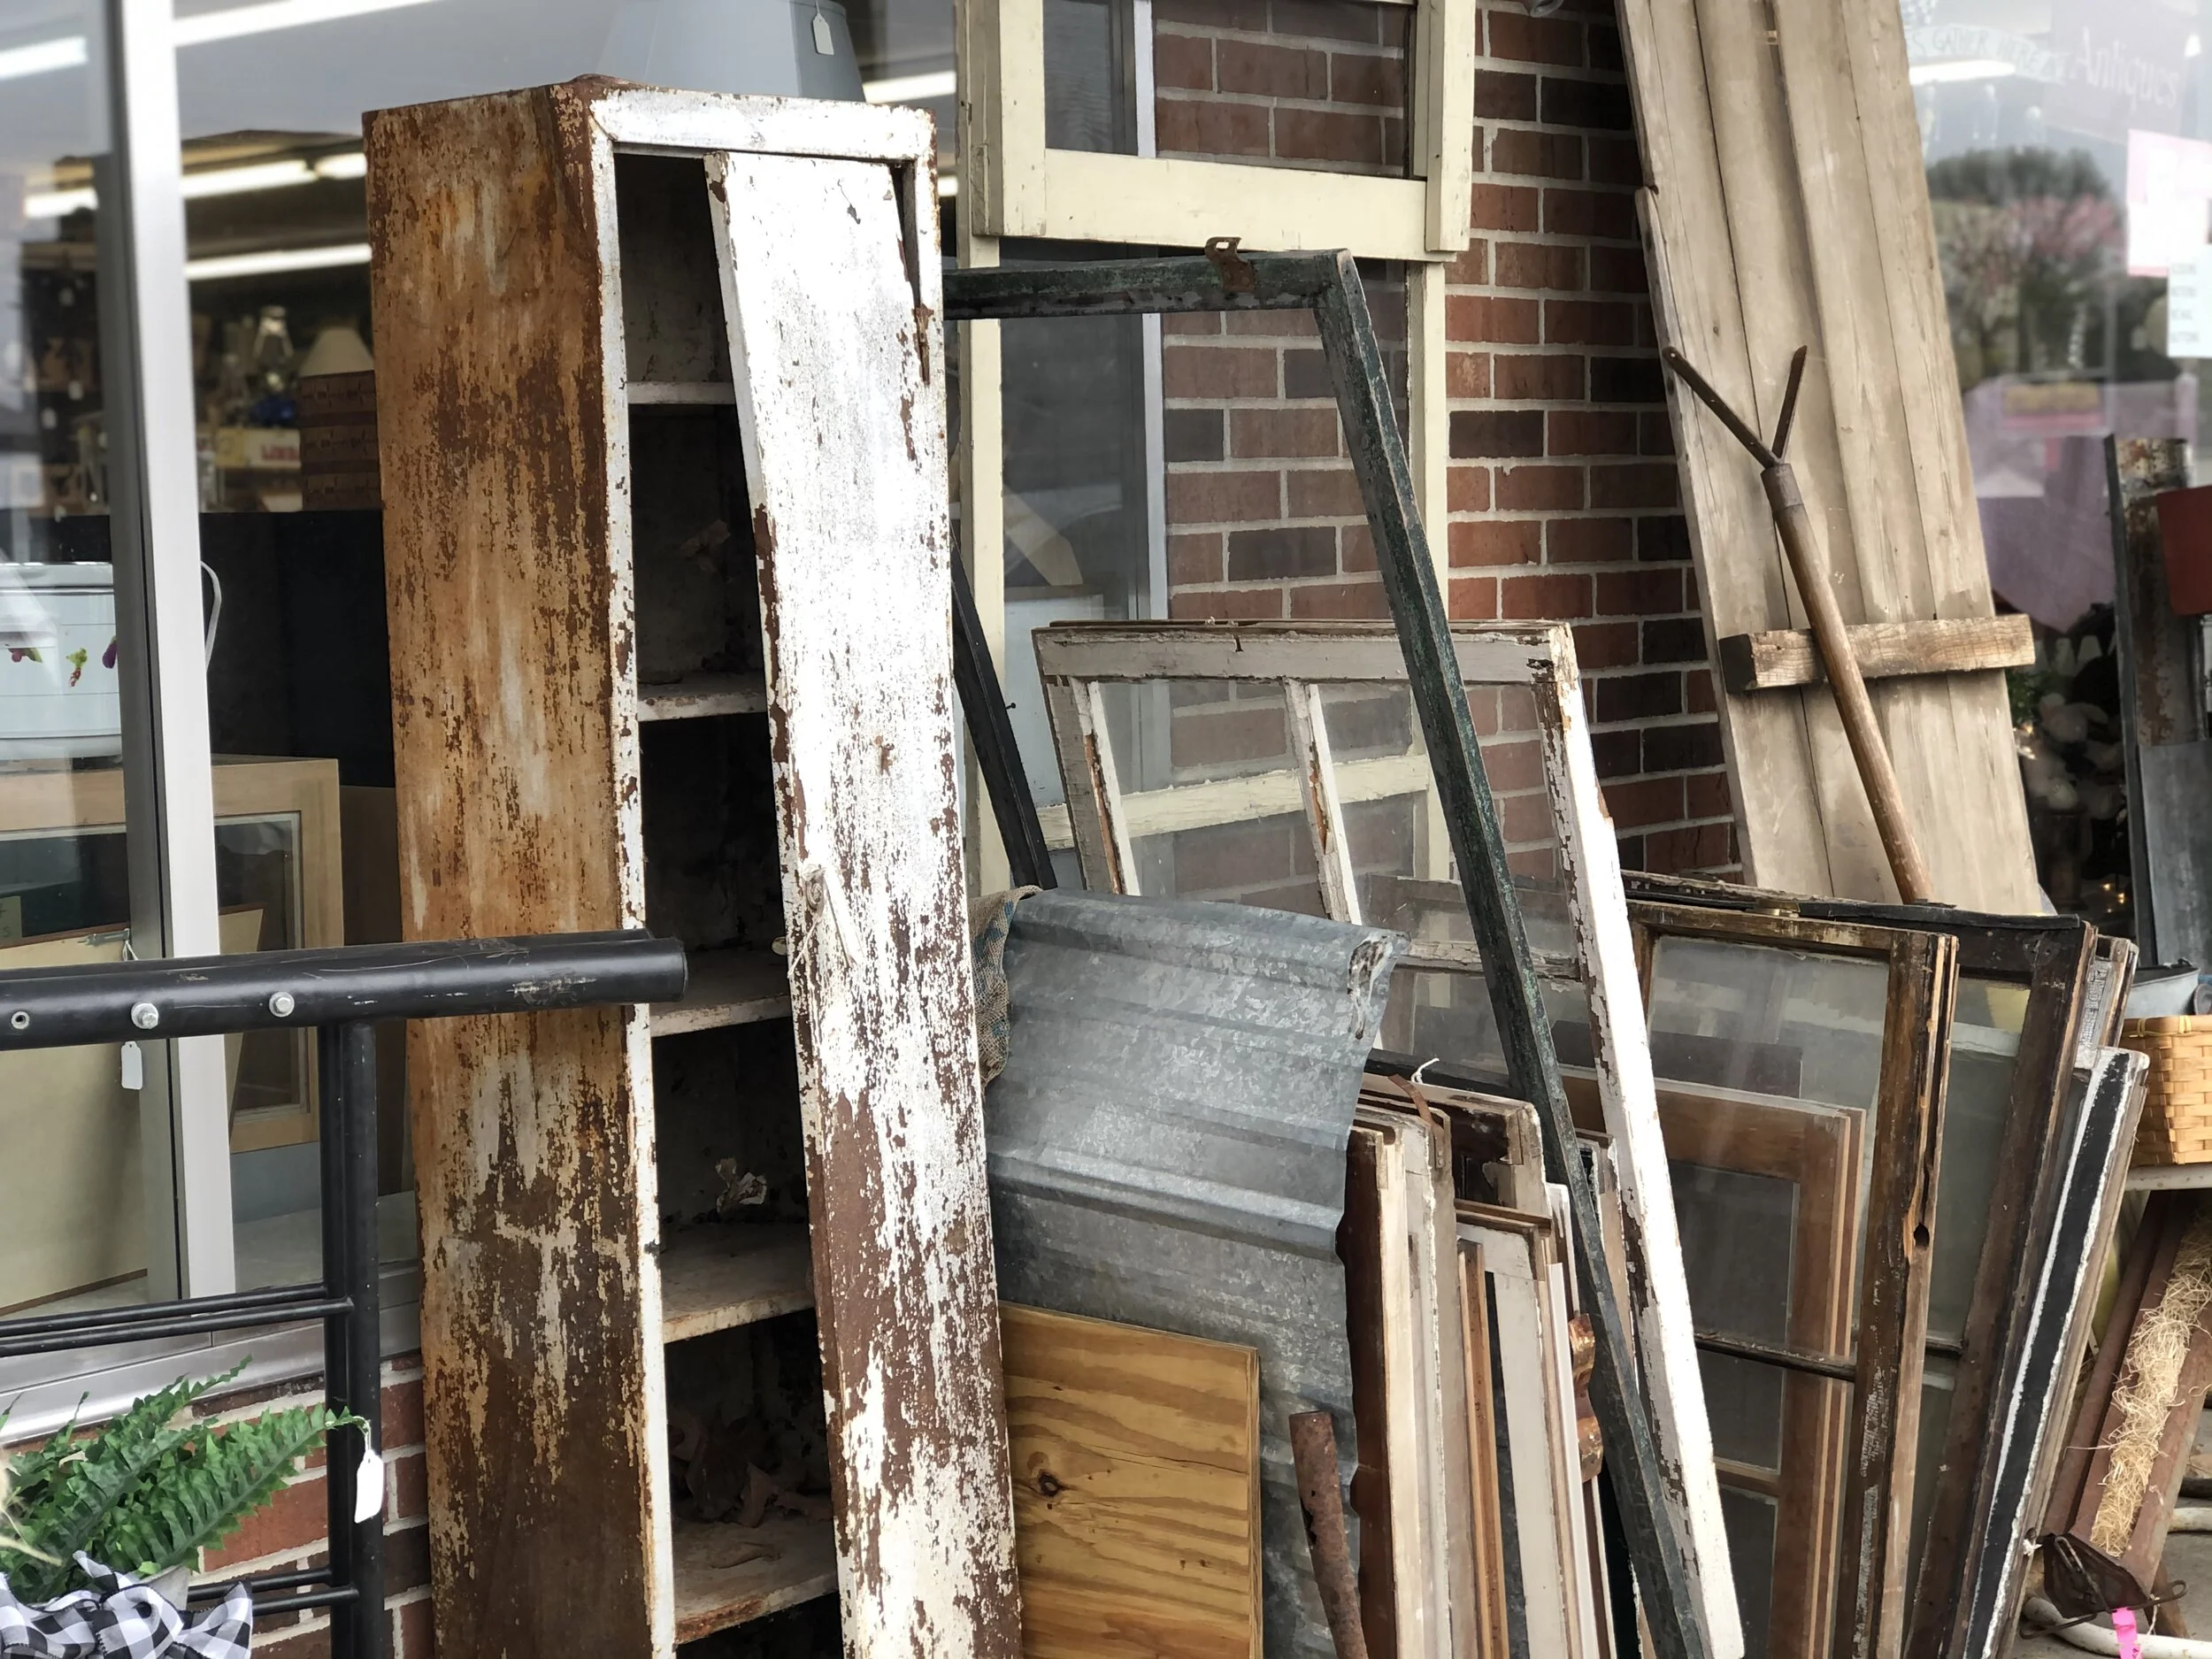
Antique stores have the best finds! I scored a gorgeous old metal locker / metal cabinet at my local antique shop last week. I wasn’t sure exactly what I was going to do with but after seeing it’s $20 price tag I knew it had to come home with me.

Affiliate Disclosure. Some of the links on this website are affiliate links, which means that I may earn a small commission if you click on the link or make a purchase using the link. If you make a purchase you will not be charged anything additional.

Rusty locker / metal cabinet repurposed for a mudroom sunporch. Turn an antique chipped paint locker into a shoe holder for your mudroom. Frugal rustic farmhouse furniture for your storage needs.

I took the tag inside, paid for it, then loaded it up in our brand new to us fancy minivan (literally the nicest car we’ve ever owned and I still can’t believe it’s ours!!). Thank goodness I had just put this cargo liner blanket thing in there so it kept my van from getting gross stuff all over it or scratched up. Three of the four daughters were excited about our new find but one of them…not so much lol!

Rusty locker / metal cabinet repurposed for a mudroom sunporch. Turn an antique chipped paint locker into a shoe holder for your mudroom. Frugal rustic farmhouse furniture for your storage needs.

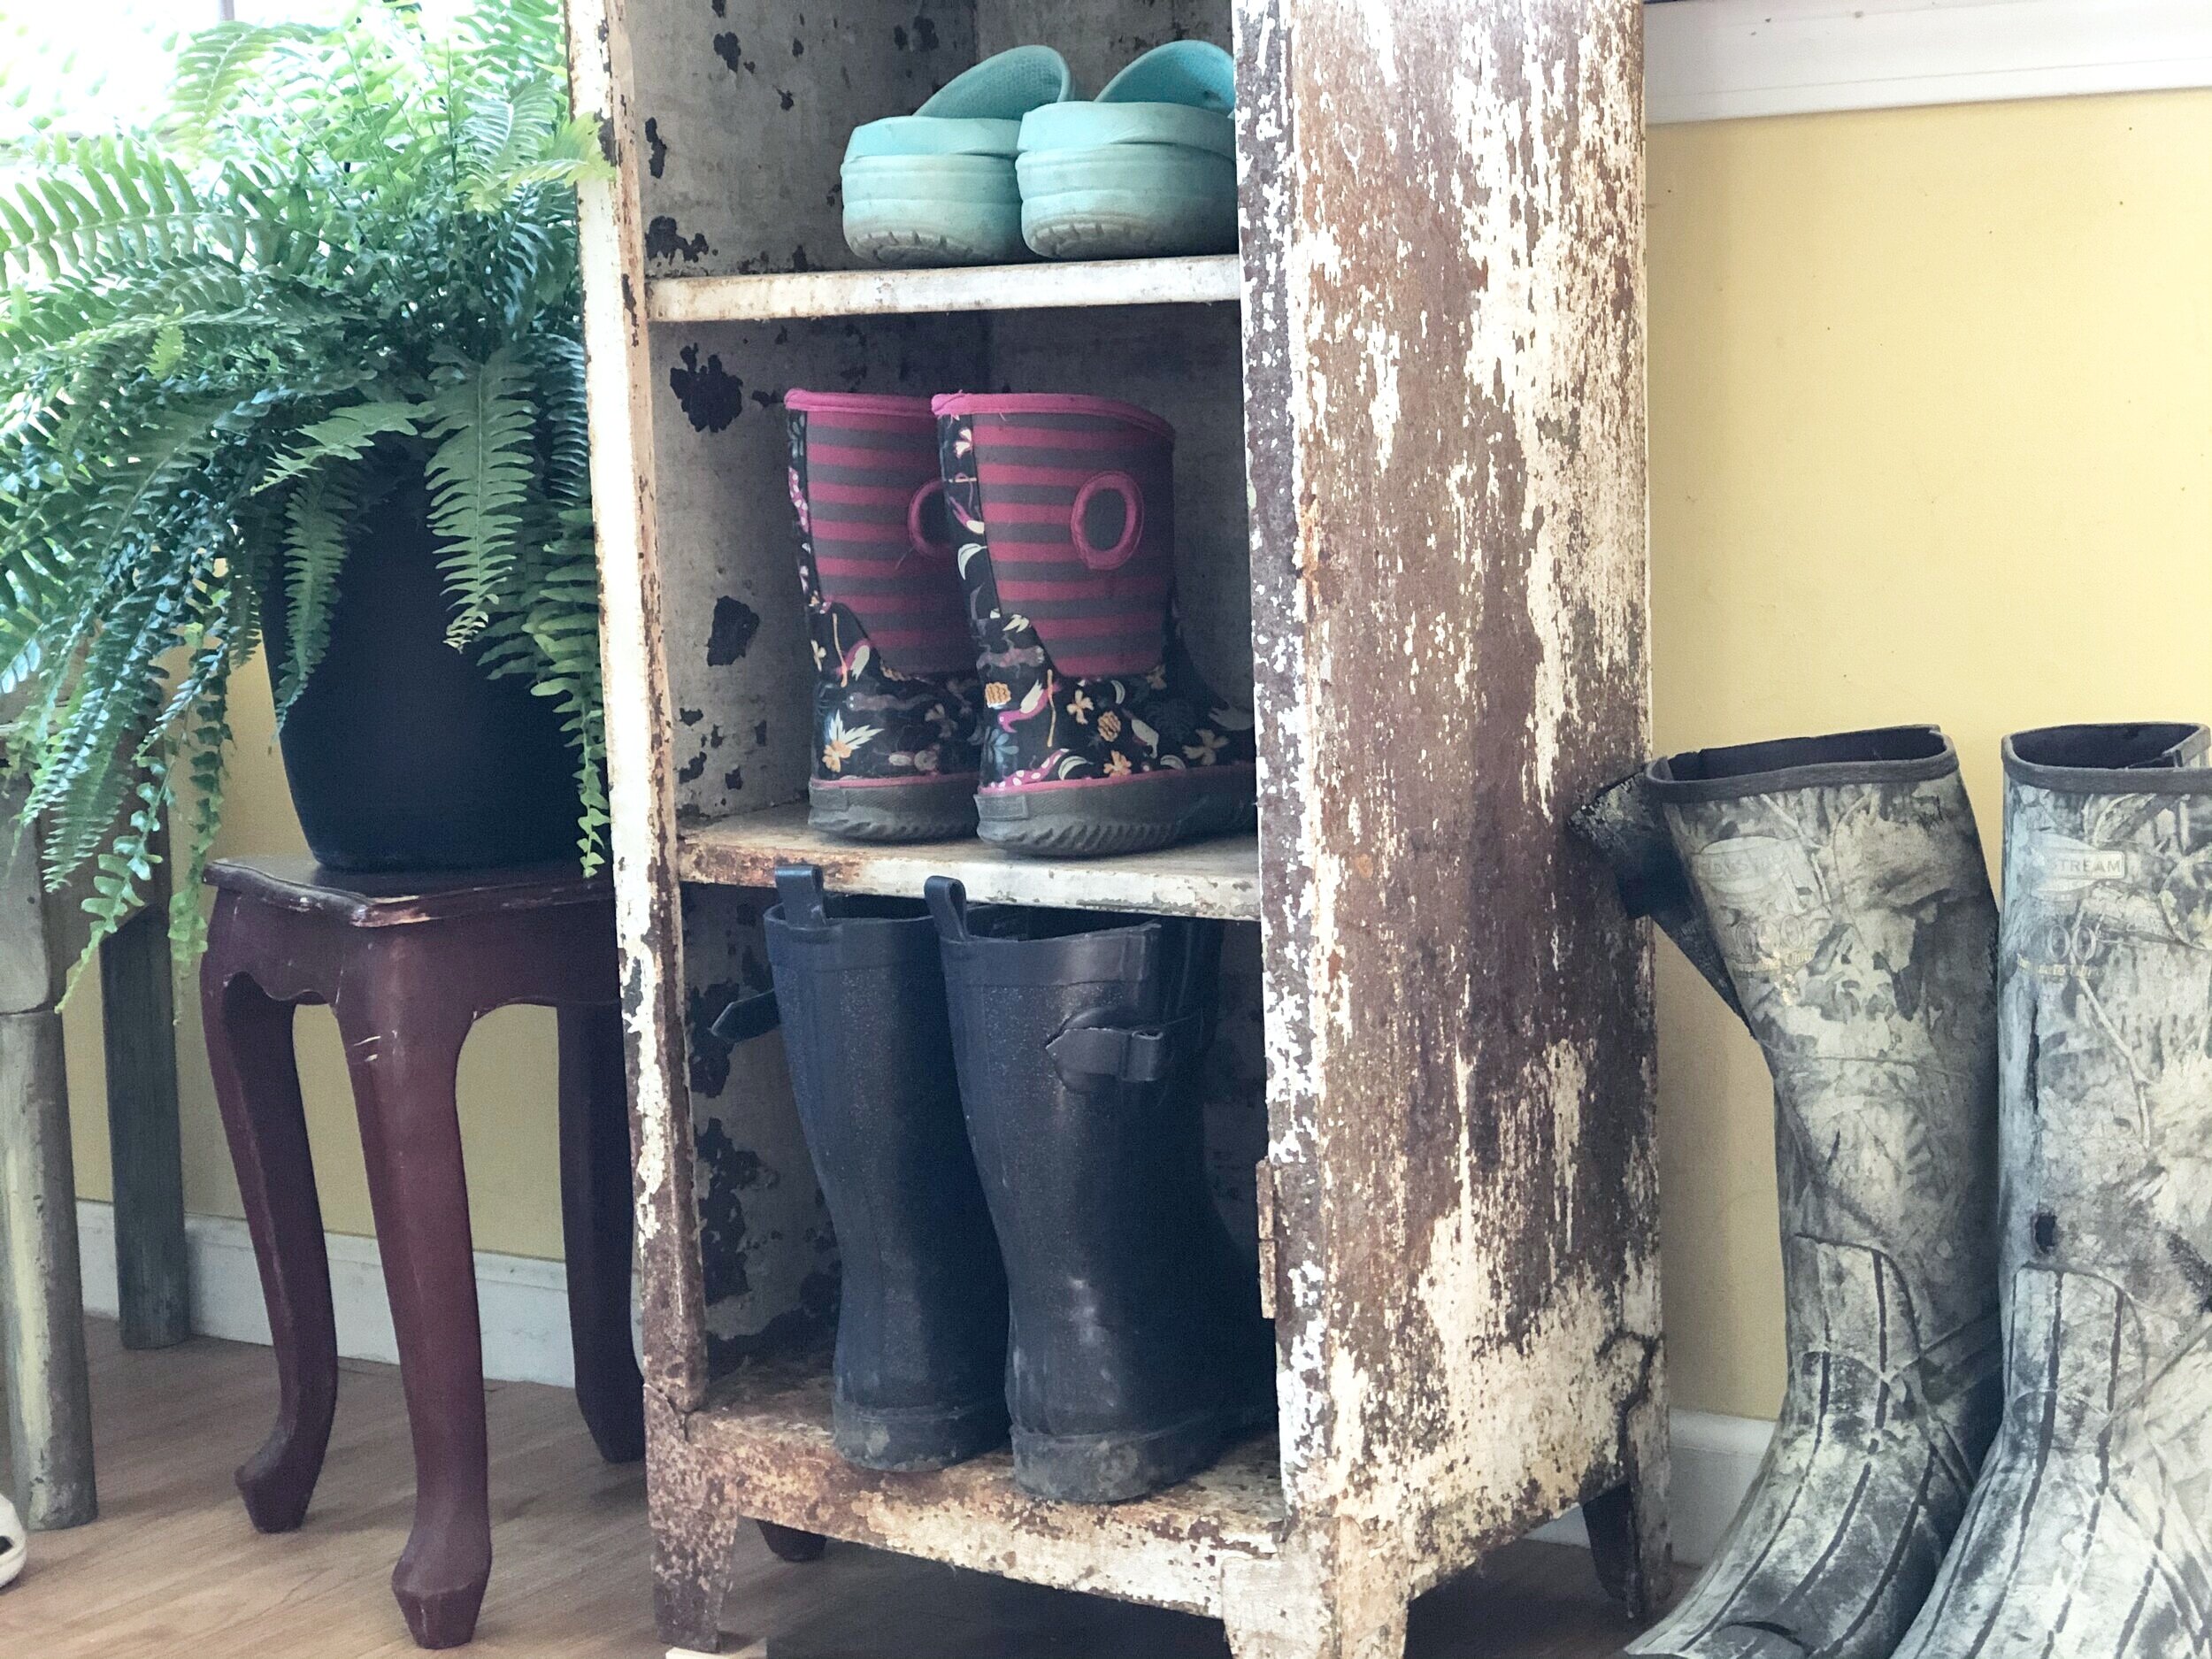
A week after bringing it home I finally had time to do something with it. I decided I was going to turn it into a muddy boot/shoe holder for our sunporch / mudroom. Oh my goodness it turned out so freaking cute!

I have seen others paint their metal cabinets / lockers that look like this but honestly I loved everything about this piece as is. I didn’t want to scrape off any of the old paint or add anything to it. I thought it was perfect just the way it was. The only thing I did to it was remove the door and clean it up a bit.

Rusty locker / metal cabinet repurposed for a mudroom sunporch. Turn an antique chipped paint locker into a shoe holder for your mudroom. Frugal rustic farmhouse furniture for your storage needs.

It was full of crunchy old leaves, spiderwebs, and lots of dirt, rust, and chipped paint. I used my vacuum to get all of that out of there. I didn’t see a need to wipe it down with any spray cleaning agent. I mean, after all it will be holding shoes that have just stomped through a chicken coop.

Rusty locker / metal cabinet repurposed for a mudroom sunporch. Turn an antique chipped paint locker into a shoe holder for your mudroom. Frugal rustic farmhouse furniture for your storage needs.

With just a light cleaning this metal cabinet looked a million times better. I did vacuum off the big chipped paint spots. I figured those will end up falling off anyway soon from putting shoes in there.

Rusty locker / metal cabinet repurposed for a mudroom sunporch. Turn an antique chipped paint locker into a shoe holder for your mudroom. Frugal rustic farmhouse furniture for your storage needs.

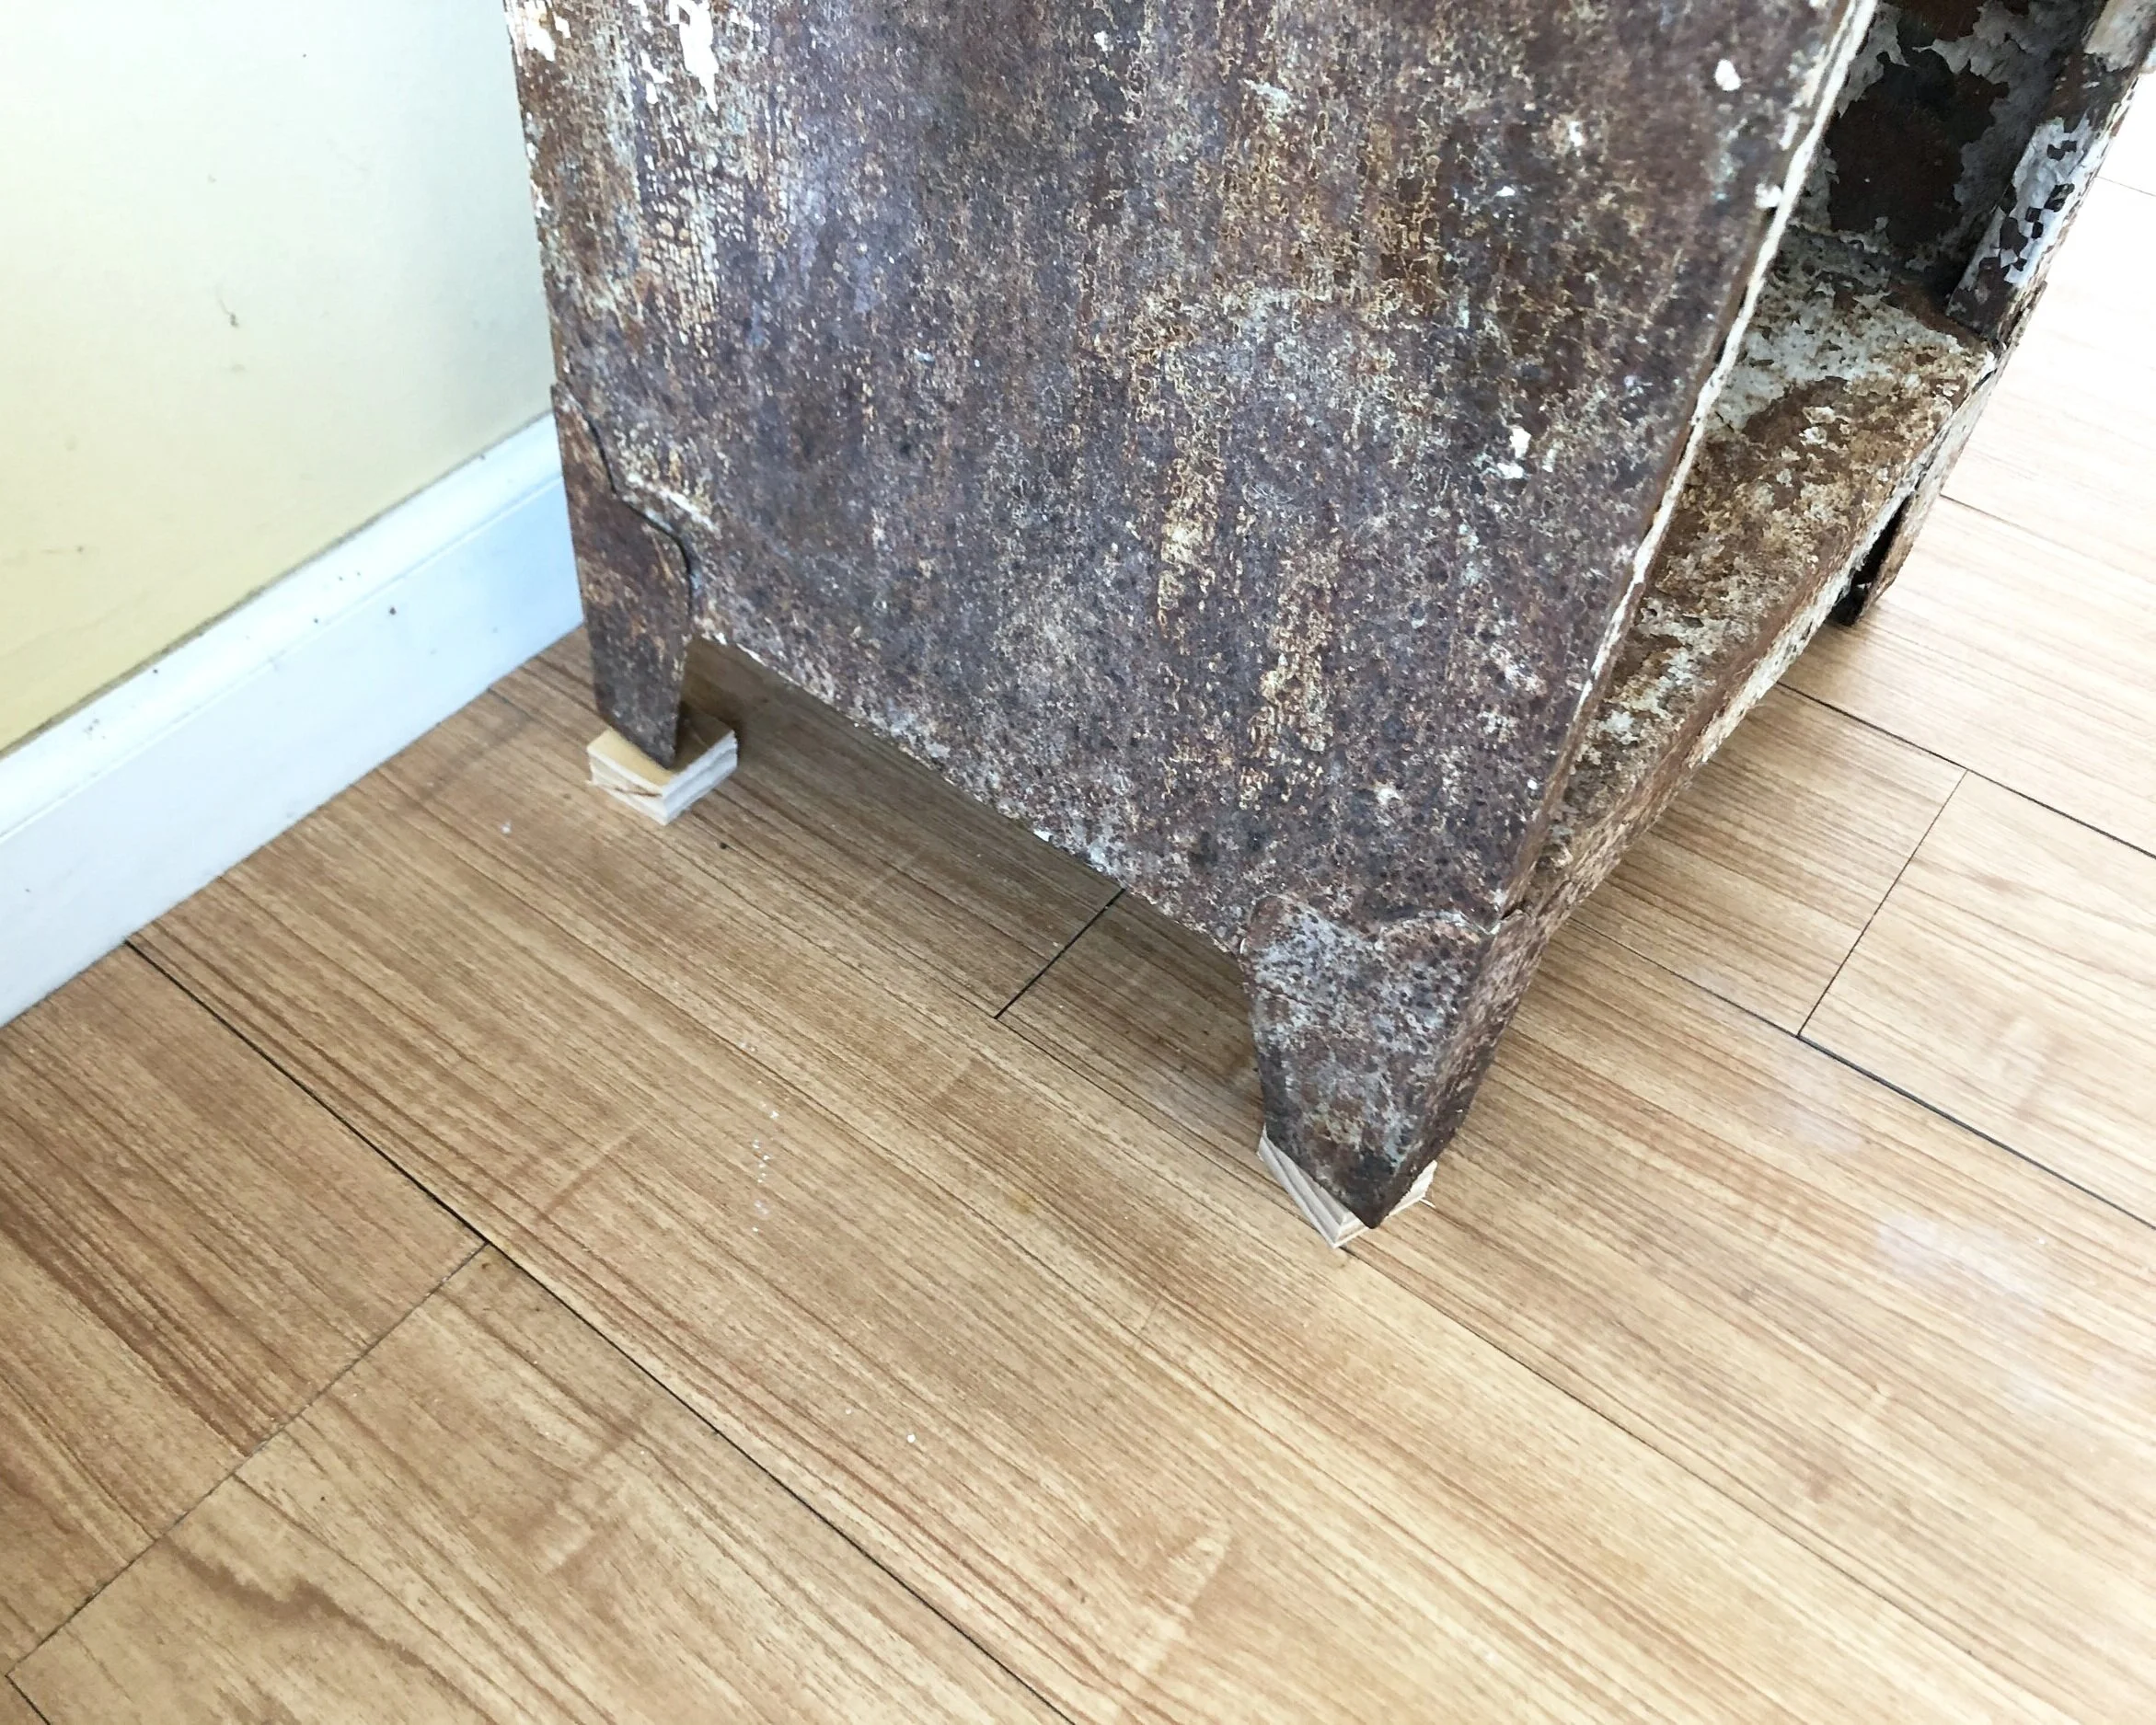
The legs on this piece were in pretty good shape but because our sunporch slants down for drainage the cabinet sat lopsided. To fix that I put a small piece of scrap wood under two of the feet. That worked great!

Rusty locker / metal cabinet repurposed for a mudroom sunporch. Turn an antique chipped paint locker into a shoe holder for your mudroom. Frugal rustic farmhouse furniture for your storage needs.

On one of the shelves I added a bucket to store bug spray and sunscreen. It took me forever to find a piece of chalk so I could write sunscreen & bug spray on the front of that lol! Oh the mom life, gotta love it! Next to that I put a wire basket and filled it with the bubbles and jump ropes that the girls got for Easter. If you need a cheap Easter craft for your rustic home decor check out this adorable moss bunny sign I made this year.

Rusty locker / metal cabinet repurposed for a mudroom sunporch. Turn an antique chipped paint locker into a shoe holder for your mudroom. Frugal rustic farmhouse furniture for your storage needs.

I don’t think I could have found a more perfect shoe holder for this space. It’s unique and beautifully imperfect just like our family.

Rusty locker / metal cabinet repurposed for a mudroom sunporch. Turn an antique chipped paint locker into a shoe holder for your mudroom. Frugal rustic farmhouse furniture for your storage needs.

Let me know if you have any questions in the comments below.

DIY paint stick wall hanging, with FREE printable

How to make interchangable printed wall art at home using paint sticks. DIY stir stick wall art. Print from home computer to make beautiful and rustic wall hangings for cheap. DIY farmhouse stir stick decor.

MAKE RUSTIC INTERCHANGEABLE WALL ART USING PAINT STIR STICKS AND A PRINTER AT HOME

Paint sticks don’t sound like the kind of thing you would purposely hang on your wall as part of your décor. Well think again! They are actually PERFECT to use to make interchangeable hanging frames. AND they are SO cheap to make which makes this crafty DIY even better! With a little bit of paint, magnetic tape,printable and some twine you can transform your own stir sticks into a farmhouse style picture frame.

Affiliate Disclosure. Some of the links on this website are affiliate links, which means that I may earn a small commission if you click on the link or make a purchase using the link. If you make a purchase you will not be charged anything additional.

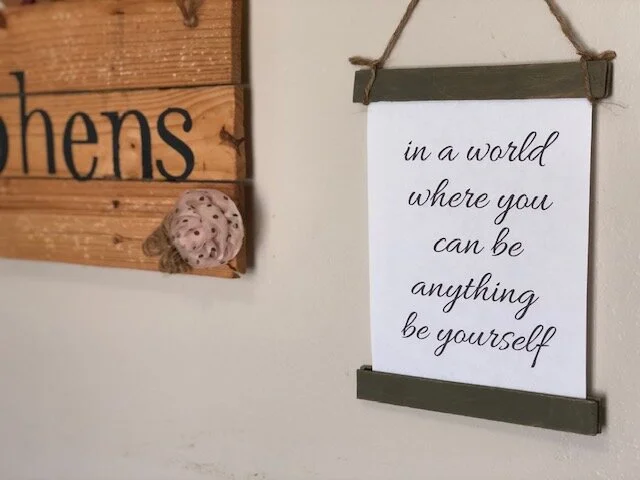
BONUS grab my FREE printable to use for your own wall hanging. I love being a girl mom x4 but it for sure has it’s moments of hard conversations. One of those hard convos I had recently is the sole purpose to creating this printed wall hanging. I had plans to make these stir stick decorations but I wasn’t really planning to hang this exact piece. I was going to do something a little patriotic to tie in with this repurposed drawer into an American flag instead I chose to showcase a saying that would sink in a little deeper for my girls. When they read it I hope it sets in even deeper that they are perfect just the way they are.

If you like easy to make signs check out this super simple free standing wood sign. All you need is a printer and some mod podge and of course a piece of wood ;).

How to make interchangable printed wall art at home using paint sticks. DIY stir stick wall art. Print from home computer to make beautiful and rustic wall hangings for cheap. DIY farmhouse stir stick decor.

Here’s how you can make your own affordable rustic wall hanging

Here’s what you’ll need

Helpful tools

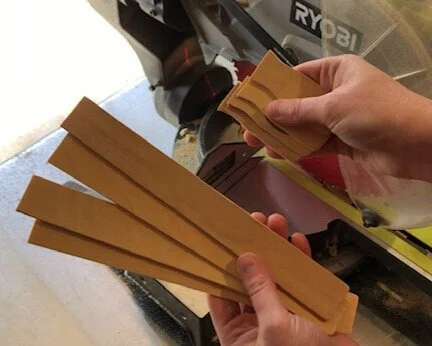
ONE- The first thing I did was cut the ends off of all of my paint sticks. You can keep these on if you want but I like the look of them cut off better. I used my miter saw to do this.

How to make interchangable printed wall art at home using paint sticks. DIY stir stick wall art. Print from home computer to make beautiful and rustic wall hangings for cheap. DIY farmhouse stir stick decor.

TWO- I painted the blank side of my paint sticks gray. I really wanted to stain them in gray but honestly I didn’t want the mess so instead I painted a thin layer then took a paper towel and wiped it off. This gives a faux stained look.

How to make interchangable printed wall art at home using paint sticks. DIY stir stick wall art. Print from home computer to make beautiful and rustic wall hangings for cheap. DIY farmhouse stir stick decor.

THREE- I attached a strip of magnetic tape to the insides, the side I didn’t paint, of each paint stick. To save on tape I cut a strip in half length wise for one top and one bottom stick. I’d never used this stuff before this project and so far I’m impressed with how well it works.

How to make interchangable printed wall art at home using paint sticks. DIY stir stick wall art. Print from home computer to make beautiful and rustic wall hangings for cheap. DIY farmhouse stir stick decor.

FOUR- I printed off my printable from my home computer and trimmed about 1/4” off of each long edge with my paper trimmer (if you don’t have one you NEED to get one lol they are so inexpensive and save so much time and stress from not having straight cut lines when you need them). Then I sandwiched the printable between the paint sticks at the top and bottom.

How to make interchangable printed wall art at home using paint sticks. DIY stir stick wall art. Print from home computer to make beautiful and rustic wall hangings for cheap. DIY farmhouse stir stick decor.

FIVE- To keep this stir stick wall art interchangeable I loosely tied my twine hanger to the ends of the top sides. This way if I want to change it out or if somehow a spaghetti noodle gets flung on to it, which can totally happen with four kids let’s be real, I can easily slip off the twine remove the old print add a new one and slip the twine loop back on. Super simple and easy!@

How to make your own paint stick wall hanging. DIY stir stick wall art for rustic home decor. Print your own wall art for farmhouse home decor.
Rustic home decor for cheap. Make your own printable wall art using paint sticks.

Like with all of my crafty tutorials if you have any questions please feel free to ask away:)!

Happy Crafting!

DIY repurpose an old drawer into an American Flag

Turn an old drawer into a rustic Ameican flag. It doesn't take much to repurose a drawer that's been collecting dust. If you have some paint and a little creativity you can make your own farmhouse style old looking flag for your home decor.

HOW TO REPURPOSE AN OLD DRAWER INTO AN AMERICAN FLAG

Before you pass up on the dusty old drawer that’s sitting on the side of the road you might want to think of all the amazing things you could turn that in to. Years ago my father in law had a huge old drawer sitting under his carport just collecting dirt and debris. I loved it! Even covered in gross beat-up contact paper I could still see the it’s potential of being something beautiful He told me I could take it home and then it sat in the basement collecting even more dust for years. Finally I pulled it out from the depths of the basement over the weekend and told myself I WOULD transform this old drawer this week!

 Affiliate Disclosure. Some of the links on this website are affiliate links, which means that I may earn a small commission if you click on the link or make a purchase using the link. If you make a purchase you will not be charged anything additional.

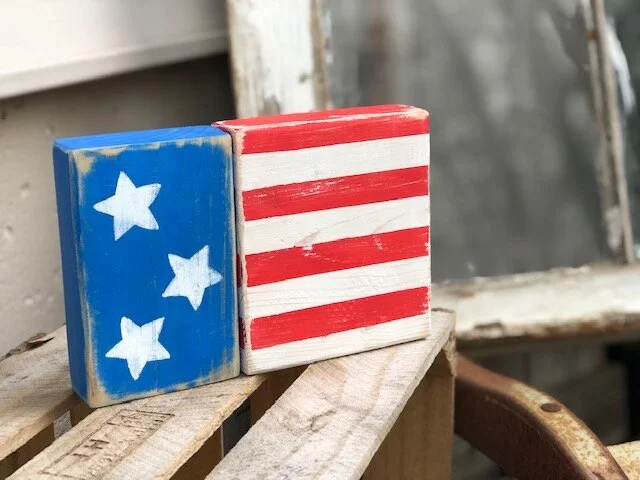
I really wanted to paint something American on it and after going back and forth in my own head I decided a simple flag would be perfect for this old drawer. I had thought about stenciling a big US map on it or even some lettering but with everything I already have on my plate I decided I should just keep it simple. Besides I don’t have a ton of vinyl and transfer tape to spare since I’m running low and shipments are taking a little longer than normal at the moment. With a little painters tape and a bit of vinyl I was on my way to making a simple rustic American flag.

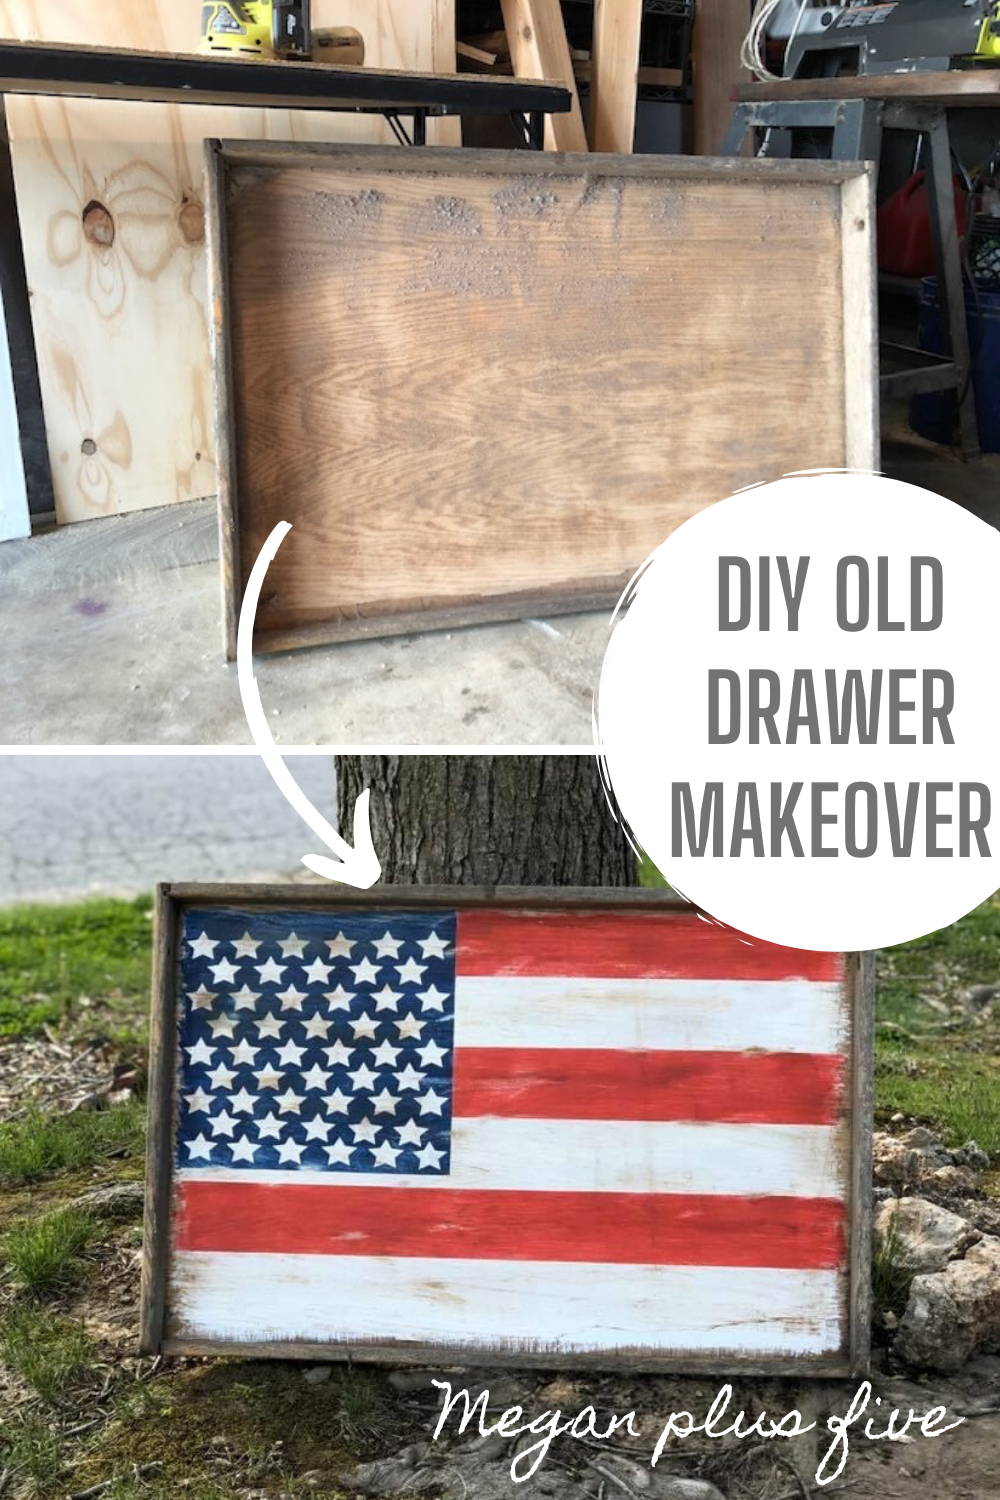
Here’s what the old drawer looked like before I gave it a full facelift.

Turn an old drawer into a rustic Ameican flag. It doesn't take much to repurose a drawer that's been collecting dust. If you have some paint and a little creativity you can make your own farmhouse style old looking flag for your home decor.

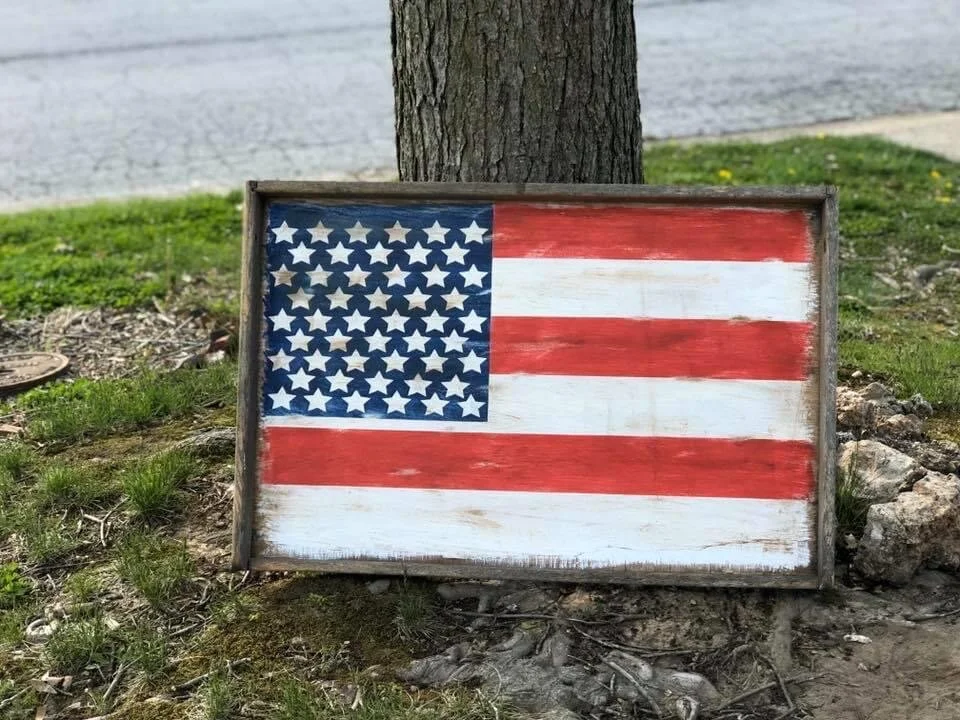
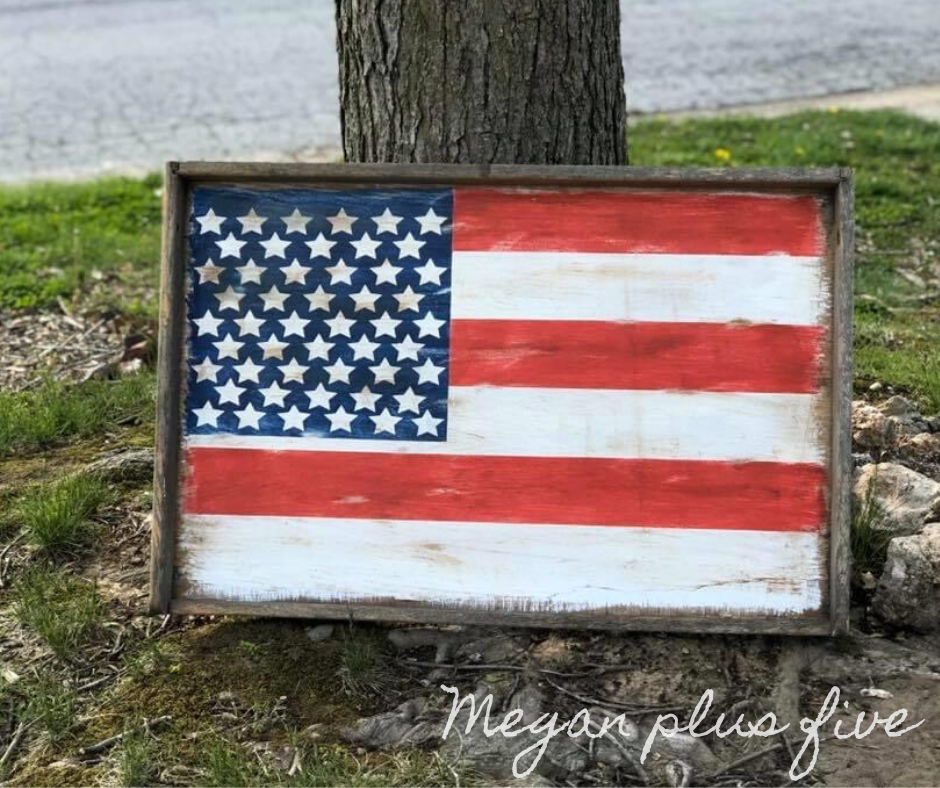
And this is what the old drawer looks like now. I definitely made a few mistakes but overall I’m loving how this rustic flag turned out.

How to repurpose an old dusty drawer into an American flag for your rustic style home decor. DIY farmhouse style 4th of July decor. Paint your own USA flag using your Cricut. Easy distressed wood flag, repuposed decoratoins.

If you are planning on doing a lot of stenciling on wood click here to read this post on how I save money on stenciling film.

How to make your own rustic flag

If you have an old drawer hanging around and collecting dust you can transform it into a rustic looking flag like I did with this one.

Here’s what you’ll need

Helpful tools

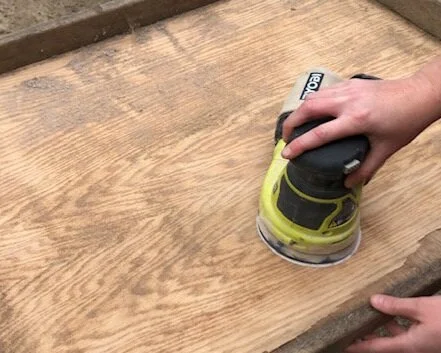
ONE-The first thing I had to do was sand it down. This drawer originally came with some gross contact paper attached to it. I had done the majority of taking all of that off when I first got the drawer. I removed the contact paper as much as I could then used the sander to help take off the rest. I started with 60 grit sandpaper on my handheld sander then worked my way up to 120 grit. the contact paper left behind some sticky residue but with a little elbow grease I was able to get all of it off. Then I used a lint free cloth and a vacuum to get off all the dust.

Turn an old drawer into a rustic Ameican flag. It doesn't take much to repurose a drawer that's been collecting dust. If you have some paint and a little creativity you can make your own farmhouse style old looking flag for your home decor.

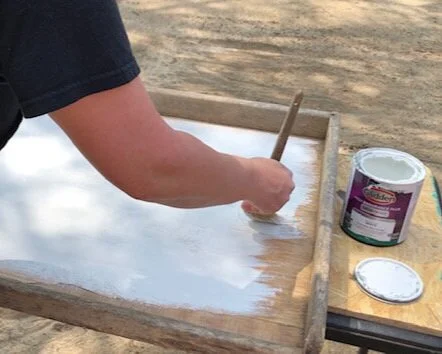
TWO- Using a dry brush I painted the inside of the drawer white. I used flat white indoor paint for this. When I brushed on the white base I made sure that all four sides didn’t get painted right up to the edge and I made the edges really uneven. I wanted it to look rough.

Turn an old drawer into a rustic Ameican flag. It doesn't take much to repurose a drawer that's been collecting dust. If you have some paint and a little creativity you can make your own farmhouse style old looking flag for your home decor.

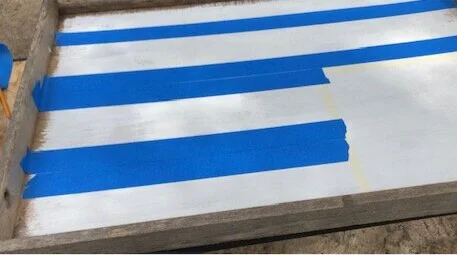
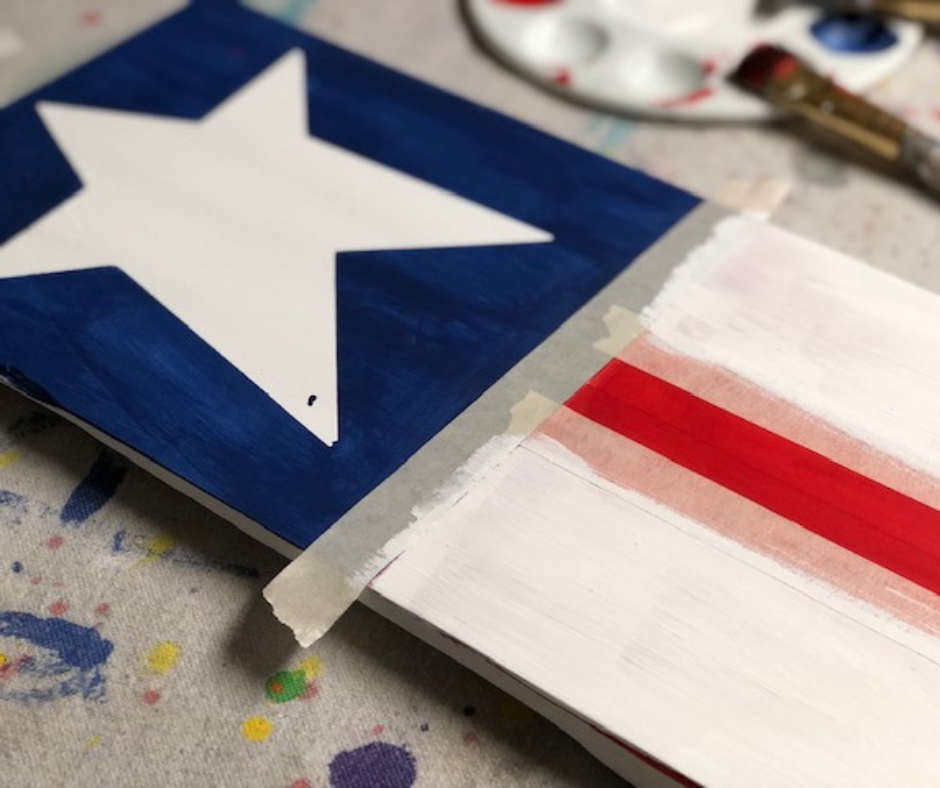
THREE- I measured out how big I wanted the blue area on my flag to be. I am not 100% happy with the size of this but it’s there to stay now lol! I taped that square off then started taping off my lines for my red and white stripes. I did this the same way I did this scrap wood 2x4 flag. I didn’t measure out my lines, mainly because I’m not a super precise person. I used the top edge of the drawer as my guide then taped off my stripes using wide painters tape. I did not make a true American flag though I only have 7 stripes total on mine.

Turn an old drawer into a rustic Ameican flag. It doesn't take much to repurose a drawer that's been collecting dust. If you have some paint and a little creativity you can make your own farmhouse style old looking flag for your home decor.

FOUR- Once I had my stripes taped off I painted the exposed stripes red. Then let them dry and painted then with a second coat of red paint. I peeled my tape up while my paint was still wet.

Turn an old drawer into a rustic Ameican flag. It doesn't take much to repurose a drawer that's been collecting dust. If you have some paint and a little creativity you can make your own farmhouse style old looking flag for your home decor.

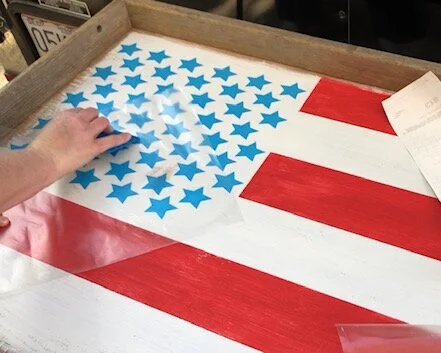
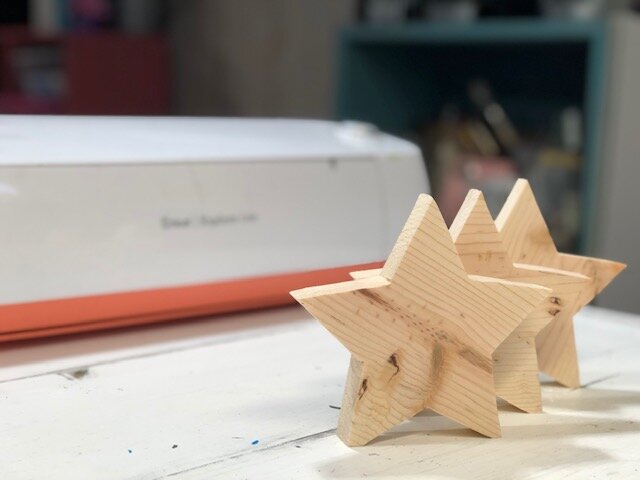
FIVE- I stenciled the 50 stars on this rustic flag but did it a little differently than a typical stencil. I did what’s called a reverse stencil on this just like I did with this 4th of July leaning porch sign . I used my Cricut and Cricut design space to cut out 50 stars. You can get my free Cricut cut file here. Since my stars were wider than 11.5” I had to cut them out on two separate pieces of stencil material. But it wasn’t bad at all to piece them together. I did have a big OOPS moment when I weeded away a star. Thank goodness for an honest husband who told me it looked good other than missing a star! I was able to paint in the missing star before I had applied the wax, praise the Lord!

Turn an old drawer into a rustic Ameican flag. It doesn't take much to repurose a drawer that's been collecting dust. If you have some paint and a little creativity you can make your own farmhouse style old looking flag for your home decor.

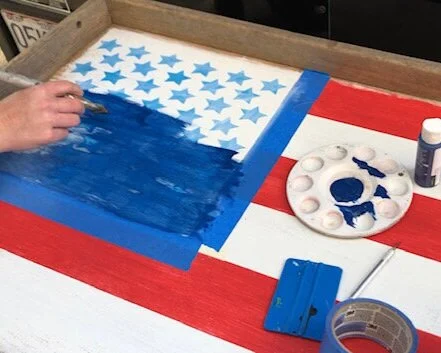
SIX- Using transfer tape I applied the star stencils to my flag then taped off the stripes. To cut down on paint bleed I sealed them with a thin layer of white paint. After that was dry I painted that part of my flag blue, let dry, then painted another layer of blue. While the paint was still wet I peel up the star stencils and the tape. I did have a little paint bleed but nothing too serious. This is when I added the last star that I missed :/.

Turn an old drawer into a rustic Ameican flag. It doesn't take much to repurose a drawer that's been collecting dust. If you have some paint and a little creativity you can make your own farmhouse style old looking flag for your home decor.

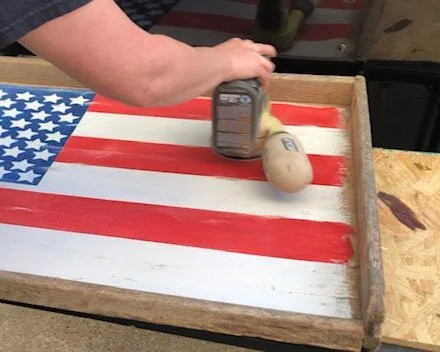
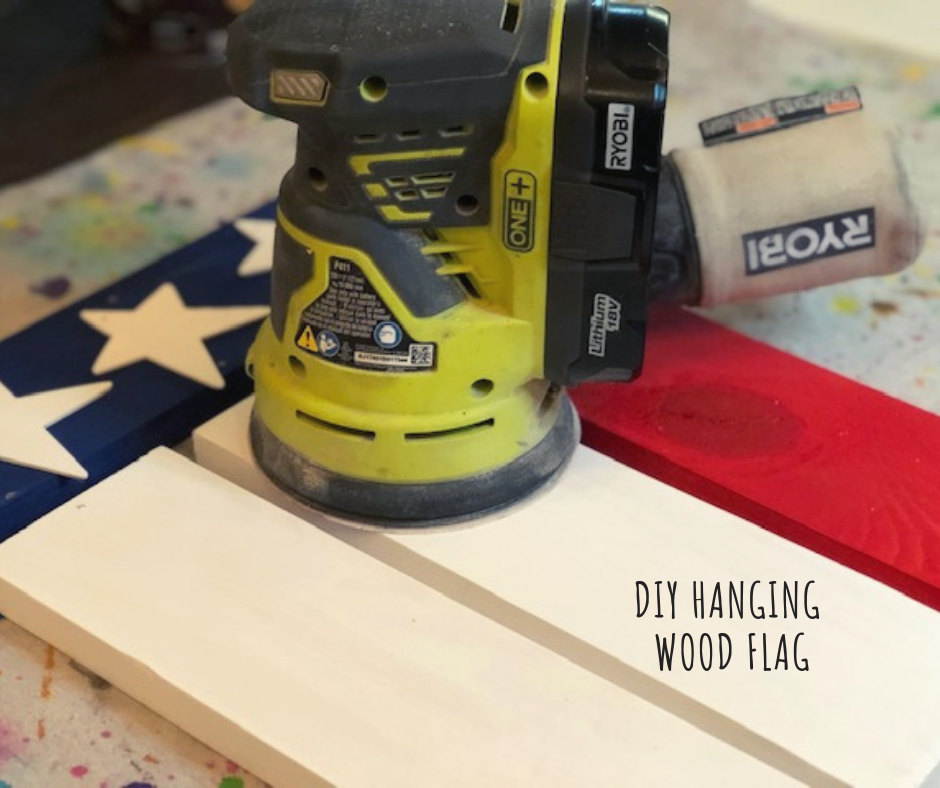
SEVEN- I used my Ryobi sander to distress my rustic drawer flag. I used 120 grit sandpaper and lightly went over the entire flag then focused on random areas here and there. After I was happy with the distressing I wiped the sawdust off with a lint free cloth.

Turn an old drawer into a rustic Ameican flag. It doesn't take much to repurose a drawer that's been collecting dust. If you have some paint and a little creativity you can make your own farmhouse style old looking flag for your home decor.

EIGHT- If you’ve read any of my other tutorials you probably know LOVE my antiquing wax. I use it for so many of my craft projects and of course used it for this one too. I used a chip brush and lightly applied the dark wax to my flag. If you’ve never used this stuff before please be aware that a little goes a LONG way. I usually dab the end of my brush into the lid then dab off on a cloth. Since I didn’t have a cloth handy for this DIY I used my apron.

Turn an old drawer into a rustic Ameican flag. It doesn't take much to repurose a drawer that's been collecting dust. If you have some paint and a little creativity you can make your own farmhouse style old looking flag for your home decor.

I can’t wait to hang this rustic flag in our living room! We plan to keep it up year round and I know every time we look it we will think of fond memories of my father in la

I hope this post inspires you to give an old drawer a makeover! If you have any questions on this DIY or any of my other tutorials please feel free to ask away:)!

Happy Crafting!

Turn an old drawer into a rustic Ameican flag. It doesn't take much to repurose a drawer that's been collecting dust. If you have some paint and a little creativity you can make your own farmhouse style old looking flag for your home decor.

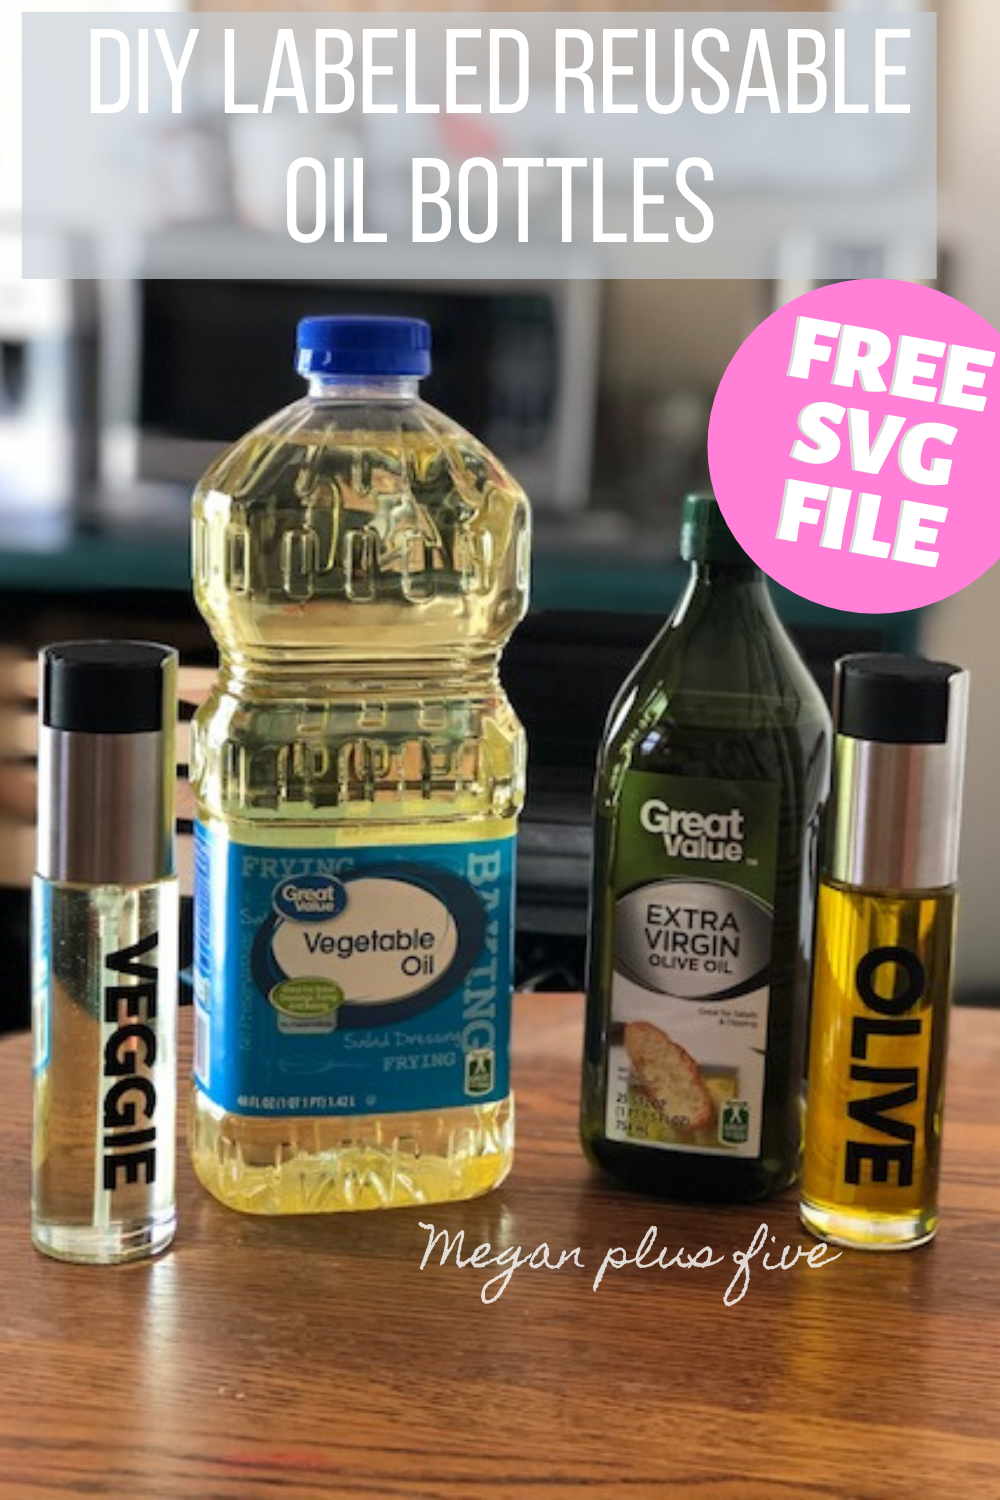
Reusable oil spray bottles + FREE SVG file

DIY labeled reusable oil spray bottles. How to make your own pam spray bottles for vegetable and olive oil for the kitchen. Plus a FREE svg file to download. Great small project to use for Cricut. Labeling kitchen with vinyl.

The days of buying cooking oil spray bottles are over. I don’t know about you but I really dislike buying Pam at the grocery store, actually it’s never name brand because I’m super frugal and have a big family to feed lol! Buying that spray always feels like such a fat waste of money and in our house cooking oil spray doesn’t last very long anyway so we are always running out at the worst time. Yes, using a paper towel with oil on it will get the job done but sometimes it would just be one less thing to stress about when you go to pull it out of the cabinet only to find one of the oldest of the four daughters put it back in there with barely a squirt left in it.
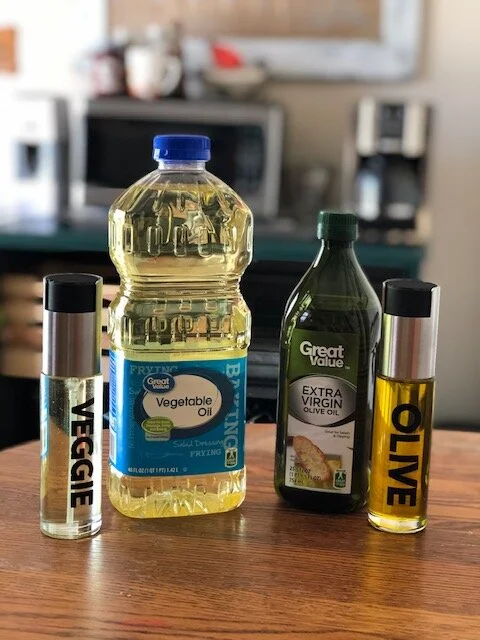
So I got on Amazon and found some heavy duty looking spray bottles that looked perfect to hold our veggie and olive oils.

Even though you can totally tell which one is which I thought it would still be a good idea to label them. I figured it would at least save me from having the same conversation a couple times a week as to what one is olive oil and what one is vegetable oil.

I really like the skinny type fonts but since the labels are going on oil bottles I thought a thicker font would work much better. If a little oil gets under the vinyl decals of a thin font they will come off super easy. If you want to use the same SVG I used you can get it here in my FREE RESOURCE LIBRARY.

Reusable oil spray bottle for the kitchen. Vegetable and olive oil mister bottles to refill. Never buy pam spray again instead buy glass bottles and make your own reusable spray bottles for kitchen oils. Plus svg vinyl decals.

Watch my video on my YouTube channel or keep scrolling for the written/photo tutorial

DIY labeled reusable oil spray bottles. How to make your own pam spray bottles for vegetable and olive oil for the kitchen. Plus a FREE svg file to download. Great small project to use for Cricut. Labeling kitchen with vinyl.

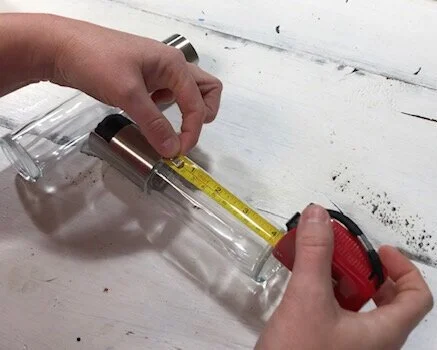
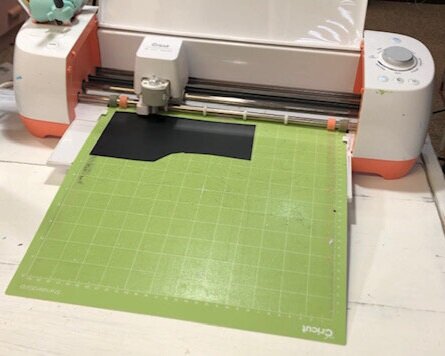
1. Cut out your vinyl decal. I used my Cricut Explore set on the vinyl cut setting and the green cutting mat. I used Oracal 651, permanent outdoor grade vinyl, in black matte finish. I measured out the length of the spray bottles I was applying it to and made it a little shorter in length. I keep most all of my scraps of vinyl in a plastic tote just for projects like this. You never know when you’ll need a small piece of vinyl lol!
DIY labeled reusable oil spray bottles. How to make your own pam spray bottles for vegetable and olive oil for the kitchen. Plus a FREE svg file to download. Great small project to use for Cricut. Labeling kitchen with vinyl.

2. I like using an xacto knife to weed my vinyl projects. You can use a fancy vinyl picker like this one but I think these are a little more difficult to hold than a simple xacto knife. Be sure when you weed your design you are weeding out the background, not the letter themselves.

DIY labeled reusable oil spray bottles. How to make your own pam spray bottles for vegetable and olive oil for the kitchen. Plus a FREE svg file to download. Great small project to use for Cricut. Labeling kitchen with vinyl.

3. I completely forgot to wash the bottles before applying the decals but I was sure to wash them before I added the oil to them ;). You want to wipe down the area of the bottle you are applying the decal to with isopropyl alcohol. This will remove any dirt or oil and allow for the best adhesion of the vinyl.

DIY labeled reusable oil spray bottles. How to make your own pam spray bottles for vegetable and olive oil for the kitchen. Plus a FREE svg file to download. Great small project to use for Cricut. Labeling kitchen with vinyl.

4. Apply transfer tape to the front of your decal. Use your vinyl squeegee to remove any air bubbles then peel the paper backing off of your vinyl decal.

DIY labeled reusable oil spray bottles. How to make your own pam spray bottles for vegetable and olive oil for the kitchen. Plus a FREE svg file to download. Great small project to use for Cricut. Labeling kitchen with vinyl.

5. Place your vinyl decal where you would like it to go on your glass spray bottle. I like to hover it over where I’m thinking about placing it first. Once you place vinyl down, especially small decals like these, it’s really difficult to get them to come up without ruining them.

DIY labeled reusable oil spray bottles. How to make your own pam spray bottles for vegetable and olive oil for the kitchen. Plus a FREE svg file to download. Great small project to use for Cricut. Labeling kitchen with vinyl.

6. When you have your decal where you want it to go place it down gently starting from the middle and work your way out. This will help to keep the air bubbles to a minimum. Use your vinyl squeegee to remove any air bubbles you see then peel the transfer tape off of your vinyl decal.

DIY labeled reusable oil spray bottles. How to make your own pam spray bottles for vegetable and olive oil for the kitchen. Plus a FREE svg file to download. Great small project to use for Cricut. Labeling kitchen with vinyl.

7. Fill your bottles with oil and enjoy!

DIY labeled reusable oil spray bottles. How to make your own pam spray bottles for vegetable and olive oil for the kitchen. Plus a FREE svg file to download. Great small project to use for Cricut. Labeling kitchen with vinyl.

I know we are going to get A LOT of use out of these reusable oil spray bottles!

If you have any questions please ask away:)!

How to rust your own mason jar lids

How to rust your own mason jar lids inside. Easy recipe for rusting canning jar lids for your rustic country chic home decorations and craft projects.

Rusty mason jar lids are GORGEOUS! I love them but they can be so hard to find. If you can’t find them easily they can take forever to naturally rust in the elements outside, like months and months of time. But if you’re impatient like me you don’t have to wait for nature to work her magic on your brand new mason jar rings. You can rust them yourself in your kitchen using ingredients you probably already have!

Affiliate Disclosure. Some of the links on this website are affiliate links, which means that I may earn a small commission if you click on the link or make a purchase using the link. If you make a purchase you will not be charged anything additional. This is just a way I can help add to our family finances to raise our four daughters. Please know I would never recommend a product or service I do not totally stand behind.

Yes, you read that right. You can rust up your own canning jar lids right on your kitchen counter in about a week!! I know that the method I’m sharing today isn’t the only way to get this done, and thank goodness it’s not because there shouldn’t just be one way to do things. This is just my preferred way to rust my own mason jar lids.

Here are a couple of projects I made using this same technique to rust mason jar lids

DIY RUSTY PUMPKIN FROM MASON JAR RINGS

DIY RUSTED MASON JAR RING PERSONALIZED ORNAMENT

Check out the video below or keep scrolling to read the written/picture tutorial.

Get instant access to all of my FREE printables, files, and more. Click here to get your password to my FREE RESOURCE LIBRARY.

Here’s what you’ll need to rust your own mason jar lids at home

HOW TO RUST YOUR OWN MASON JAR LIDS INSIDE THE QUICK AND EASY WAY

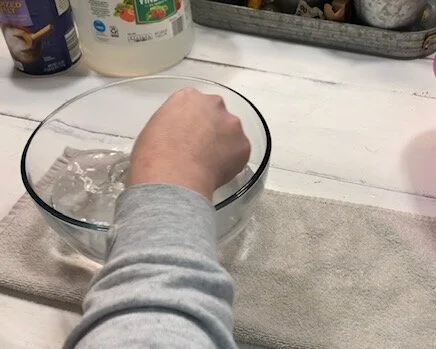
ONE- You will need a glass bowl. I use glass because it doesn’t break down like other materials such as plastic or metal. Glass is wonderful! I start by filling the bottom of the glass bowl with salt. I DO NOT MEASURE THIS. If you were hoping for a recipe with exact measurements this tutorial might not be for you. I just add enough salt to cover the bottom of the bowl lol.

How to rust your own mason jar lids inside. Easy recipe for rusting canning jar lids for your rustic country chic home decorations and craft projects.

TWO- Pour in some distilled white vinegar. I just eyeball this as well. You want enough to completely cover the mason jar lids once you put those in the bowl (that will happen in just a couple steps).

How to rust your own mason jar lids inside. Easy recipe for rusting canning jar lids for your rustic country chic home decorations and craft projects.

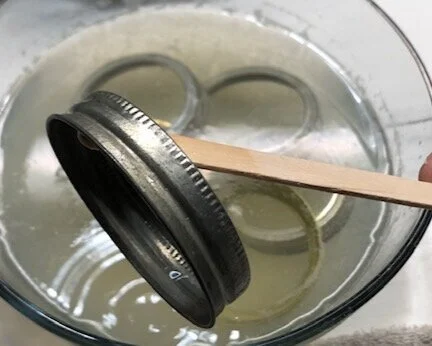
THREE- Give your ingredients a good stir. I use a popsicle stick for this and I stir till the salt starts to dissolve.

How to rust your own mason jar lids inside. Easy recipe for rusting canning jar lids for your rustic country chic home decorations and craft projects.

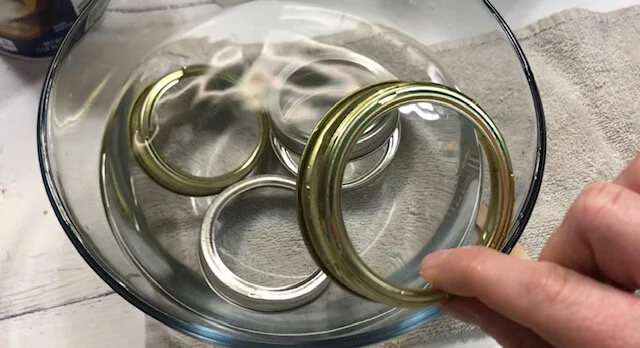
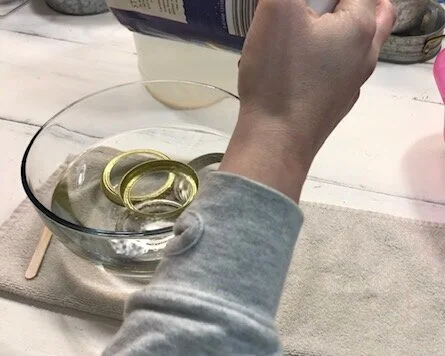
FOUR- Add in your mason jar rings. You can add in as many that will fit in to your bowl.

How to rust your own mason jar lids inside. Easy recipe for rusting canning jar lids for your rustic country chic home decorations and craft projects.

FIVE- Now add enough vinegar to your bowl so that your mason jar rings are completely submerged.

How to rust your own mason jar lids inside. Easy recipe for rusting canning jar lids for your rustic country chic home decorations and craft projects.

SIX- Now sprinkle some salt on top. I’m not sure if this step makes a huge difference but I do this just for good measure lol!

How to rust your own mason jar lids inside. Easy recipe for rusting canning jar lids for your rustic country chic home decorations and craft projects.

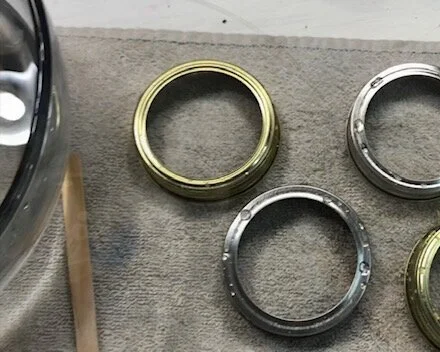
SEVEN- Let the mason jar lids sit for 24 hours. After 24 hours has passed take them out and let them dry on a towel. Once they are dry place them back into the salt & vinegar mixture.

How to rust your own mason jar lids inside. Easy recipe for rusting canning jar lids for your rustic country chic home decorations and craft projects.

EIGHT- Repeat step 7 for at least a week. After just a couple days you will start to notice the canning lids turning color and they will look like they have scratch like marks on them. This is exactly what you want to see happening. The longer you do the soaking/drying process the rustier your mason jar lids will get. You’ll also notice that the salt/vinegar solution is changing from a clear to a really gross color/consistency, this is supposed to happen too.

How to rust your own mason jar lids inside. Easy recipe for rusting canning jar lids for your rustic country chic home decorations and craft projects.

NINE- Once you’re happy with the rust on your canning jar lids you are all done and you can discard of the salt/vinegar mixture. I don’t rinse mine off after I just simply let them dry then use them or place them in my rusty mason jar plastic bin for safe keeping till I need them.

How to rust your own mason jar lids inside. Easy recipe for rusting canning jar lids for your rustic country chic home decorations and craft projects.

The EASIEST way to remove labels from wine bottles

Easily remove labels from glass wine bottles

Remove labels from wine bottles the super easy way

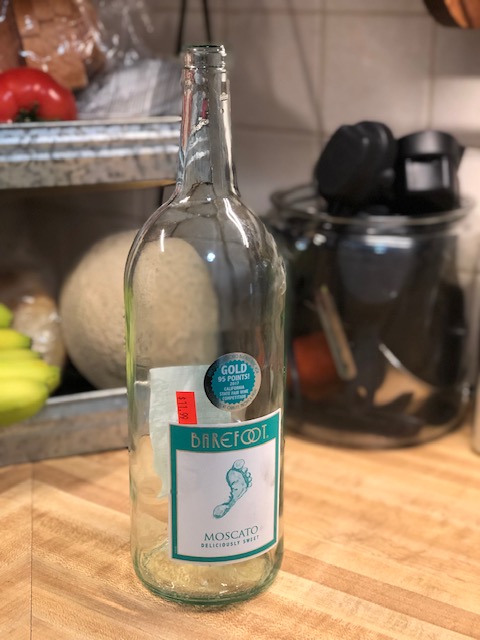
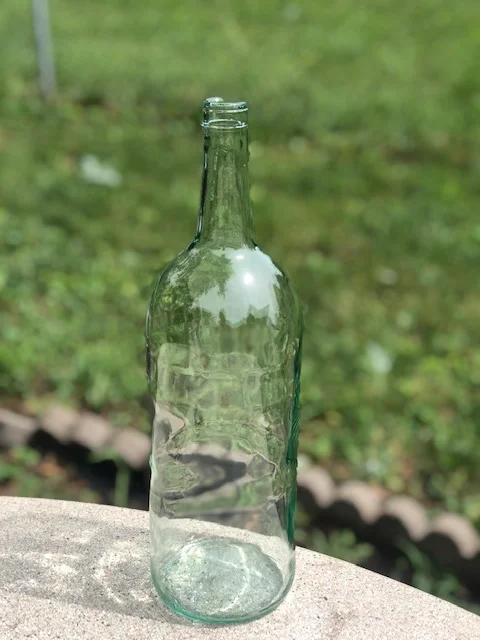
Old wine bottles and glass jars can be used for SO many different craft projects. The possibilities are endless. Take an empty pickle jar and turn it into a fairy lantern or make an adorable set of pumpkins from wine bottles. But you’re probably thinking that removing the labels from the empty glass containers is just too much headache.

But, I’m here to tell you taking the labels off of glass is actually much easier than you think!

How to remove labels from glass bottles

Here’s what you’ll need

the best way to remove labels from wine bottles

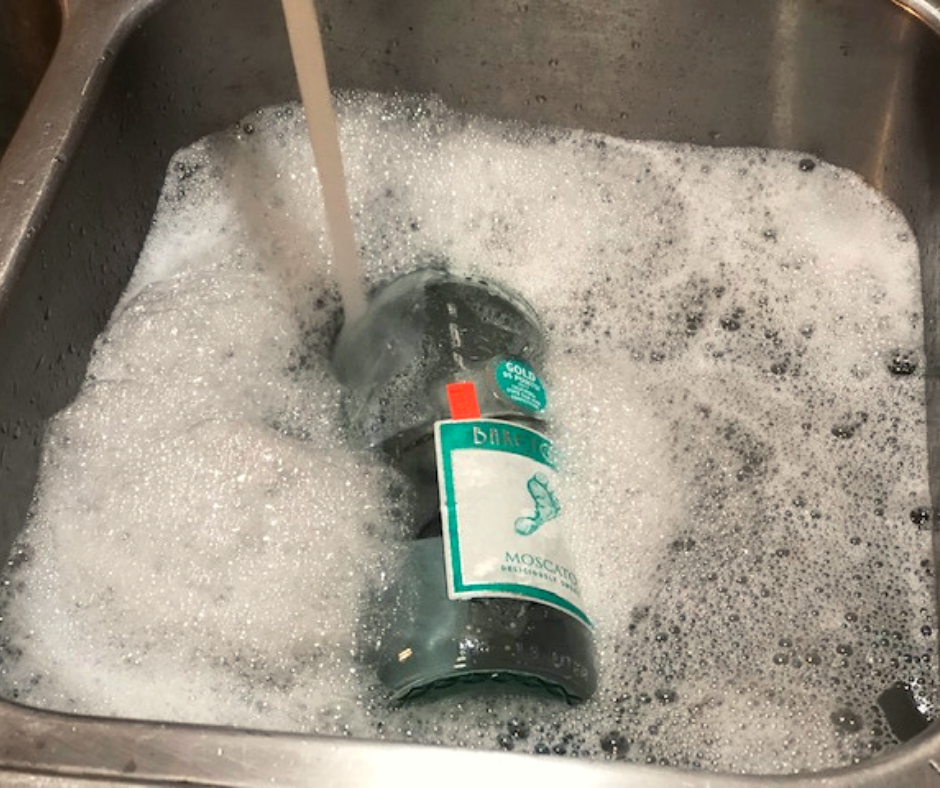
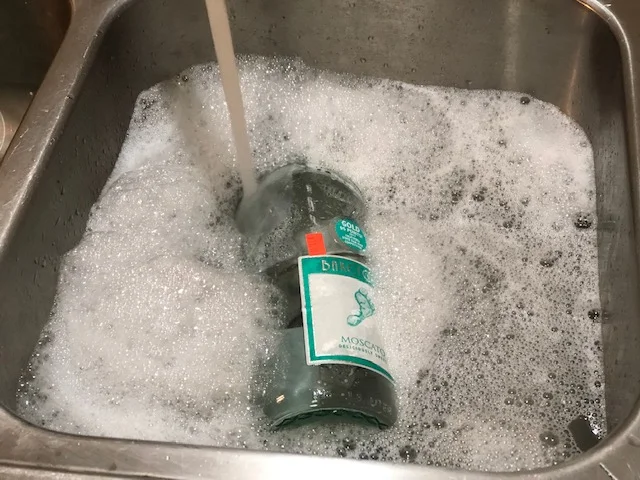
Fill your sink with hot water, as hot as your hands can handle, WEARING KITCHEN GLOVES IS A GREAT IDEA BUT I DIDN’T HAVE ANY ON HAND FOR THIS TUTORIAL. Add a several drops of Dawn dishsoap

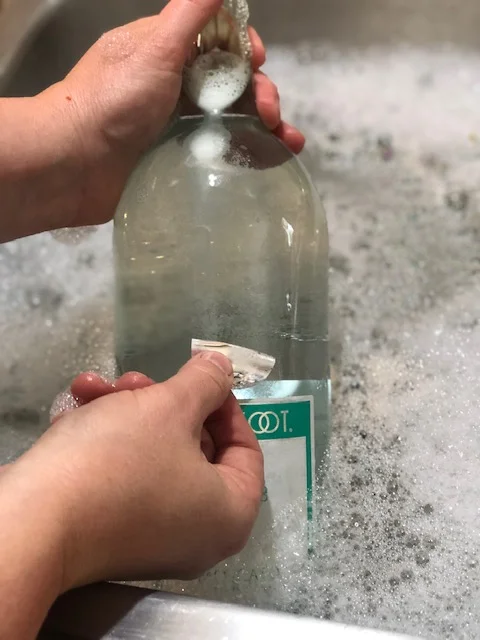
Apply Dawn dish soap all over the label then slowly submerge it into the water letting the inside of the bottle fill with water. You want your bottle to sink to the bottom and be completely submerged in the hot soapy water, not floating on the top.

The  best way to remove adhesive labels from glass

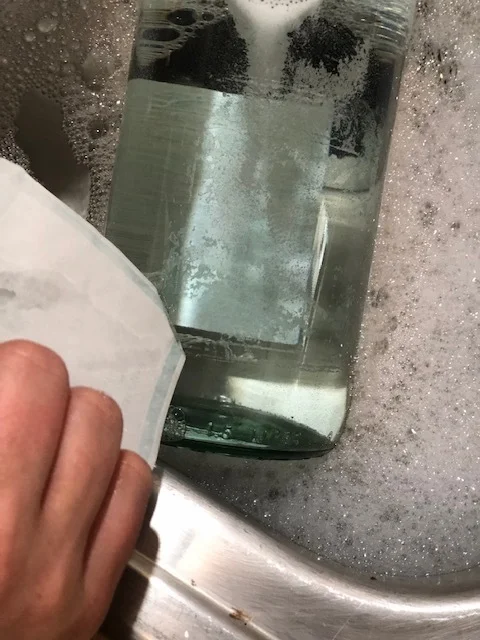
Let it sit for at least 10 minutes. Lift the bottle out of the water and start peeling off the labels. It’s so important to know that not all labels are put on with the same glue and also, glue clings more to different label materials. Like with this bottle the circle label came off with no problems and took all of the glue with it. But the paper labels left some of the glue behind.

The best way to remove glue from glass bottles
How to remove labels from wine bottles

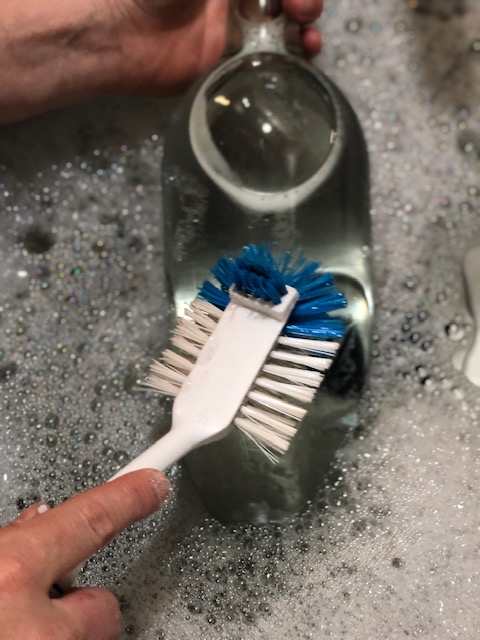
After you remove all of the labels from the glass bottle take your scrub brush and just give it a good scrub. The glue will come right off with the Dawn dish soap.

How to remove labels from glass jars

Once all the adhesive is gone, empty the bottle, rinse and dry it with a dish cloth.

Now you have a squeaky clean jar to reuse!

How to remove labels from jars the easy way

Want instant access to all of my printables, files, checklists and more? Grab the code to my FREE RESOURCE LIBRARY by filling out your info below.