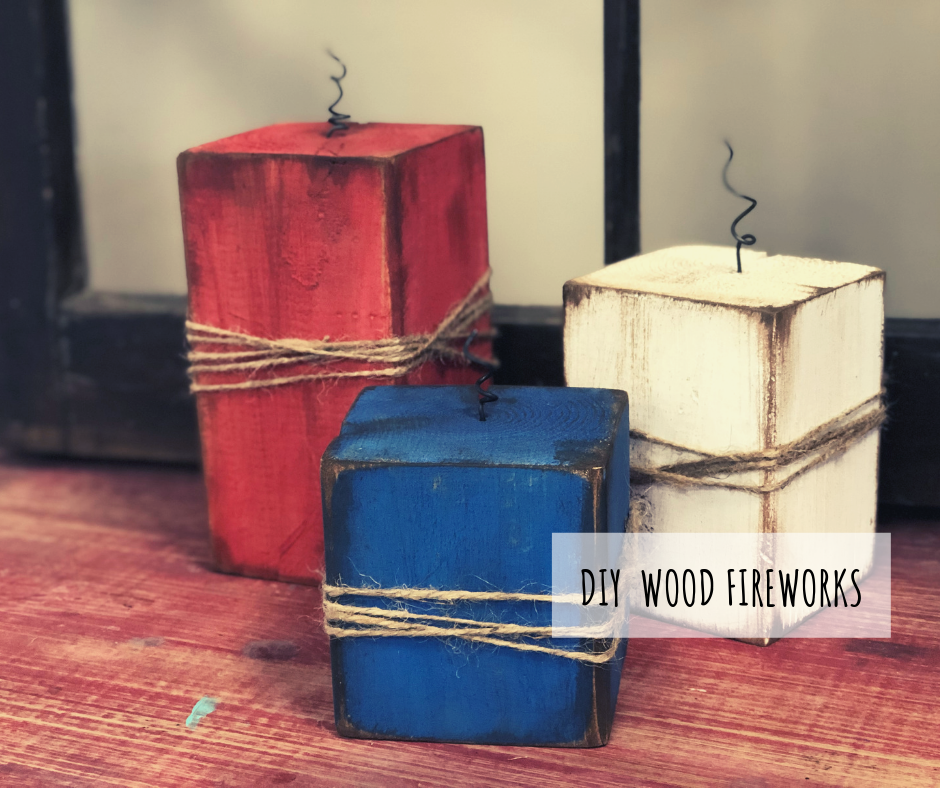
DIY 4X4 Wood Firecrackers

DIY 4x4 Wood Firecrackers, easy Fourth of July Craft to make at home

Affiliate Disclosure. Some of the links on this website are affiliate links, which means that I may earn a small commission if you click on the link or make a purchase using the link. If you make a purchase you will not be charged anything additional.

I am a sucker for a quick and easy simple crafts! These kind of projects give you an instant satisfactions because you don’t need to wait days for them to cure and you can even get the kiddos involved in the creative process because honestly there’s not a whole lot they can mess up with these little guys.

This project does require the use of some power tools but if you don’t have them handy you can purchase an easy craft kit from our studio. We do all the cutting, pre-sanding, drilling, and include all the materials PLUS printed of instructions on how to make them at home so you don’t have to come back to this page while your hands are covered in paint.

Here’s what you’ll need if you’re making yours totally from scratch…

DIY Wood Fireworks.png

If you prefer to order online I’ve attached Amazon links to most of the supplies above. You can purchase most of the supplies at your local Walmart and home improvement stores.

First you need to cut your 4x4 down to 4, 5.5, and 7 inch lengths. Some home improvement stores will do this for you but usually their blades are very dull and will splinter your wood badly. For this project the splinters would add a ton of character but I wouldn’t depend on this being an option for most of your other DIY projects.

DIY 4X4 Wood firecrackers

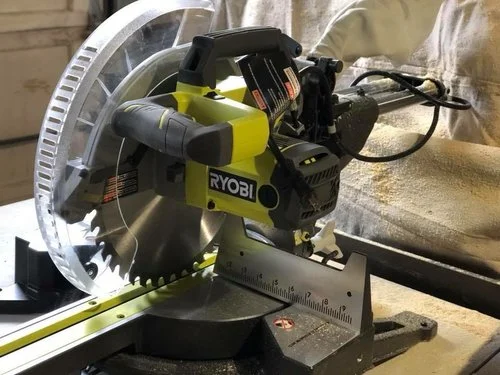
My husband got me my own saw last year and I am LOVING it! Granted it was more money than I wanted to spend but it has been one of the best investments we’ve made in our business. Ryobi makes a really great line of tools, especially if you’re just using them to make projects for your home or running your own creative craft business like I do. This particular saw is great because it is a slider. It can cut anything from 1/2” pieces all the way up to 12” wide {and probably a little wider but I only cut up to 12”}.

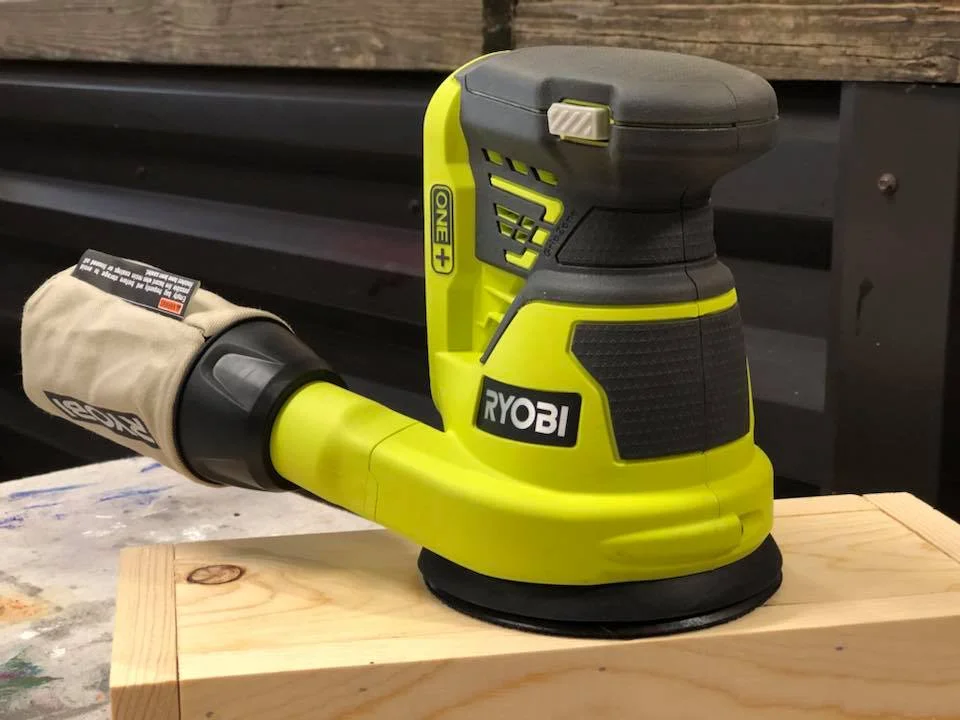
After your pieces are cut you need to give them a quick sanding. Again, I use my trusty Ryobi tools for the job. I typically use 120 grit sandpaper for most of my projects. This is a good in the middle grit. If you want to get crazy you can sand with all the way thru the different grits but I don’t usually do this…I’m a busy momma of four 120 works perfect, lol!

DIY 4X4 wood firecrackers

After you have your pieces sanded be sure to wipe off all the saw dust. You don’t want this on the wood when you start painting.

Depending on the size wire you get will depend on the size drill bit you’ll need. Drill a hole in just the top of each piece of wood. I drilled mine about 1/2” deep.

DIY 4x4 Wood Firecracker

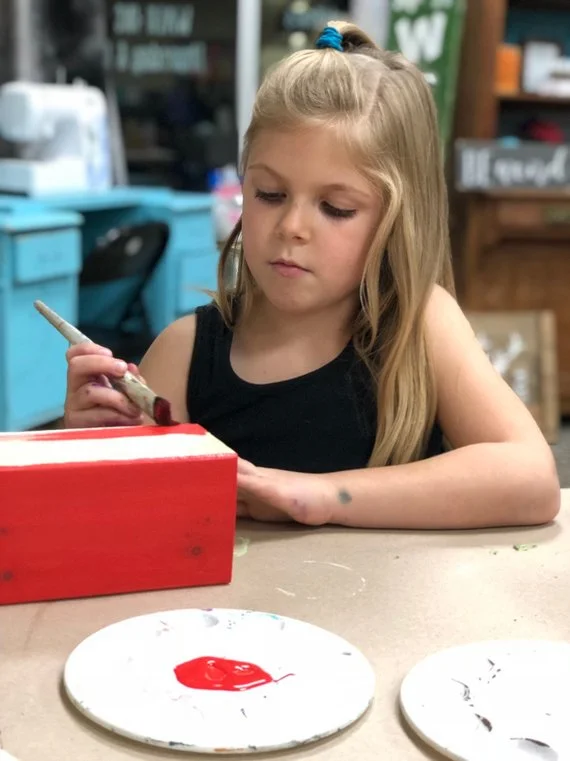
Paint each of your blocks a different color. You’ll need one red, one white, one blue. I did two coats on mine. This is a good time to get the kiddos involved. They really can’t mess these little guys up. Be sure to let the paint dry COMPLETELY between coats. If you don’t your paint will likely pull away from the wood as you apply it on top of wet paint.

After both coats are dried you want to give your blocks a light sanding. Focus on the edges and the corners.

DIY 4x4 wood firecrackers

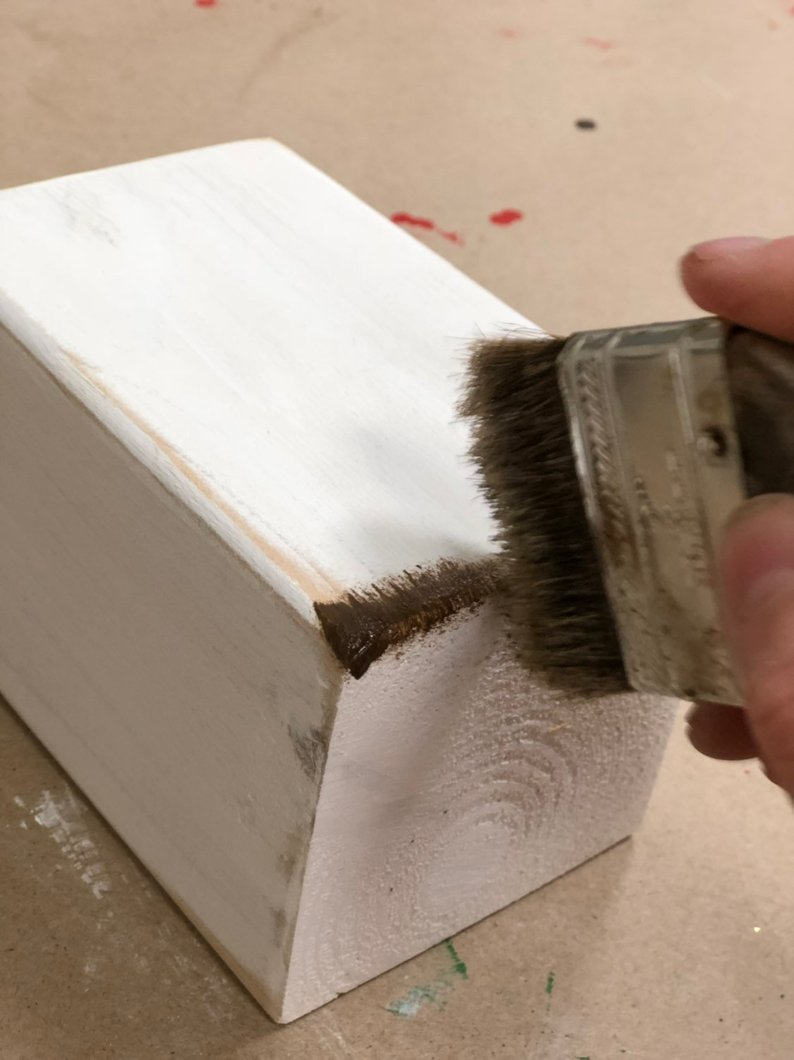
Using your chipbrush apply a light layer of the antiquing wax to the areas you sanded. You can do this as heavy or as light as you like. Remember a little bit goes a long way and you can always add more if you want to.

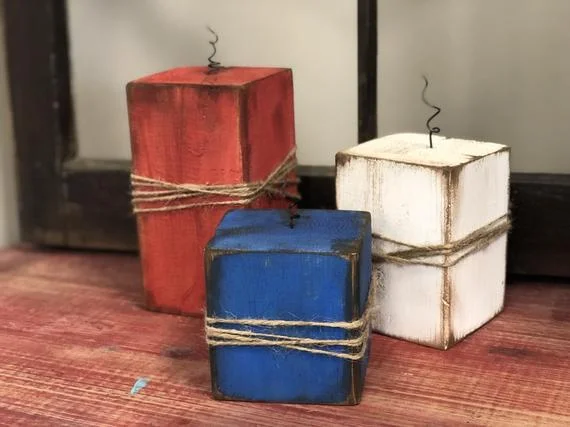
Now add a little hot glue to the end of the wire and quickly stick it down in the hole you drilled. Once they are dry and in place you can twist them if you’d like.

Wrap the middle of each wood block in twine and you’re done! Super easy!

DIY 4x4 Wood Firecracker craft

I hope you found this craft as fun as I did! Enjoy your Fourth of July!


How to make painted wood signs, all the tips and tricks the pro's won't tell you


DIY simple rustic wooden Christmas presents, how to make your own

DIY simple rustic wooden Christmas presents, how to make your own

DIY FAUX WOOD CHRISTMAS PRESENTS

I’m a busy wife, momma, and business owner so naturally I LOVE a good craft that I can whip out really fast and that makes the heads turn. These little guys are just the perfect DIY for the job!

In our studio I try to reuse the same base sizes over and over again. This makes for a smooth operation. I try to create pieces from the basic bases we have on hand at the shop. When I stumbled across something similar on Pinterest I had to make my own version of these adorable faux presents.

I know not everyone has the resources or expensive tools to make all their crafty dreams happen so I’ve put together CRAFT KITS for our most popular DIY’s. You can pick up our FAUX PRESENT KIT HERE

DIY simple rustic wooden Christmas presents, how to make your own

If you wanna start from scratch here’s what you’ll need:

DIY simple rustic wooden Christmas presents, how to make your own

These are SO super simple, once you do one set you’ll be making them for everyone for Christmas! So let’s get started.

First, you want to be sure all your pieces are sanded to knock any splintery ends. If you purchased our CRAFT KIT you do not need to do this step as it’s already been done for you:)!

Next, you want to paint each block a different color. I did two coats on mine. Be sure you wait till the first coat is TOTALLY DRY before applying the second coat. If you don’t, applying wet paint on top of wet paint tends to pull up the layer underneath.

DIY simple rustic wooden Christmas presents, how to make your own

Can we just take a minute and adore this girl! Isn’t my little helper so stinking CUTE! She’s always up for being my little crafting model Ok, back to the tutorial…

Once your paint is dry and you are happy with the coverage you’ll need to sand on the edges and the corners of your blocks. Take your 120 grit sand paper and go over the areas that would be naturally worn. You don’t have to use 120, that’s just my go to grit. Any grit of sandpaper will work, just go slow at first to see how much pressure you need to apply. I used my RYOBI cordless sander for this step.

Next you want to apply the dark wax to your blocks. If you’ve never worked with dark wax before you might want to test it out on a piece of paper first. A little wax goes a long way.

Take your chip brush and barely dip your bristles in, dab off onto a piece of paper or paper towel. Just like you did when sanding, focus on applying the wax to the areas that would be naturally worn. You’ll want to apply to the corners, edges, then do a light quick swipe on all the sides. This will give it a real natural rustic finish. The wax gets into all those uneven areas, much like how dirt would, and make it look old.

faux wooden presents4.jpgDIY simple rustic wooden Christmas presents, how to make your own

After you have your wax applied to all of your block the last step is to add your burlap “bow”. I picked up a roll of looser knit burlap at my local Walmart but any burlap will work. Fun fact, the looser the knit the easier it will unravel when cut. I cut my burlap into 2” wide strips and measured their length so they stuck up 3”-4” above the blocks like shown below. Now tie those two pieces in a knot. You’ll do the same on the last two blocks. And you’re done! Literally can’t get any easier.

DIY simple rustic wooden Christmas presents, how to make your own

Place them beside your tree, on your kitchen counter, or your mantle and admire them all Christmas season!

DIY simple rustic wooden Christmas presents, how to make your own

These little guys make such great gifts, a fun craft night with the family, or crack open a couple bottles of your fave wine with your fave girlfriends and make it a moms night in Pinterest party!

I hope you love this DIY! If you did I’d love to hear your feedback…even better, I’d LOVE to see pics of your finished faux presents.