Interchangeable pallet style wall sign
/
Interchangeable wood signs are all the rage right now. And honestly who doesn’t want to have less seasonal décor to store?
Don’t get me wrong they are SO CUTE but I’ve seen them everywhere, including a similar version when I was growing up. I just wanted something different. If you haven’t see these adorable signs here’s a screenshot I took from Pinterest when I searched interchangeable seasonal signs. Super cute, just not what I was wanting in my new home.
Affiliate Disclosure. Some of the links on this website are affiliate links, which means that I may earn a small commission if you click on the link or make a purchase using the link. If you make a purchase you will not be charged anything additional.

I thought ‘why not just put up a blank white sign?’ Not really genius but I sure felt that way lol!
Here’s what you’ll need to make a light weight blank faux pallet sign to change out through the seasons
1/4” plywood
1x2 pieces (number of pieces will depend on the size of your blank sign)
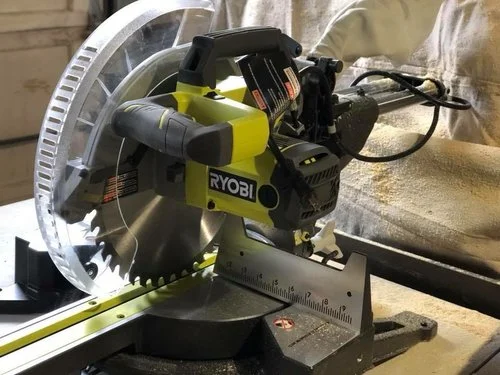
miter saw (I bought this 12” slider and LOVE IT!!)
nail gun (I love my Ryobi brad nailer)
brad nails
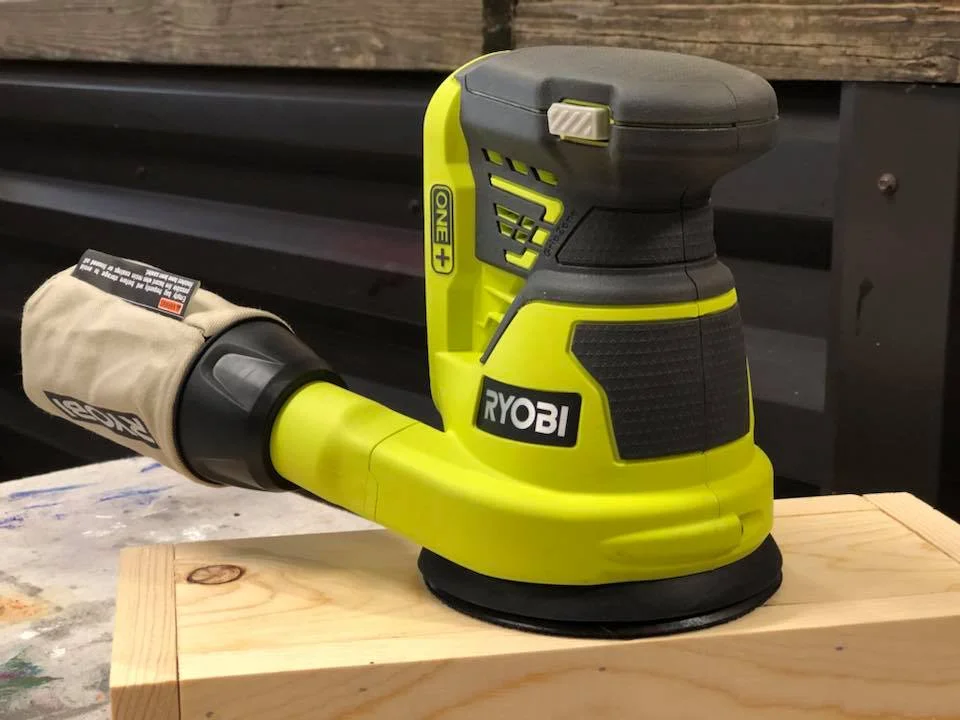
sander ( I love my handheld sander from Ryobi)
white paint
DIY FAUX PALLET STYLE SIGN USING PLYWOOD
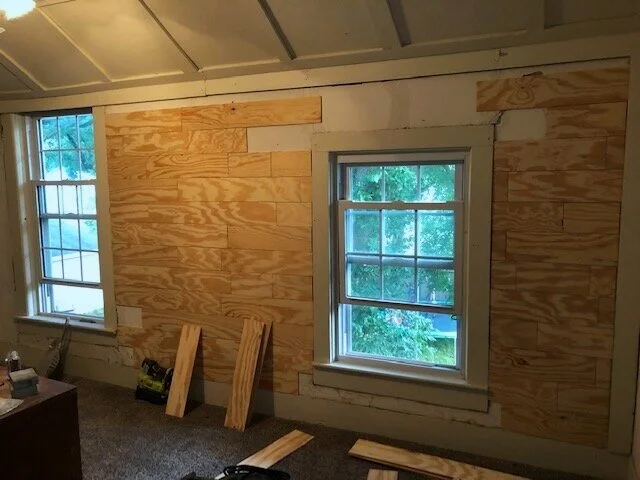
I had some faux planks already cut to the width I wanted. They were leftover from this budget friendly bedroom faux plank wall DIY that we did.
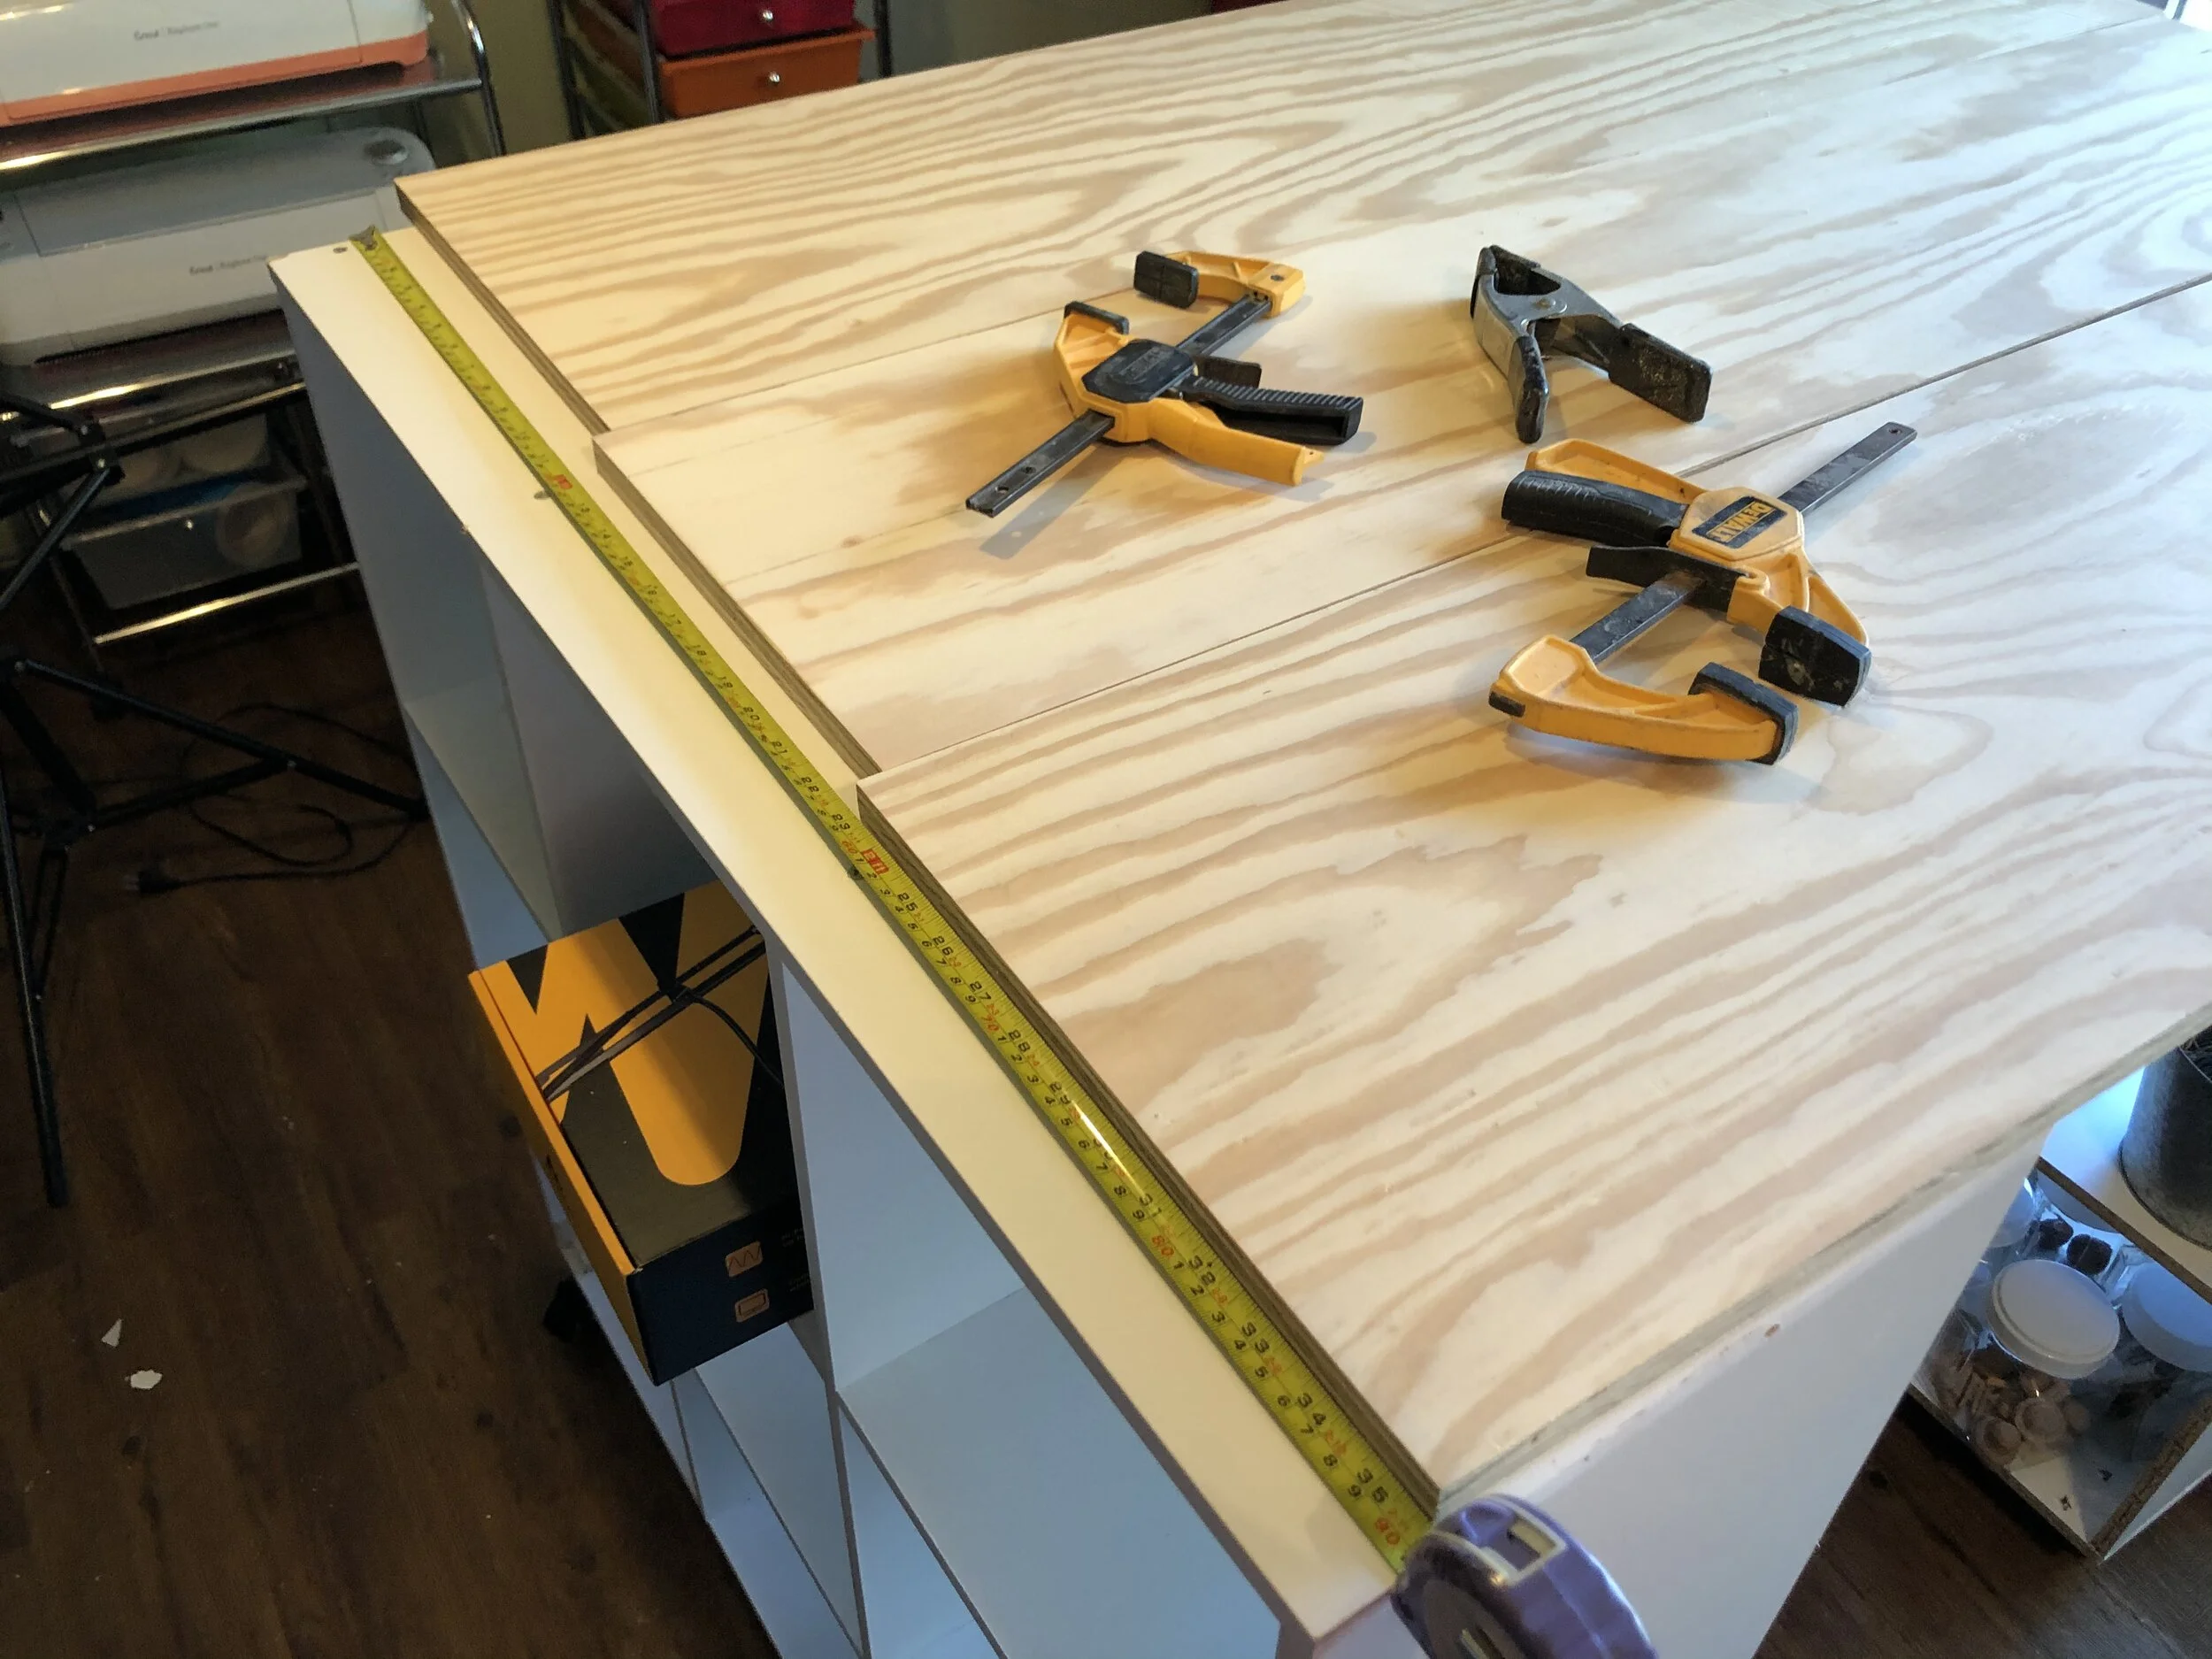
My planks were precut to 5” wide. Then I used my miter saw to cut them to approx 20” strips.

I wanted my sign to be fairly large because I was propping it up on a buffet in my dining room (btw I need to take some paint to it because I’m not loving the outdated brown). I have old house with pretty high ceilings so I also needed the sign to be tall enough to fill the blank space on the wall.
I ended up using 5 planks to make my sign. They aren’t perfectly even on the sides and I’m totally ok with that since I’m not a perfectionist by any stretch of the imagination.

After I got my faux strips cut the length I wanted I gave them a quick sanding with my orbit sander and 120 grit sandpaper. This was just to knock down any little splinters and make the sign somewhat smooth.

I laid them out on my table and placed the sides I liked the best faced down.
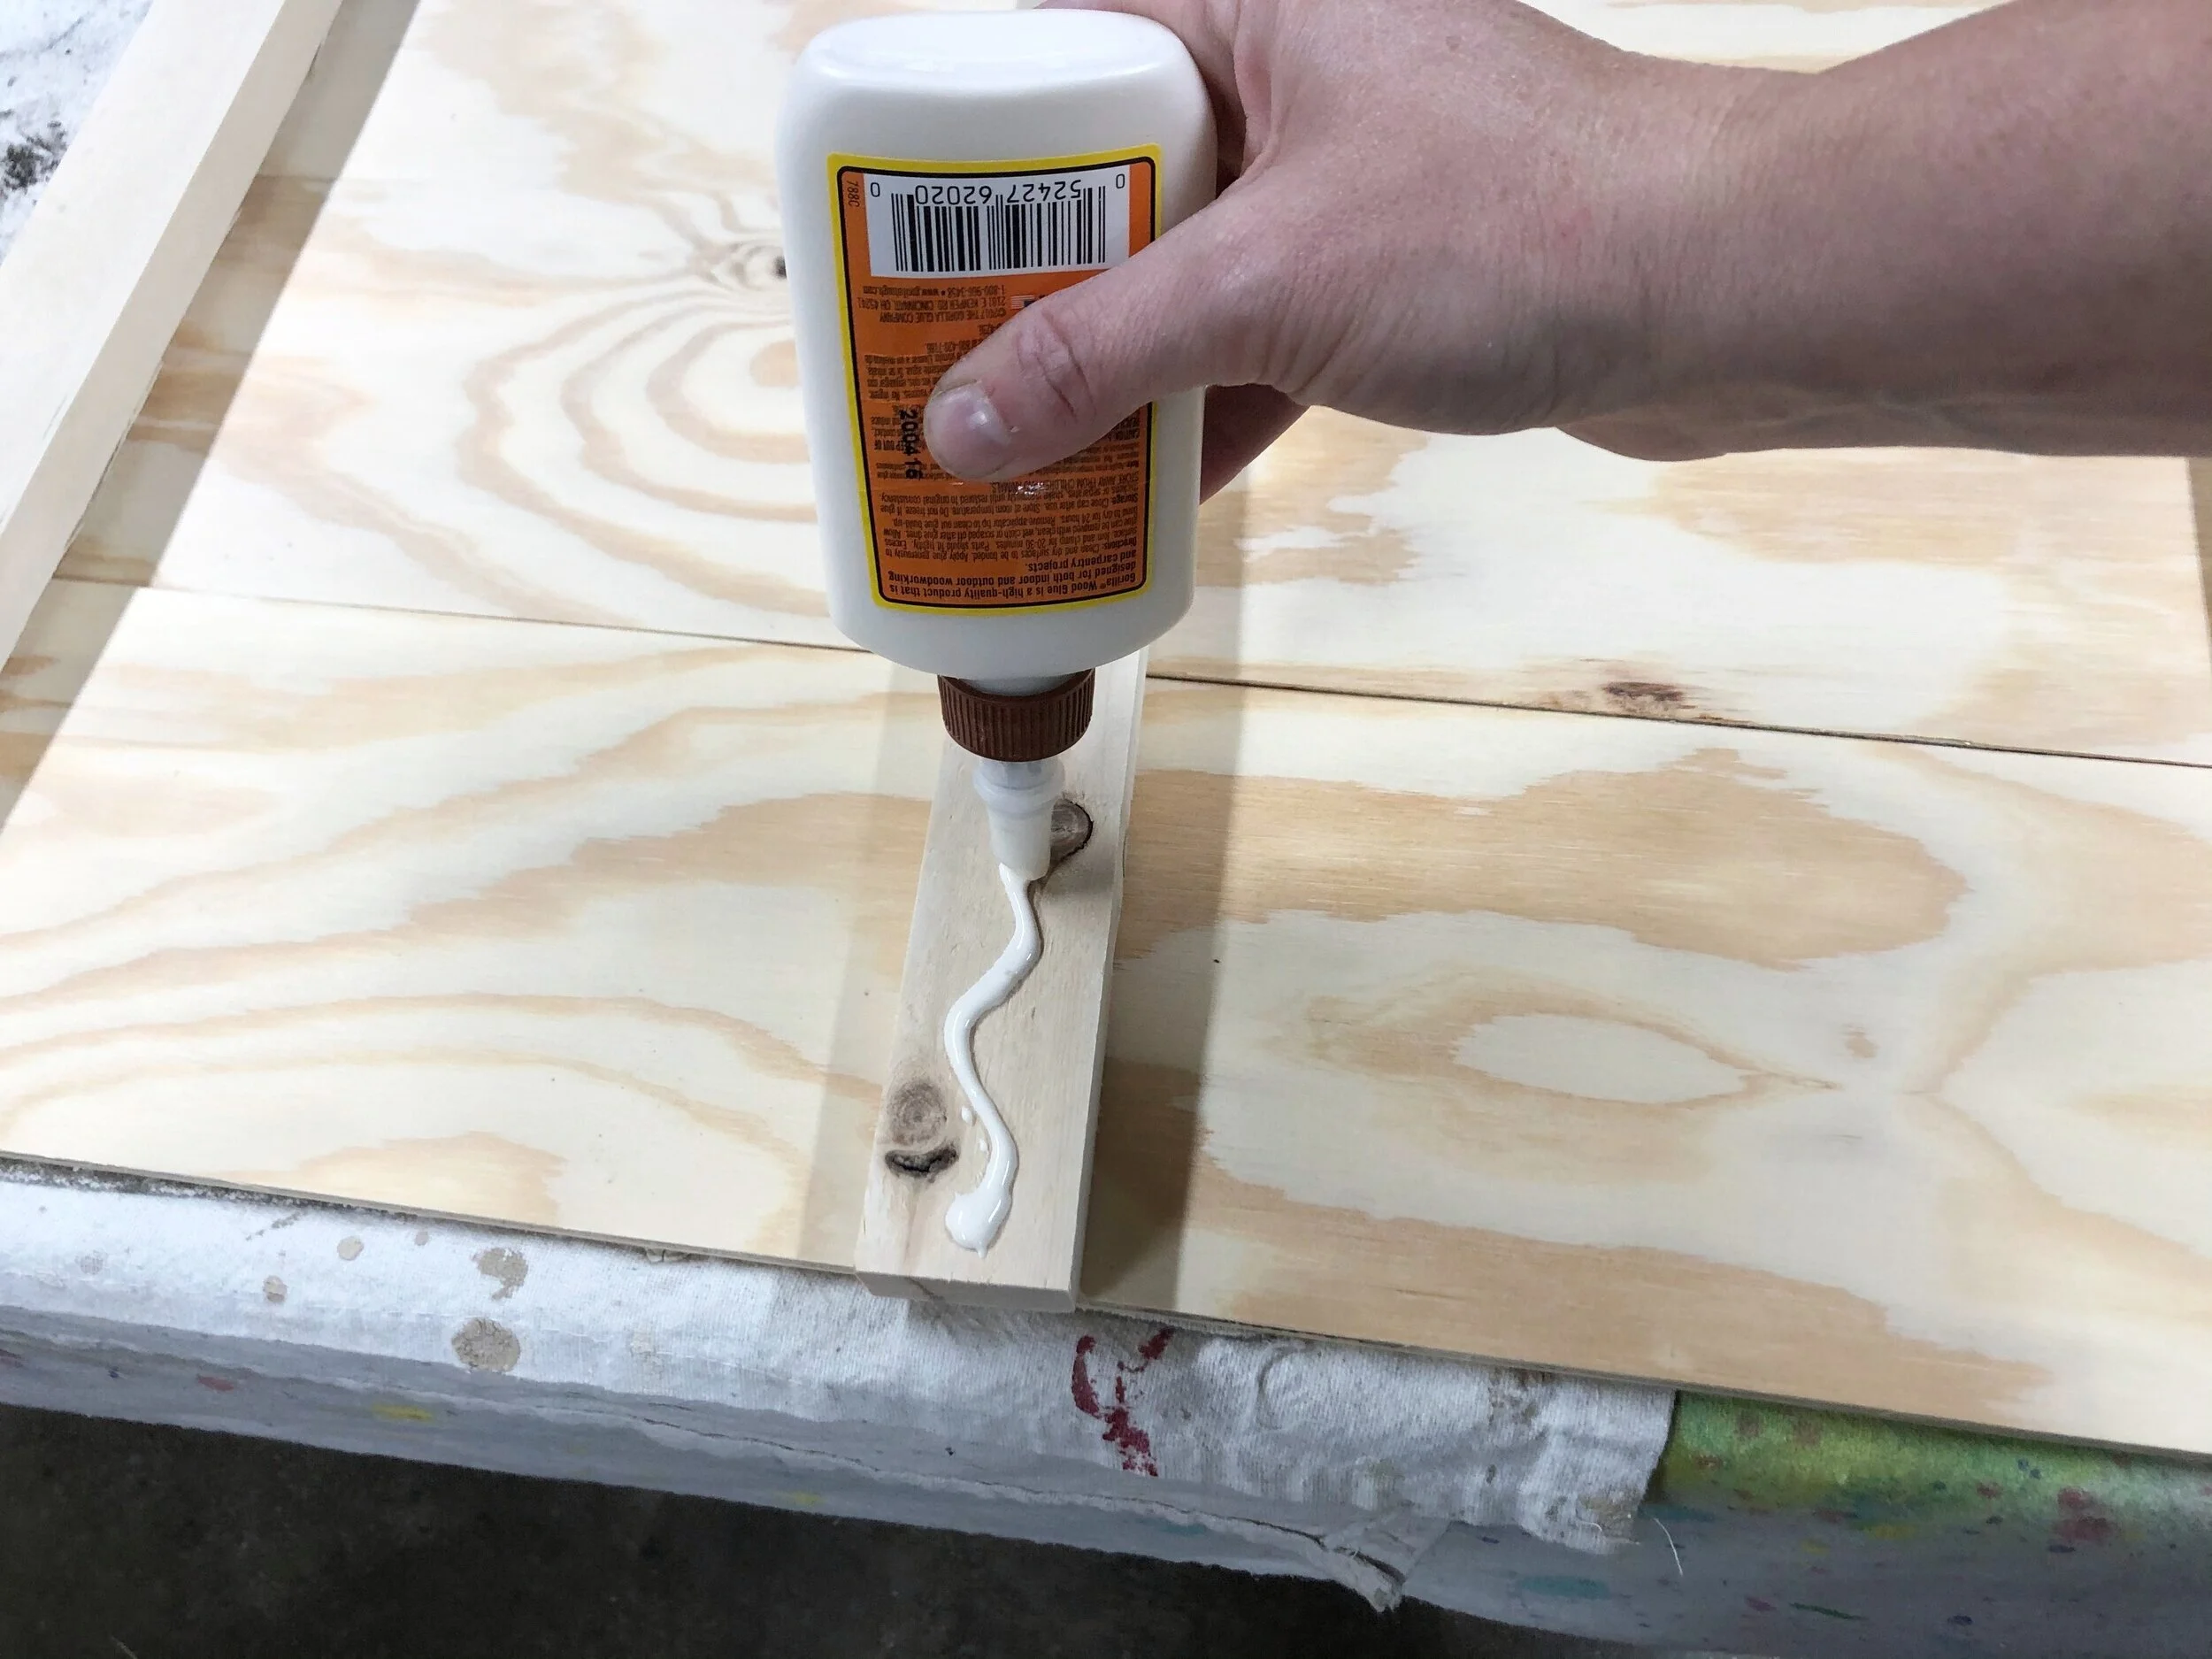
Then I took my 1x2 pieces, I cut three of these, and used them for the backing. My planks went horizontally so my brace pieces, the 1x2’s were made to go vertically (the height of the sign).

I placed one in the middle and one on each side.

I used wood glue to attach them to the back and my Ryobi brad nailer to really attach them so they wouldn’t be going anywhere.


I’m going to be totally transparent here…my first plan was to use a white wash stain. I’d never used it before and had this beautiful picture in my head of how it would turn out. Yeah, I don’t think plywood was my best choice for this stain. It just left it kinda blah looking so I wiped it all off.

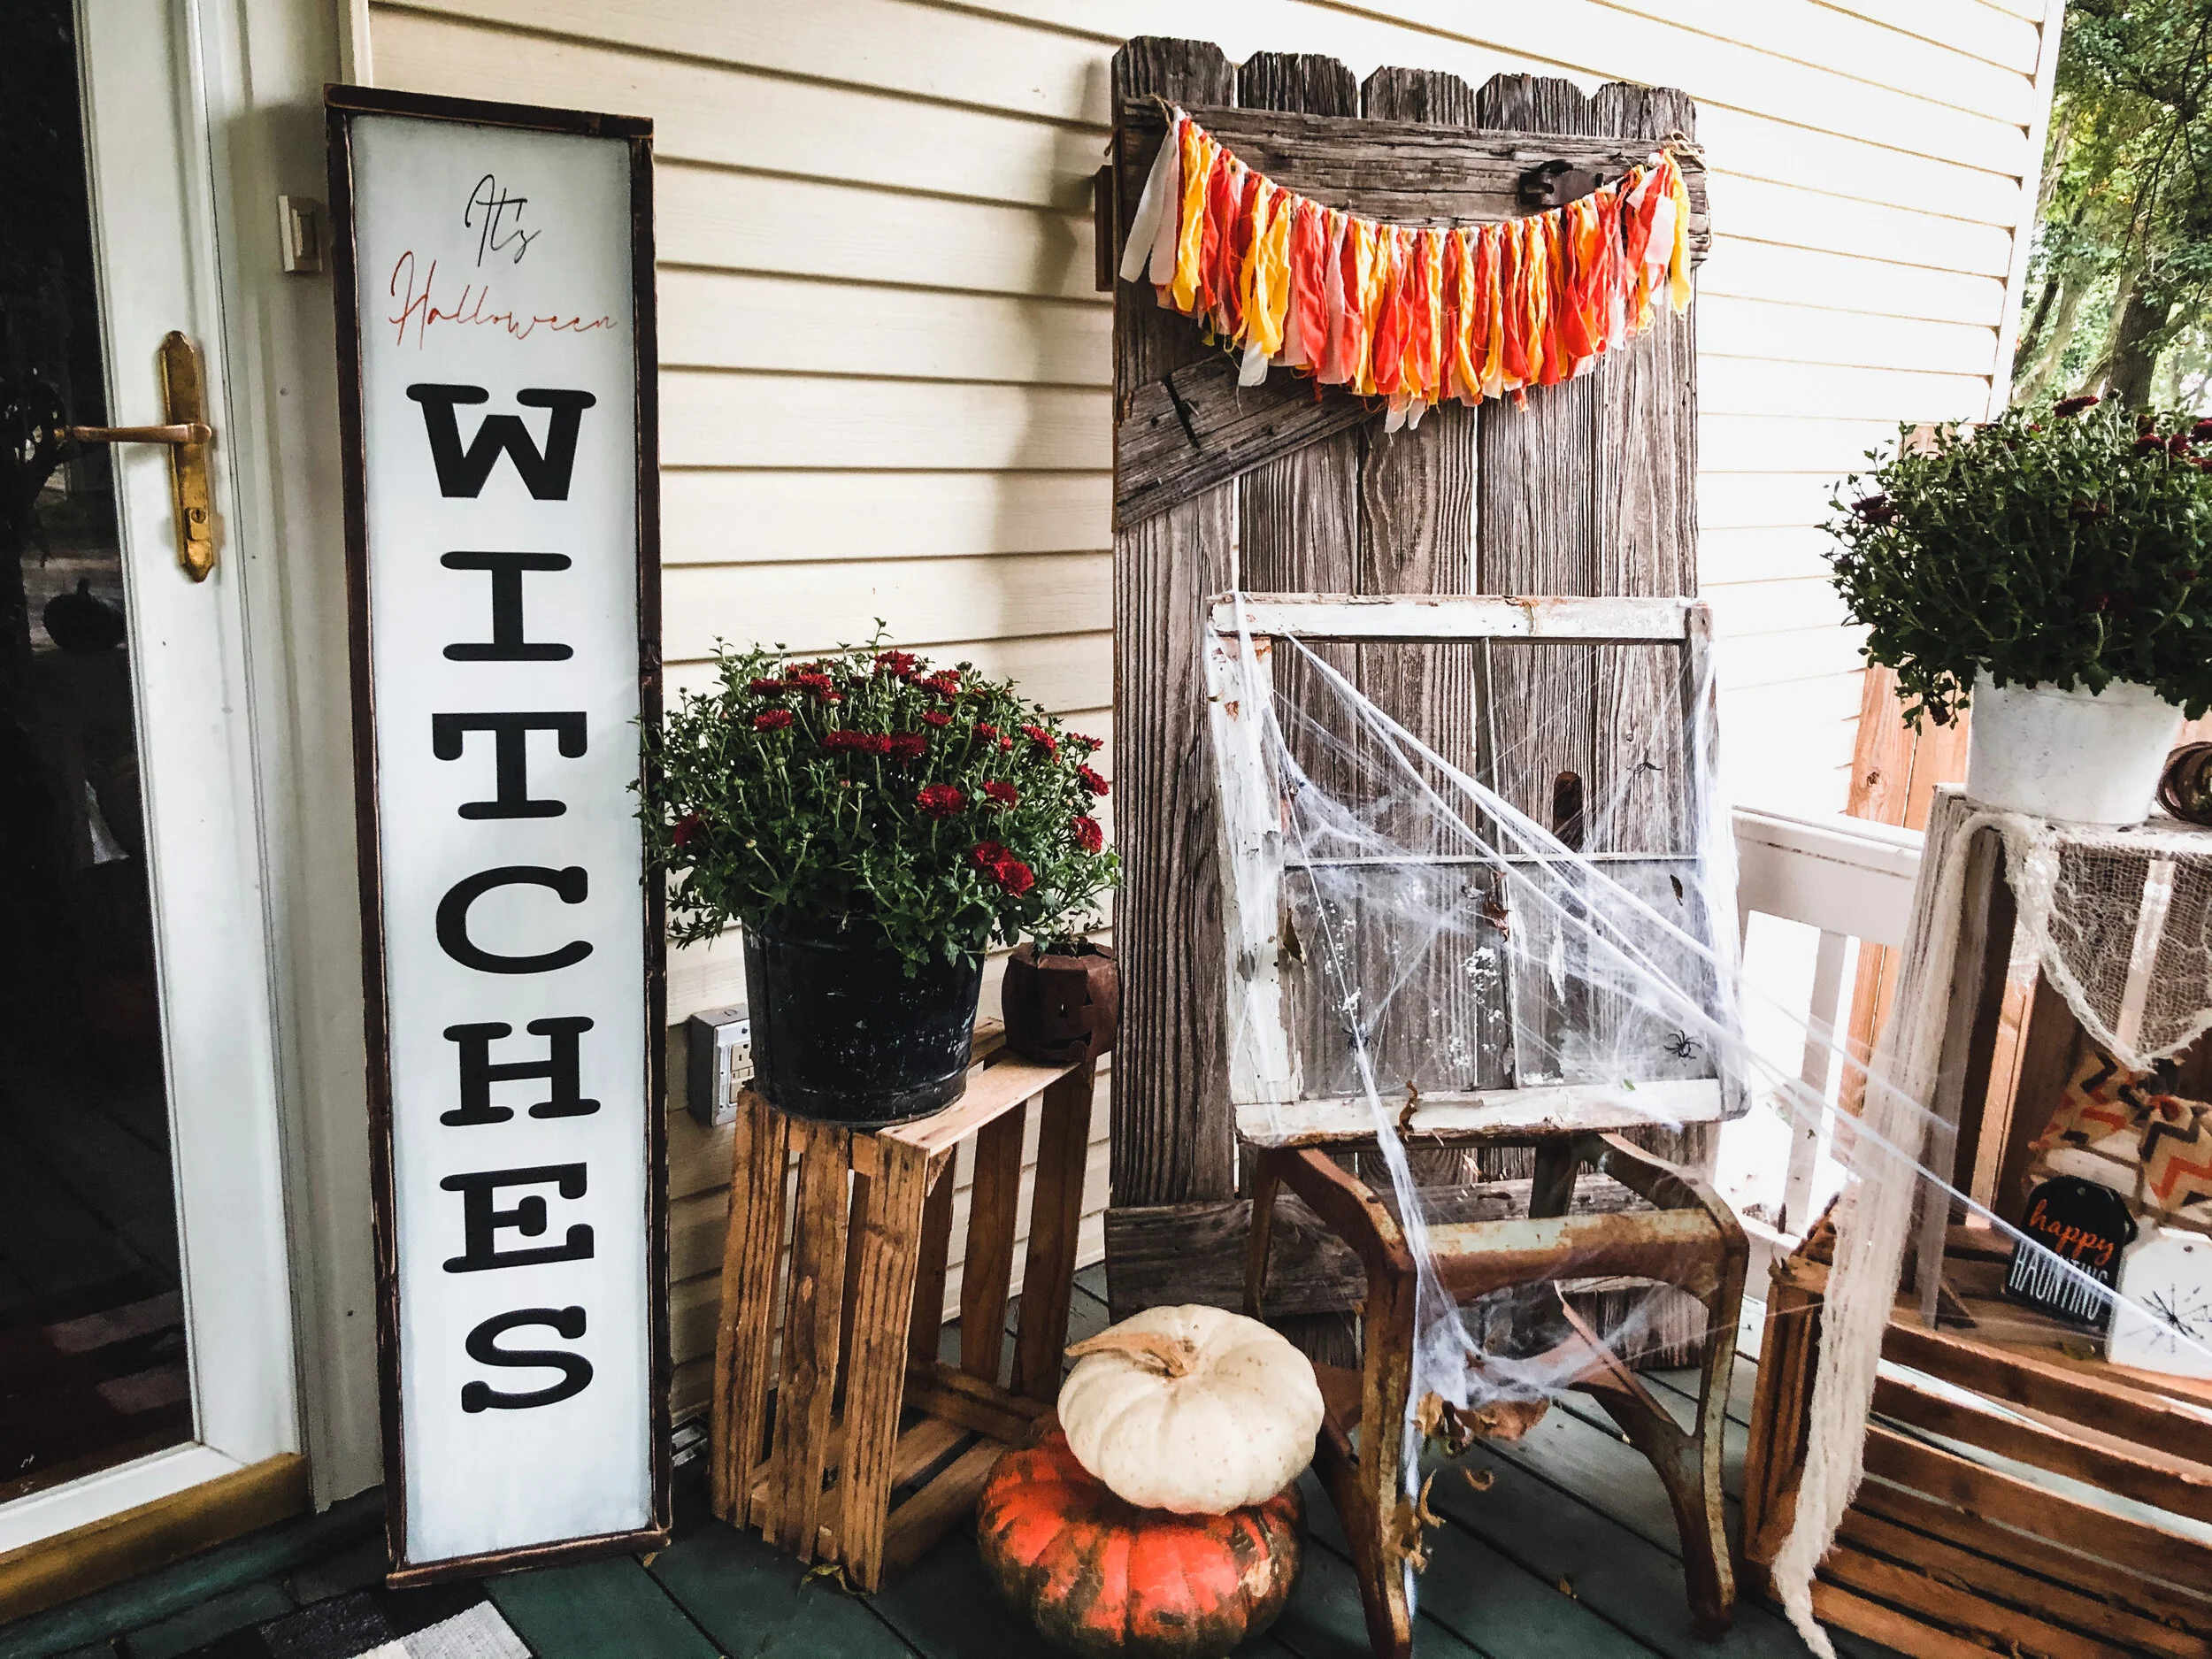
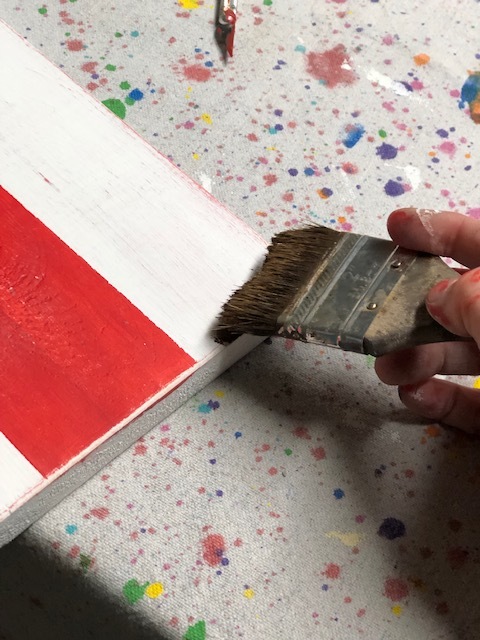
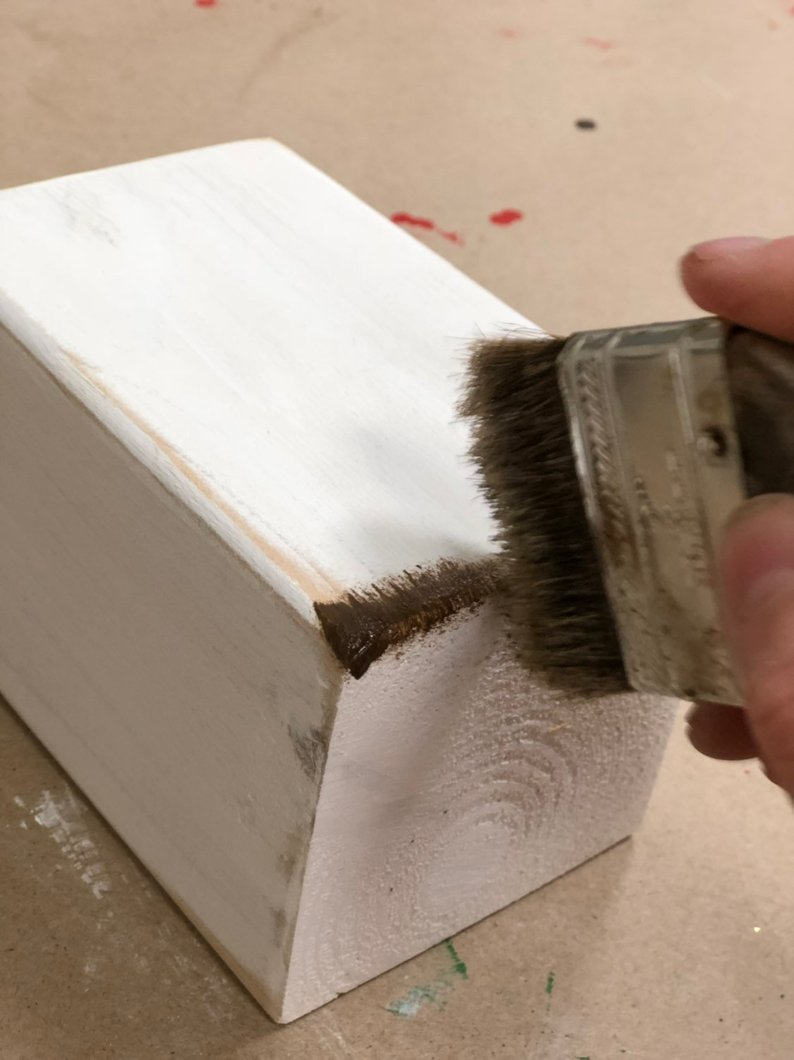
Paint to the rescue! I took some leftover wall paint, that I’ve been using for everything including this framed Halloween porch sign … btw there’s a free SVG for that sign … , and painted a couple of coats on the plank sign. Painting it worked MUCH better!

That’s it. I didn’t do anything else to it. I’m so glad I used plywood planks for this project. A regular pallet pine sign like this one, would have been far too heavy to prop up. I’m a momma of 4, enough said lol!
I was so excited to decorate it for my first holiday in my new home!
Check out the flying bats post I made for this blank wood sign.

Check out more DIY power tool projects