DIY embroidery hoop winter wall hanging

DIY EMBROIDERY HOOP WINTER WALL HANGING. Fun embroidery hoop craft that is so easy to make at home for the holidays

How to make an EMBROIDERY HOOP wall hanging for winter

Embroidery hoops are such a versatile craft tool. You can use them for the obvious of embroidery OR you can use them for so many other projects. Like a nursery mobile, a hoop to hold your screen for faux screen printing, or this fun winter wall hanging that you’re reading.

If you love the little pinecone accents check out this EASY PINECONE DOOR HANGER. And if you have little ones you HAVE to try this EASY & MESS FREE PINECONE ART! My older girls had SO much fun making their own pinecone paintings.

Affiliate Disclosure. Some of the links on this website are affiliate links, which means that I may earn a small commission if you click on the link or make a purchase using the link. If you make a purchase you will not be charged anything additional.

Don’t have access to the right tools or just don’t have time to gather the supplies? No problem:)! I’ve put together this super easy craft kit just for times like this! Click I NEED A CRAFT KIT below to order yours from my Etsy shop.

Don’t need a craft kit? Here’s what you’ll need

Skip to the bottom to catch the full video tutorial


First you need to stain your wood base and your hoop. I recommend using a quick dry stain. Let dry

DIY embroidery hoop winter wall hanging. How to make your own winter decor with pinecones.

Next, after your wood base is dry you want to distress it. I used my Ryobi sander for this step but you can use a piece of 120 grit sandpaper. Focus on the edges and corners and lightly sand the sides and front

DIY embroiery hoop wall hanging for winter. How to use your Ryobi sander to distress your winter decor.

Now paint your sticks completely white and the outer edges of your pine cones white. Use a dabbing motion when painting the pinecones.
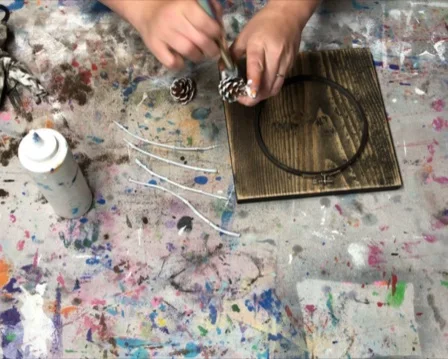
DIY embroidery hoop winter wall hanging. How to paint pinecones to add to your winter decorations.

Measure out how long you would like your bells to hang down then add a couple of inches. I made my bells to hang at staggering lengths.

Feed one end of the twin into the hanging part of the bell and tie it off. Repeat this step for all three.

DIY embroidery hoop winter wall hanging. How to add rustic craft bells to your farmhouse and country chic winter decorations.

After your stick are dry gather them together and wrap the green floral wire around the center. This will help to keep them together while you are placing the accents on. Then place your accent pieces on top of the sticks and wrap the middle section of the sticks and accents with twine.

DIY embroidery hoop winter wall hanging. How to add sticks adn twine to your rustic farmhouse winter decorations.

Now glue down your embroidery hoop to your wood base. Apply glue to back side of the hoop {whichever side you prefer} then place it on your wood base and press down firmly.
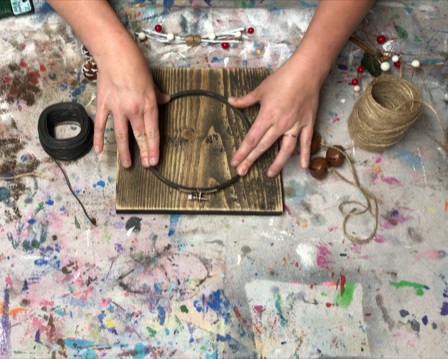
DIY embroidery hoop winter wall hanging. How to use an embroidery hoop to make your own rustic winter decor for your farmhouse or country chic style.

Tie your bells around the metal part on the top section of the embroidery hoop. Pull this very tight. Add a dab of hot glue to the knot and pull it tight again.

DIY embroidery hoop winter wall hanging. How to add rustic bells to your farmhouse or country chic winter decorations. Easy craft tutorial.

Use your glue gun to glue down your accents. To get a secure hold, hold the accents in place till the hot glue is completely dry.

DIY embroidery hoop winter wall hanging. How to make your own farmhouse and country chic winter and Christmas decorations.

Trim down the pieces of twine from where you tied them onto the embroidery hoop and the you are done!

DIY embroidery hoop wall hanging. How to make your own farmhouse and country chic winter and Christmas decorations.

Check out the full video tutorial below

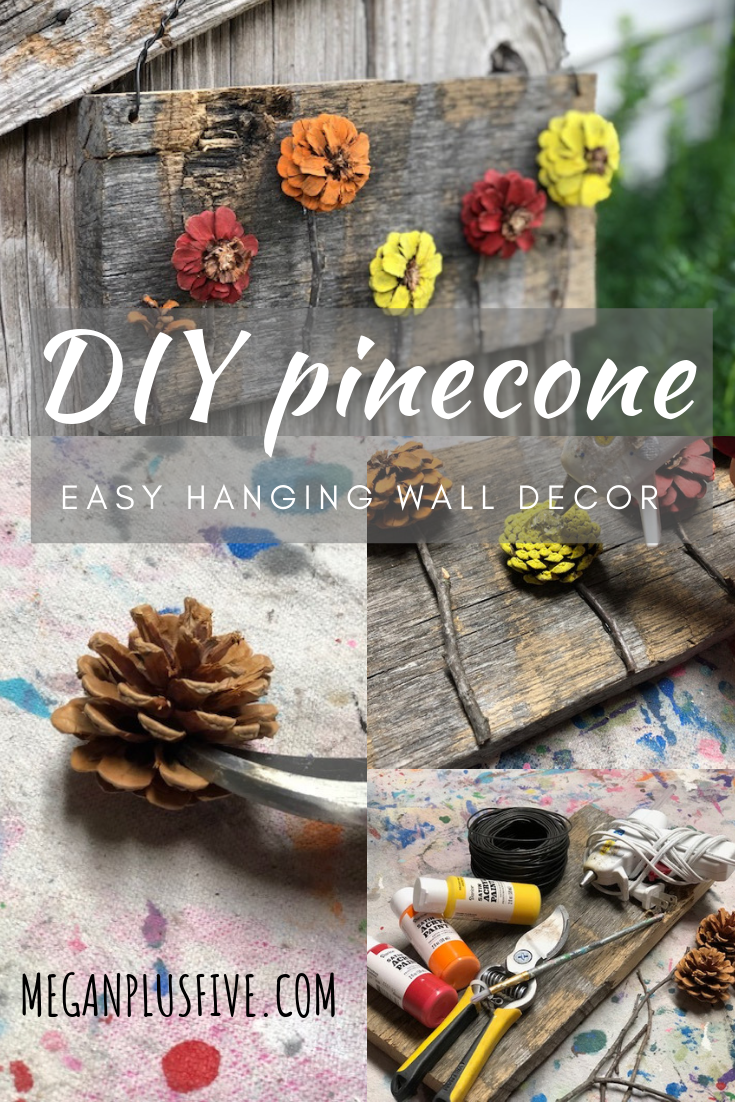
Easy pine cone door hanger DIY

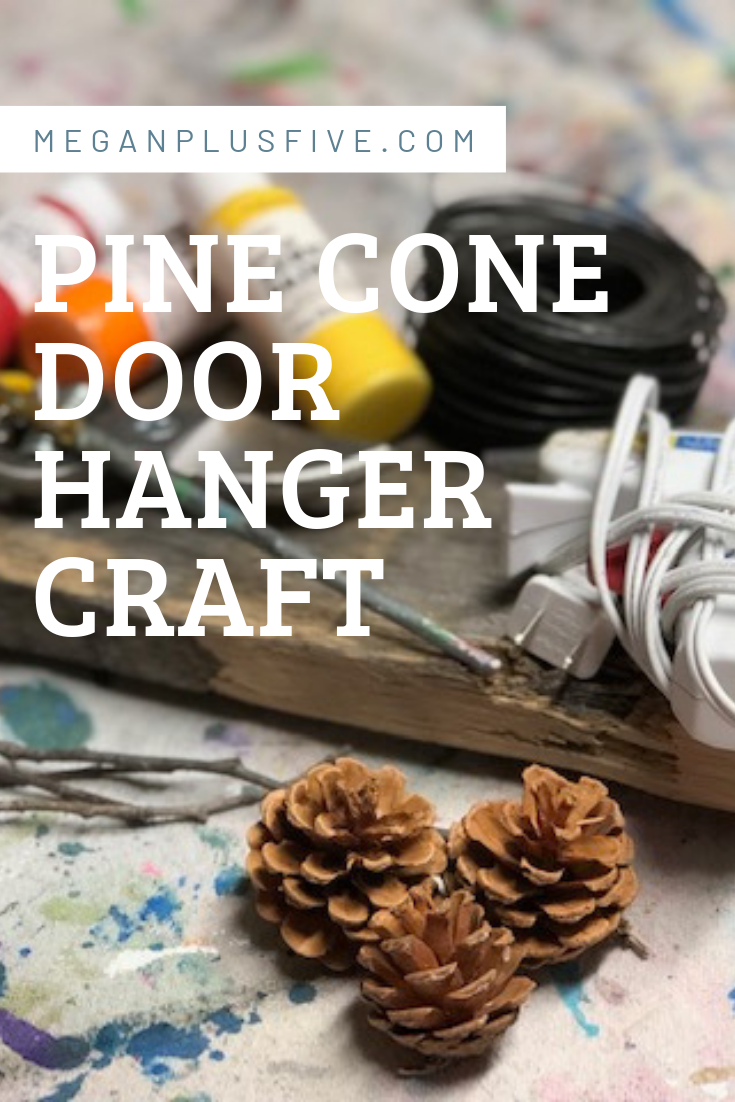
PINE CONE DOOR HANGER CRAFT

How to make an easy pine cone door hanger

There are so many pine cone crafts I want to try but I thought I would try these adorable pine cone flowers first. I was really surprised at how easy they were to make myself and I plan to make SO many more!

If you’re looking for a more kid friendly project be sure to check out mess free pine cone art using a box. This was a favorite with our girls, and me too because it was literally mess free!

Here in the Midwest we have an abundant supply of pine cones so I didn’t have to search too far to find these little guys. I had great luck at my local park but here are some other places you can find pine cones *remember to always ask permission prior to collecting any pine cones

  • family

  • friends

  • local nature park {although ours doesn’t allow this yours might}

  • neighbors

  • shopping malls that have pine trees in the landscaping

After you’ve collected your pine cones you’ll want to make sure they aren’t covered in gross stuff, honestly I just wouldn’t pick up the ones that need super cleaned anyway lol! Leave those for the critters. I personally didn’t clean any of the pine cones we collected because they were in pretty good shape but if your pine cones have visible dirt or anything it’s a good idea to clean them prior to use.

Affiliate Disclosure. Some of the links on this website are affiliate links, which means that I may earn a small commission if you click on the link or make a purchase using the link. If you make a purchase you will not be charged anything additional.

Easy pine cone door hanger DIY

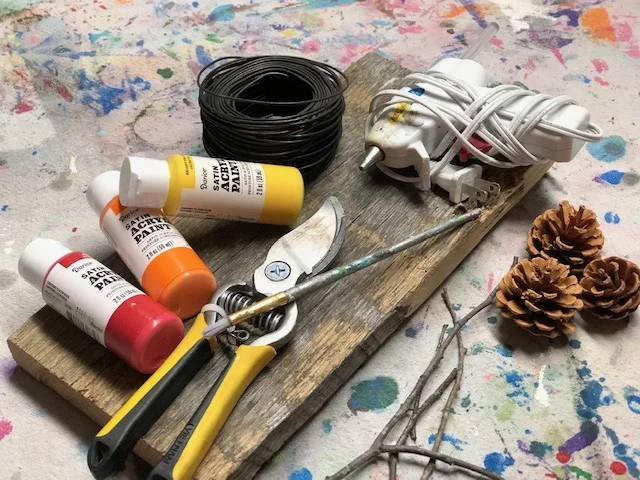
Here’s what you’ll need

Helpful tools

How to make flowers from pine cones

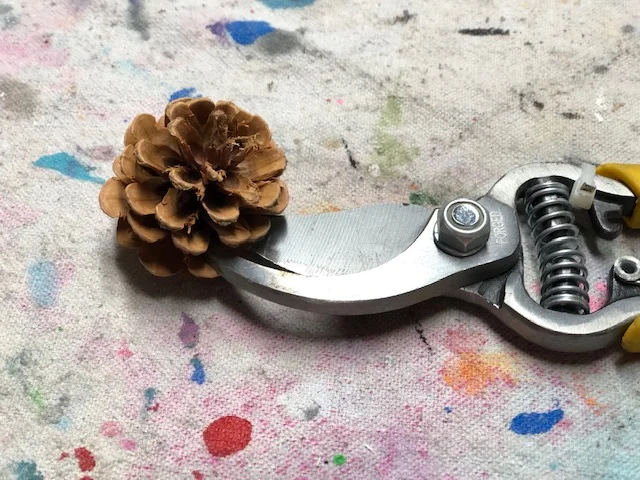
First you need to break apart your pine cones. This is a little harder than it looks and takes a lot of patients. Using your wire cutting slowing wedge them into the pinecone where you want it to break apart then use those muscles to cut. You might have to do this a few times before it comes completely apart.

easy pine cone door hanger

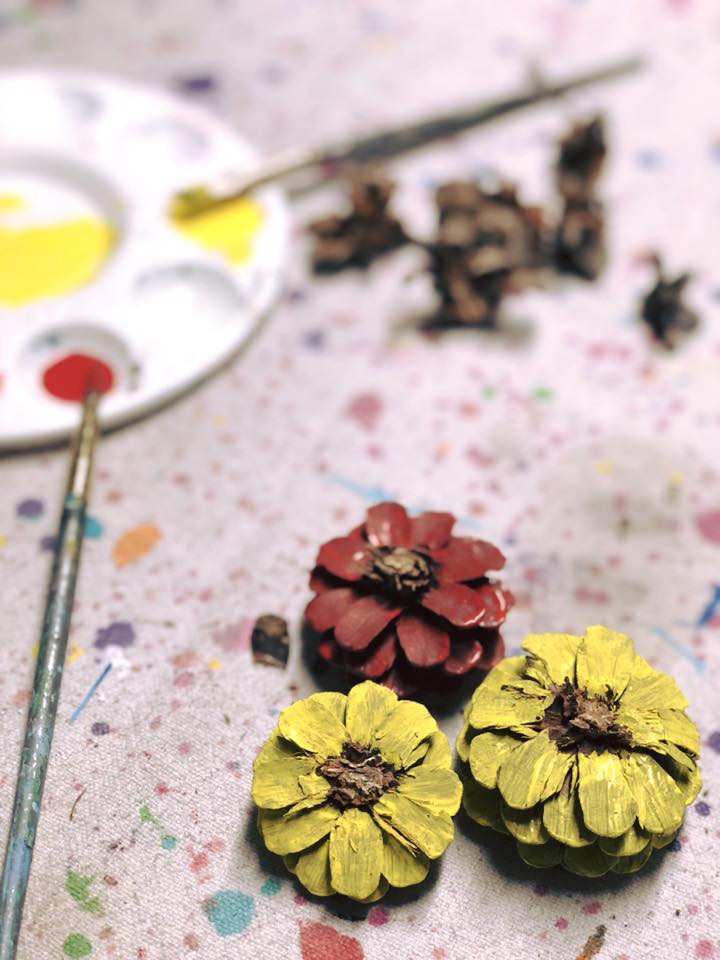
Now paint them. I just used a small paint brush and carefully painted all around the pine cone EXCEPT the middle. Leaving the middles unpainted they will look like adorable little flowers! I chose to paint mine in fall colors, red, yellow, and orange, but you can use whatever colors you’d like. I even painted the bottom as you’ll be able to see that once it’s glued down because it’s curved. I just did one coat on mine but if you don’t like the coverage of one coat on your pine cones you can give yours two coats.

Easy pine cone door hanger DIY

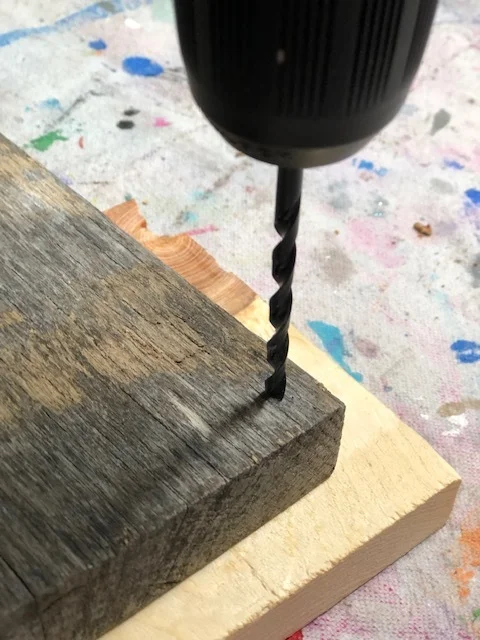
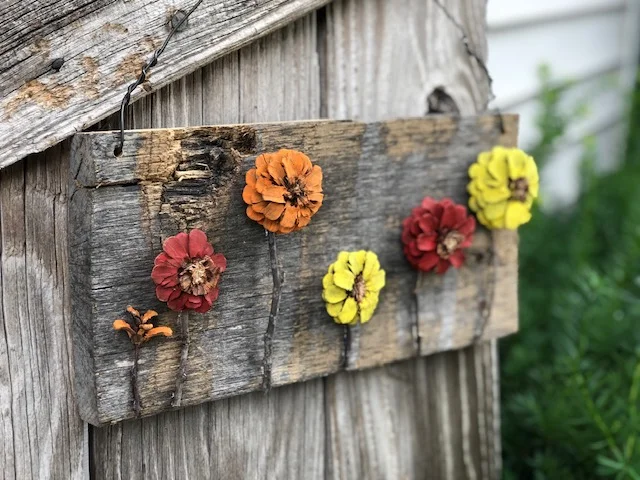
I used an old piece of wood for my base but you can use any wood base you’d like. Because I wanted to hang mine I went ahead and drilled the holes using my Ryobi drill, for the wire to go through before I started gluing the pine cones and sticks down.

easy pine cone door hanger DIY

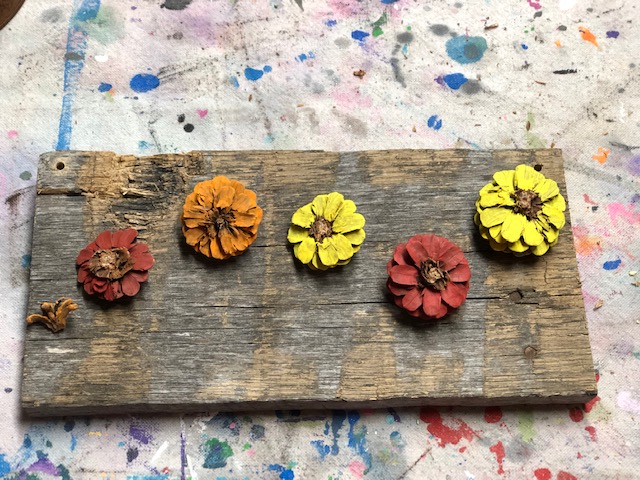
While my glue gun was warming up I laid out the painted pine cone flowers where I wanted them to go. See how gorgeous this old piece of wood is! It even still has the nails in it, see them on the right. Granted it’s a little warped but it’s perfect for a scrappy craft like this.

Easy pine cone door hanger DIY

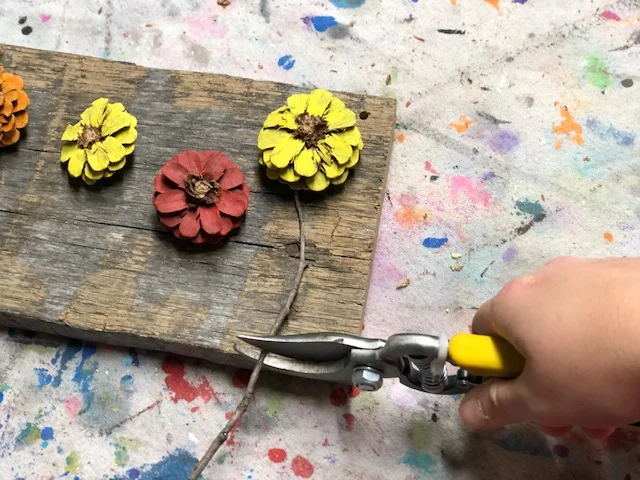
Then I used my wire cutters to cut the sticks down to size for the stems. I just eyeballed this, it doesn’t have to be exact. The sticks I used were pretty thin. You could also use some of the discarded pine cone pieces and make green leaves to glue by the stems. That would have made this project even better!

easy pine cone door handger DIY

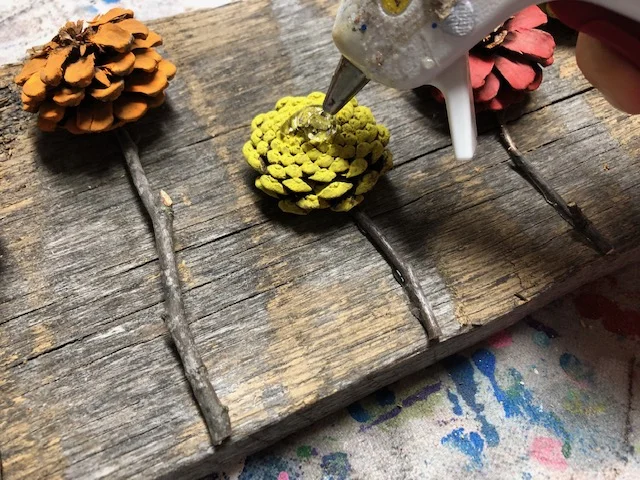
Then start hot gluing down all the pieces. I put a fairly good amount on the pine cones because they were heavier than the sticks and I didn’t want them falling off as soon as I hung the door hanger up. You’ll want this to totally dry before hanging just incase the glue underneath isn’t all the way dry you don’t want it to start slipping and your pine cone fall off.

easy pine cone door hanger

Add your wire and you’re done. One of the easiest craft projects and you probably didn’t have to spend a penny!

Easy pine cone door hanger DIY

Pin this for later

easy pine cone door hanger, flower pine cones