How to plan the PERFECT no stress art party for your crafty kiddo for less than $40

How to plan the PERFECT no stress art party for your crafty kiddo for less than $40

Has your kiddo been dreaming of that PERFECT art birthday party? Maybe they are like my older girls and have all of their out of budget party dreams pinned to Pinterest {yes, they really do this!}. After having 4 girls and LOTS of birthday parties I’ve learned a thing or two on how to pull off that perfect art party on a budget!

Disclosure: some of the links below are affiliate links, meaning, at no additional cost to you, I will earn a small commission if you click through and make a purchase.

Here’s the a little truth, kids just want to let loose and be kids. They don’t care about fancy decorations, perfectly spaced plates and napkins, banners hung at just the right height. Let’s be honest, that’s for the adults. The kids are there to hang with their friends, eat cake, and have loads of fun, but that’s a whole different blog post.

So how to you plan a kids painting birthday party under $40? Yes, you read that right…. just $40!

First you need to decided how many kids will be coming to your party. Usually I will have a few extra supplies in case a kiddo RSVP’s at the last minute or if one shows up and doesn’t RSVP at all. A typical party we host at our craft studio has about 6-8 kids. Our kids, they usually have about 20…gulp! I know that seems a little ridiculous but they have lots of cousins and I always invite the party goers siblings to stay because I’m a sucker for feelings and don’t want any kids to feel left out. Honestly this is easier for the parents that want to stay for the party anyway.

 
Art party on a budget. FREE printable how to plan a crafty art birthday party without breaking the bank

Snag your FREE checklist below


How to plan the PERFECT no stress art party for your crafty kiddo for less than $40

If you don’t have anything at home here’s everything you will need

Most of these supplies are disposable to make this EXTRA easy and stress free for you!

-8”x10” canvas these come in a pk of 12

- acrylic paint set of 12 2oz paints
- paint brushes these you can toss when the kiddos are done

-paper cups used for holding water to rinse paint brushes

-paper plates used to hold the paint, one for each kiddo

-plastic table covering this you can toss when you’re done


All of these items can be shipped right to your door with amazon prime*, I told you this would be stress free. No going to 5 different stores to track down all the supplies you need only to get home and realize you totally forgot something {I do this all the time!}. Then the day of the party you kick yourself because I never made it back to the store to get that forgotten item. All of this will cost you less than $40, not including taxes or any applicable shipping*

*based off of when this post was published

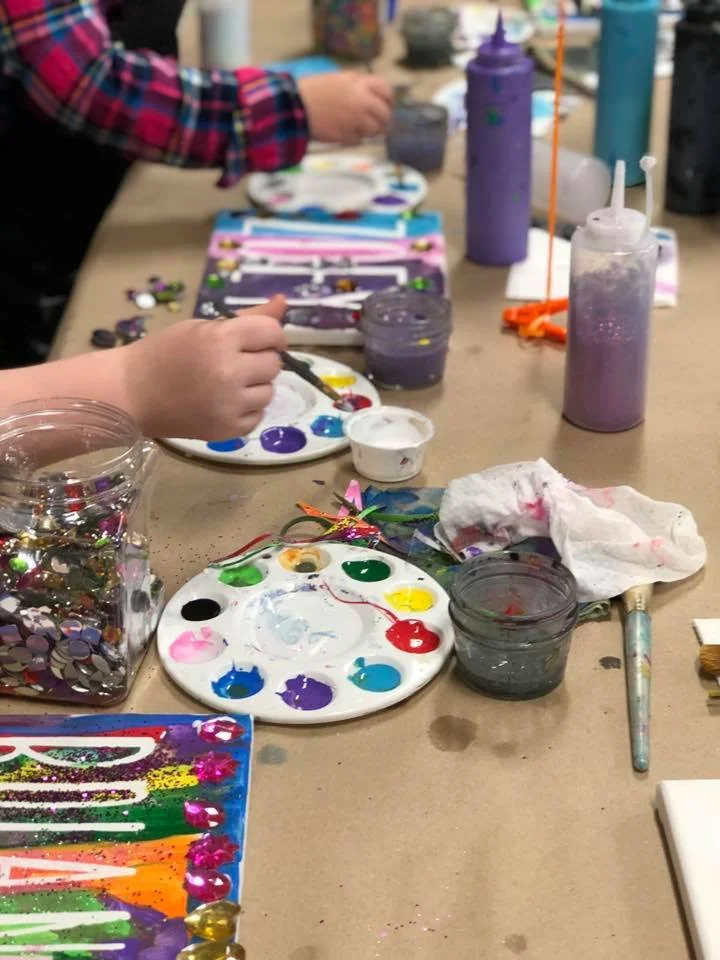
So how do you host an art party? First, I always tell the parents to put their kiddos in clothes they can get messy. There’s nothing scarier than a pissed off momma because her child got their new clothes ruined by non washable paint. So try to avoid that at all costs. Next, you want to have everything set up before the kids get there. This is so much easier than trying to pass out all the materials with 10 little helpers gathered around. That means, plastic table cloth down, water cups filled half way, canvases, paper plates, and a couple of brushes at each table setting. Let’s talk about paint…paint goes a LONG way, you’d be surprised at how much paint gets wasted at parties like these. Before the party I always squeeze a small amount of each color of paint that’s available onto each child’s paint plate. Trust me, you’ll thank me for this stress saving tip!

I try not to let the kids sit at the table where they will be painting until we are ready to paint. Unless you have some kiddos that are great at following directions I would have the kids avoid the paint table till you’re absolutely ready.

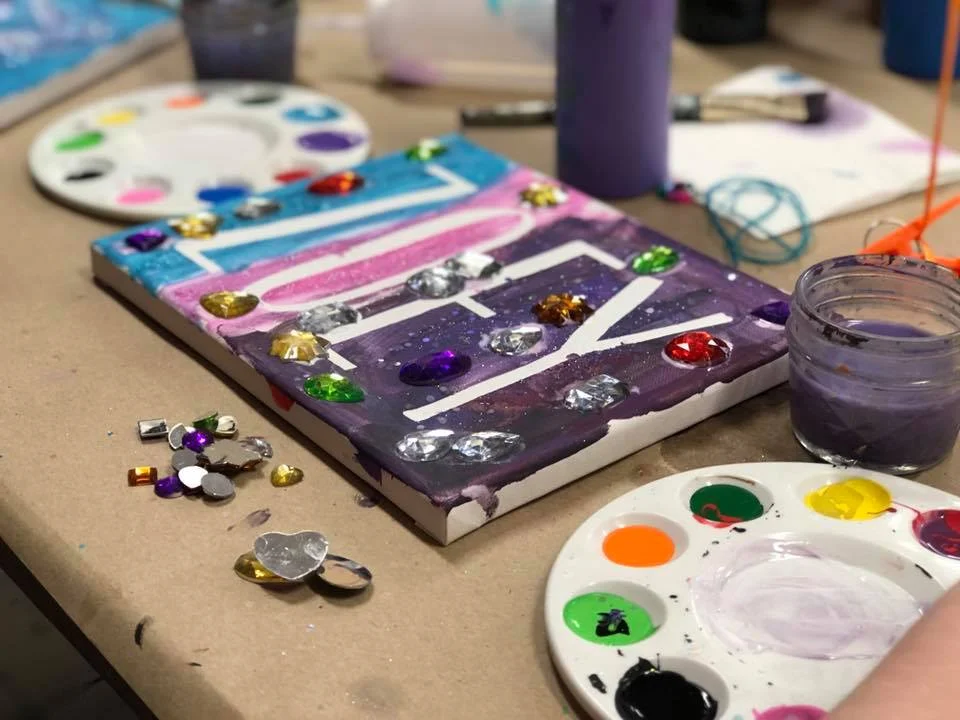
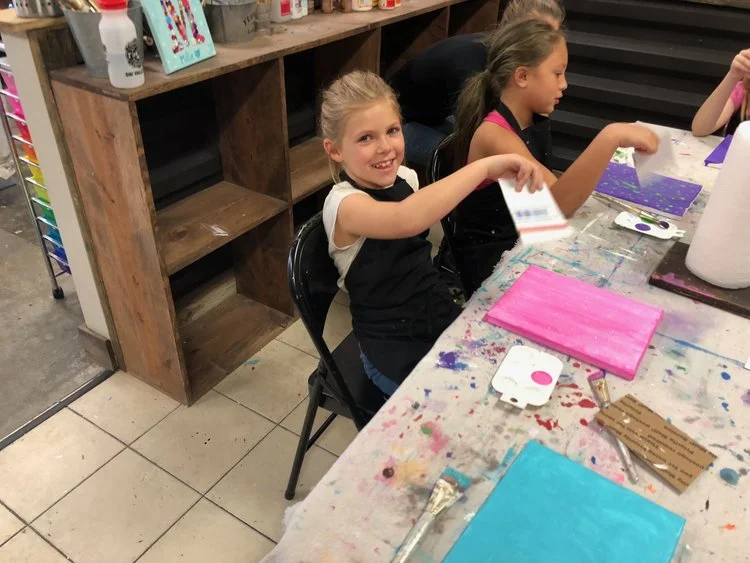
Now for the fun! Once all the party guests are ready let em loose on their canvases. In my experience kids have WAY more fun when they can paint their own thing using the colors they pick out. Usually that’s what we do. You can see the joy it brings them and their creativity coming to life the second that paint brush hits their canvas. And they all make something totally different and it makes my heart so happy! That individuality is so beautiful!

I promise your kiddo will be so happy creating beside all their friends they won’t even notice the fancy decorations aren’t there.


How to plan the PERFECT no stress art party for your crafty kiddo for less than $40

How to make your own CUSTOM canvas name art at home

How to make your own CUSTOM canvas name art at home

I love canvas art! There are so many different things you can create on these wonderful little blank pieces. The possibilities are endless with a blank canvas! You can free hand paint, make adorable handprint keepsakes, explore the fun of melting crayons and so much more! If you haven’t checked out our letter canvas art DIY you must after you read this tutorial.

Affiliate Disclosure. Some of the links on this website are affiliate links, which means that I may earn a small commission if you click on the link or make a purchase using the link. If you make a purchase you will not be charged anything additional.

How to make your own CUSTOM canvas name art at home

I’ve put together this CRAFT KIT to make this DIY so super easy for you. Everything you need in one little box shipped right to your door. You child’s name comes already attached and sealed to the canvas, which makes it even better! Get your personalized kit here. But if you want to go solo on this one here’s what you’ll need…

How to make your own CUSTOM canvas name art at home

The first steps aren’t pictured. First, cut your name in vinyl using your Cricut or other cutting machine. I always use oracal 651 but you can use any brand/strength. The color does not matter because you will be removing it once the painting is done. Now using transfer tape, attach your vinyl name to the canvas. This can be super tricky to get it to stick to the canvas so go slow when peeling the transfer tape off. After your vinyl name is attached and you are sure all the air bubbles are out of it you’ll want to seal it with SUPER THIN layer of MATTE finish mod podge. This is really easy. Just brush over the letters focusing on where the vinyl and the canvas meet. Essentially you are filling in any areas where paint might get in under the stencil with clear mod podge.

Check out the video below to see how to apply AND seal your canvas stencil ❤️.

After the mod podge is dry you can start painting away!!

How to make your own CUSTOM canvas name art at home

Be sure your kiddo is covering the entire area around the vinyl. If there are areas that don’t get painted the letter might not look like a letter when you are finished.

They can get super creative with it. I just LOVE how these turn out. All the kids do something different some do one solid color while others want the whole rainbow, then some make fun galaxy super gorgeous pieces and others use the shaped sponge brushes we have at the studio all over their canvas. The possibilities are endless.

How to make your own CUSTOM canvas name art at home

I recommend if your kiddo wants to add any glitter to their canvas to do so while their paint is still wet.

After they are done with their masterpiece you’ll peel the vinyl lettering up and toss it in the trash {this is why the color of the vinyl doesn’t matter ;) }. I use a sharp xacto knife to do this but a sewing pin works great too. Be careful not to drop it onto their freshly painted art work.

How to make your own CUSTOM canvas name art at home

You can add a ribbon on the back to make a fun hanger to hang it on the wall. We use our stapler for this {not a paper one but a home improvement one}. Your kiddo will admire this for years to come!

How to make your own CUSTOM canvas name art at home

I hope you enjoy this crafty tutorial and that it inspires you to create your own masterpieces and memories with your own kiddos.

Check out more craft kid posts below

Snowman snack, easy, simple and mess free

Snowman snack, easy, simple and mess free

Here’s a fun snack for those little ones that LOVE fun foods! It’s SUPER easy, almost totally mess free {you might have some crumbs but that will pretty much be it}, very friendly on the wallet and honestly you probably already have these items on hand.

Snowman snack,  easy, simple & mess free

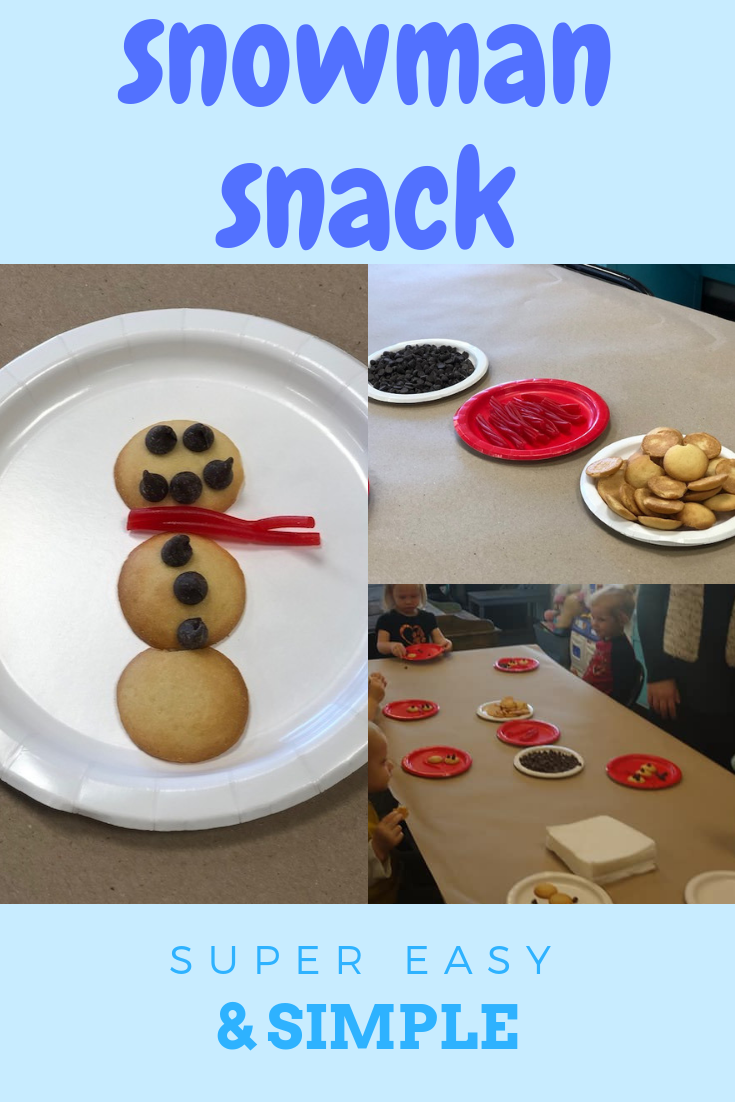
Here’s what you’ll need

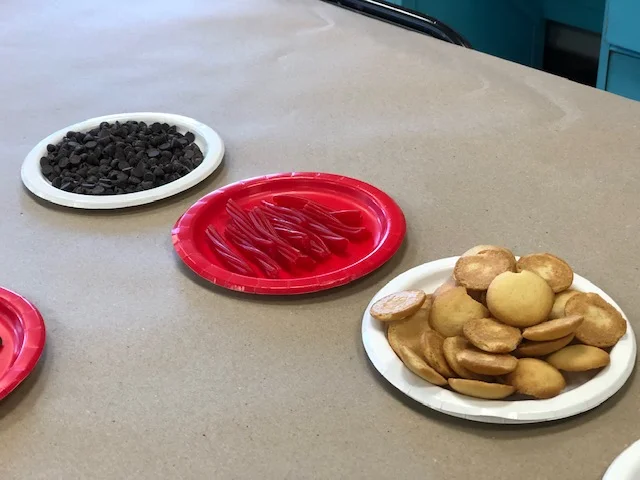
  • vanilla wafers

  • chocolate chips {we used regular ones but the mini’s would have been PERFECT for this snack}

  • twizzlers pull & peel

That’s it! There aren’t a whole lot of steps to this adorable little snack.

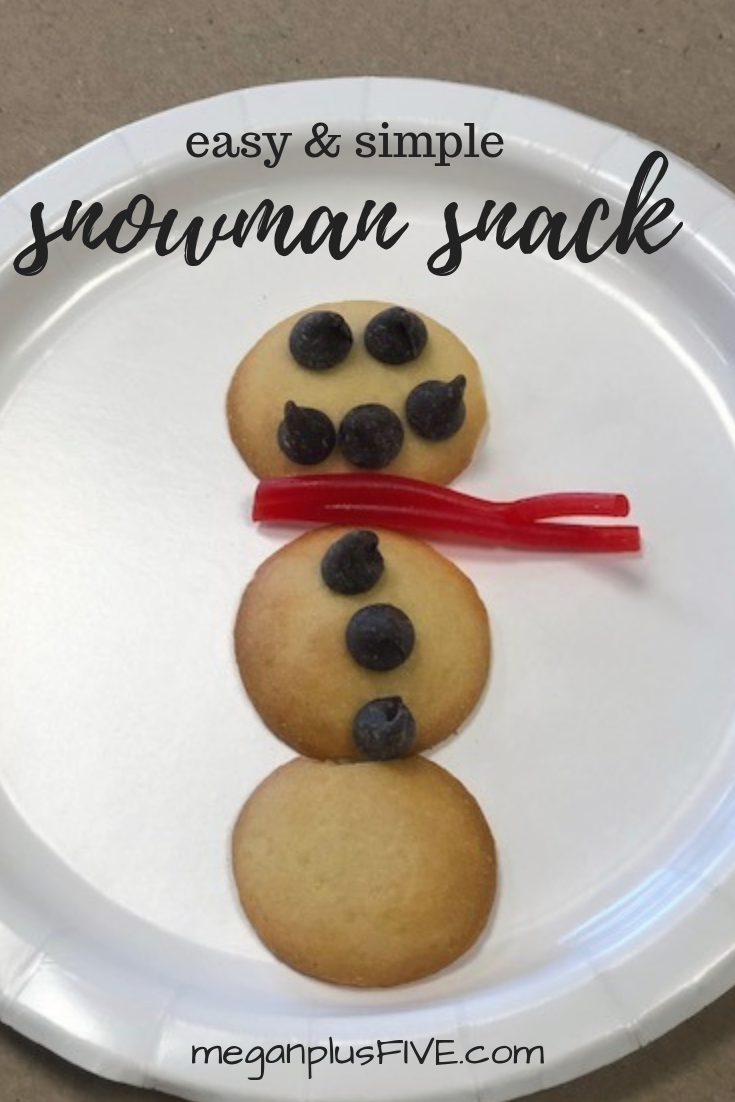
First, place three vanilla wafers in a line, like a snowman. Then use the chocolate chips to make a cute face. Last peel off a couple pieces of the twizzlers for a scarf. Put them in in between the first and second wafers and viola you have your very own snowman snack!

I told you it was super simple. Enjoy!

easy & simple snowman snack

PINE CONE ART, easy and mess free. Make your own with these simple steps.

PINE CONE ART, easy and mess free. Make your own with these simple steps.

If your kids are anything like mine they are ALWAYS wanting to make something. They don’t care what it is they just NEED to create. Either in our craft studio or the kitchen they just have that itch to make all the things.

So, naturally, I am always trying to find ways to be resourceful. Reusing old items, things that we would normally recycle or toss out, or things we find in nature…like pine cones!

We gathered some pine cones and had a mission to use them to create a really cool piece of art.

PINE CONE ART, easy and mess free. Make your own with these simple steps.

Here’s what you’ll need

  • pine cones

  • box {we used an old usps box}

  • tape

  • cardstock {we used white but you can use whatever color you’d like}

  • acrylic paint


Start by taping a boarder around your paper. We only had 3/4” tape so that’s what we used.

This next step isn’t picture, now tape the piece of paper down to your box. We taped ours all the way around so that the pine cone didn’t get snagged on the paper if it wasn’t secured down all the way.

PINE CONE ART, easy and mess free. Make your own with these simple steps.

Now decide what colors you want your art to be. We used lighter colors but you can use any that you’d like. You want to put your paint on something you can easily dip a pine cone into. We used the middles of our paint trays.

PINE CONE ART, easy and mess free. Make your own with these simple steps.

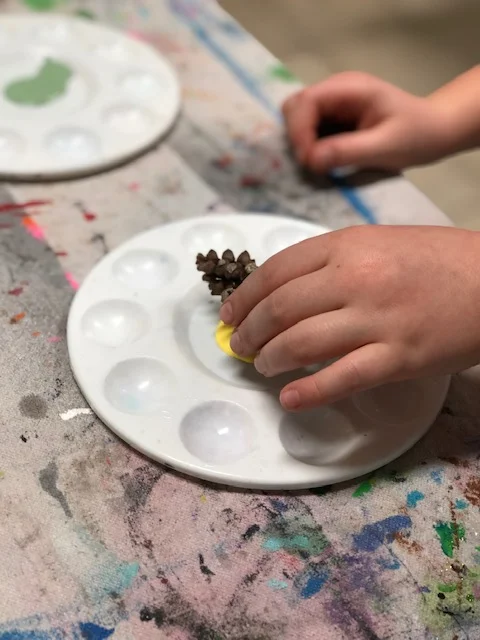
Dip your pine cone into your paint. You can do one color or several at a time. At first we did just one at a time then she got brave and started dipping all the colors in different spots.

PINE CONE ART, easy and mess free. Make your own with these simple steps.

Now drop it in your box and SHAKE it up! Take care not to shake it too fast or rough because your pine cone will go flying…we may or may not know this first hand. Keep repeating this step till you’re satisfied with the coverage.

PINE CONE ART, easy and mess free. Make your own with these simple steps.

This is what ours looked like before we removed the paper from the box. All the mess contained inside the box…woohoo!!

PINE CONE ART, easy and mess free. Make your own with these simple steps.

We let our dry for a few minutes before we peeled the paper out of the box and peeled the tape away from the outside edges. She was VERY impressed at how clean the lines came out. I have to say I am too!

PINE CONE ART, easy and mess free. Make your own with these simple steps.

This is such an inexpensive {literally cost pennies to make} and one that doesn’t require a ton of prep or clean up. I hope you enjoy this craft with your kiddos as much as I did with our girls!

Christmas wish list, 100 gift ideas to get the CRAFT obsessed kid in your life

Christmas wish list, 100 gift ideas to get the CRAFT obsessed kid in your life

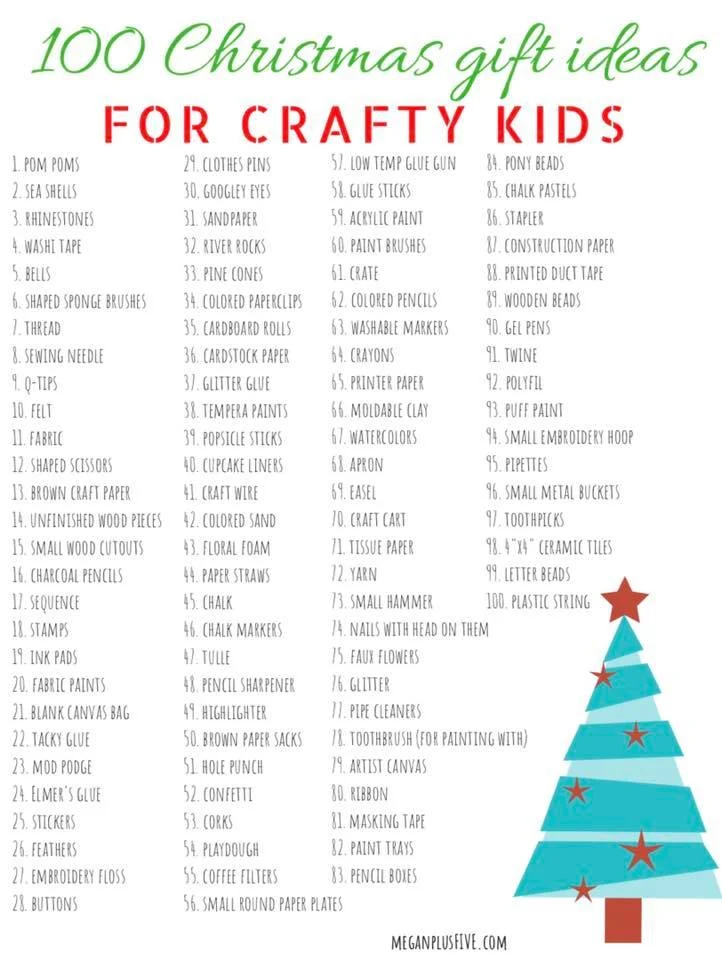
What do you give the craft obsessed kid? We have 3 crafty girls {the fourth one isn’t too far behind though} and own a family friendly CRAFT STUDIO so we have a pretty good idea of what kids LOVE to create with. Most kids love cutting, gluing, and adding as much paint to things as they can. They are just figuring out how to use different tools and exploring different colors, textures, and possibilities.

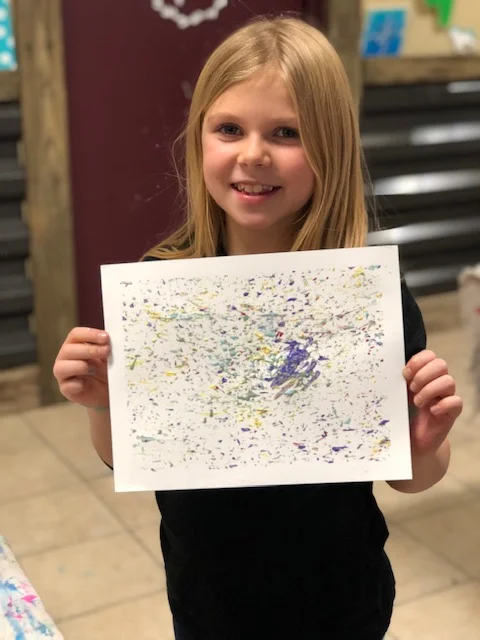
Did you know there are ALL kinds of different everyday items you can use to create with? Take a toothbrush for instance. This is one of those things we have in our studio that makes everyone say “ummmm do you brush your teeth here?” and the answer is always “no, we use it to paint”. A fun technique my grandma taught me when I was very young, to use a toothbrush to add little specs and small splatters of paint. It is the best tool for this so we keep several toothbrushes in shop just for this. I am so proud to pass down that little technique to so many.

Our older girls and I worked on this list just for you! They really enjoyed listing off all of their favorite supplies to create with. We hope you can use this to put together a really awesome CRAFT GIFT for your crafty kiddo! Let them explore. Let them make a mess. Let them be creative.
Christmas wish list, 100 gift ideas to get the CRAFT obsessed kid in your life

Apple Stamping, how to make a precious Autumn keepsake art project with your toddler

apple stamping, how to make a precious Autumn keepsake art project with your toddler

DIY keepsake apple stamping canvas art for your toddler

I LOVE fall! I love the colors, the smell, the oversized clothing to keep you warm on the cool Midwest days….I love it all.

This fall I took our four girls to a small off the beaten path apple orchard. Seriously these are the best kind of farms! The people are always so nice and the atmosphere is just so welcoming.

We had all these apples {literally 30lbs of apples, I know it sounds crazy but at $1/lb I thought if nothing else it was cheap educational entertainment for our girls} and I thought, why not do a fun little craft with them at our CRAFT STUDIO for our TOTS IN THE SHOP day. So we did! Boy did all the toddlers have the best time making a mess and painting with apples.

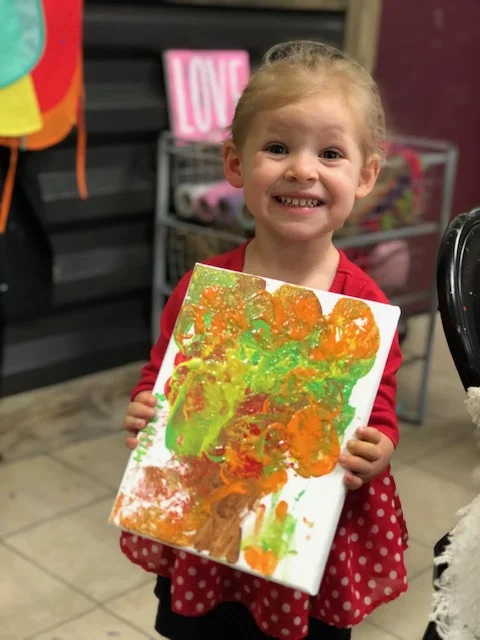
If your tot is anything like ours you’ll end up with a gorgeous blend of fall colors…but she had so much fun and that makes my heart happy!

Seriously, look how proud that girl is! Smiling from ear to ear with her artwork!

Affiliate Disclosure. Some of the links on this website are affiliate links, which means that I may earn a small commission if you click on the link or make a purchase using the link. If you make a purchase you will not be charged anything additional.

Here’s what you need to make your own at home


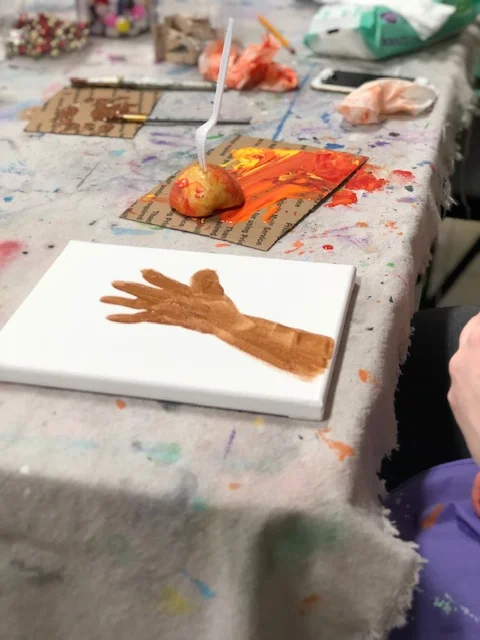
Start by tracing your toddler’s hand and the upper part of the forearm on the canvas with a pencil. Do this lightly so you can easily hide the pencil mark with your paint.

Apple Stamping, how to make a precious Autumn keepsake art project with your toddler

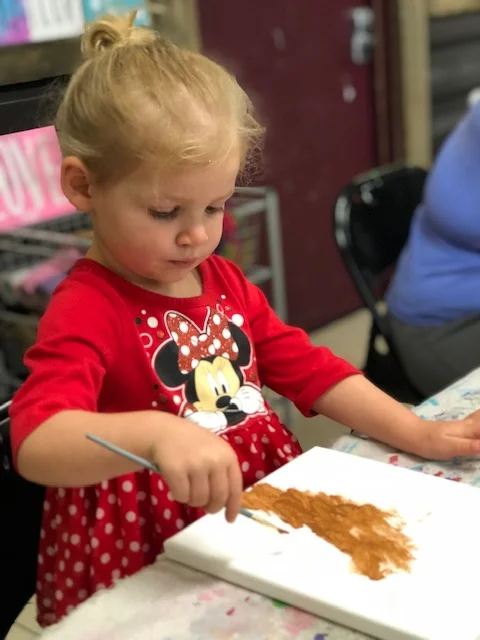
Next you want to paint the inside of where you traced with brown. This will be the trunk of your tree. Some moms in our class painted this for their tots but our sweet girl wanted to paint hers all by herself. I think she did a pretty great job {go Millie!}

Apple Stamping, how to make a precious Autumn keepsake art project with your toddler

Once the brown is dry you can start stamping away. We stuck forks in our apples so the kiddos could hold onto the apple a little better but you can just pick the apple up with your hand if you’d like.

We used discarded pieces of cardboard to squirt our paint on. Put some paint on there, dip the half apple in, smear it around a bit so it gets a good coat, then stamp it right on the canvas. This is going to be messy, embrace it! This is how your little one learns and explores.

Apple Stamping, how to make a precious Autumn keepsake art project with your toddler

Keep stamping till your tot is satisfied with their little work of art.

Apple Stamping, how to make a precious Autumn keepsake art project with your toddler

Be sure to check out more crafty kids projects below.

Super FUN canvas art for kids, easy HOW TO create your own at home

Super FUN canvas art for kids, easy HOW TO create your own at home

A couple weeks ago we threw a birthday party for our 9 year old. We wanted to do something a little different than what we usually do in the shop for her special celebration. We were looking through pinterest to get some inspiration and came across these gorgeous mixed media canvas art pieces. She instantly loved them and wanted to make her own. The ones we found used fancy jewels…that’s not really our speed but we had rhinestones and buttons and knew the ones they would make would look just as amazing!


Affiliate Disclosure. Some of the links on this website are affiliate links, which means that I may earn a small commission if you click on the link or make a purchase using the link. If you make a purchase you will not be charged anything additional.

Super FUN canvas art for kids, easy HOW TO create your own at home

Mixed art kids canvas

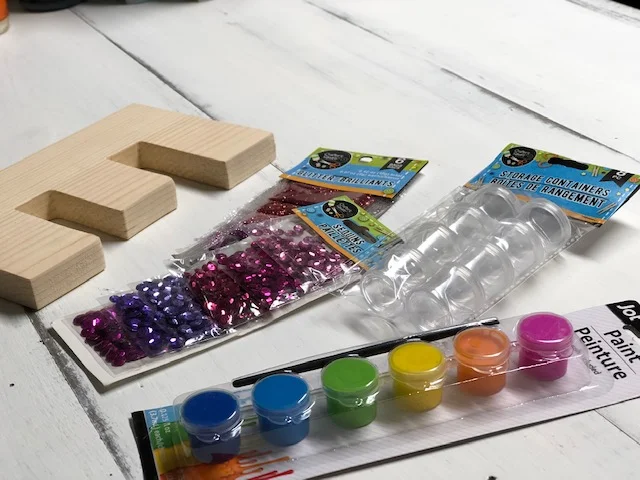
What you'll need


Start by painting your canvas, I recommend a solid color or super simple design {i.e. polk a dots, paint splatter effect…}this will make your letter pop even more if it has a less distracting background.

Super FUN canvas art for kids, easy HOW TO create your own at home

Once the background color is dry, using your pencil trace your letter on your canvas. If you don’t have a paper letter cutout you can freehand this step, it will make it even more unique!

Super FUN canvas art for kids, easy HOW TO create your own at home

Now paint your letter, it’s ok if your paint gets outside of your lines, it’s art after all! You’ll want to use a color that is different from your background color. White is a good one and will really make the buttons and rhinestones standout.

Super FUN canvas art for kids, easy HOW TO create your own at home.jpgSuper FUN canvas art for kids, easy HOW TO create your own at home

Now the REAL FUN begins! After your letter is dry you can start blinging it out with all those fun rhinestones and buttons! Working in small sections at a time start gluing all that bling on! Painting it on the canvas with a paint brush works great for this. Just paint the glue on where you want to glue something down, you’ll want to use a fairly good amount of glue so everything stays in place. We use several different types of glue and Tacky Glue is hands down the best for projects like these!

Super FUN canvas art for kids, easy HOW TO create your own at home

When your letter is totally covered in buttons and rhinestones you’ll want to sprinkle it with glitter. That will fill in all the little spaces in between perfectly! We used extra fine glitter for this step.

Super FUN canvas art for kids, easy HOW TO create your own at home

Check out more craft kid posts below

DIY Light Up Fairy Jar

DIY glittery light up fairy jar. How to make your own fairy lantern from a mason jar and tissue paper. Easy craft tutorial.

How to make your own light up glittery fairy jar lantern

Making your own light up fairy jar is easier than you think. This has been a favorite craft kit in our Etsy shop and for good reason…it’s absolutely adorable! When we had our brick and mortar craft studio this was always a top choice for the kids to make too. There’s really not anything that can top a glowing fairy lantern that’s covered in glitter!

Affiliate Disclosure. Some of the links on this website are affiliate links, which means that I may earn a small commission if you click on the link or make a purchase using the link. If you make a purchase you will not be charged anything additional.

If you love this mason jar craft be sure to check out this adorable DIY UNICORN MASON JAR CRAFT TUTORIAL

Check out this similar MINI version of my DIY LIGHT UP FAIRY JAR…in CHRISTMAS ORNAMENT form. See the video below


If you love crafty video tutorials be sure to subscribe to my YouTube channel


Make your DIY LIGHT UP FAIRY JAR even easier and grab a —-> FAIRY JAR CRAFT KIT <——

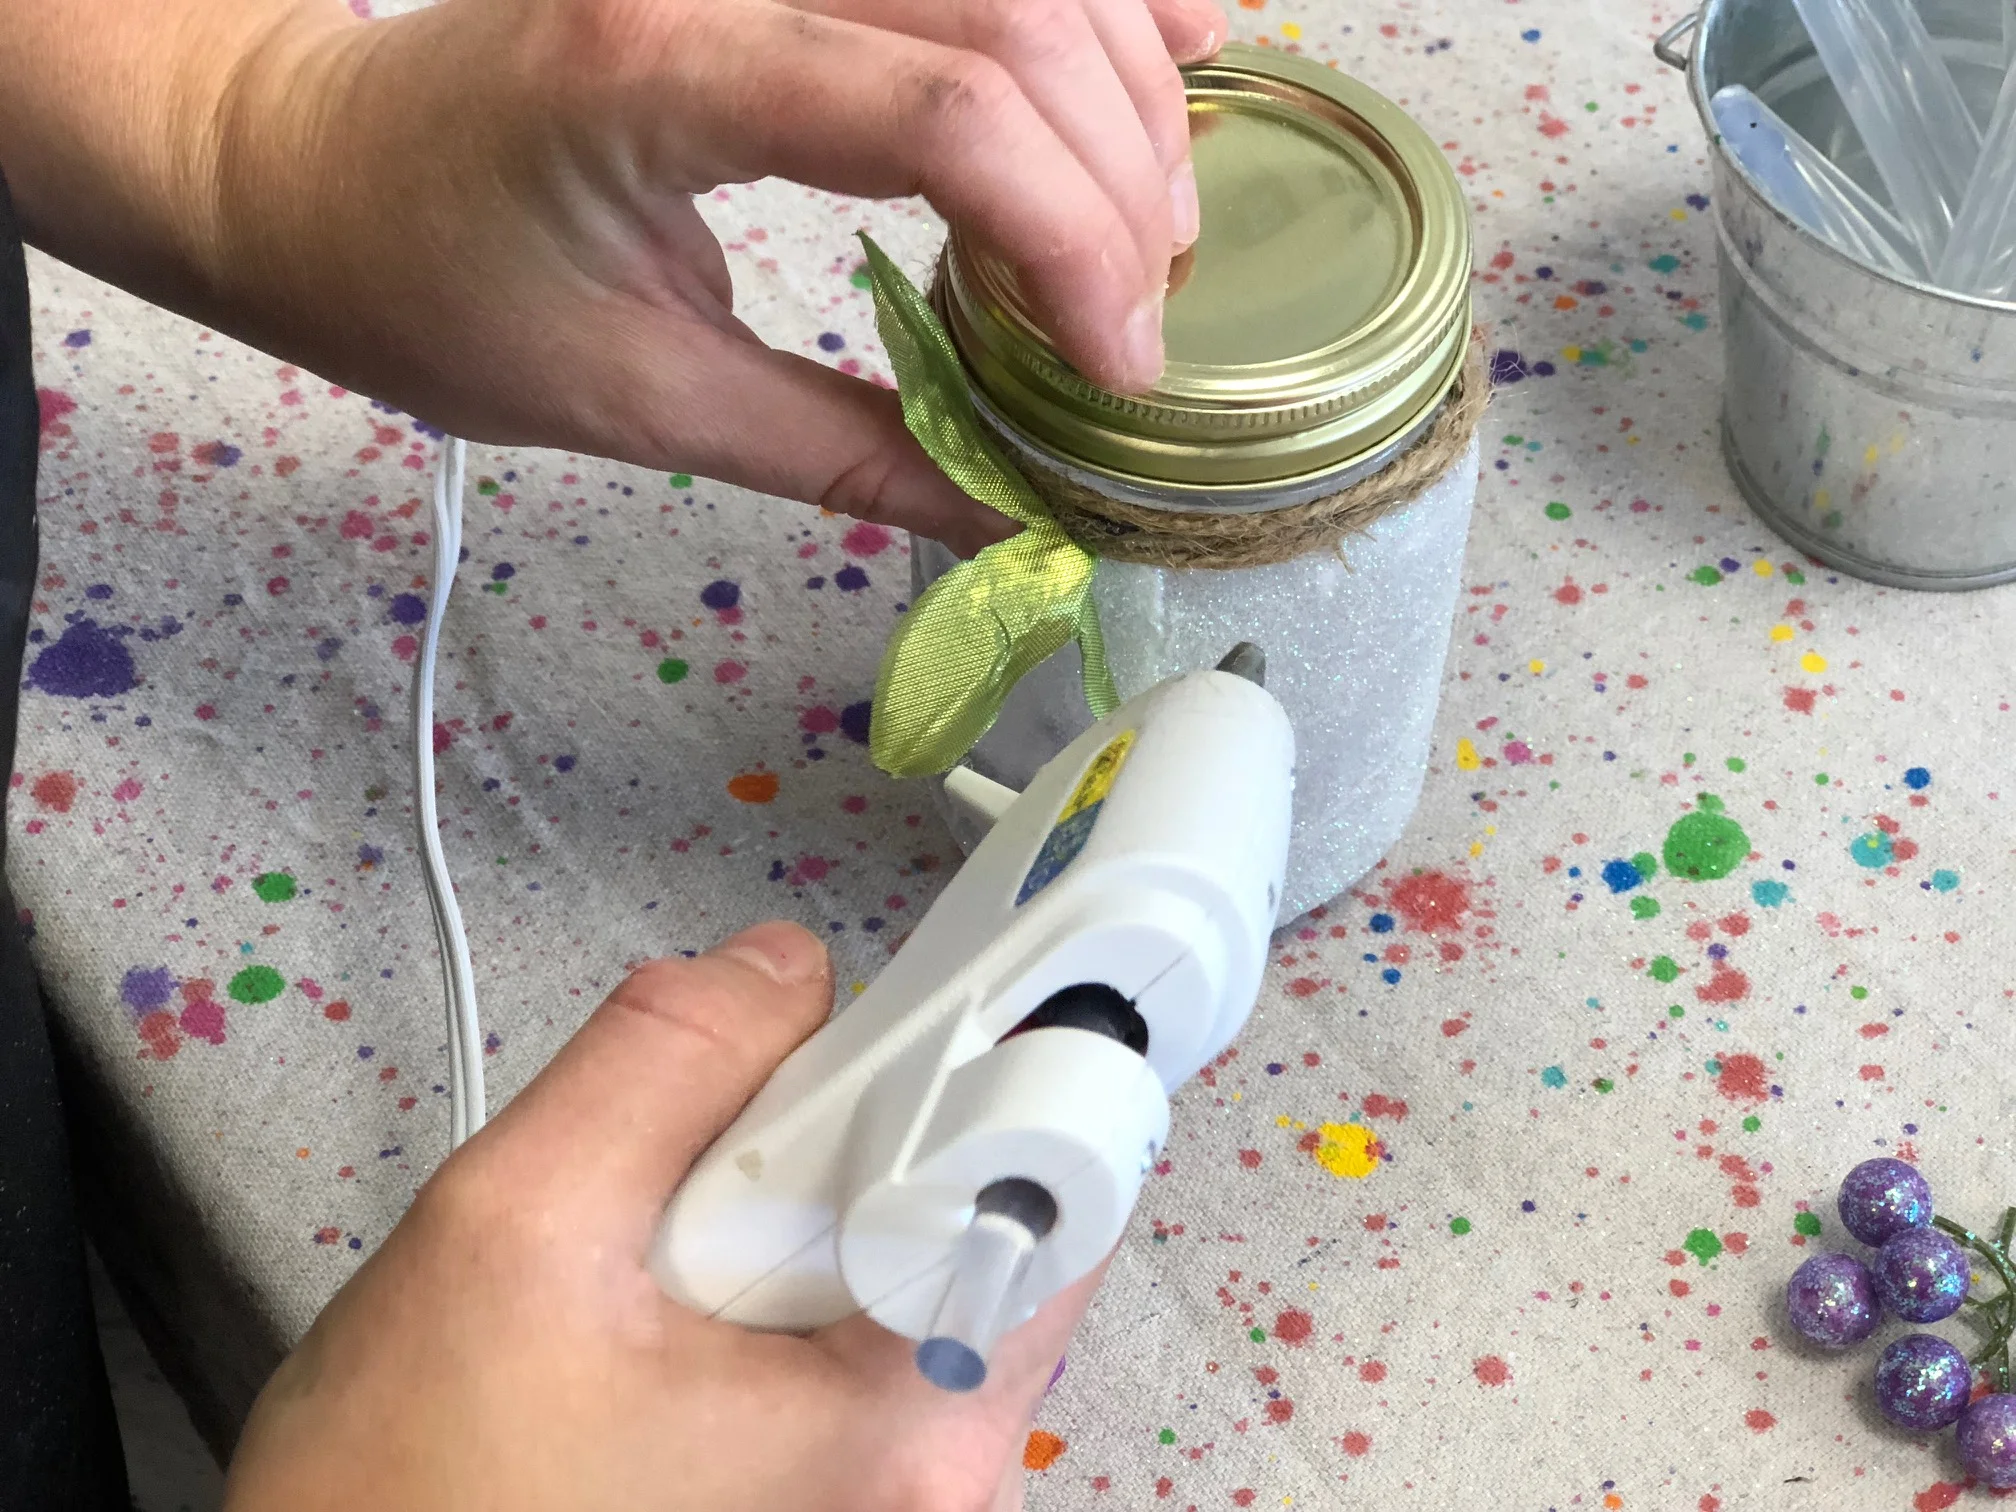
I recommend using a LOW TEMP glue gun to attach all your floral accents. This will dry much quicker and be more stable than using the mod podge to glue. Pro tip: using a low temp glue gun is always best when the kiddos are involved. The temp is a lot lower than a high temp glue gun and if they come in contact with either the hot glue or the tip of the glue gun then their skin likely won’t blister. I let all three of my older girls use this type of glue gun all by themselves and although they’ve come in contact with either the glue or the gun they’ve never had a serious issue with them.

If you didn’t grab your own DIY FAIRY JAR CRAFT KIT you’ll need to first cut out your fairy. I used my CRICUT EXPLORE & CRICUT ACCESS for this step. Grab my fairy template from my FREE RESOURCE LIBRARY

Next apply your mod podge to the INSIDE of one side of your smooth mason jar. This is easier than applying the glue to the cardstock fairy then trying to place it inside of your jar.

Then place your fairy inside, be sure to position it so it's not crooked. Hold the fairy in place with the end of your brush for a few seconds until it’s set.

How to make a light up glittery fairy jar lantern. Use a smooth mason jar, glitter, and tea light to make your own light up fairy lantern. Add some floral accents and you have a perfect fairy jar night light for your fairy obsessed little girl.

If you didn’t grab a craft kit, cut your tissue paper down so it is slightly bigger than your jar. You are going to mod podge this to the OUTSIDE of your jar. I find it easier to glue one side at a time.

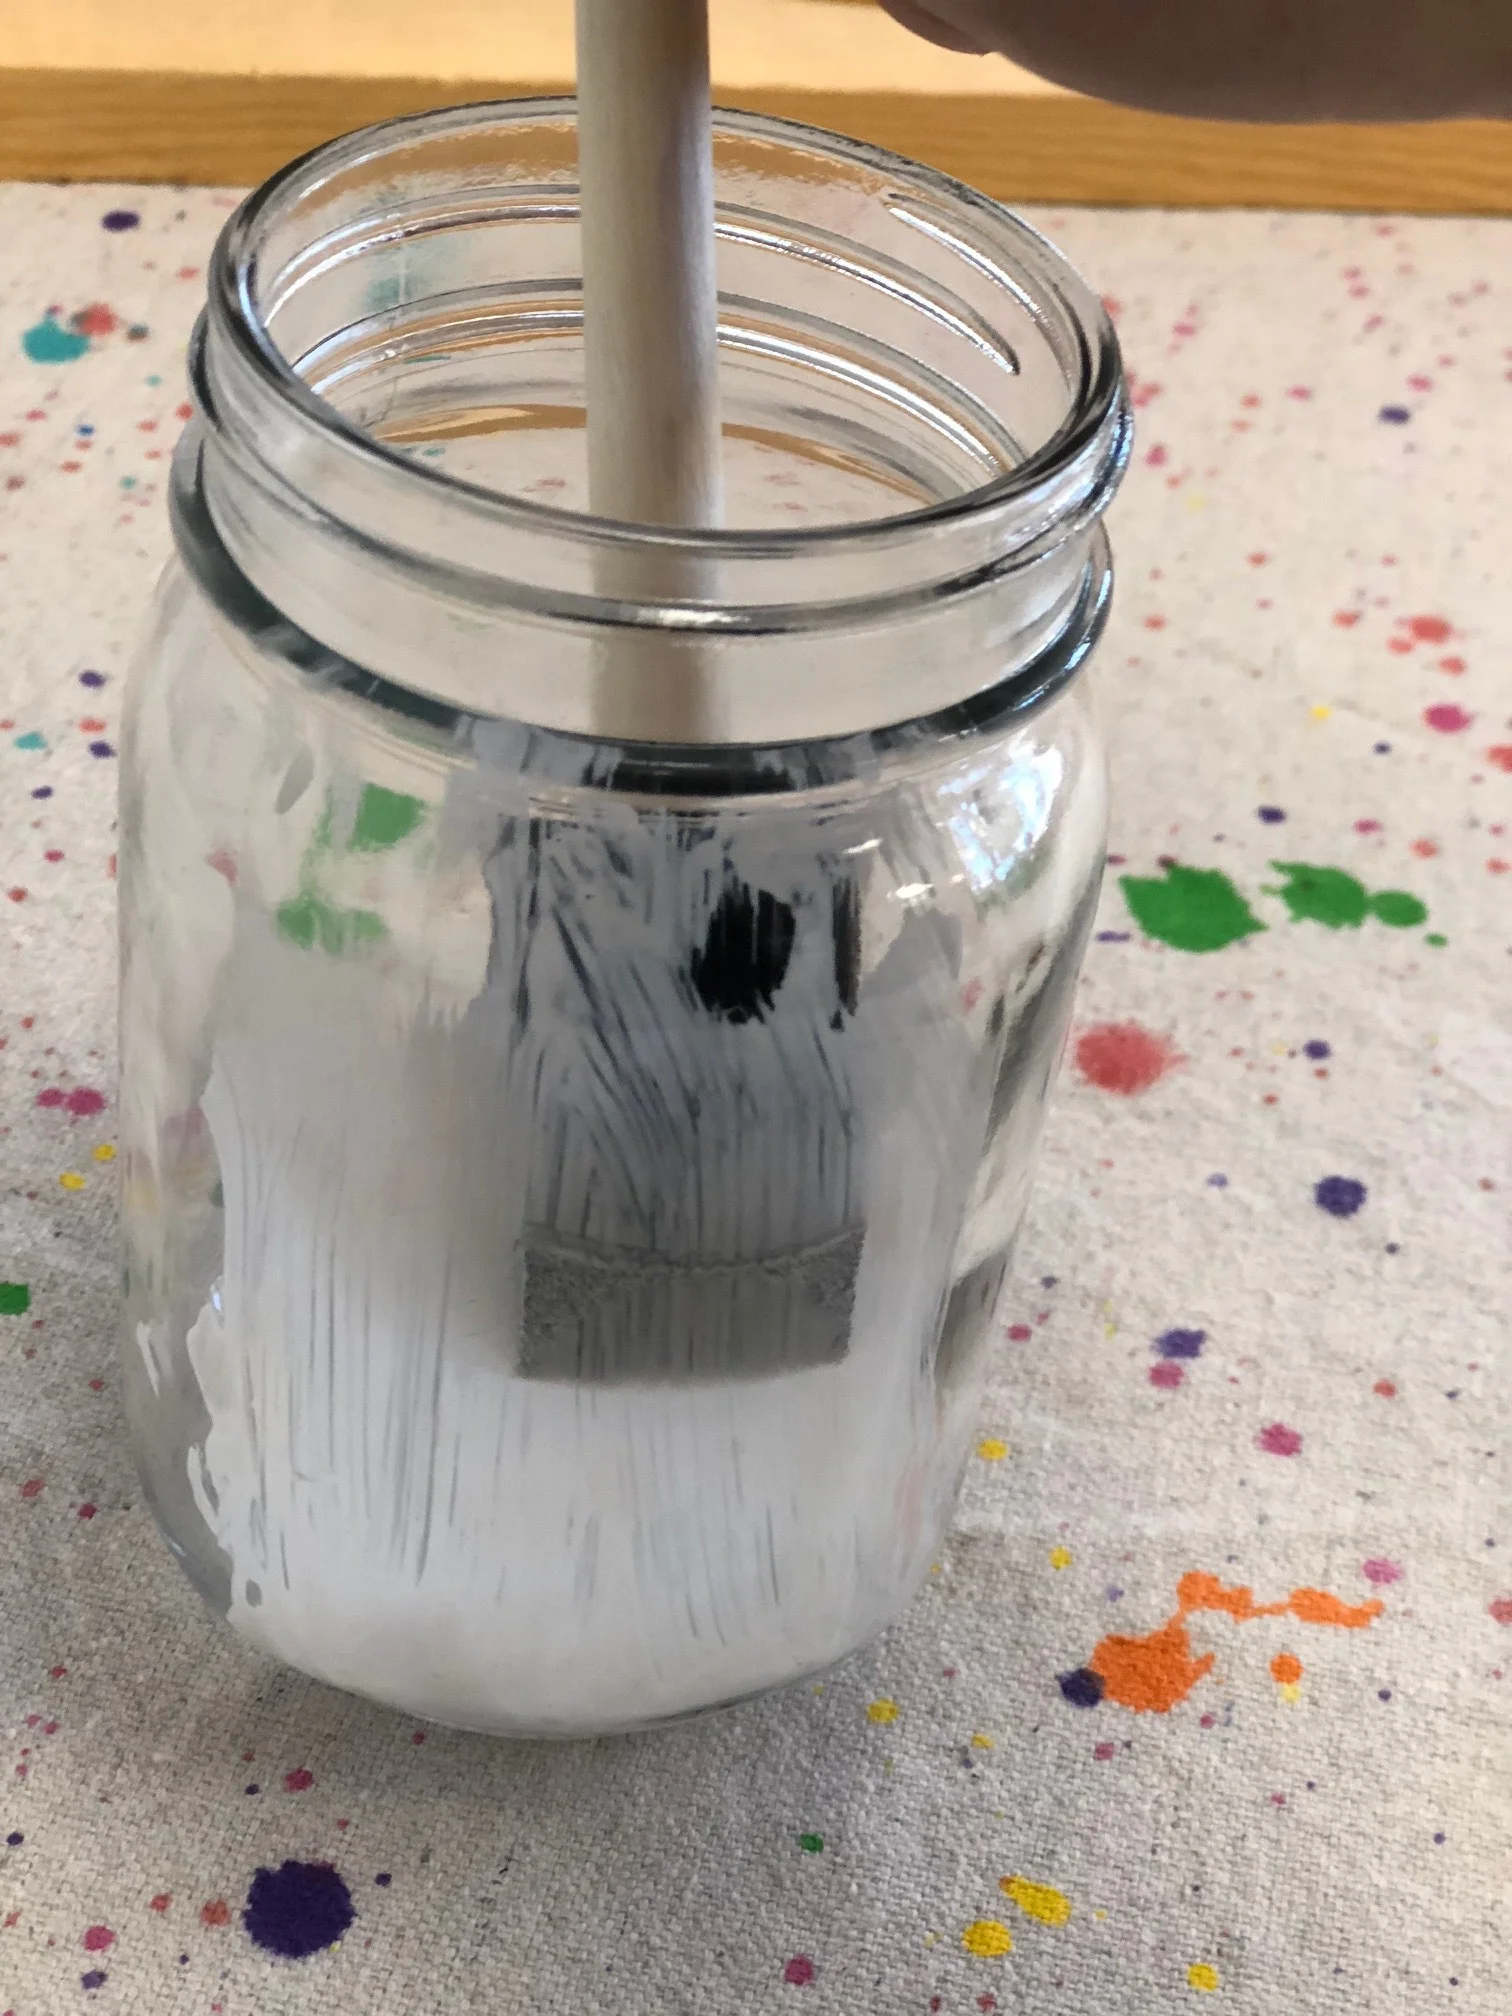
Apply a good layer of mod podge to one side of your jar, be sure to get good coverage. Place your tissue paper down and slowly pat it down to work out all the bubbles. If it rips, don't worry this won't be super noticeable as you will be covering the jar in glitter. You will do this all around the jar till it is totally wrapped in one layer of tissue paper

How to make a light up glittery fairy jar lantern. Use a smooth mason jar, glitter, and tea light to make your own light up fairy lantern. Add some floral accents and you have a perfect fairy jar night light for your fairy obsessed little girl.

After you’ve mod podged down your tissue paper trim away the excess where the lid will be screwed on. This makes it easier to get the lid off an on.

Apply a good layer of mod podge around the entire jar. Be sure it's a good layer so it doesn't dry by the time you get all the way around the jar.

How to make a light up glittery fairy jar lantern. Use a smooth mason jar, glitter, and tea light to make your own light up fairy lantern. Add some floral accents and you have a perfect fairy jar night light for your fairy obsessed little girl.

Sprinkle your white glitter all the way around your jar. I typically focus around the corners but there's no wrong way to do this step.

Once your done glittering the outside of your fairy jar turn it upside down on the table and let dry. You will want it completely dry before you start gluing all your accents on.

How to make a light up glittery fairy jar lantern. Use a smooth mason jar, glitter, and tea light to make your own light up fairy lantern. Add some floral accents and you have a perfect fairy jar night light for your fairy obsessed little girl.

Accent time! A grown up will want to help with this part if a glue gun is involved. 

I recommend not hot gluing your twine OR your accents to the lid itself. Gluing it to the lid will make it difficult to get the lid on and off AND your accents are likely to fall off easily if glued directly to the lid. Instead, glue your twine just below the bottom lip at the top of your mason jar.

Using your hot glue gun glue one end of your twine down just below that bottom lip of the jar. Wrap the twine around a few times. Then glue the second end in place.

Now, glue your accents right onto the twine. It helps if you trim down the flower bases so that they can sit flat on the twine.

How to make a light up glittery fairy jar lantern. Use a smooth mason jar, glitter, and tea light to make your own light up fairy lantern. Add some floral accents and you have a perfect fairy jar night light for your fairy obsessed little girl.

Insert your tea light, turn off the lights and you're done! You've just created the cutest little fairy jar light!

Want instant access to my FREE RESOURCE LIBRARY? Fill out the boxes below and get the access code to use ALL of my freebies in my library.