DIY dowel rod snowman ornament DAY 8

DIY Christmas ornaments to make with kids. Easy snowman (snowmen) Christmas tree hanging ornament to make from a dowel rod. How to paint a snowman on a Christmas ornament easy craft tutorial.

This DIY Christmas ornament is SUPER EASY! Similar to the square snowmen ornaments I made last year. Only this time they are round and they have cute rosy cheeks like these mason jar snowmen I showed how to make on my blog. There are differences of course but all three of these snowmen are so adorable.

If you are a craft-aholic like myself, then you probably hang on to EVERYTHING. The dowels I’m using for this snowman ornament were actually leftover stems from a larger version of these 2x4 wood pumpkins. Really, I probably should have tossed these scraps BUT then I wouldn’t have been inspired to create this Christmas ornament tutorial to share here on my blog.

DIY Christmas ornaments to make with kids. Easy snowman (snowmen) Christmas tree hanging ornament to make from a dowel rod. How to paint a snowman on a Christmas ornament easy craft tutorial.

See more of my 30 DAYS OF DIY CHRISTMAS ORNAMENTS here

Here’s what you need to make a dowel rod snowman ornament

DIY Christmas ornaments to make with kids. Easy snowman (snowmen) Christmas tree hanging ornament to make from a dowel rod. How to paint a snowman on a Christmas ornament easy craft tutorial.

This ornament is so fun, easy and a wonderful Christmas craft to make with the kids. Don’t sweat it if they don’t come out perfect. Lord knows when we craft with our kids it’s never about the perfection, rather it’s about the memories and bond you’re building with your children.

1.PAINT

The first thing I did was paint the dowel rod piece all white, including the top and bottom. I let the first coat dry then I applied a second coat for a little more coverage then I let that coat dry before moving on to step 2.

DIY Christmas ornaments to make with kids. Easy snowman (snowmen) Christmas tree hanging ornament to make from a dowel rod. How to paint a snowman on a Christmas ornament easy craft tutorial.

2. CHEEKS

Because I want the nose to go over the cheek I painted the snowman’s cheeks first. This takes a TINY amount of paint, like a teeny tiny amount. I lightly tapped the tip of my paint brush into the pink paint then into the white paint, but less white paint than pink paint on my brush.

DIY Christmas ornaments to make with kids. Easy snowman (snowmen) Christmas tree hanging ornament to make from a dowel rod. How to paint a snowman on a Christmas ornament easy craft tutorial.

Then I made swirly circles with my brush. I probably should have used a round tipped brush for this but I grabbed a pointy tipped one and just didn’t want to hunt for a new brush so I went with it. It worked but not as good as it could have with a round tipped brush.

I kept added white and pink paint to the cheeks till I was happy with the way they looked.

3. NOSE

After the cheeks were dry I painted on an orange nose. I used the same pointy brush for this. I made a sideways triangle then filled it in with orange paint. I added a tiny bit of black paint to give it a little depth.

DIY Christmas ornaments to make with kids. Easy snowman (snowmen) Christmas tree hanging ornament to make from a dowel rod. How to paint a snowman on a Christmas ornament easy craft tutorial.

4.EYES & MOUTH

Using the same brush I painted on irregular looking circles for the eyes and for the mouth in black. I really tried to make them look like coal.
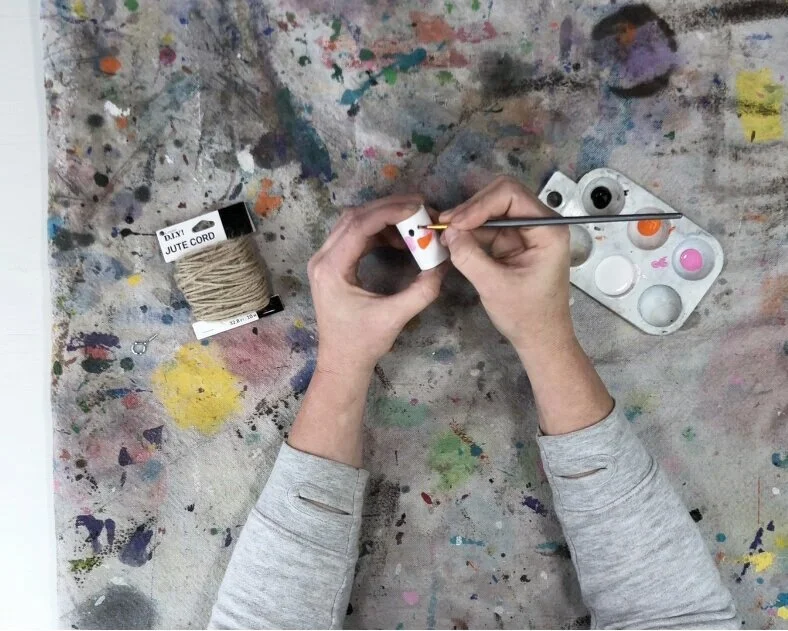
DIY Christmas ornaments to make with kids. Easy snowman (snowmen) Christmas tree hanging ornament to make from a dowel rod. How to paint a snowman on a Christmas ornament easy craft tutorial.

After the black paint was dry I used the end of my paint brush to make accent dots on the eyes and mouth.

DIY Christmas ornaments to make with kids. Easy snowman (snowmen) Christmas tree hanging ornament to make from a dowel rod. How to paint a snowman on a Christmas ornament easy craft tutorial.

5. SCREW EYE AND JUTE

I screwed the hanger (screw eye) into the top of my snowman ornament to hang it. Then I added a piece of jute to hang it from the Christmas tree.

DIY Christmas ornaments to make with kids. Easy snowman (snowmen) Christmas tree hanging ornament to make from a dowel rod. How to paint a snowman on a Christmas ornament easy craft tutorial.

I hope you enjoyed this crafty Christmas ornament tutorial. Let me know if you have any questions in the comments below.

Don’t forget to pin the image below to save for later :)!

DIY Christmas ornaments to make with kids. Easy snowman (snowmen) Christmas tree hanging ornament to make from a dowel rod. How to paint a snowman on a Christmas ornament easy craft tutorial.

Happy Crafting!

Check out more Christmas posts below

DIY wood block snowmen ornaments, DAY 6

DIY snowmen block ornaments, how to make hanging snowman ornaments for your Christmas tree. Easy painted snowmen ornament for Christmas using scrap wood.

DIY wooden snowmen Christmas ornaments

Day 6 of 30 days of DIY Christmas ornaments

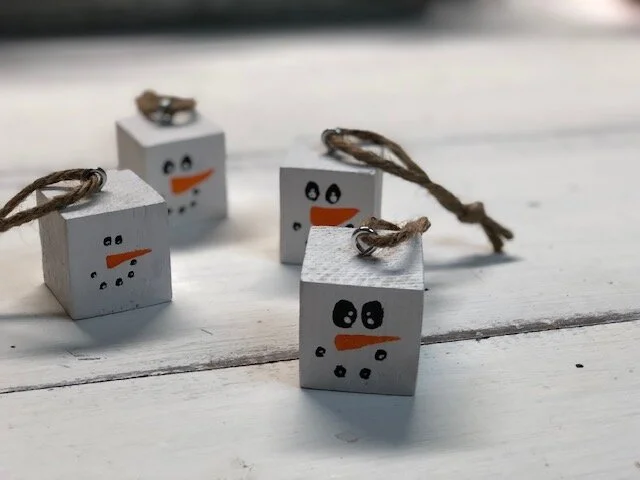
Day 6 of my 30 days of DIY Christmas ornaments I made these cute wood block snowmen! They were SO SIMPLE and they were SO QUICK to make too! I haven’t made these with my four daughters yet but they are definitely on the list of Christmas ornaments to make with them.

Affiliate Disclosure. Some of the links on this website are affiliate links, which means that I may earn a small commission if you click on the link or make a purchase using the link. If you make a purchase you will not be charged anything additional. This is just a way I can help add to our family finances to raise our four daughters. Please know I would never recommend a product or service I do not totally stand behind

To make this DIY craft even easier for you I put together a DIY CHRISTMAS SNOWMEN ORNAMENT CRAFT KIT. I know not everyone can use or has access to power tools like the ones I use in my crafty tutorials. So with some of my more popular projects you can purchase a DIY craft kit so you can make your own at home. Leave all the cutting and presanding to me, you take care of all the creativity to really make it come to life.

Watch the video tutorial or keep scrolling to read how to make your own wooden snowman ornament

Here’s what you’ll need to make your own wood snowmen Christmas ornaments

OR if not snagging your own craft kit here’s a list of all the supplies you'll need

The first thing you need to do is to cut your piece of wood in to cubes. The wood I used is called a 2”x2”, it actually measures approx. 1.5”x1.5” lumber measures weird like that lol! So, I cut 4 pieces into 1.5” cubes. The miter saw I use has a ruler on the side of it to make measuring super easy. If you are looking into getting power tools I wrote this post for crafters about what kinds of power tools you need. I used to use my husband’s power tools and I am SO glad I finally purchased my very own set. I am a huge fan of RYOBI power tools and recommend them to any fellow crafter.

DIY snowmen block ornaments, how to make hanging snowman ornaments for your Christmas tree. Easy painted snowmen ornament for Christmas using scrap wood.DIY snowmen block ornaments, how to make hanging snowman ornaments for your Christmas tree. Easy…

Next, you want to give your wooden blocks a quick sanding. I use 120 grit sandpaper for this. You can use a regular piece of sandpaper for this step but using a power tool sander is much faster.

DIY snowmen block ornaments, how to make hanging snowman ornaments for your Christmas tree. Easy painted snowmen ornament for Christmas using scrap wood.

After you give your blocks a quick sanding be sure to wipe the sawdust off of them. Then paint them with a thin layer of white acrylic paint. Once that layer is completely dry you can paint a second thin layer of white acrylic paint to give it a little better coverage. Think of this like when you paint your nails, you apply a thin base coat first then once that dries you apply a second coat to get a good even coverage.

DIY snowmen block ornaments, how to make hanging snowman ornaments for your Christmas tree. Easy painted snowmen ornament for Christmas using scrap wood.

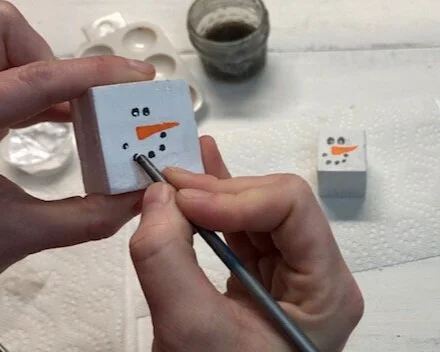
Let the white paint dry. After it dries you can paint on the face. I used orange and black acrylic paint for this step BUT you could totally use paint markers or even an orange and black sharpies for this step and they would turn out just as cute!

DIY snowmen block ornaments, how to make hanging snowman ornaments for your Christmas tree. Easy painted snowmen ornament for Christmas using scrap wood.

If you want to add little accent dots to the snowman’s eyes just use the end of your paint brush. Lightly dip it into your white acrylic paint and dab on where you would like the accent dot to go.

DIY snowmen block ornaments, how to make hanging snowman ornaments for your Christmas tree. Easy painted snowmen ornament for Christmas using scrap wood.

Add a 3/4” screw eye to the top middle of your wood snowman ornament. I just eyeballed mine but if you want to get an exact measurement then you could find the middle by making an X going from cross corner to cross corner. Where the lines meet that’s where the middle is.

DIY snowmen block ornaments, how to make hanging snowman ornaments for your Christmas tree. Easy painted snowmen ornament for Christmas using scrap wood.

Loop a piece of twine through the screw eye then tie it in a knot. You’re ready to hang this adorable little wooden snowman set on your Christmas tree. This is such an easy ornament to make with the kids too! Not a whole lot of skill is required making it perfect for little ones.

DIY snowmen block ornaments, how to make hanging snowman ornaments for your Christmas tree. Easy painted snowmen ornament for Christmas using scrap wood.

As always, if you have any questions please reach out and ask:)! You can leave a comment below or send me a message on any of my social media platforms {links are above}

DIY mason jar lid snowman Christmas ornament, DAY 4

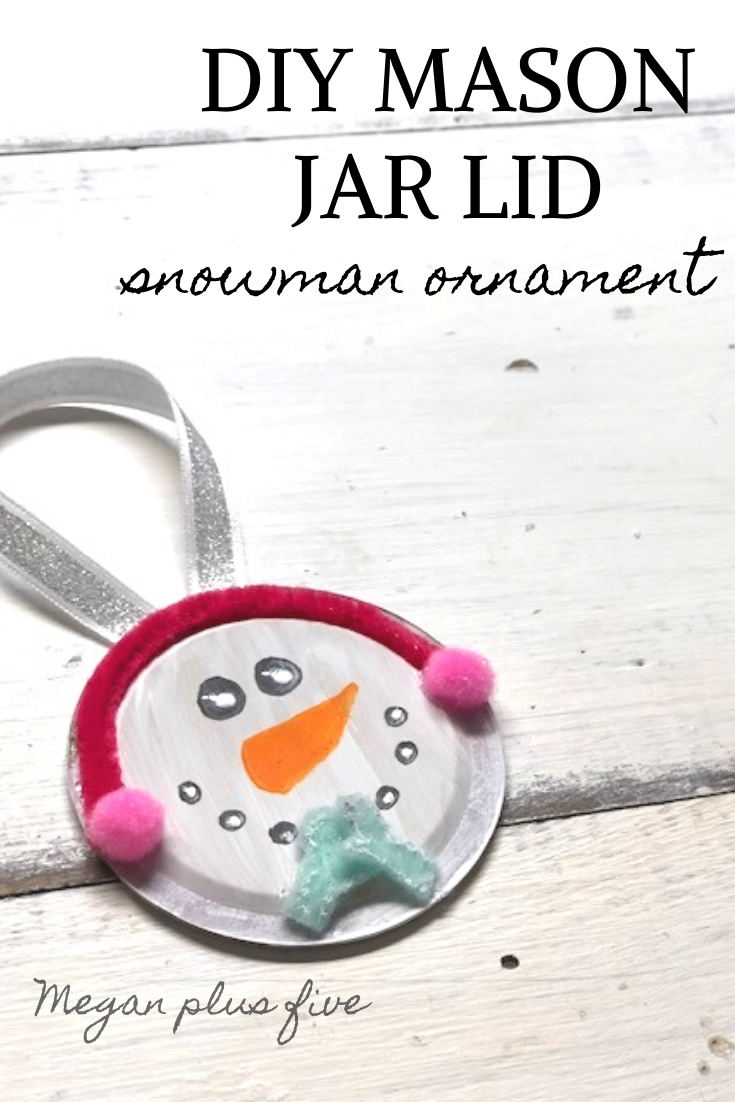
DIY snowman made from a mason jar lid. How to make cute snowmen Christmas ornaments from a lid from a mason jar. Easy craft tutorial to make fun ornaments for kids.

How to make a super cute snowman Christmas ornament from a mason jar lid

Day 4 of DIY Christmas Ornaments

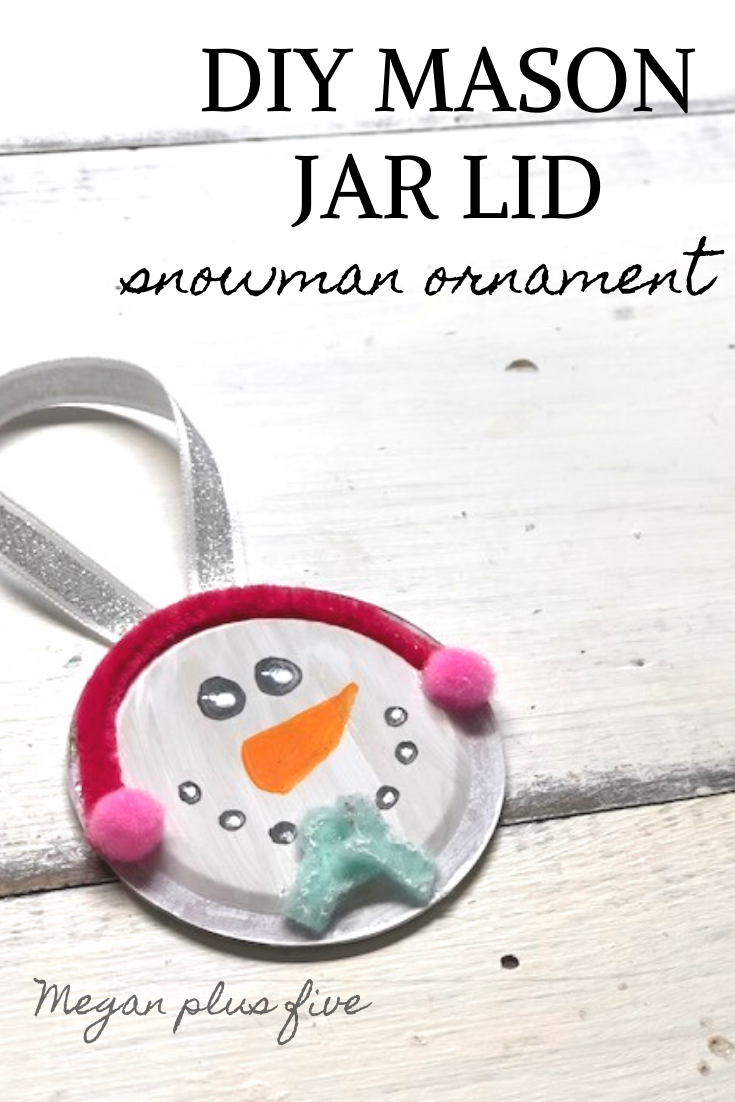
Day of 4 of DIY Christmas ornaments is this super easy and adorable mason jar lid snowman. He is complete with a mini set of mittens and a cute little pair of earmuffs! This little guy was really simple to make and is a great use for all those extra lids from your mason jar crafts. And if you follow me on here at all I’m not shy about my love for mason jars! I’ve always loved them, even before they were all mainstream lol!

Affiliate Disclosure. Some of the links on this website are affiliate links, which means that I may earn a small commission if you click on the link or make a purchase using the link. If you make a purchase you will not be charged anything additional. This is just a way I can help add to our family finances to raise our four daughters. Please know I would never recommend a product or service I do not totally stand behind.

If you missed the first few days of my 30 DAYS OF DIY CHRISTMAS ORNAMENTS be sure to click here to see the full list of make your own ornaments

If you love mason jars as much as I do be sure to check out my DIY MASON JAR CRAFTS for more inspiration.

Check out the snowman mason jar lid video tutorial below or keep scrolling to read the step by step instructions.

Here’s what you’ll need to make your own mason jar lid snowman for your Christmas tree.

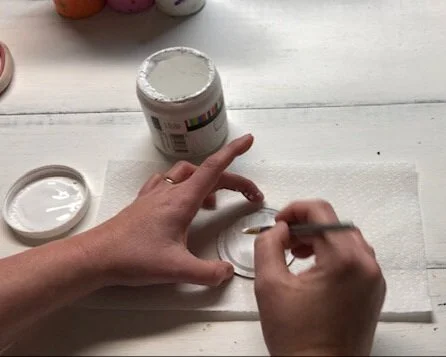
First you want to paint the bottom side of your mason jar lid {the non silver side}. I used chalk paint to paint mine but any kind of white paint should work fine, even spray paint.

First you want to paint the bottom side of your mason jar lid {the non silver side}. I used chalk paint to paint mine but any kind of white paint should work fine, even spray paint.

DIY snowman made from a mason jar lid. How to make cute snowmen Christmas ornaments from a lid from a mason jar. Easy craft tutorial to make fun ornaments for kids.

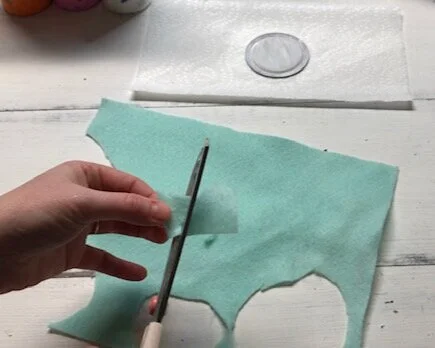
While your mason jar lid is drying cut out the tiny mittens from felt. I free handed this step and they were actually pretty easy to make. So that they would match I used the first one I cut out as my template to cut out the second one.

DIY snowman made from a mason jar lid. How to make cute snowmen Christmas ornaments from a lid from a mason jar. Easy craft tutorial to make fun ornaments for kids.

Now measure about half way around your mason jar lid for the ear muffs using your pipe cleaner. Then cut it to size with your craft scissors.

DIY snowman made from a mason jar lid. How to make cute snowmen Christmas ornaments from a lid from a mason jar. Easy craft tutorial to make fun ornaments for kids.

I know it’s hard to tell in the picture but I used a black paint marker, or paint pen, to draw on the eyes and the mouth. I LOVE these paint pens and I actually use them more than I thought I would for crafts like on this DIY PERSONALIZED MASON JAR LID. They come in hand for all kinds of projects. If you want to add little accent dots on the eyes with white paint be sure to do so when the black paint is all the way dry. I made the mistake and rushed that step and you can totally see the ugly error.

DIY snowman made from a mason jar lid. How to make cute snowmen Christmas ornaments from a lid from a mason jar. Easy craft tutorial to make fun ornaments for kids.

I painted on my snowman’s nose but if I had an orange paint pen I would have use that instead to create the nose. If you use paint it takes VERY LITTLE .You can vaguely see the little orange dot on the paper towel, that’s what I used to dip my paint brush in to paint the nose. And I didn’t even use very much of it.

DIY snowman made from a mason jar lid. How to make cute snowmen Christmas ornaments from a lid from a mason jar. Easy craft tutorial to make fun ornaments for kids.

Then glue down the earmuffs. You want to glue the pipe cleaner to the mason jar lid first then glue the mini pompoms down on each end of the pipe cleaner. {btw my 10 year old daughter totally had to tell me I’ve been spelling pompoms wrong lol! I was spelling them as 2 words which is clearly wrong. Hey, I’m a really great crafter lol spelling isn’t really my strong suit}.

DIY snowman made from a mason jar lid. How to make cute snowmen Christmas ornaments from a lid from a mason jar. Easy craft tutorial to make fun ornaments for kids.

Next, glue on your snowman’s gloves. I faced the gloves so that the thumbs were facing in which if you do that to yourself is wrong but trust me they actually look better facing the wrong direction

DIY snowman made from a mason jar lid. How to make cute snowmen Christmas ornaments from a lid from a mason jar. Easy craft tutorial to make fun ornaments for kids.

Last, loop a piece of ribbon and glue it to the back of your snowman mason jar lid. For extra support I recommend gluing a piece of felt over it. I cut mine in the shape of a heart so it looked pretty instead of just a circle or a misshaped cut piece of felt. You can also write on the back of the ornament who made it and what year with your paint pen.

DIY snowman made from a mason jar lid. How to make cute snowmen Christmas ornaments from a lid from a mason jar. Easy craft tutorial to make fun ornaments for kids.

Now your adorable snowman is ready to hang on your Christmas tree! I hope you enjoyed this tutorial and you make wonderful memories with your kiddos making these for your own tree. If you have any questions about this crafty tutorial or any others I’d love to hear from you. Leave a comment below or send me an email.
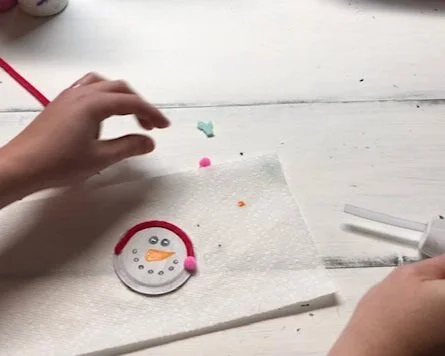
DIY snowman made from a mason jar lid. How to make cute snowmen Christmas ornaments from a lid from a mason jar. Easy craft tutorial to make fun ornaments for kids.

Check out more Christmas posts below.

DIY painted snowman mason jar

DIY how to paint a snowman face on a mason jar. Easy winter craft using mason jars. How to paint snowmen on glass.

How to paint an adorable snowman face on a mason jar


I’ll be honest I’m not the best free hand painter. Most of my projects I use stencils for but I do have a handful of free hand pieces that I create {and creating more every year when I gain more and more confidence}. One of which are painted snowmen mason jars. They come in a set of three and are ADORABLE!

Affiliate Disclosure. Some of the links on this website are affiliate links, which means that I may earn a small commission if you click on the link or make a purchase using the link. If you make a purchase you will not be charged anything additional. This is just a way I can help add to our family finances to raise our four daughters. Please know I would never recommend a product or service I do not totally stand behind.

I paint lots of these every year and sell the completed snowman mason jar sets in my handmade Etsy shop

I love them even more because each set is slightly different. When you handmake nothing is going to be identical, no matter how hard you try, but that’s what makes it even more special and beautiful.

These snowmen mason jars are perfect for gift giving, centerpieces, candy cane holders, tea lights, sooooo many options with these winter crafts!

Here’s what you’ll need

Watch my YouTube video below or keep scrolling for detailed written instructions on how to paint a snowman face on a mason jar
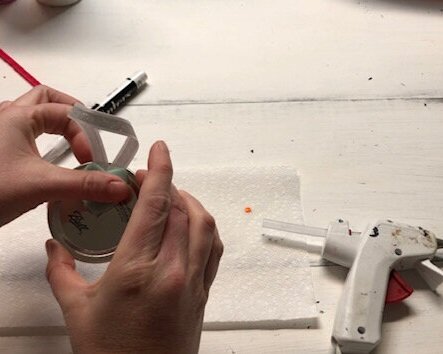
First you need to start with a pre-painted mason jar. You can do this on non painted glass but I’ll be giving the steps to create this exact style pictured.

I don’ t have a post on how to paint solid color mason jars but I do have a few tips to share on how I paint my mason jars
Ok once you have your mason jar painted you are ready to paint an adorable snowman face on it!

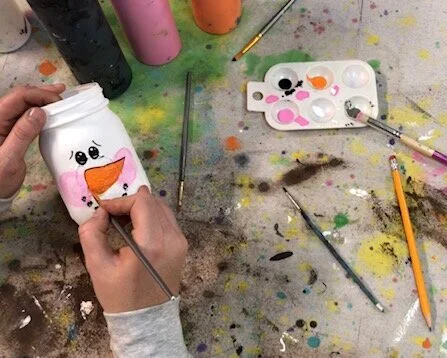
Paint the cheeks first. You do this first because they are behind the nose. This way you won’t have to go back and paint the cheeks and take chances on ruining the perfectly imperfect snowman nose. And the cheeks give you a guide to where the rest of the features will go. You can practice this on a piece of cardboard or scrap paper first. Use very little paint, you don’t want too much paint because once it’s on the jar it’s hard to take away without removing the base coat. Dip you brush in the pink paint, then add a little white, then swirl on the jar. Repeat this step till you’re happy with how they look.

How to paint snowmen faces on mason jars. DIY snowman on a ball mason jar. Rustic winter mason jar decorations and gifts

Using a small round tipped brush paint the eyes using black acrylic paint. I make mine fairly small and I basically make two “C’s” butted up together, so that they make a bean shape. Fill them in so they are solid black.

How to paint snowmen faces on mason jars. DIY snowman on a ball mason jar. Rustic winter mason jar decorations and gifts

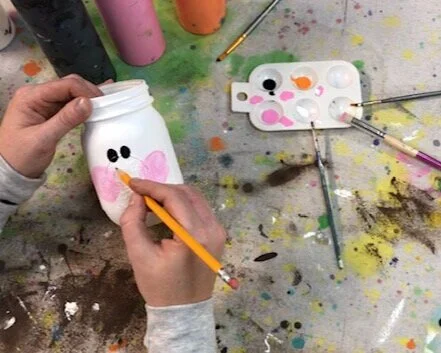
Next use a pencil and sketch out the nose. You’re basically going to make a sideways curved triangle. To me this gives it a lot of character and makes it super cute! Then fill in the triangle with orange paint.

How to paint snowmen faces on mason jars. DIY snowman on a ball mason jar. Rustic winter mason jar decorations and gifts

Now paint on the mouth with black paint using the same brush you used to make the eyes. I use the curved line on the mason jar as the guide for my snowman’s mouth. Just make little dots in the shape of a snowman mouth. My dots are never perfect, you want the to be lopsided like lumps of coal.

How to paint snowmen faces on mason jars. DIY snowman on a ball mason jar. Rustic winter mason jar decorations and gifts

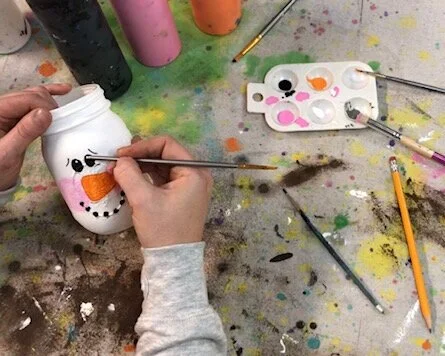
Make all the little accent lines, like the eyebrows and dash marks, using a pointy flat brush and gray paint. The gray paint gives the snowman face more dimension and breaks up the color a bit. On each eye I make a curved up line above the eye and a curved down line below the eye. Then, for the nose, I make a curved line around the base of the nose. I add a little dash mark below each dot on the mouth.

How to paint snowmen faces on mason jars. DIY snowman on a ball mason jar. Rustic winter mason jar decorations and gifts

Using the wood end of the brush you used to paint the eyes, dip it in white paint and on each eye and mouth dot make a big and small dot. And on each eye make a dash line toward the bottom of the eye using the brush end of the paint brush.

How to paint snowmen faces on mason jars. DIY snowman on a ball mason jar. Rustic winter mason jar decorations and gifts

The snowman’s nose should be dry now, paint a second coat of orange on it. While the second coat is still wet add a little bit of black paint at the base of the nose to give the nose more dimension and a tiny bit of white toward the top. This will keep you snowman’s nose from looking too flat. Then outline the nose with a flat pointy tip brush with black paint.

How to paint snowmen faces on mason jars. DIY snowman on a ball mason jar. Rustic winter mason jar decorations and gifts

After the nose is dry add a little bit of “snow” to the top part of the nose. I used my stenciling brush for this step because the bristles are very stiff and give a good fluffy snow look. Use very little paint when doing this, if you use too much it will look like a fat blog and will be hard to fix without making a bigger mess.

How to paint snowmen faces on mason jars. DIY snowman on a ball mason jar. Rustic winter mason jar decorations and gifts

I hope I was able to break this craft down into easier to follow steps. Let me know what you think in the comments below.

Snowman snack, easy, simple and mess free

Snowman snack, easy, simple and mess free

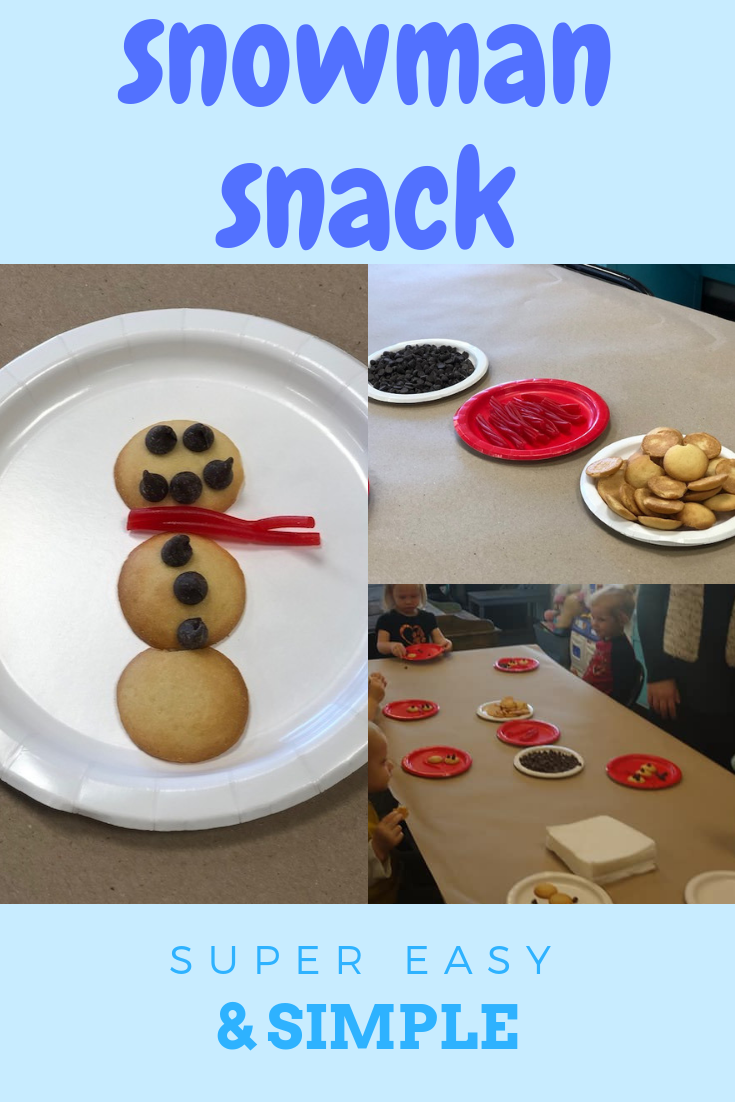
Here’s a fun snack for those little ones that LOVE fun foods! It’s SUPER easy, almost totally mess free {you might have some crumbs but that will pretty much be it}, very friendly on the wallet and honestly you probably already have these items on hand.

Snowman snack,  easy, simple & mess free

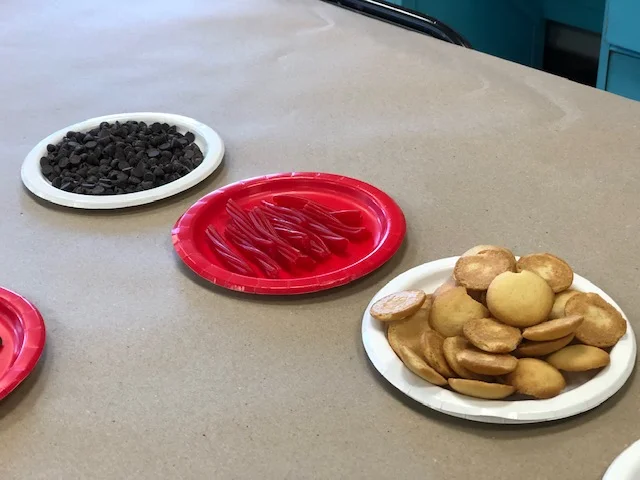
Here’s what you’ll need

  • vanilla wafers

  • chocolate chips {we used regular ones but the mini’s would have been PERFECT for this snack}

  • twizzlers pull & peel

That’s it! There aren’t a whole lot of steps to this adorable little snack.

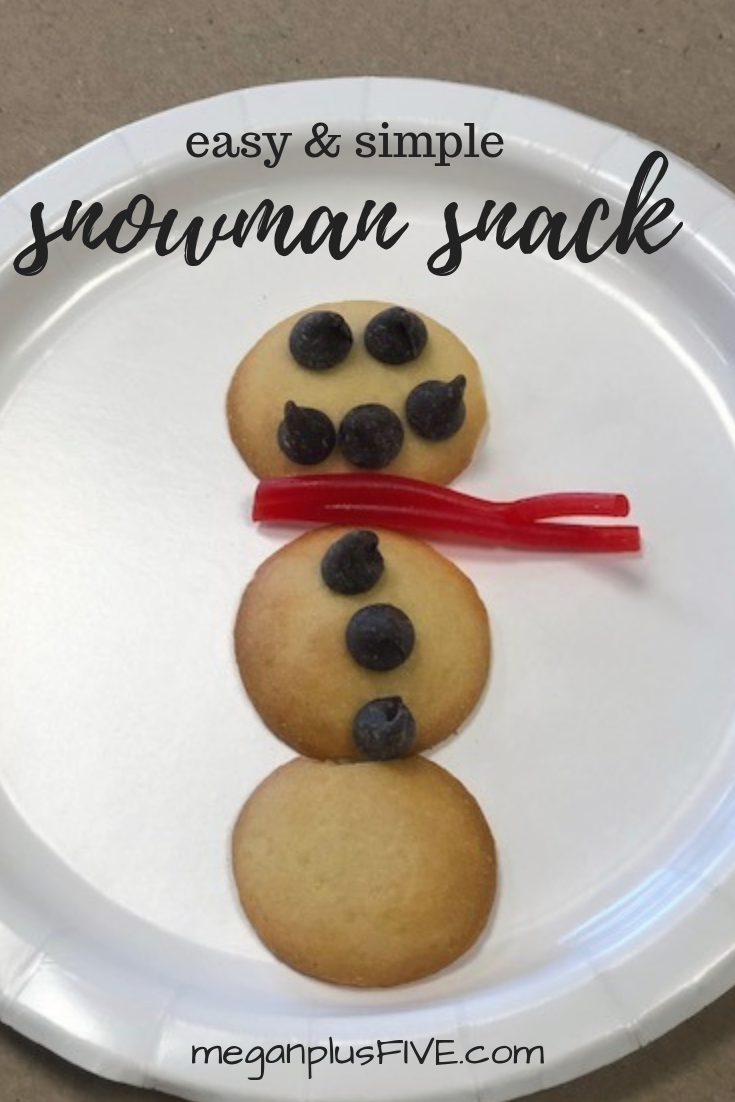
First, place three vanilla wafers in a line, like a snowman. Then use the chocolate chips to make a cute face. Last peel off a couple pieces of the twizzlers for a scarf. Put them in in between the first and second wafers and viola you have your very own snowman snack!

I told you it was super simple. Enjoy!

easy & simple snowman snack