Snowman snack, easy, simple and mess free

Snowman snack, easy, simple and mess free

Here’s a fun snack for those little ones that LOVE fun foods! It’s SUPER easy, almost totally mess free {you might have some crumbs but that will pretty much be it}, very friendly on the wallet and honestly you probably already have these items on hand.
Snowman snack,  easy, simple & mess free

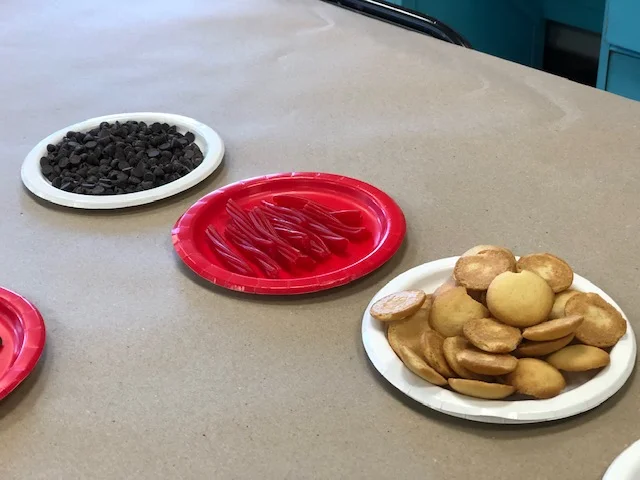
Here’s what you’ll need

  • vanilla wafers

  • chocolate chips {we used regular ones but the mini’s would have been PERFECT for this snack}

  • twizzlers pull & peel

That’s it! There aren’t a whole lot of steps to this adorable little snack.

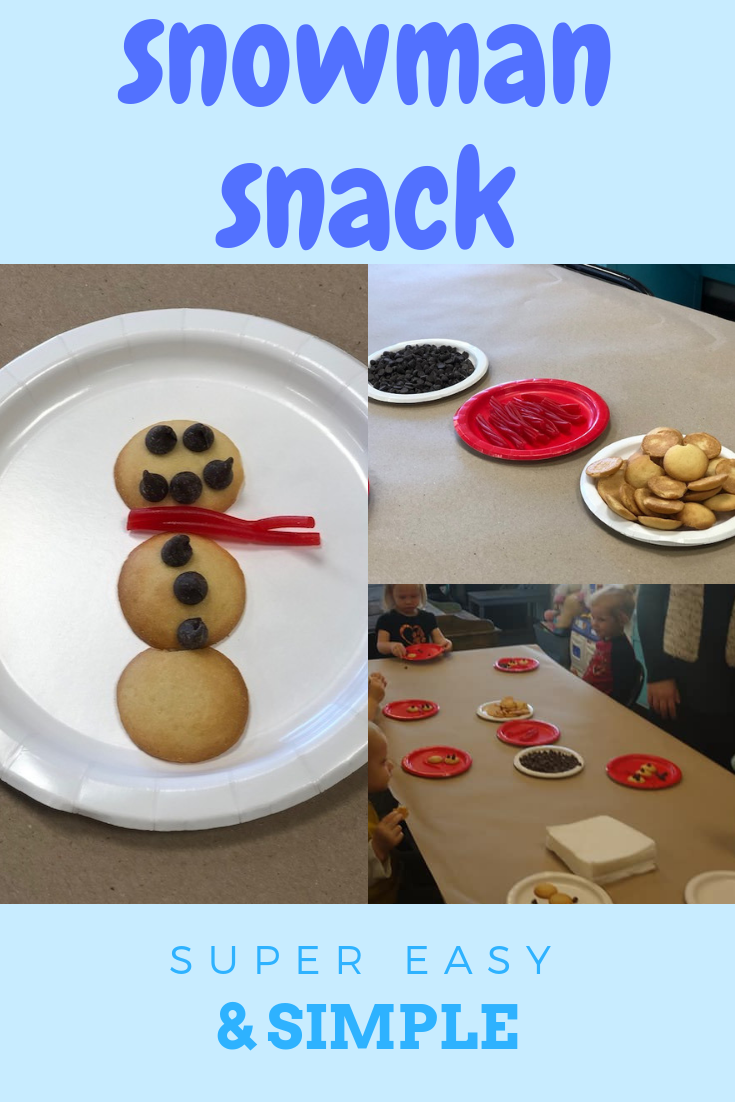
First, place three vanilla wafers in a line, like a snowman. Then use the chocolate chips to make a cute face. Last peel off a couple pieces of the twizzlers for a scarf. Put them in in between the first and second wafers and viola you have your very own snowman snack!

I told you it was super simple. Enjoy!
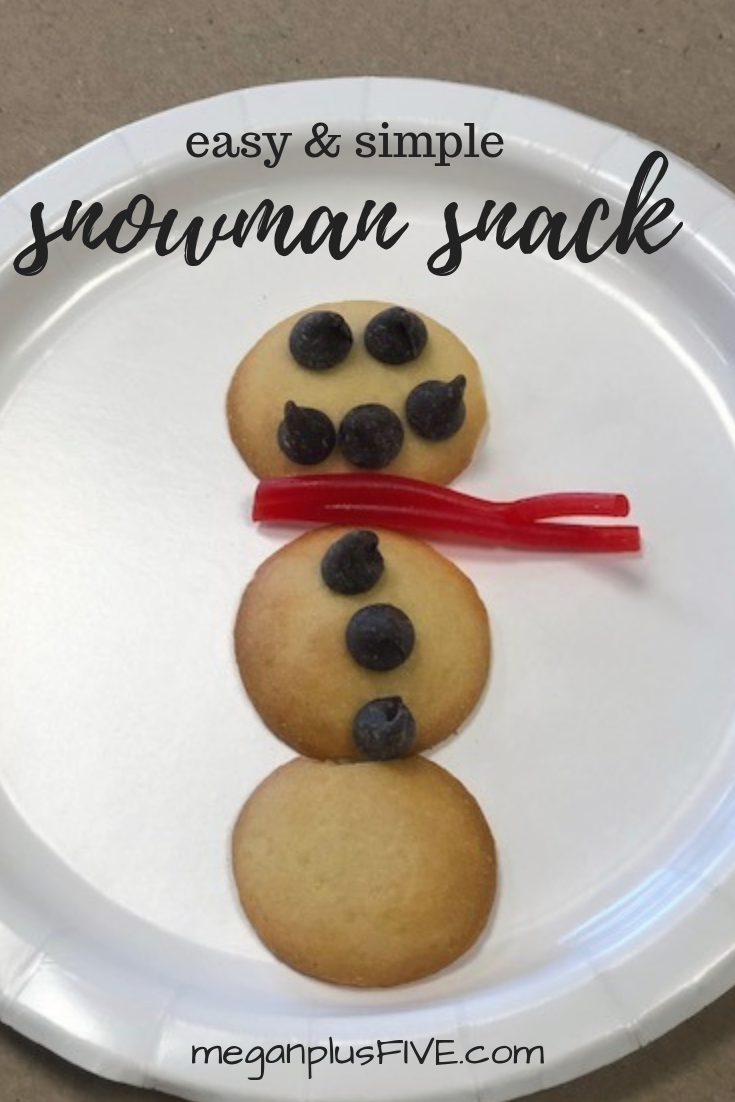
easy & simple snowman snack

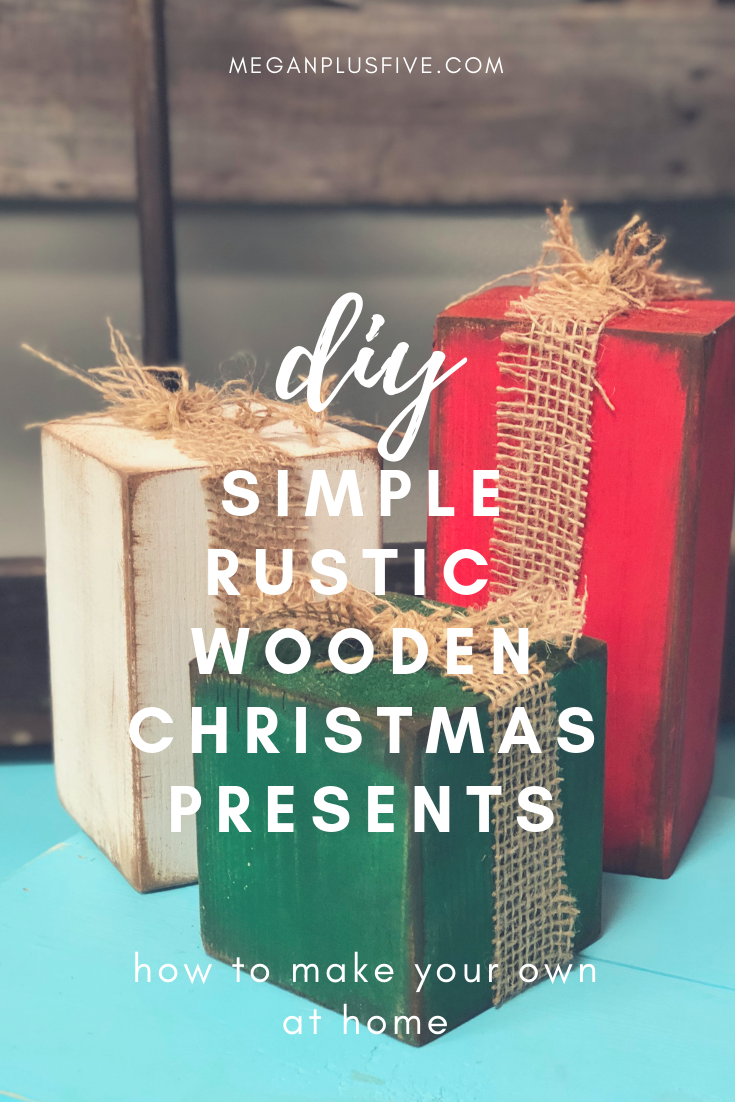
DIY simple rustic wooden Christmas presents, how to make your own

DIY simple rustic wooden Christmas presents, how to make your own

DIY FAUX WOOD CHRISTMAS PRESENTS

I’m a busy wife, momma, and business owner so naturally I LOVE a good craft that I can whip out really fast and that makes the heads turn. These little guys are just the perfect DIY for the job!

In our studio I try to reuse the same base sizes over and over again. This makes for a smooth operation. I try to create pieces from the basic bases we have on hand at the shop. When I stumbled across something similar on Pinterest I had to make my own version of these adorable faux presents.

I know not everyone has the resources or expensive tools to make all their crafty dreams happen so I’ve put together CRAFT KITS for our most popular DIY’s. You can pick up our FAUX PRESENT KIT HERE

DIY simple rustic wooden Christmas presents, how to make your own

If you wanna start from scratch here’s what you’ll need:

DIY simple rustic wooden Christmas presents, how to make your own

These are SO super simple, once you do one set you’ll be making them for everyone for Christmas! So let’s get started.

First, you want to be sure all your pieces are sanded to knock any splintery ends. If you purchased our CRAFT KIT you do not need to do this step as it’s already been done for you:)!

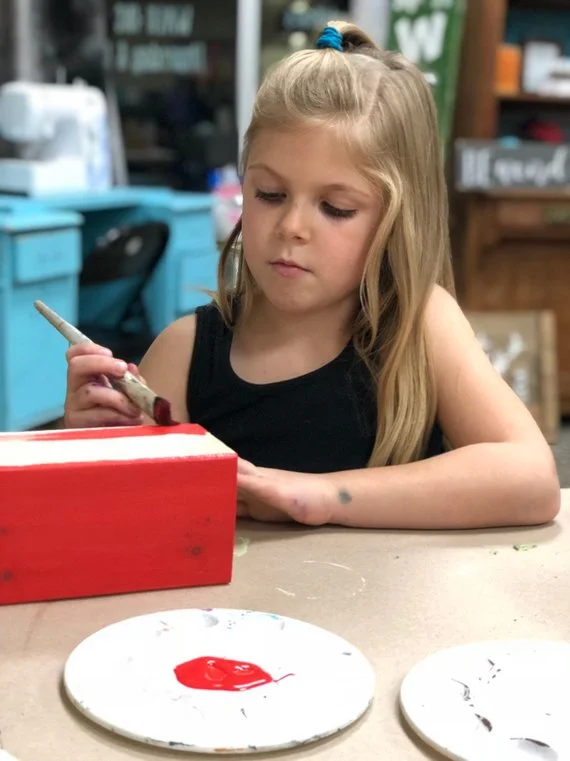
Next, you want to paint each block a different color. I did two coats on mine. Be sure you wait till the first coat is TOTALLY DRY before applying the second coat. If you don’t, applying wet paint on top of wet paint tends to pull up the layer underneath.

DIY simple rustic wooden Christmas presents, how to make your own

Can we just take a minute and adore this girl! Isn’t my little helper so stinking CUTE! She’s always up for being my little crafting model Ok, back to the tutorial…

Once your paint is dry and you are happy with the coverage you’ll need to sand on the edges and the corners of your blocks. Take your 120 grit sand paper and go over the areas that would be naturally worn. You don’t have to use 120, that’s just my go to grit. Any grit of sandpaper will work, just go slow at first to see how much pressure you need to apply. I used my RYOBI cordless sander for this step.

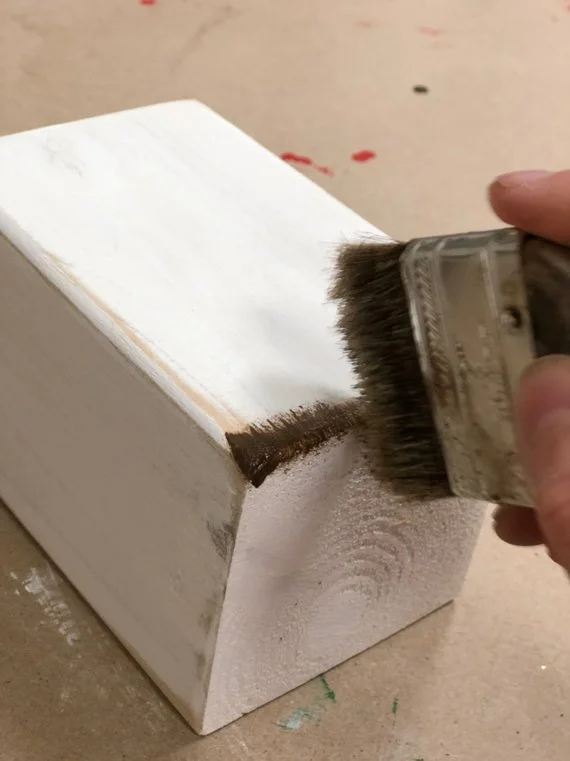
Next you want to apply the dark wax to your blocks. If you’ve never worked with dark wax before you might want to test it out on a piece of paper first. A little wax goes a long way.

Take your chip brush and barely dip your bristles in, dab off onto a piece of paper or paper towel. Just like you did when sanding, focus on applying the wax to the areas that would be naturally worn. You’ll want to apply to the corners, edges, then do a light quick swipe on all the sides. This will give it a real natural rustic finish. The wax gets into all those uneven areas, much like how dirt would, and make it look old.

faux wooden presents4.jpgDIY simple rustic wooden Christmas presents, how to make your own

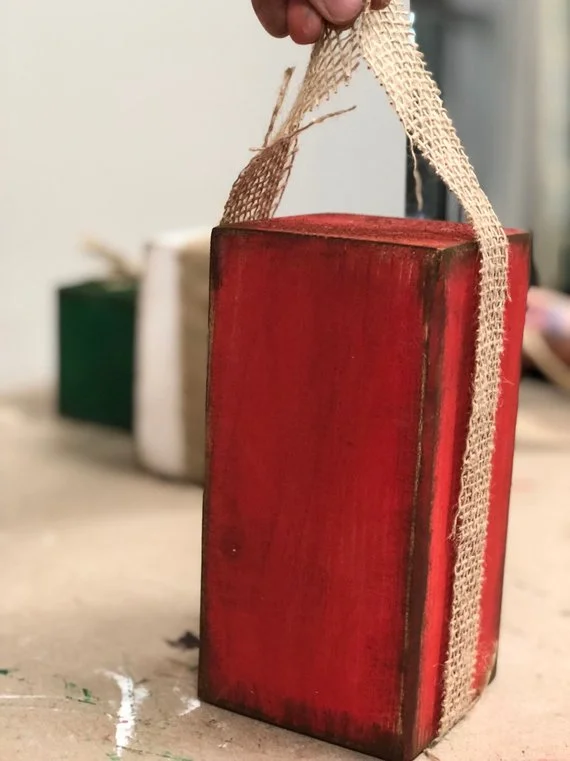
After you have your wax applied to all of your block the last step is to add your burlap “bow”. I picked up a roll of looser knit burlap at my local Walmart but any burlap will work. Fun fact, the looser the knit the easier it will unravel when cut. I cut my burlap into 2” wide strips and measured their length so they stuck up 3”-4” above the blocks like shown below. Now tie those two pieces in a knot. You’ll do the same on the last two blocks. And you’re done! Literally can’t get any easier.

DIY simple rustic wooden Christmas presents, how to make your own

Place them beside your tree, on your kitchen counter, or your mantle and admire them all Christmas season!

DIY simple rustic wooden Christmas presents, how to make your own

These little guys make such great gifts, a fun craft night with the family, or crack open a couple bottles of your fave wine with your fave girlfriends and make it a moms night in Pinterest party!

I hope you love this DIY! If you did I’d love to hear your feedback…even better, I’d LOVE to see pics of your finished faux presents.

DIY mini stenciled Christmas signs

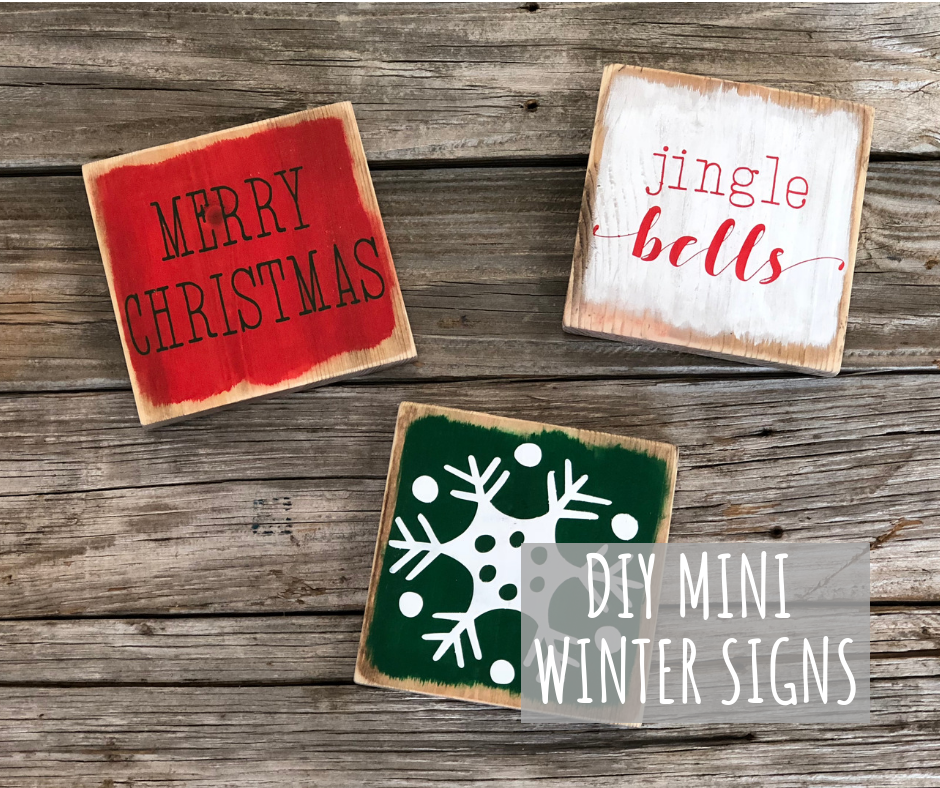
DIY Mini Wooden Winter Signs

Painting & stenciling mini wood Christmas signs

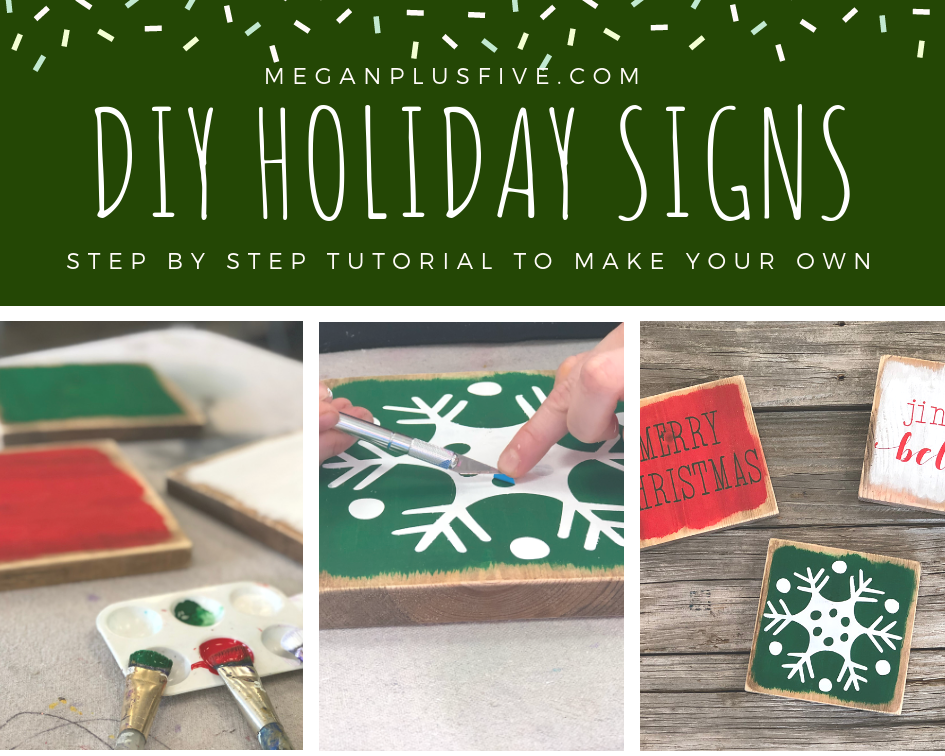
Do you LOVE those little mini signs like I do? They are so perfect because they don’t take up a lot of space, you can store them easily when they aren’t in season, and they are SO simple to make yourself.

Affiliate Disclosure. Some of the links on this website are affiliate links, which means that I may earn a small commission if you click on the link or make a purchase using the link. If you make a purchase you will not be charged anything additional. This is just a way I can help add to our family finances to raise our four daughters. Please know I would never recommend a product or service I do not totally stand behind.

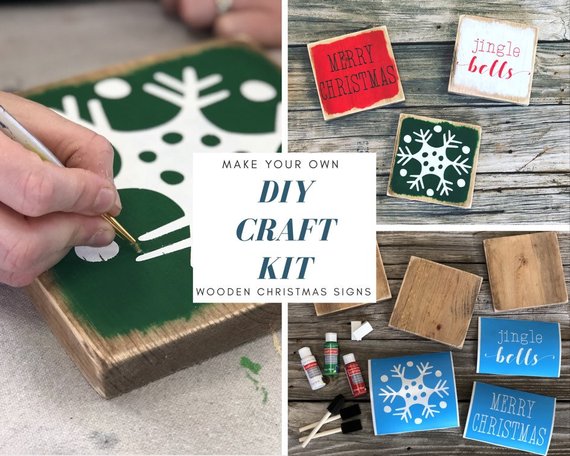
Here’s what you’ll need to make your own at home. To make it even easier we’ve put together a CRAFT kit that has everything you need for project here.

HOW TO STENCIL ON WOOD

winter craft kit.jpgDIY Mini Wooden Winter Signs

MAKE YOUR OWN MINI STENCILED WOOD CHRISTMAS SIGNS FOR YOUR RUSTIC HOME DECOR

You’ll need

3 - 5.5x5.5 wooden pieces {I got a 1x6 from the local hardware store}

stain, rags, and gloves {here’s what I used}

stencils {you can buy ours here, or make your own}

3 - brushes {you can use sponge brushes or here’s what I use}

white, red, & green acrylic paint {here’s what I used}

2 makeup sponges {you can pick them up at your local dollar store}

sander or 120 grit sandpaper

DIY Mini Wooden Winter Signs

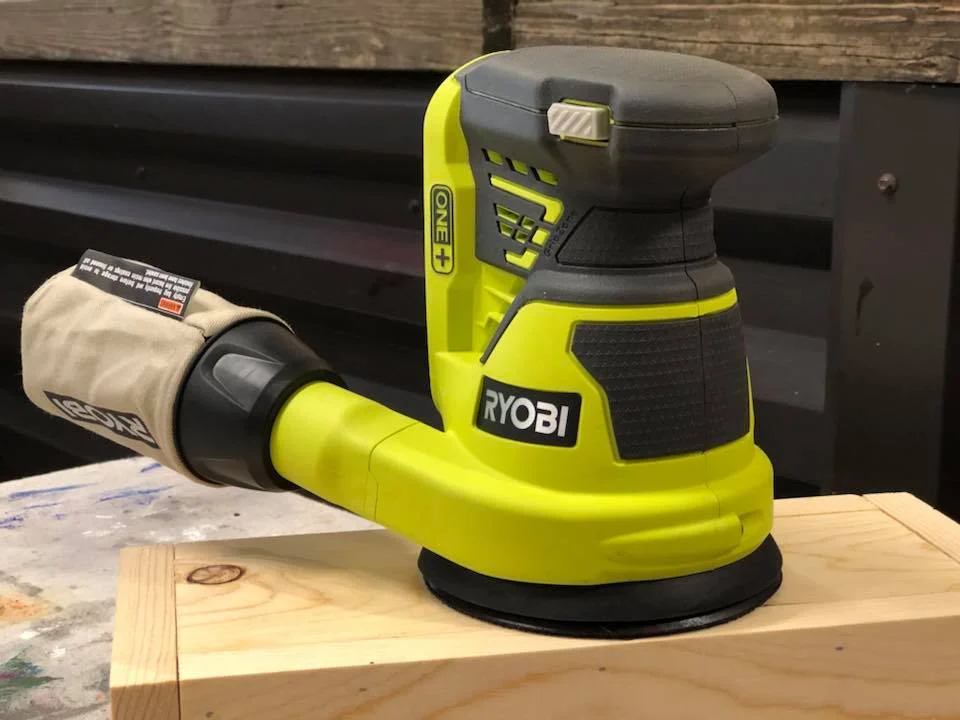
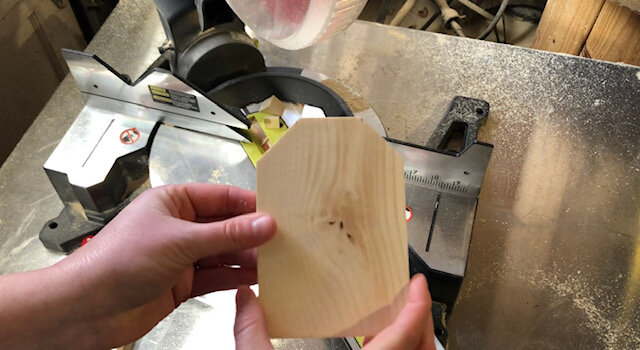
After you’ve cut and sanded your 5.5”x5.5” pieces stain them and let them dry for 24 hours. After they’ve dried sand around the edges, corners, and a light sanding on the front, be sure to wipe them down so you get all of the sawdust off of them. I LOVE my RYOBI CORDLESS SANDER , it is what I use for all of my wooden projects. But, if you don’t have a sander you can get the job done with 120 grit sand paper.

DIY Mini Wooden Winter Signs

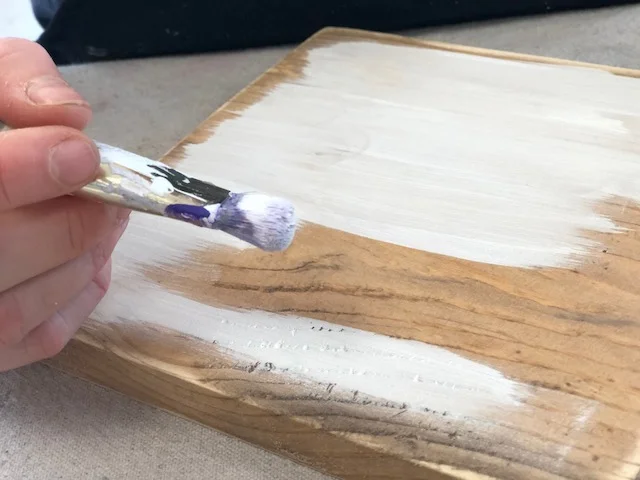
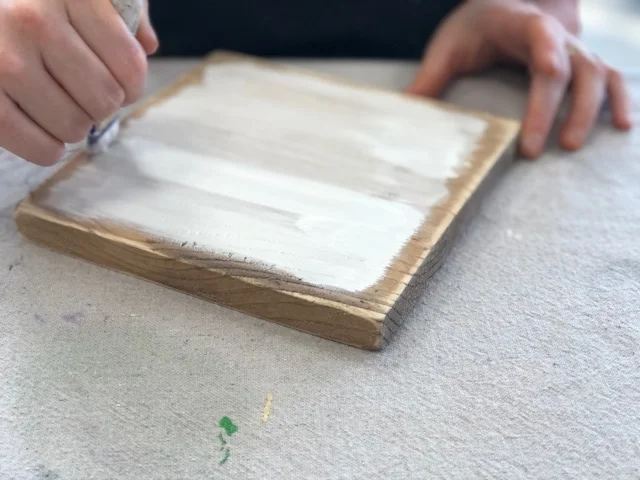
Now it’s time for the painting! You’ll paint each wooden sign a different background color. Start with a DRY brush and using a little bit of paint at a time apply a THIN coat of paint to one side of your board. Leave .25” border all the way around each piece. I don’t measure this, just eyeball it. This will give you that rustic uneven look.

DIY Mini Wooden Winter Signs

After your fist THIN coat is totally dry you can apply the second coat, be sure to apply using the same technique as you did with the first coat.

DIY Mini Wooden Winter Signs

Repeat this step for all 3 signs. Once they are all TOTALLY DRY you are ready for stenciling. They must be completely dry otherwise your stencil will not stick to the wood and it will be an ugly mess.

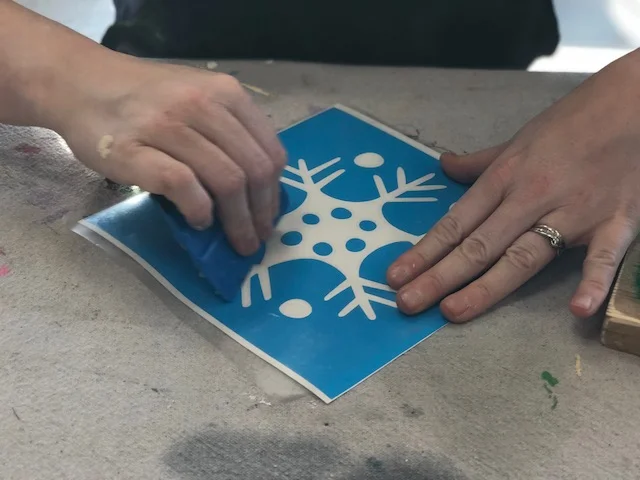
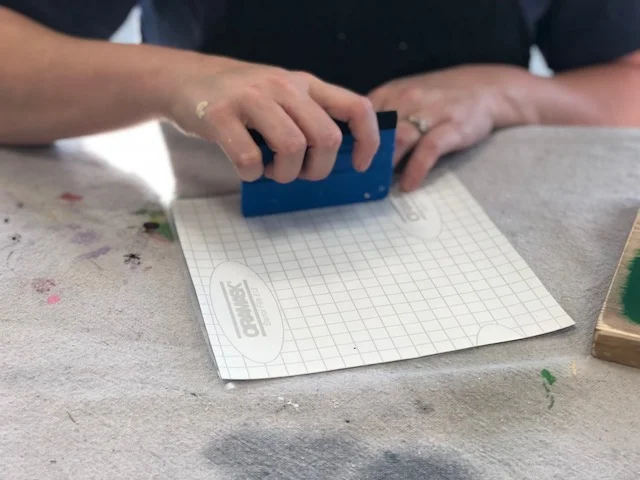
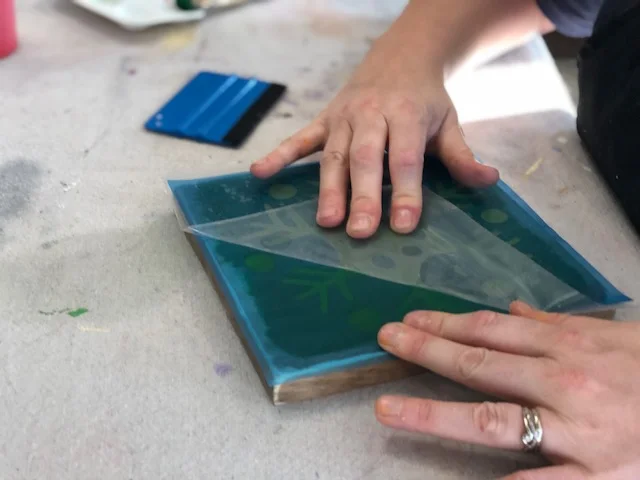
Start by removing the paper backing from your stencil. This works best if you use a vinyl applicator {here’s what I use} or you can use a stiff store rewards card, I don’t recommend using your bank card as it could break during the process.

If you’re using your own stencils you’ll need transfer tape to transfer your stencil onto the wood in one piece.

DIY Mini Wooden Winter Signs

Start by rubbing the front of the stencil with your vinyl applicator. Be sure you move in one direction.

DIY Mini Wooden Winter Signs

Then flip it over and do the same to the back.

DIY Mini Wooden Winter Signs

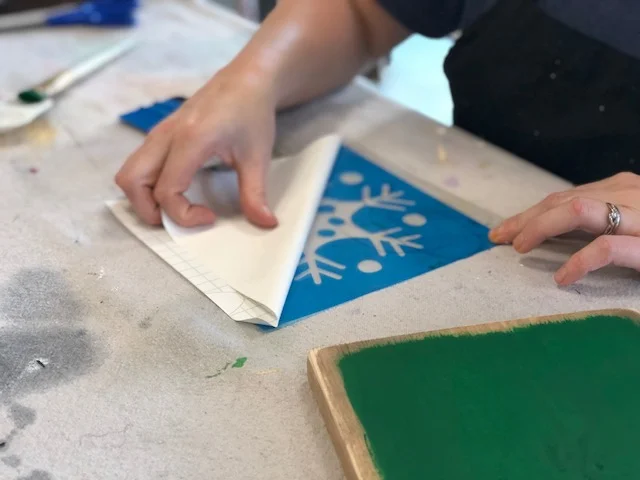
Now slowly peel the paper backing away from the stencil. This works best if you start at one corner and peel away at a sharp 90 degree angle. Go SLOW.

Before you start applying your stencils decided which stencil you will put on each board.

DIY Mini Wooden Winter Signs

First, you’ll want to place your stencil where you want it on your board. I wanted mine to all be centered so that’s what I did but you can place them anywhere on the board you’d like. I just recommend keeping the image within the painted part of the wood.

DIY Mini Wooden Winter Signs

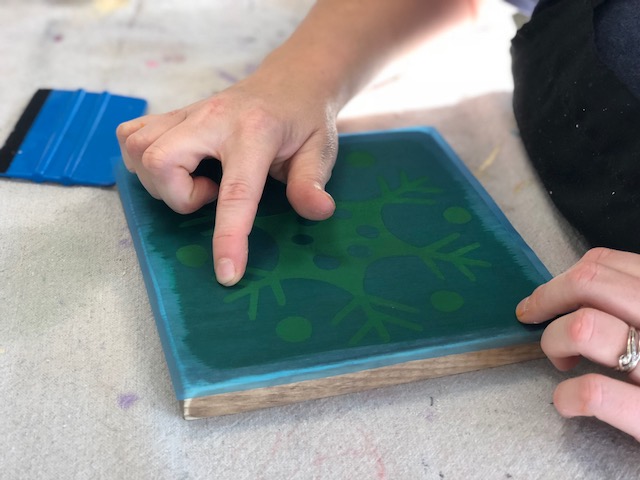
Using your vinyl tool rub the stencil, using the same technique as before. Now SLOWLY peel the transfer tape {the clear sticky stuff} away from your stencil. I do this at a sharp angle and I will slowly roll it off of the stencil.

DIY Mini Wooden Winter Signs

After you get the transfer tape off rub your finger along all the exposed stencil edges {anywhere there is wood showing thru}. this helps to get s good seal on your stencil.

Now you’re ready to start painting your stencil!

DIY Mini Wooden Winter Signs

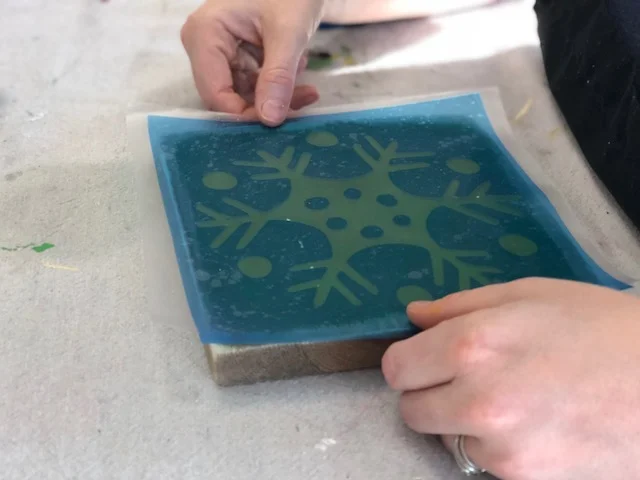
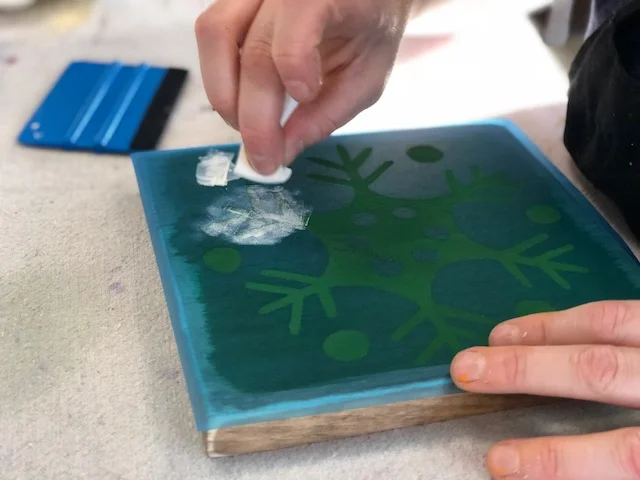
Use one end of your cosmetic sponge LIGHTLY dip it in the paint color you’d like your design. BE SURE TO USE VERY LITTLE PAINT, this is key to getting little to no paint bleed under your stencil. Dab the sponge on a paper towel a couple times then onto your stencil, do this till you have a very THIN even coat {you should be able to see thru the first coat}. LET DRY, repeat till you are happy with the coverage.

DIY Mini Wooden Winter Signs

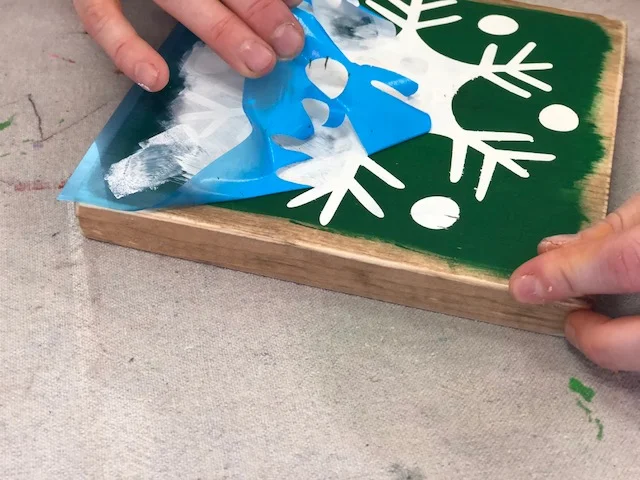
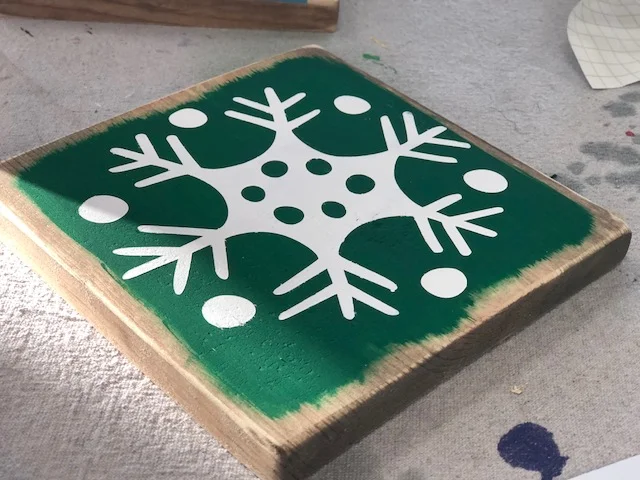
Now peel up your stencil.

DIY Mini Wooden Winter Signs

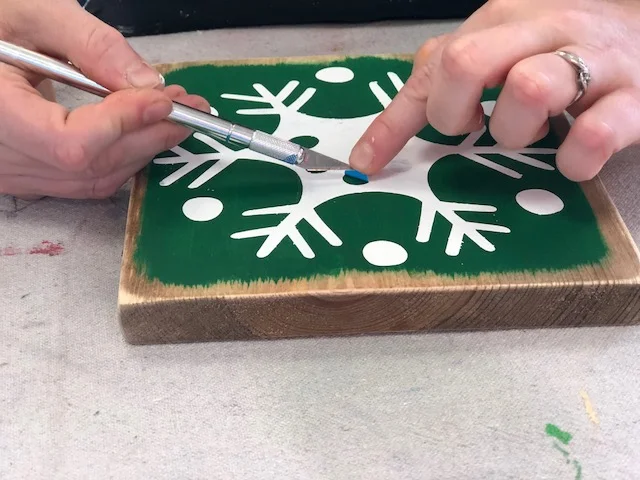
I use an xacto knife to get up all the little pieces. If you don’t have one of these a sewing pin/needle works great for this as well.

If you have any paint bleed just go over those with a small paint brush and your background color.

DIY Mini Wooden Winter Signs

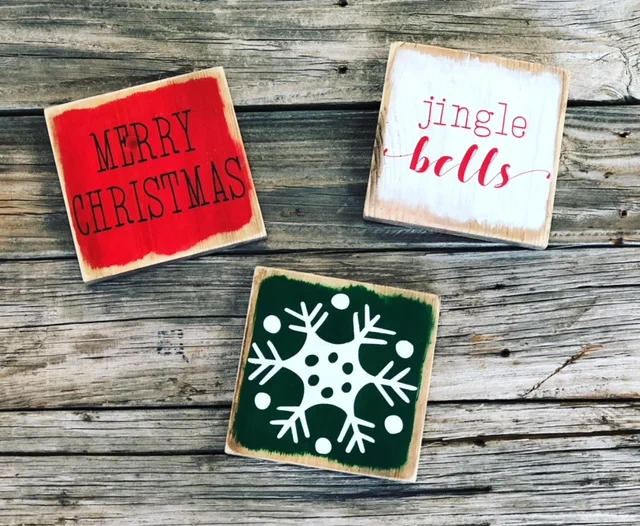
Now finish the other two and you're ready to put them up to enjoy this holiday season.

DIY Mini Wooden Winter Signs