
DIY Light Up Fairy Jar
/
How to make your own light up glittery fairy jar lantern
Making your own light up fairy jar is easier than you think. This has been a favorite craft kit in our Etsy shop and for good reason…it’s absolutely adorable! When we had our brick and mortar craft studio this was always a top choice for the kids to make too. There’s really not anything that can top a glowing fairy lantern that’s covered in glitter!
Affiliate Disclosure. Some of the links on this website are affiliate links, which means that I may earn a small commission if you click on the link or make a purchase using the link. If you make a purchase you will not be charged anything additional.
If you love this mason jar craft be sure to check out this adorable DIY UNICORN MASON JAR CRAFT TUTORIAL
Check out this similar MINI version of my DIY LIGHT UP FAIRY JAR…in CHRISTMAS ORNAMENT form. See the video below
If you love crafty video tutorials be sure to subscribe to my YouTube channel
Make your DIY LIGHT UP FAIRY JAR even easier and grab a —-> FAIRY JAR CRAFT KIT <——
I recommend using a LOW TEMP glue gun to attach all your floral accents. This will dry much quicker and be more stable than using the mod podge to glue. Pro tip: using a low temp glue gun is always best when the kiddos are involved. The temp is a lot lower than a high temp glue gun and if they come in contact with either the hot glue or the tip of the glue gun then their skin likely won’t blister. I let all three of my older girls use this type of glue gun all by themselves and although they’ve come in contact with either the glue or the gun they’ve never had a serious issue with them.

If you didn’t grab your own DIY FAIRY JAR CRAFT KIT you’ll need to first cut out your fairy. I used my CRICUT EXPLORE & CRICUT ACCESS for this step. Grab my fairy template from my FREE RESOURCE LIBRARY
Next apply your mod podge to the INSIDE of one side of your smooth mason jar. This is easier than applying the glue to the cardstock fairy then trying to place it inside of your jar.
Then place your fairy inside, be sure to position it so it's not crooked. Hold the fairy in place with the end of your brush for a few seconds until it’s set.
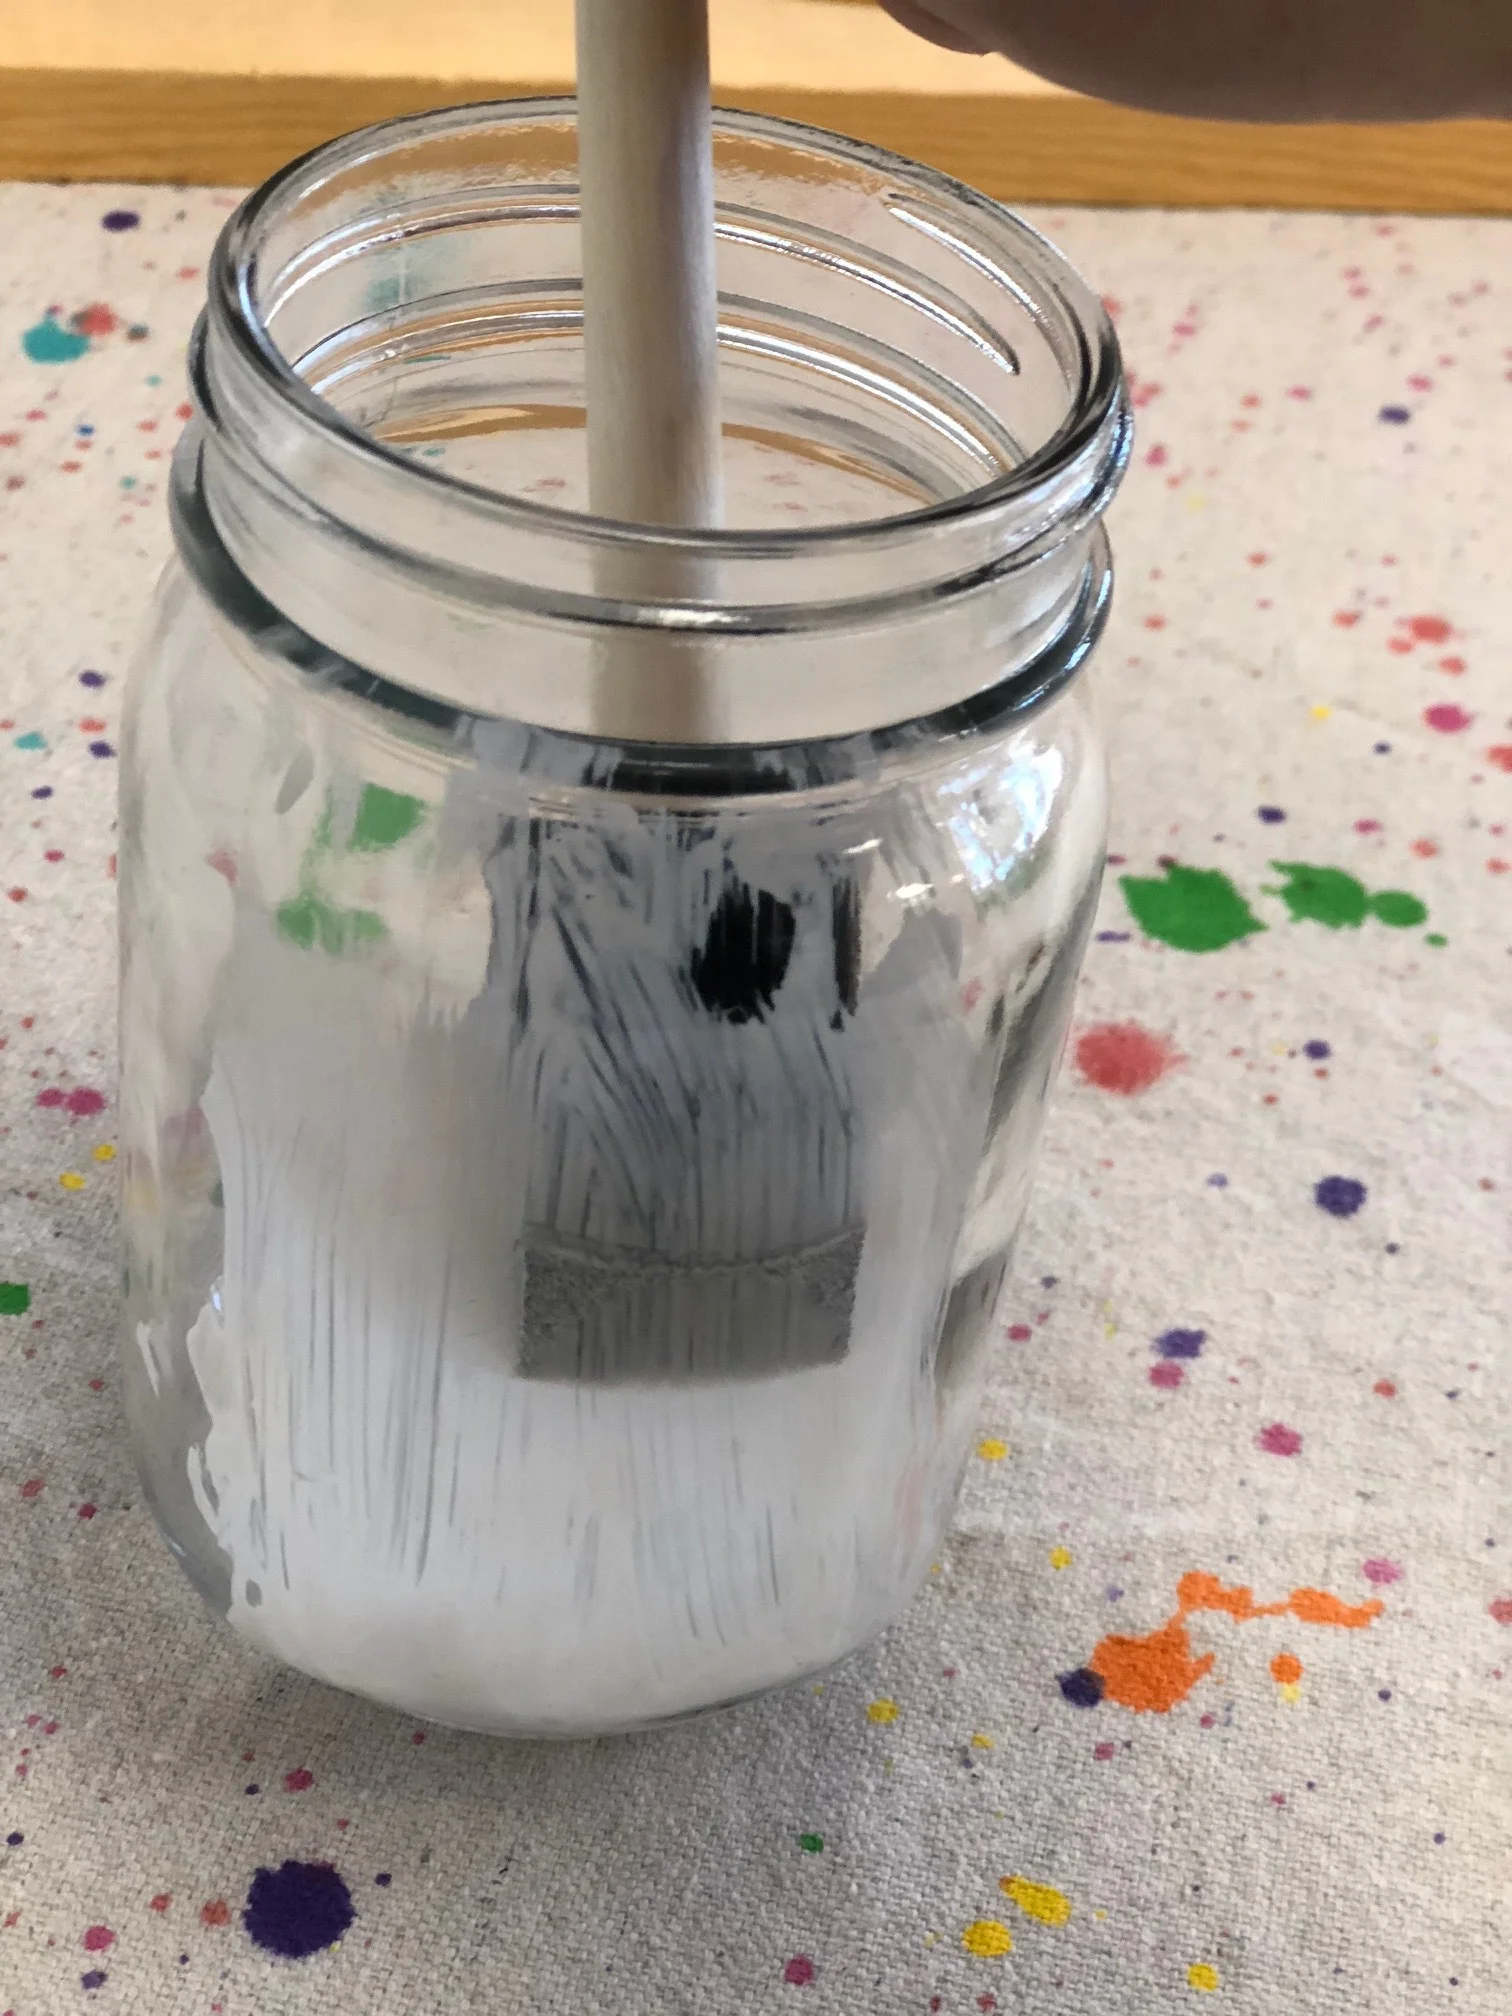

If you didn’t grab a craft kit, cut your tissue paper down so it is slightly bigger than your jar. You are going to mod podge this to the OUTSIDE of your jar. I find it easier to glue one side at a time.
Apply a good layer of mod podge to one side of your jar, be sure to get good coverage. Place your tissue paper down and slowly pat it down to work out all the bubbles. If it rips, don't worry this won't be super noticeable as you will be covering the jar in glitter. You will do this all around the jar till it is totally wrapped in one layer of tissue paper

After you’ve mod podged down your tissue paper trim away the excess where the lid will be screwed on. This makes it easier to get the lid off an on.
Apply a good layer of mod podge around the entire jar. Be sure it's a good layer so it doesn't dry by the time you get all the way around the jar.

Sprinkle your white glitter all the way around your jar. I typically focus around the corners but there's no wrong way to do this step.
Once your done glittering the outside of your fairy jar turn it upside down on the table and let dry. You will want it completely dry before you start gluing all your accents on.

Accent time! A grown up will want to help with this part if a glue gun is involved.
I recommend not hot gluing your twine OR your accents to the lid itself. Gluing it to the lid will make it difficult to get the lid on and off AND your accents are likely to fall off easily if glued directly to the lid. Instead, glue your twine just below the bottom lip at the top of your mason jar.
Using your hot glue gun glue one end of your twine down just below that bottom lip of the jar. Wrap the twine around a few times. Then glue the second end in place.
Now, glue your accents right onto the twine. It helps if you trim down the flower bases so that they can sit flat on the twine.

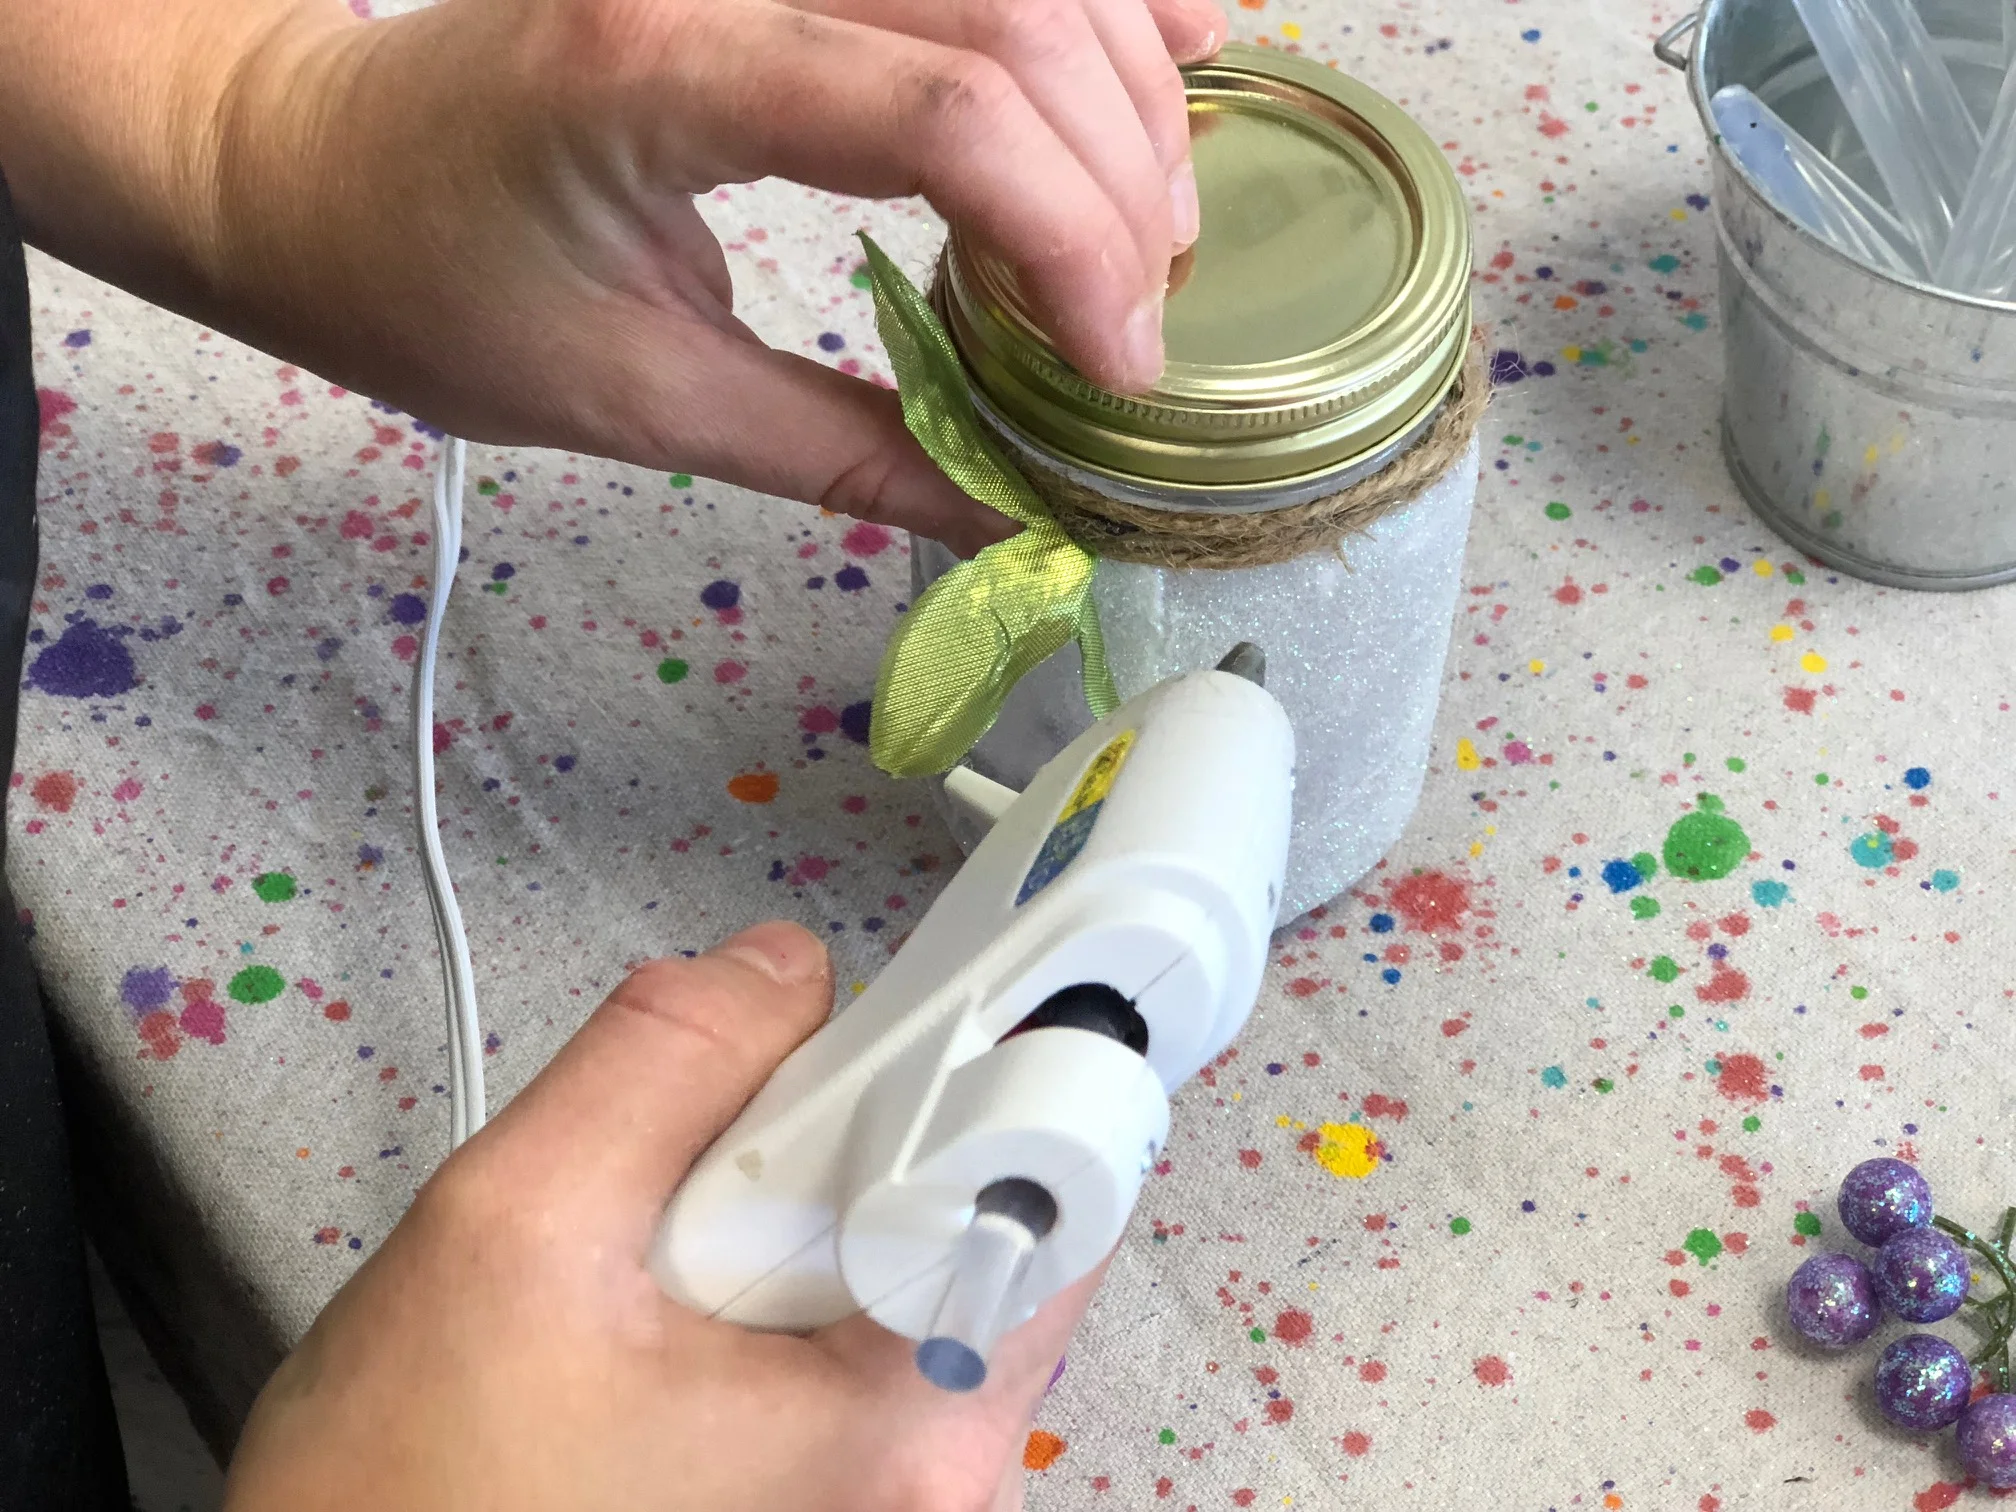
Insert your tea light, turn off the lights and you're done! You've just created the cutest little fairy jar light!

